
The DPI Your Poster Actually Needs at Every Print Size


Tobias is our voice for cutting, binding and large format, built from the knowledge of our production team, with over 20 years in printing.
The exact PPI to supply at each poster size, the pixel counts behind those targets, how far you can push an upscale, and the file check that catches a soft poster before it prints.
Supply poster artwork at 300 PPI measured at final print size up to about 18 by 24 inches, and 150 PPI at final size for anything bigger. Above roughly 36 inches, where nobody stands closer than six feet, 100 PPI holds up. Multiply finished inches by the PPI target to get the pixel count you need, so a 24 by 36 inch poster wants about 3600 by 5400 pixels. The exception is anything read up close, such as menu boards and spec sheets, which stays at 300 PPI whatever its size.
Quick answer
Pixels divided by finished inches is the only number that matters
Resolution belongs to the placement, not to the file. A 3600 pixel wide image is 200 PPI at 18 inches, 150 PPI at 24 inches, and 100 PPI at 36 inches, which is why one good photograph covers several poster sizes. Aim for 300 PPI at final size on small posters people read close up, 150 PPI once the piece is 24 inches or wider, and 100 PPI on the very large formats seen from across a room. Keep headlines and logos as vector so they stay sharp no matter what the photograph is doing, and start from a blank poster template set to your finished size.
Resolution Is Measured at Final Size, Not at File Size
The single mistake behind most soft posters is treating resolution as a property of the image. It is not. It is a ratio between the pixels you have and the inches you are covering, and it changes the moment you scale the image on the page.
Take a 3000 pixel wide photo. Place it 10 inches wide and it is 300 PPI. Place the same file 36 inches wide and it is 83 PPI. Nothing about the file changed. InDesign calls this effective PPI and shows it in the Links panel next to actual PPI, and the effective number is the only one worth reading. In Photoshop, open Image Size, turn resampling off, and type the finished width, and the PPI field tells you the same truth.
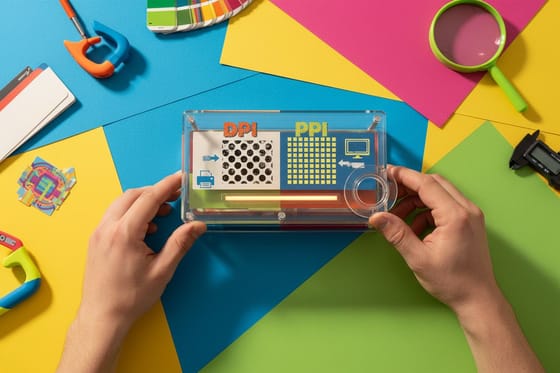
The other half of the confusion is DPI versus PPI. Your file has pixels per inch. The press or the large format printer lays down dots per inch, usually far more of them, several dots of different inks building one apparent pixel of color. Everybody in the trade says DPI for both, so the words are interchangeable in conversation, but if you want the distinction properly drawn our guide to DPI versus PPI covers it. For the general rules on dpi for large format printing beyond posters, see our print resolution guide.
Do the arithmetic before you design, not after. Multiply the finished poster dimensions by your PPI target and you have the pixel count the artwork has to reach. Start the file at that size and you never have a scaling surprise. If you are still deciding on dimensions, our rundown of common poster sizes lists the standard trims.
The DPI Target for Each Poster Size
Viewing distance is what actually sets the number. The eye resolves less detail the farther back you stand, and posters get bigger precisely because they are meant to be read from farther away. That is why the rule loosens as the size climbs.
| Finished size | Typical viewing distance | PPI at final size | Pixels you need |
|---|---|---|---|
| 11 x 17 in | Arm's length, held or on a door | 300 PPI | 3300 x 5100 px |
| 18 x 24 in | About 2 feet, wall at eye level | 200 to 300 PPI | 3600 x 4800 px and up |
| 24 x 36 in | About 3 feet, retail wall or window | 150 PPI | 3600 x 5400 px |
| 36 x 48 in | 6 feet or more, lobby or trade show | 100 to 150 PPI | 3600 x 4800 px and up |
| Anything read up close | Menus, spec boards, maps, diagrams | 300 PPI regardless of size | Finished inches x 300 |
Look down the last column and something useful appears. A 3600 pixel wide file is 200 PPI across 18 inches, 150 PPI across 24 inches, and 100 PPI across 36 inches. One good photograph covers three poster sizes, because the resolution requirement falls almost as fast as the poster grows. That is why a decent camera file goes further on large format than people expect. Once the file is right and the date is tight, our guide to fast poster printing shows the production speeds you can pick.
The trade off is the last row. The distance rule assumes people look from where the piece is meant to be seen. A 36 inch menu board sits two feet from a customer deciding what to order, and at 100 PPI they will see it. Anything with small type, a phone number, a QR code, an ingredient list or a technical drawing stays at 300 PPI whatever the trim. Send that job as large format posters at full resolution and take the bigger file.
What Upscaling Can Rescue and What It Cannot

Upscaling invents pixels by looking at neighboring ones and guessing what belongs between them. That works when the guess is easy and fails when it is not, which is a more useful way to think about it than a fixed percentage limit.
It survives on photographic subjects with gradual transitions: sky, water, skin, fabric, foliage, anything out of focus. Roughly doubling the pixel dimensions on that kind of image is invisible on a wall. It collapses on hard edges. Type that was flattened into pixels, a logo pulled off a website, a screenshot, a chart with thin rules, all of it goes soft first at the boundary and then, once you sharpen to compensate, grows a bright halo along every edge. JPEG artifacts scale up with everything else, so a compressed source gets worse rather than better.
The real fix is almost never a better upscaler. It is separating the layers of the file. Set the headline as live text, place the logo as vector art from an EPS, AI or vector PDF, and let only the photograph carry the low resolution. Vector elements rasterize at the RIP, at the printer's own resolution, so a headline on a 48 inch poster is razor sharp even while the background photo behind it sits at 100 PPI. A poster built that way reads as crisp because the parts your eye checks for sharpness are perfect.
Two source rules save most jobs. Ask for the original camera file rather than one that has been emailed or sent through a messaging app, because those recompress and downsize silently. And check what a stock image actually is before you buy the license, since a preview at 1000 pixels wide is a 6 inch print, not a poster. If the photo simply is not there, a design that crops in tight and lets type do the work beats an upscaled full bleed image every time. Our guide to file types for printing covers which formats keep vector data intact.
The File Prep Checklist Before You Upload
Resolution is one line on a longer list. Run through the rest before uploading, because a 300 PPI file in the wrong color mode still prints wrong.
- Build the document at final size. Full scale beats half scale at double resolution, because scaling at output is where effective PPI quietly drops. If the poster is huge, work at a clean fraction and note it, but full size is safer.
- Check effective PPI on every placed image. InDesign Links panel, or Photoshop Image Size with resampling off. Fix anything below your target for that size before you export.
- Convert to CMYK before you judge color. Bright RGB blues, greens and oranges shift on press. Our color profile guide names the profile to convert into.
- Add 0.125 inch bleed on all four sides and keep type at least 0.25 inch inside the trim. The bleed and crop marks guide shows what the trim tolerance actually is.
- Keep type live or outlined, never flattened into a photo. Outlines are safe when fonts cannot be embedded, but a rasterized headline is the most common cause of a soft looking poster.
- Watch total ink coverage on heavy backgrounds. Rich blacks and deep saturated fields can go over the limit and stay tacky, especially on matte and uncoated stock.
- Export PDF/X-1a with fonts embedded and transparency flattened. Then open the exported PDF and zoom to 400 percent to see what the printer will see.
- Start from a correctly sized layout. The blank template library has poster templates already set up with bleed and safe margins.
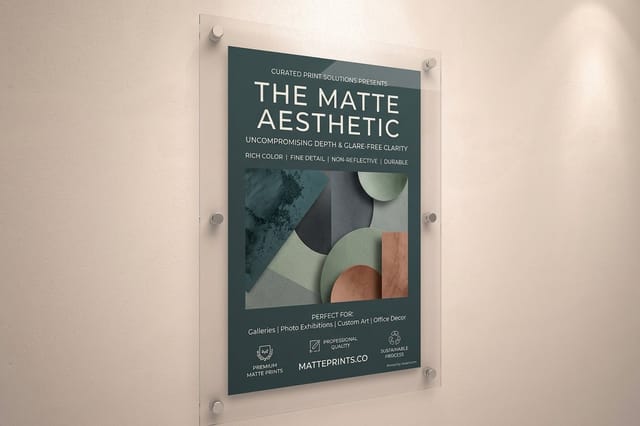
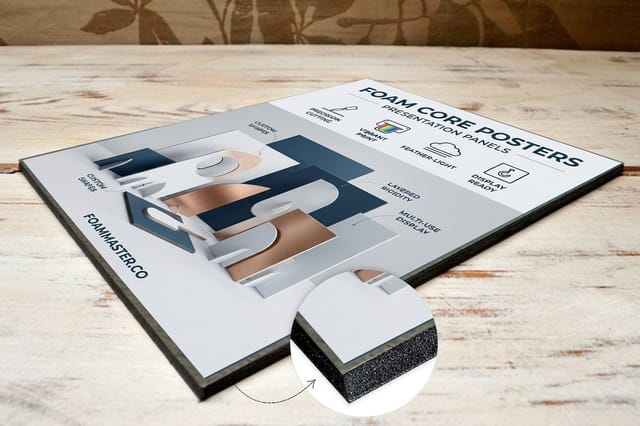
When the file is ready, upload it on the product page. Matte posters start at $25 and are the safe choice for anything under bright overhead light, since matte kills glare. Laminated posters also start at $25 and add a wipeable surface for anything handled or hung outdoors under cover. Mounted posters start at $39.99 on rigid board for freestanding display, foam core posters at $49.99, and framed posters at $87.86. Standard Posters start at $108.75 for a run. The full lineup sits on the poster printing category, and if you are weighing paper against a stretched surface, canvas versus posters compares the two.
Wally explains poster resolution
Pixels divided by finished inches, nothing else
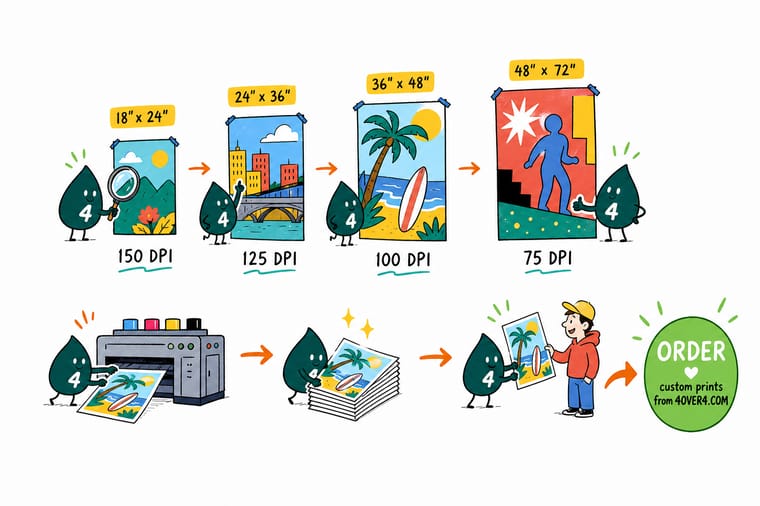
Wally does not ask how big your file is. He measures the poster, divides your pixels by those inches, and reads the answer off the tape. Three thousand six hundred pixels is 200 PPI across an 18 inch poster, 150 across a 24 inch one, and 100 across a 36 inch one, which is why the same photo can print at three sizes. He wants 300 close up, 150 on the wall, and your headline set as real type so it stays sharp whatever the photograph is doing.
Print large format posters →
Specs and pricing
Poster sizes, stocks, and starting prices
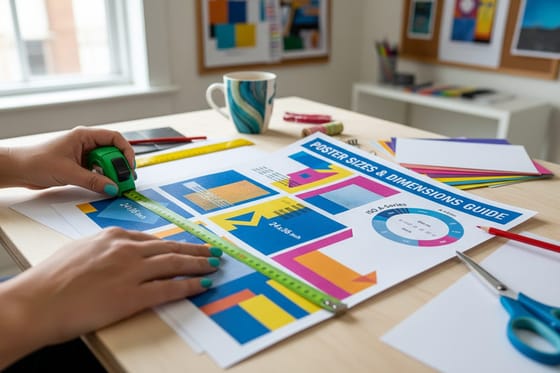
Matte and large format posters print in 13 preset sizes from 11x17 to 48x96, or any size you enter, on stocks from 10 mil semi gloss and hi gloss to canvas, vinyl and backlit film, from $25 in 2 business days. Mounted posters put the print on 3/16 in foam core from $39.99. Check your size in the panels below before you set the document.



Print it
Upload the file and pick a surface
One file, three surfaces: matte posters from $25 that kill glare under overhead light, mounted posters from $39.99 on rigid board, and foam core posters from $49.99 for a piece that stands on an easel.


Explore more
Where to go next
Next reads for the rest of the file: the pixel count behind each standard poster size, the CMYK profile to convert into, and how much bleed to run past the trim.

By the numbers
Large format, laminated and mounted posters
Common Questions
Your poster resolution questions, answered
What resolution should a poster be for printing?
Supply the file at 300 PPI measured at final print size for posters up to about 18 by 24 inches, and 150 PPI at final size for anything larger. That means a 24 by 36 inch poster wants roughly 3600 by 5400 pixels, and an 11 by 17 wants 3300 by 5100. Going above 300 PPI does not print sharper, it only makes the file slower to process, because the press and the large format printer cannot resolve detail finer than that anyway.
Is 150 DPI good enough for a large poster?
Yes, for anything a person reads from three feet or more. Eyesight resolves less detail with distance, so a 24 by 36 inch poster on a wall at 150 PPI and the same poster at 300 PPI look identical to a viewer standing where people actually stand. Hold both at arm's length and you will see the difference in fine texture. The rule breaks down for posters people lean into, such as menu boards, spec sheets and technical diagrams, which should stay at 300 PPI whatever their size.
How many pixels do I need for a 24 by 36 inch poster?
At 150 PPI you need 3600 by 5400 pixels, and at 300 PPI you need 7200 by 10800. Multiply each finished dimension in inches by the PPI target and you have the answer for any size. A 24 megapixel camera file at 6000 by 4000 pixels covers a 24 by 36 poster at 150 PPI in one direction but falls short in the other, so it needs a modest upscale or a crop that plays to the long edge.
Can I print a poster from a phone photo?
Up to a point. A 12 megapixel phone photo is 4032 by 3024 pixels, which is 26 by 20 inches at 150 PPI, so it prints a clean 18 by 24 and a passable 24 by 36 if the subject is soft and the viewer is not close. Send the original file rather than one that has been through a messaging app, since those recompress the image and the artifacts get magnified along with everything else.
Does upscaling an image actually work?
Resampling can roughly double pixel dimensions on photographic subjects without anyone noticing, especially skies, skin, fabric and out of focus backgrounds. It fails on hard edges, small text set as pixels, screenshots and logos saved as JPEG, where the interpolation smears the boundary and sharpening turns it into a halo. The fix is not a better upscaler, it is replacing the type and the logo with vector versions and letting only the photograph carry the low resolution.
What file format should I upload for a poster?
A press ready PDF, exported as PDF/X-1a in CMYK with fonts embedded, images at the target PPI and 0.125 inch bleed on all four sides. A flattened TIFF at final size also works for photographic posters. Avoid low quality JPEG as the final delivery format, avoid PNG for anything CMYK, and never send a Word or PowerPoint file for large format, because the placed images inside are usually screen resolution.
Does the paper or finish change the resolution I need?
It changes how much of your detail survives, not the number you supply. Gloss and semi gloss stocks hold the finest dot, so a 300 PPI file shows every bit of it. Matte, fabric and canvas absorb more ink and spread the dot slightly, which softens very fine texture no matter how much resolution you send. Laminating a poster adds a hair of gloss diffusion. None of this is a reason to change the file, only a reason not to expect matte and gloss to look identical.
Are posters A3 or A4?
Usually neither. Posters in the US are ordered in inch sizes, starting at 11 by 17 inches and running through 18 by 24 and 24 by 36, while A3 and A4 are international sheet sizes used for flyers and documents. If your file is set to A3 or A4, our large format posters print any size you enter, and at 300 PPI the file needs the finished inches times 300 in pixels.
How big is a 20x30 poster?
A 20x30 poster is 20 by 30 inches, a mid-size wall poster between the 18 by 24 and 24 by 36 standards. Because it is bigger than 18 by 24, 150 PPI at final size holds up, so the file needs 3000 by 4500 pixels, or 6000 by 9000 at 300 PPI for close reading. It is not a preset size on our large format posters, so enter it as a custom size.
Get Started
Check your pixel count in the poster configurator
Set the document at final size, check the effective PPI on every image, then pick matte, gloss, mounted or large format and upload.
Legal Disclaimer
Gold Standard guarantees apply to all standard orders placed through 4over4.com. Price match requires verifiable proof of a competitor's published price for an equivalent product with matching specifications and turnaround time. Satisfaction guarantee covers manufacturing defects and print quality issues. Contact support with order number and documentation.
