
How to Write a Restaurant Menu That Sells More


Your menu is the only sales copy every guest reads. What follows are the real do’s and don’ts of writing one that sells, from evocative language and brand voice to categories, pricing, and the printing that makes it feel premium.
Write your menu like sales copy, not a list. Use vivid sensory language, match the writing to your brand voice, organize dishes into short categories, present prices without a dollar-sign column, place your highest-margin dishes in the eye path, then print the finished menu on a durable stock so it feels as good as it reads.
Start here
What good menu copy actually does
A menu is sales copy that every guest reads before spending. Write each dish with one vivid, honest line, keep the voice true to your brand, group items into short scannable categories, present prices without a dollar-sign column, and put your highest-margin plates where the eye lands first. Then print the finished piece on a stock that feels premium, so the words are matched by the object. The framework below breaks the whole process down.
Why the words on your menu decide the check
A menu is the only piece of sales copy every single guest reads before they spend money. Yet most menus are written like an inventory list: a dish name, a price, next line. That flat treatment leaves money on the table, because the difference between a name alone and a name with one vivid line is often the difference between a guest choosing the low-margin pasta or the high-margin special.
Think of the menu as a silent server that never has an off night. Written well, it steers guests toward the plates you most want to sell, sets expectations so the food lands as a delight, and reinforces the brand before the first bite. This guide walks the real do’s and don’ts of menu writing, then shows how to print the finished piece so the words are matched by a menu that feels the part. When the copy is ready, you can print it as restaurant menus in the exact size and stock your room calls for.
Writing is only half the job. If you would rather start from a designed layout, our online design tool lets you drop your copy into a menu template, and our restaurant printing collection covers the table tents and cards that carry the same voice.
Do use evocative, sensory language
The single most reliable lift in menu writing comes from specific, sensory words. A dish called "chicken sandwich" sits still on the page. The same plate written as "buttermilk-brined chicken, pickles, chili honey on a toasted brioche bun" reads as care, and guests choose the described version over the plain one again and again. You are not lying; you are telling the guest what the kitchen already does.
Reach for three kinds of detail: technique (slow-roasted, hand-cut, stone-baked), ingredient specifics (Meyer lemon, aged cheddar, San Marzano tomato), and origin or story (family recipe, locally sourced, house-cured). One honest line per dish is plenty. The failure mode is overwriting, where every item drowns in adjectives and none of them land. Keep it true, keep it tight, and let the strongest word carry the plate.
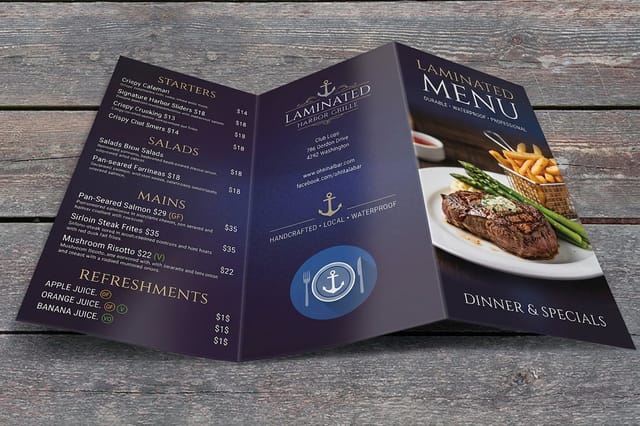
Evocative writing works on any format, from a tri-fold dinner menu to a laminated lunch card. When you print your finished copy as laminated menus, that same vivid language keeps selling through every service without the piece wearing out.
Do match your writing to your brand
A menu is a branding document, so the voice should match the room, the logo, and the price point. A white-tablecloth steakhouse writes in calm, confident, spare lines. A neighborhood taco counter can be playful and loose. When the writing matches the brand, the whole experience feels intentional, and guests trust a restaurant that knows exactly what it is.
Lock a few rules before you write: how formal the tone is, how you spell and capitalize dish names, whether you use full sentences or fragments, and how much personality the descriptions carry. Then apply those rules to every item so nothing reads like it wandered in from another restaurant. Consistency is what makes a menu feel designed rather than assembled.
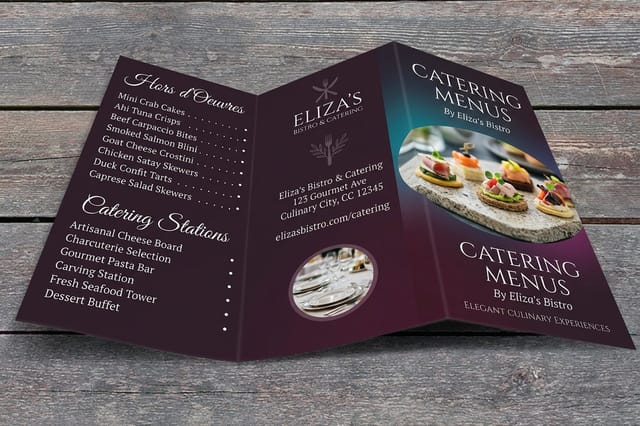
Voice should carry across every printed touchpoint too, from the menu to the catering menus a guest takes home to the business cards at the host stand. For the strategy behind a coherent identity, our guide on building a strong brand identity shows how the pieces fit together.
Do categorize and guide the eye
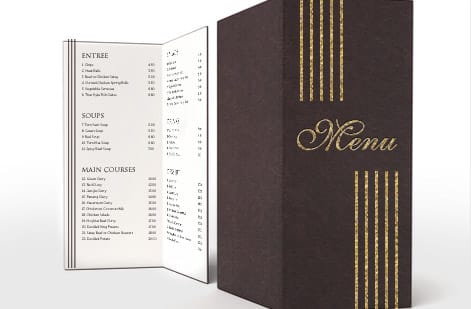
Structure is where menu writing meets menu psychology. Guests do not read a menu top to bottom like a book. Their eyes jump to the top of each list and to the upper areas of a page, so the placement of a dish matters almost as much as its description. Clear categories, short lists, and deliberate placement turn a passive list into a guided tour.
Group dishes into obvious courses, keep each section to about seven items so no one stalls, and put the plates you most want to sell in the spots the eye reaches first. Boxing or lightly highlighting one signature dish per section draws attention without shouting. The goal is not to trick anyone; it is to make the best choices the easiest ones to find.
Folds do this structuring for you. A tri-fold or bi-fold menu gives each course its own panel, which keeps the layout clean and the reading order natural as the guest opens it.
Do engineer your prices and your stars
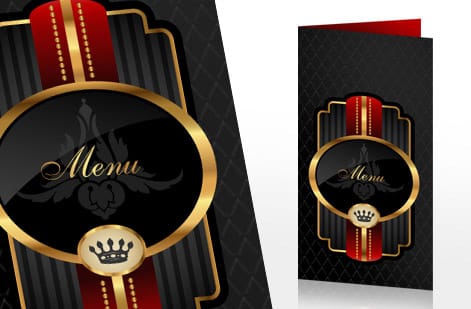
How you present price changes how much guests spend. Two small habits do most of the work. First, drop the dollar signs, since the currency symbol makes cost the focus and quietly nudges guests to spend less. Second, avoid a straight right-hand column of prices, because a neat column invites the eye to scan for the cheapest number instead of reading the descriptions. Set the price right after the description so it reads as part of the dish, not a verdict.
Then engineer the menu around margin. Identify your stars, the dishes that are both popular and profitable, and give them the best real estate and the best copy. Use a higher-priced anchor item to make your mid-range plates look reasonable by comparison. None of this is about deception; it is about making sure the dishes that keep the lights on are the ones guests notice and order.
These choices are only as good as the layout that holds them. Drafting in our online designer lets you see the eye path and price placement before you ever send the file to print.
The don’ts: what to cut from your menu
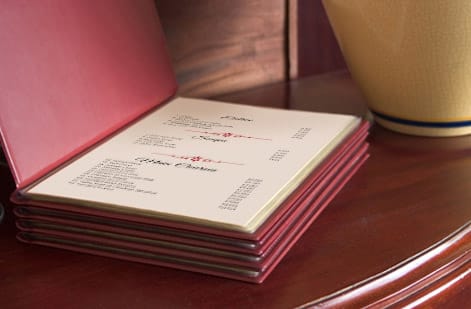
Just as important as the do’s is what to leave off. Do not cram the menu with so many items that guests freeze; a giant menu signals a kitchen with no focus and slows every table down. Do not overwrite, where a wall of adjectives buries the dish. Do not bury your best sellers at the bottom of a long list where few eyes ever reach.
Do not let typos or inconsistent spelling slip through, because a single mistake reads as carelessness that guests will quietly transfer to the food. Do not use tiny, low-contrast type that strains the eye in dim lighting. And do not skimp on the physical menu itself, since a flimsy, curling sheet undercuts every premium word printed on it.
Most of these are caught with one careful proofing pass and a printed sample in hand. Read every line aloud, check each price, and confirm the piece feels right before you commit to a full run.
Do invest in printing that matches the words
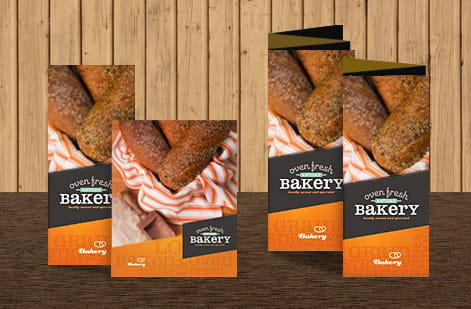
You can write the most appetizing menu in town, but if it is printed on thin paper that curls and smudges, the whole impression drops. The menu is a physical object a guest holds for several minutes, so its weight, finish, and durability register as quality signals long before the food arrives. Great copy deserves a great substrate.
For most tables, a heavy cover stock in the range of 100 lb gloss or 14 pt feels substantial and prints color cleanly. If the menu will be handled every service, laminate it so it wipes clean and survives spills across hundreds of uses. Choose gloss for vivid food photography or matte for a calmer, upscale look. Add a fold to organize courses, or keep a single sheet for a short, fast menu.
When your copy is set, print it as restaurant menus or spill-proof laminated menus, and use the live specs panel below to lock the exact size, stock, and finish. For the stock decision itself, our guide on 100 lb gloss cover paper walks through how it feels and prints.
Do test, measure, and revise
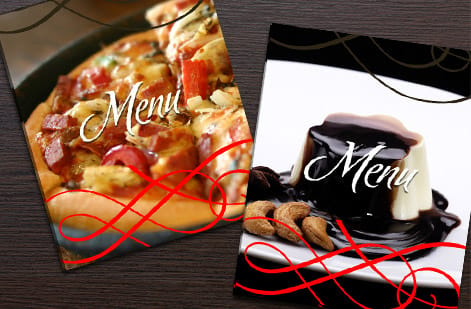
A menu is never finished; it is a living sales tool you refine over time. The best operators treat each printed version as an experiment. Track what sells, note which described dishes outperform their plain neighbors, and watch which sections guests skip. Small changes to wording, placement, or price often move numbers more than a new dish does.
Because you can print in batches and update between runs, you can test cheaply. Try a stronger description on an underperforming plate, move a high-margin dish into the eye path, or reorder a section, then print a fresh run and compare. Over a few cycles you converge on a menu that reads well and sells hard.
When you are ready to iterate, reprint your restaurant menus with the new copy, and browse the full restaurant printing collection for the table tents and cards that should evolve alongside the menu.
Wally reads your menu the way a guest does
Vivid words, clear sections, a menu that feels premium
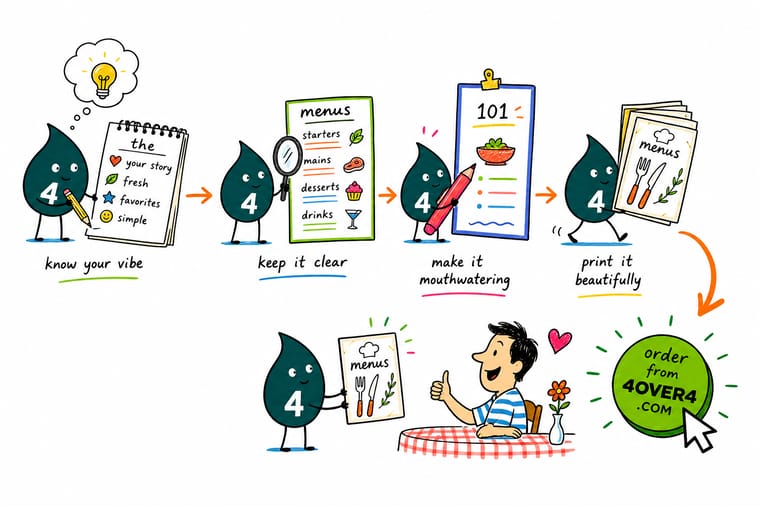
Wally treats a menu like a silent server: one honest, mouth-watering line per dish, a voice that matches the room, short sections the eye can scan, and prices that read as part of the story. Write it that way, then print it on a stock that feels the part, and the menu sells your best plates every single service.
Print your restaurant menu →Quick reference
Menu specs and printing choices, at a glance
Once your copy is written, the print decisions come down to size, stock, finish, and format. Here is a fast reference for a menu that reads and lasts.
| Choice | Go with | Why it matters |
|---|---|---|
| Popular size | 8.5 x 11 in or 4.25 x 11 in | A single sheet reads top to bottom, while a tall tri-fold panel groups courses without crowding the table. |
| Stock | 100 lb gloss cover or 14 pt | Heavier stock feels substantial in the hand and signals quality before a guest reads a word. |
| Finish | Gloss, matte, or laminated | Lamination wipes clean and survives spills, so a reusable menu keeps looking new across hundreds of services. |
| Format | Single, bi-fold, or tri-fold | Folds create natural sections for appetizers, mains, and desserts without a wall of text. |
| Bleed | 0.125 in past every edge | Full-color backgrounds and borders reach the trim with no thin white sliver after cutting. |
| Items per section | 7 or fewer | Short lists prevent choice paralysis and keep guests deciding instead of scanning. |
| Price style | No dollar signs, no dotted leaders | Dropping the currency symbol and the price column softens cost focus and lifts average spend. |
Step by step
Write a menu that sells in 7 steps
- List every dish and sort into courses Write out everything you serve, then group it into clear courses so a guest can find what they want at a glance.
- Name the dish, then earn the order Give each item a clear name, then add one short line of sensory detail that makes it sound worth choosing.
- Set a brand voice and hold it Decide how formal or playful the writing should be, then keep spelling, tone, and rhythm consistent across every item.
- Present prices with care Drop dollar signs, avoid a straight right-hand column, and place the number right after the description so it reads as part of the story.
- Put your stars in the eye path Guests look first at the top of a list and the upper-right of a page, so set your highest-margin dishes where the eye lands.
- Trim ruthlessly Cut items that never sell and keep sections short, since a tighter menu is easier to run in the kitchen and easier to read at the table.
- Proof, print a sample, and test Read every line aloud, order a printed proof to check color and feel, then track what sells and revise on the next run.
Specs and pricing
Restaurant menu specs and live pricing
Lock the exact size, stock, and finish for your menu. Fifty restaurant menus cost $57.11, which is $1.14 a menu, and they ship in 5 business days.
| Quantity | Price Per Unit | Total |
|---|---|---|
| 50 | $1.14 | $57.11 |
| 100 | 82.4¢ | $82.38 |
| 200 | 53.3¢ | $106.55 |
| 300 | 41.0¢ | $123.02 |
| 400 | 34.9¢ | $139.49 |
| 500 | 31.2¢ | $155.97 |
| 600 | 26.7¢ | $160.36 |
| 700 | 23.5¢ | $164.75 |
Print it
Print your finished menu at 4OVER4
See it in use
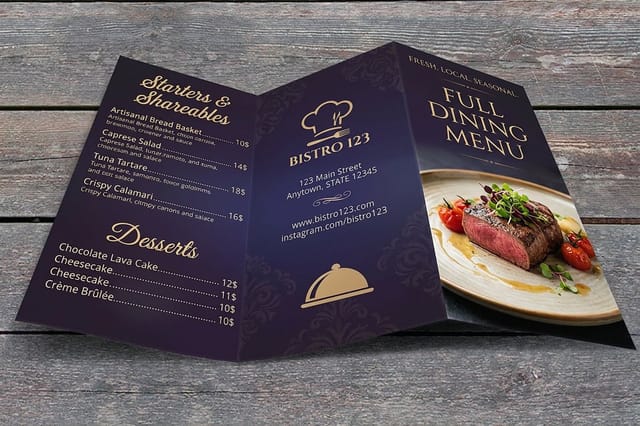
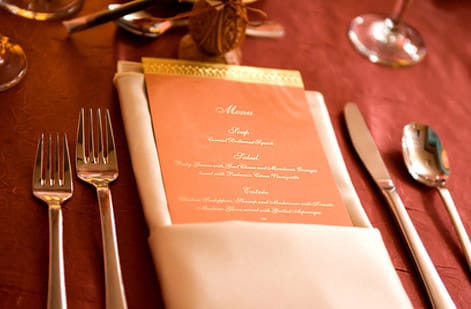
Menus that came off our press
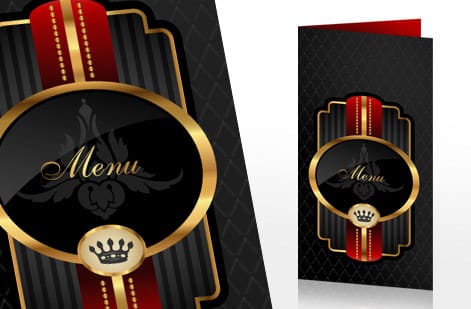
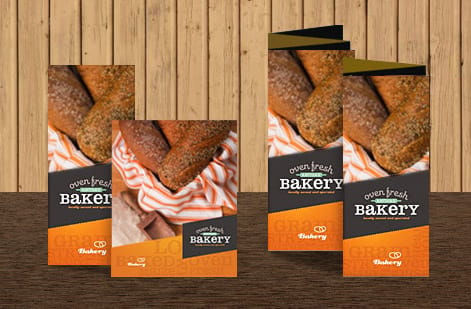
Explore more
Where to go next
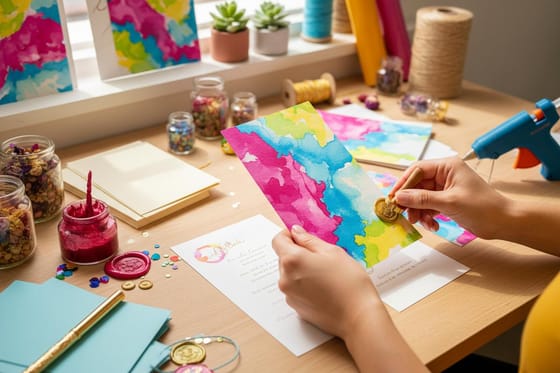
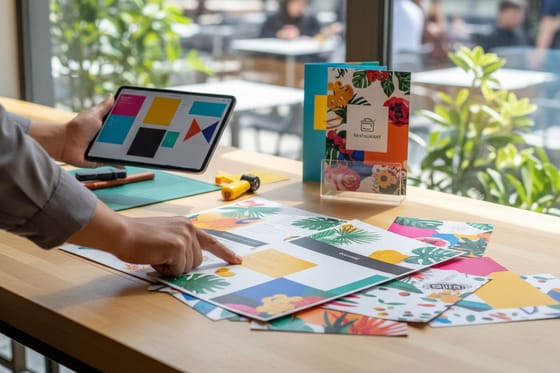
By the numbers
Menus, table tents, and the rest of the room
Common Questions
Common questions about writing a menu
What are the five do’s of how to write a menu?
Do use evocative, sensory language so each dish sounds worth ordering. Do match your writing to your brand voice so the menu feels like the room it lives in. Do invest in quality printing so the piece feels premium in the hand. Do categorize your content into short, scannable sections. And do test your menu by tracking what sells and revising on the next print run. Those five habits turn a plain list into a piece that actively sells your highest-margin plates.
Should I use evocative vocabulary on a menu?
Yes, within reason. Specific sensory words like slow-roasted, hand-cut, citrus-cured, or stone-baked read as care and craft, and diners consistently choose dishes described that way over the same dish listed plainly. The trap is overwriting: one honest, vivid line per dish beats a paragraph of adjectives. Name the technique, the key ingredient, or the origin, keep it true to the plate, and let the description do the selling without tipping into a novel.
How do I write a restaurant menu?
Start by listing every dish and sorting it into clear courses. Name each item, then add one short line of sensory detail that makes it appealing. Set a brand voice and keep it consistent, present prices without dollar signs or a straight column, and place your highest-margin dishes where the eye lands first. Keep each section to about seven items so guests decide instead of stalling, then proof the copy, order a printed sample, and revise based on what actually sells.
Should my menu be a single panel, a fold, or laminated?
Match the format to how guests use it. A single sheet suits a short, fast menu and reads cleanly top to bottom. A bi-fold or tri-fold gives natural sections for a fuller menu without a wall of text. For high-traffic tables, choose a laminated stock so the piece wipes clean and lasts. Pick a size that fits the table and the hand, keep item counts short per panel, and set your reading path so the dishes you most want to sell sit in the first spots the eye reaches.
What does printing a restaurant menu cost, and how are prices set?
Writing the menu costs only your time. Printing price then scales with a few levers: quantity, where larger runs lower the unit price, plus size, paper stock, finish, and whether you laminate or fold. You set each option in the configurator and the price updates live as you go, so you can see exactly how a heavier stock or a bigger run changes the total before you commit. Ordering restaurant menus in a batch keeps the per-piece cost down while you test copy across services.
How many items should a menu have per section?
Aim for roughly seven or fewer items in each section. Long lists overwhelm guests and slow decisions, which backs up tables and drags the average order. A tight, well-organized menu is easier for the kitchen to execute consistently and easier for the guest to scan, which is why many strong menus keep each course short and let a few well-described dishes carry the section.
Get Started
Your menu is written. Now print it right.
Bring your finished menu copy to 4OVER4.COM and print it on the size, stock, and finish your room calls for. Catering menus and laminated menus run the same 5 business days.
Legal Disclaimer
Gold Standard guarantees apply to all standard orders placed through 4over4.com. Price match requires verifiable proof of a competitor's published price for an equivalent product with matching specifications and turnaround time. Satisfaction guarantee covers manufacturing defects and print quality issues. Contact support with order number and documentation. On-time delivery rate based on tracked orders 1999 to 2026. Individual results may vary based on shipping carrier performance.
