
How to Remove the Background From an Image for Print Ready Transparent Art


Cutting a subject out of its background takes minutes. Making that cutout survive scaling, color conversion, and ink on a physical surface takes a few extra checks. Here are the free tools, the exact steps, and the edge faults that only appear once the file is printed.
To remove the background from an image, open the largest original you have, add a layer mask, make an automatic subject selection, then correct the remaining edge by hand. Contract the mask by about a pixel, feather it slightly, decontaminate any color spill, and inspect the result over black before exporting. Save photographic cutouts as PNG-24 and logos as vector. Never save transparent artwork as JPG, because JPG has no alpha channel and replaces your transparency with a solid white box.
Start here
Background removal in one paragraph
Removing a background means building a mask that marks which pixels stay visible and which turn transparent, then saving that mask in a format that can carry it. The mask is the whole job. Automatic selection gets you most of the way, hand correction closes the gap, and a contract-and-feather pass keeps the outline free of leftover background. Export as PNG-24 for photographs or as vector for logos, then check the edge over a dark color at final print size.
Why a clean cutout decides how your artwork prints

Most artwork problems that reach a press are not color problems. They are edge problems. Somebody dropped a logo onto a colored sign and a pale rectangle appeared behind it, or a product photo was cut out at screen size and enlarged until its outline looked like a staircase. Both are background removal failures, and both are cheap to prevent and expensive to reprint.
Getting rid of a background is really about producing a mask that survives everything that happens afterward: scaling, color conversion, and ink sitting on a physical surface. A cutout that holds up will drop cleanly onto a dry erase aluminum panel, a coroplast board, or a die cut shape without anyone noticing it was ever photographed against a wall. This guide covers the free tools worth using, the exact steps to a transparent file, and the checks that catch a bad edge before it costs you a run. If you want the sticker version of this workflow, how to make a sticker from a photo picks up where this leaves off.
What background removal actually does to a file

Every image is a grid of pixels with color values. A transparent image adds one more value per pixel, the alpha, which ranges from fully opaque to fully invisible. Removing a background sets the alpha of the unwanted pixels to zero. The color data underneath often remains, which is why a well built mask can be reopened and adjusted rather than rebuilt from nothing.
That alpha channel is fragile in one specific way: it only exists in formats that were designed to carry it. Save the same picture as JPG and the alpha is discarded, the transparency collapses to white, and you get the notorious white box. Save it as PNG-24, TIFF with alpha, or a vector file and the transparency travels intact.
There is a second kind of removal that has nothing to do with alpha at all. When artwork is redrawn as vector shapes, there is no background to erase because there was never a rectangle of pixels in the first place. That is the right approach for logos and lettering, and it is why a rebuilt logo prints crisper at any size than the best possible photo cutout of the same mark.
Free tools that erase a background well enough for print

You do not need an expensive subscription to get a print quality cutout. The category has matured fast, and the automatic subject detection now built into free software is genuinely good on well lit photographs with a clear separation between subject and backdrop.
- GIMP gives you full manual control through layer masks, the free select tool, and a proper alpha channel. It is the closest free equivalent to a professional raster workflow, and it exports PNG-24 and TIFF with transparency intact.
- Photopea runs in a browser, opens PSD files, and mirrors most of the familiar selection and refine-edge tools. Useful when you are on a machine you cannot install software on.
- Krita handles soft edges such as hair and fur unusually well thanks to its brush engine, which makes hand correcting a rough automatic mask far less painful.
- Inkscape is the one to reach for when the subject is a logo, a badge, or lettering. Trace the shape to vector and the background question disappears entirely.
- One click web removers are fine for a first pass on simple subjects. Treat their output as a draft, not a final file, and always download the full resolution version rather than the free preview.
Whichever tool you use, judge it by one thing only: what the edge looks like at 100 percent zoom over a dark background. Everything else is convenience.
How to erase a background step by step

The sequence below works in any raster editor. It takes about five minutes on a straightforward subject and maybe twenty on something with hair or foliage.
- 1. Open the largest original. Not the version that came back from a messaging app. Compression artifacts along an edge become permanent once you cut around them.
- 2. Duplicate the layer and add a mask. Work on the mask, never with the eraser. A mask is reversible, an eraser is not.
- 3. Make the first selection automatically. Use select subject or a color range pick on the background. Accept that it will be roughly 90 percent right.
- 4. Fix the remaining 10 percent by hand. Paint black on the mask to hide, white to reveal. A soft brush at low flow for organic edges, a hard brush for manufactured ones.
- 5. Refine the edge. Shift the mask inward by half a pixel to a pixel so no background pixels survive along the outline, then apply the smallest feather that removes the jaggedness.
- 6. Decontaminate the colors. If the subject was shot against a strong color, the fringe pixels carry that color. Most editors offer a decontaminate step that repaints them from the subject instead.
- 7. Inspect over black and over a saturated color. This is the step nearly everybody skips and the step that catches nearly every fault.
- 8. Export with transparency. PNG-24 for photos, vector for logos, and crop the canvas tightly to the subject so the file has no empty margin to confuse a layout later.
How to get rid of a white background without wrecking the edges

Removing white is the request people ask for most and the one that goes wrong most. The tempting shortcut is a filter that turns every white pixel transparent. It works instantly and it quietly destroys anything white inside the subject: a shirt, the highlight on a bottle, the white counters inside letterforms, the reflection in an eye. You end up with a subject full of invisible holes that only reveal themselves once the artwork lands on a colored sign.
The reliable method is to select the background rather than the color. Click the background with a contiguous selection so the tool cannot jump across the subject, grow the selection slightly, then invert it and turn it into a mask on the subject. Contiguous is the operative word. It confines the selection to connected pixels, so white inside the subject stays put.
Then check three specific places: the anti-aliased ring immediately around the outline, any gap enclosed by the subject such as the hole in a handle, and any semi transparent area such as glass or smoke. Those three account for the overwhelming majority of white-removal complaints. Fix them on the mask, not with the eraser, so you can loosen the correction if you overdo it.
Which transparent file format to send the printer

Format choice is where a good cutout most often dies. Here is the short version, in the order you should prefer them.
- Vector PDF, AI, EPS, or SVG. Best for logos, icons, type, and any shape with a hard outline. Resolution independent, so the same file prints correctly on a business card and on a wall panel.
- PNG-24. The right default for photographic cutouts. Full 8-bit alpha means soft edges and partial transparency survive. File sizes are large, which is fine for print.
- PNG-8. Avoid for print. It stores transparency as a single on or off value, so soft edges turn into a hard, speckled outline.
- TIFF with alpha. Useful for very large or layered raster art heading into a professional layout. Widely supported and lossless.
- JPG. No transparency support at all. If a JPG looks transparent in a preview, it is not. It has a white background you cannot see against a white page.
One more habit worth building: name the file so the transparency is obvious, something like logo-transparent-rgb-300dpi.png. It sounds trivial until three near identical files are sitting in a folder and the wrong one gets uploaded.
Fringe, halos and the edge problems that only show up in print

A monitor is backlit and forgiving. Ink on aluminum or coroplast is neither. Three specific defects reliably survive the screen and then announce themselves in print.
The light halo. A one or two pixel ring of leftover background hugging the subject. Invisible against a white page, glaring against a dark sign. The fix is to contract the mask by a pixel before exporting, then feather by a fraction of a pixel to keep the edge smooth.
The color spill. Shoot someone against a green wall and green bounces onto their shoulders and hair. Masking does not remove that spill, it just crops it. Use the decontaminate option or hand paint the affected fringe with color sampled from inside the subject.
The stair step. Caused by cutting at one size and printing at another. If the mask was drawn on a 900 pixel image and the sign is 24 inches wide, every step in the outline is magnified roughly twenty times. There is no repair for this other than remaking the cutout from a larger original at the correct final size.
Proof for all three the same way: place the cutout on a layer of pure black, then a layer of saturated red, and zoom to 100 percent at final print dimensions. Ninety seconds of looking saves a reprint.
Resolution and sizing so the cutout stays sharp at full size

Pixels per inch only means anything once you have decided the physical size. A 3000 pixel wide image is 300 ppi on a 10 inch panel and 62 ppi on a 48 inch sign. So set the finished dimensions first, then work out whether the file has the pixels to support them.
Practical targets: 300 ppi for anything held in the hand, 150 ppi for signs and panels read from three to six feet, and 100 ppi is acceptable for large format viewed from across a room. Those numbers apply to the artwork at final size, not to the original camera file.
Two habits keep the edge honest. First, build the mask at or above the final print resolution rather than cutting small and scaling up. Second, if the artwork is a logo or lettering, rebuild it as vector instead of arguing about ppi at all. Vector art has no resolution, so the same file drops onto a card, a coroplast board, and a wall panel with an identically clean outline.
Putting transparent artwork onto signs, panels and boards
Once you have a clean transparent file, the last step is placement. Drop it into a layout built at the true finished size with the required bleed, keep meaningful content inside the safety margin, and leave the background as a genuine transparent layer rather than a white rectangle standing in for one. If the design needs a white background, make it a deliberate white shape so nobody has to guess what was intended.
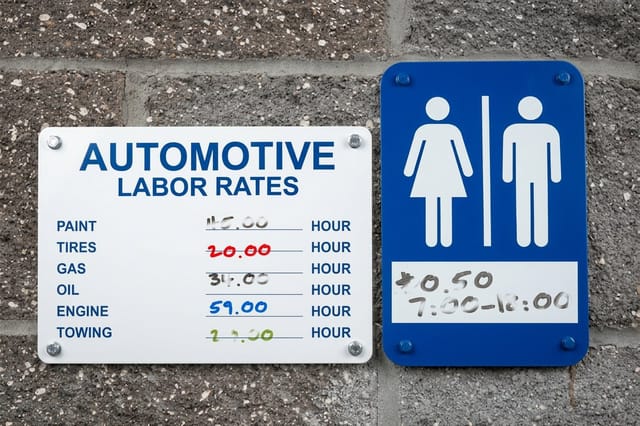
Where it lands depends on the job. A logo cutout on a Dry Erase Aluminum Panel at $39 gives you a branded surface that gets written on daily and wiped clean. The same file scaled up onto Dry Erase Aluminum Signs at $47.22 suits a corridor or a shop floor where the sign is permanent and the message changes. Dry Erase Coroplast at $31.99 is the lighter, lower cost option for classrooms, events, and anywhere the board moves around.
Before you commit a full run, order free paper samples so you can see how ink behaves on a real surface, and start from a correctly built design template so your transparent art lands inside the right trim from the first upload.
Wally explains the cutout
The background is not deleted, it is switched off
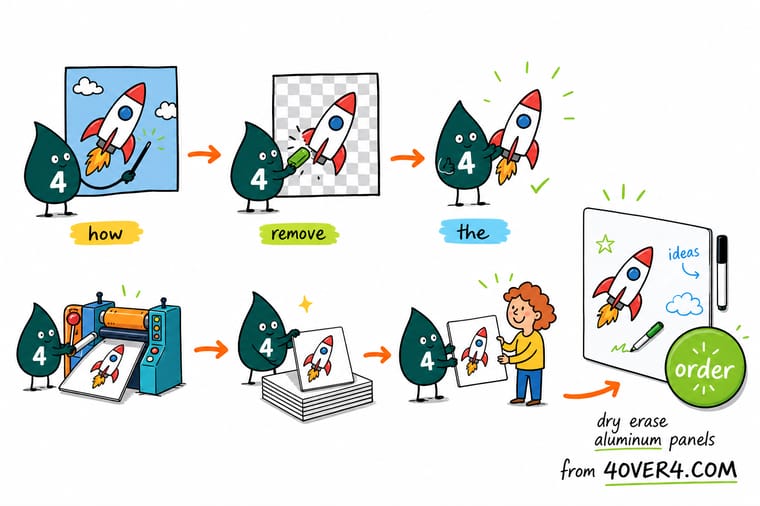
Wally thinks of a mask like a stencil laid over the photo. Paint black on the stencil and that part of the picture disappears. Paint white and it comes back. Nothing is destroyed, which means you can keep nudging the edge until it looks right instead of undoing thirty steps. Then he does the one thing most people forget: he drops the cutout onto a black layer and looks for a pale halo before he ever sends the file to print.
Print your transparent artwork →Infographic
Background removal to transparent art in 7 steps
One frame, seven steps. Keep it beside you the next time a logo has to come off a photograph and land cleanly on a sign.
Steps 5 and 6 are the ones people skip, and they are the two that decide whether a cutout looks professional once ink meets a physical surface.
Specs and pricing
Dry erase aluminum panel specs and live pricing
Once your transparent file is built, these are the specs it has to fit. Set your size and quantity to see live pricing before you upload.

| Quantity | Price Per Unit | Total |
|---|---|---|
| 1 | $39.00 | $39.00 |
Print it
Put your transparent artwork onto a real surface


See it in use
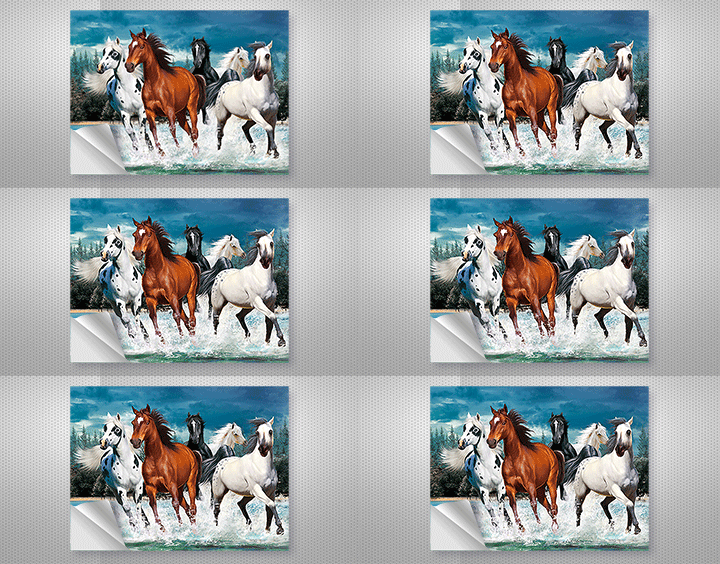
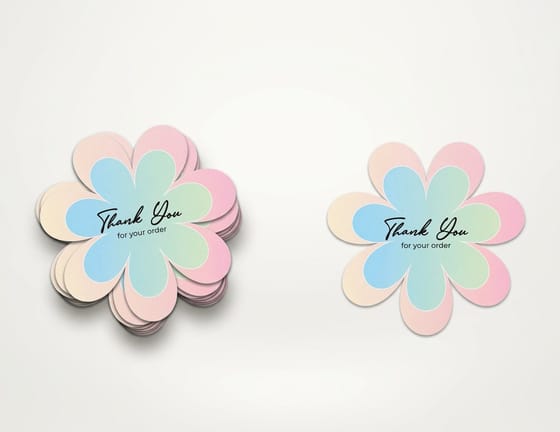
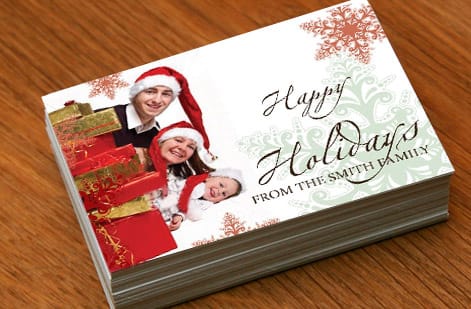
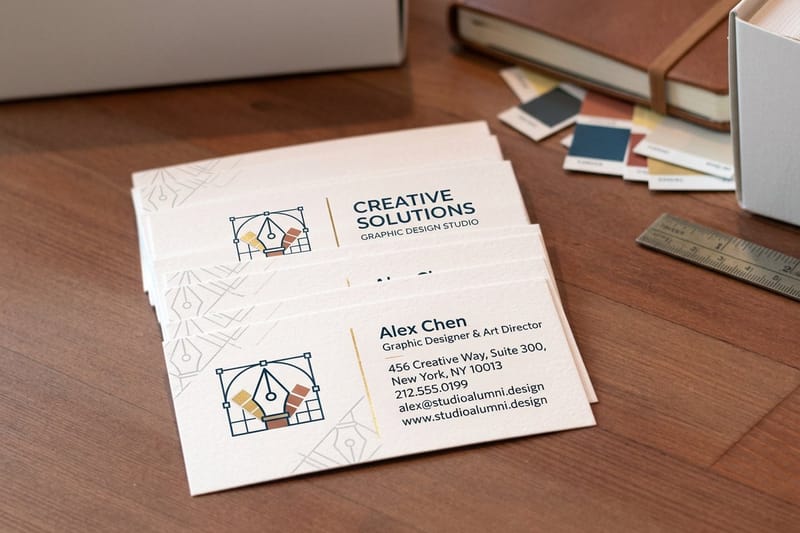
Real customer artwork, printed in-house




Explore more
Where to go next


By the numbers
Printing you can count on at 4OVER4.COM
Common Questions
Common questions about erasing an image background
What does it mean to erase the background in a photo?
Erasing a background means separating the subject from everything behind it and storing that separation as an alpha channel, the invisible fourth channel that tells software which pixels are opaque and which are see-through. Nothing is truly deleted in a well built file. The background pixels are masked out, so the artwork can sit on a colored sign, a white panel, or a die cut shape without dragging a rectangle of leftover scenery along with it.
How do I choose the right background removal method for my image?
Match the tool to the edge. Hard geometric edges such as boxes, phones, and product shots cut fastest with the pen tool or a polygonal selection. Soft or fibrous edges such as hair, fur, feathers, and plants need a refine-edge or select-subject pass with a decontamination step. Flat studio backdrops respond well to one click removers. If the artwork is a logo, skip photo tools entirely and rebuild it as vector so the outline stays perfect at any size.
How do I get rid of a white background without damaging the subject?
Do not use a global white-to-transparent filter unless the subject contains no white at all. Instead build a selection from the background itself, invert it onto the subject, then expand the mask by one pixel and feather it slightly so anti-aliased pixels are not left behind. Check the result against a black layer. Any grey halo, white lace, or ghosting will show up immediately there, long before it shows up in ink.
Does background removal cost anything, and how is print priced?
Plenty of capable removal tools are free, and the paid ones mostly buy speed rather than better edges. Print pricing is separate and depends on the product, the size, the quantity, and the turnaround you choose. Dry Erase Aluminum Panels start at $39, Dry Erase Aluminum Signs start at $47.22, and Dry Erase Coroplast starts at $31.99, with live pricing shown once you set your options.
What file format should I send after removing the background?
Send PNG-24 for photographic cutouts because it carries a full 8-bit alpha channel and handles soft edges gracefully. Send PDF, AI, EPS, or SVG for logos and type so the shape stays razor sharp at any size. TIFF with an alpha channel works for very large raster art. Never send JPG for transparent artwork. JPG has no alpha support and silently flattens your careful cutout onto a solid white rectangle.
What resolution does a cutout need for signs and panels?
Aim for 150 pixels per inch at final print size for wall panels and signs read from a few feet away, and 300 pixels per inch for anything held in the hand. A cutout that looks flawless at screen size can fall apart when it is scaled up, because enlarging a mask enlarges every jagged step along its edge. Size the file to the finished dimensions first, then judge the edge at 100 percent zoom.
How long does printing take once my transparent file is ready?
Production time depends on the product and the turnaround you select at checkout, and the clock starts after your file passes prepress rather than at the moment you upload. A clean transparent file with correct dimensions and adequate resolution moves through that check quickly. Files with hidden white boxes, low resolution masks, or missing bleed get flagged and wait for a corrected upload, which is the usual reason an order slips a day.
Get Started
Ready to print your transparent artwork?
Bring your finished cutout to 4OVER4.COM and put it on a dry erase panel, sign, or board that holds its edge as sharply as your file does.
Legal Disclaimer
Gold Standard guarantees apply to all standard orders placed through 4over4.com. Price match requires verifiable proof of a competitor's published price for an equivalent product with matching specifications and turnaround time. Satisfaction guarantee covers manufacturing defects and print quality issues. Contact support with order number and documentation. On-time delivery rate based on tracked orders 1999 to 2026. Individual results may vary based on shipping carrier performance.
