
How to Turn a Photo Into a Sticker That Cuts Clean and Prints Sharp


A photo becomes a sticker the moment you give it printable resolution, a clean edge, and a cut line the blade can follow. This guide walks the whole path, from the file on your phone to vinyl you can peel and press onto a laptop, a window, or a package.
To turn a photo into a sticker, start with an image that holds 300 pixels per inch at the finished size, cut the subject away from its background, add a border around the shape, then draw a cut line about an eighth of an inch outside that border on its own layer. Export the artwork in CMYK with bleed, choose paper for indoor use or vinyl for anything exposed to sun and water, and print it as a sheet, a single die cut piece, or a roll.
Start here
The whole process in one paragraph
Turning a photo into a sticker is four decisions and one export. Confirm the image holds 300 pixels per inch at the size you want. Isolate the subject and clean its edge so no background fringe survives. Draw a cut line an eighth of an inch outside the artwork, on its own layer, with corners rounded and thin necks removed. Pick a material and finish that suit where the sticker will live. Then export a CMYK file with bleed and choose sheets, singles, or a roll.
Why a favorite photo rarely becomes a good sticker on the first try
The photo already looks great on a phone screen. Then it comes back from the press soft around the eyes, with a gray halo where the background used to be and an edge that clips the subject on one side. Nothing went wrong at the press. The file simply was never built for a blade.
A sticker is two things stacked on top of each other: an image, and a path the cutter follows. Screens only ever show you the first one. Everything that separates a crisp die cut photo sticker from a disappointing one happens in the second, and it takes about fifteen minutes to get right once you know what to look for.
The workflow below moves in order, because each step depends on the one before it. If you are printing the same photo on other surfaces too, our guide to turning photos into custom prints covers the flat print side of the same file, and Sticker Sheets from $181.24 are the easiest place to test a set of images before you commit to a long run.
Start with a photo the press can actually hold
Print asks more of a photo than a screen does. The working number is 300 pixels per inch at the finished size, so divide the pixel width of your image by 300 and you have the widest sticker it supports. A 1200 pixel wide photo is honest at four inches and starts to mush at six. Enlarging past that adds pixels but never adds detail.
Go back to the original file rather than a version that has been through messaging apps or social platforms, since each of those passes strips resolution and bakes in compression artifacts. Look at three things at full zoom: whether the subject is genuinely in focus, whether the shadows still hold detail instead of collapsing into black, and whether the edges of the subject are clean enough to select.
Sizing decisions get easier when you know the ceiling early. The same resolution math governs bigger formats, which is why our guide to making custom wall art from photos starts in exactly the same place, and why a custom photo calendar can carry a file that would never survive a poster.
Cut the subject away from its background without wrecking the edge
Automatic background removal handles simple subjects in seconds. It handles hair, fur, feathers, glass, chain link, and anything shot against a similar colored wall very badly. Whatever tool you use, the finishing pass is the same: zoom to 400 percent and walk the outline, because fringing that is invisible on screen becomes a gray halo once ink hits white vinyl.
Two edge problems cause almost every reprint. The first is a leftover rim of background color, cured by contracting the selection by a pixel or two before you delete. The second is a feathered edge that fades into transparency, which the printer reads as a soft smear along the border. Aim for a hard, deliberate boundary with maybe half a pixel of softness.
Save the isolated subject as a transparent PNG or a layered file, never as a flattened JPG, since JPG has no transparency and will hand you back a white box. Keep the original untouched photo alongside it. You will want to redo the selection at least once.
Draw the cut line, the step that turns artwork into a sticker
The cut line is a vector path, drawn on its own layer, that tells the machine where the blade travels. It is not the outline of the photo. It sits outside it, usually about an eighth of an inch, so that the tiny drift every cutter has lands harmlessly in that margin rather than through your subject.
Simplify the path aggressively. A traced outline with four hundred anchor points cuts slowly and comes back ragged, while the same shape with thirty points cuts crisply. Round off inner corners, close any gaps, and delete narrow bridges: any neck of material thinner than an eighth of an inch will tear when someone peels the sticker off its liner. A raised arm, a thin tail, or a dangling strap are the usual casualties.
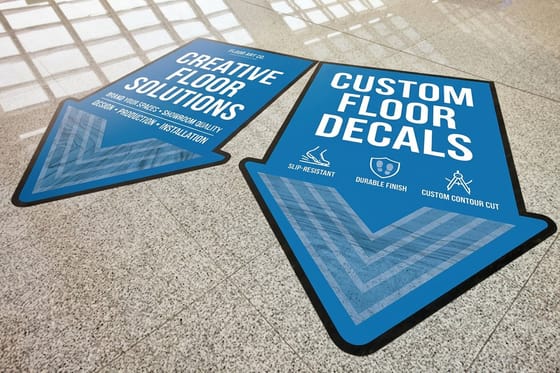
Name the layer clearly, set the path to a distinct spot color, and mention it in your order notes so prepress cannot mistake it for artwork. Cut lines behave the same way across formats, which is why the same discipline shows up in our custom floor stickers guide for much larger shapes.
Match material and finish to where the sticker will end up
Coated paper stock is the value choice and the right one for indoor labels, event giveaways, and anything that lives on paper or cardboard. It takes photographic color beautifully and costs less per piece. What it cannot do is get wet, ride on a water bottle, or sit in a car window through a summer.
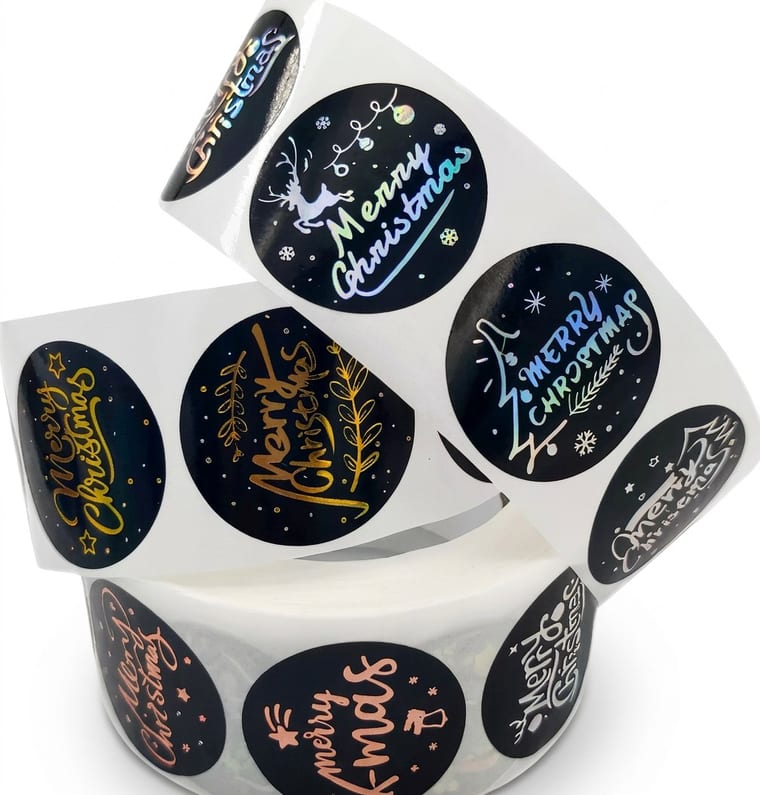
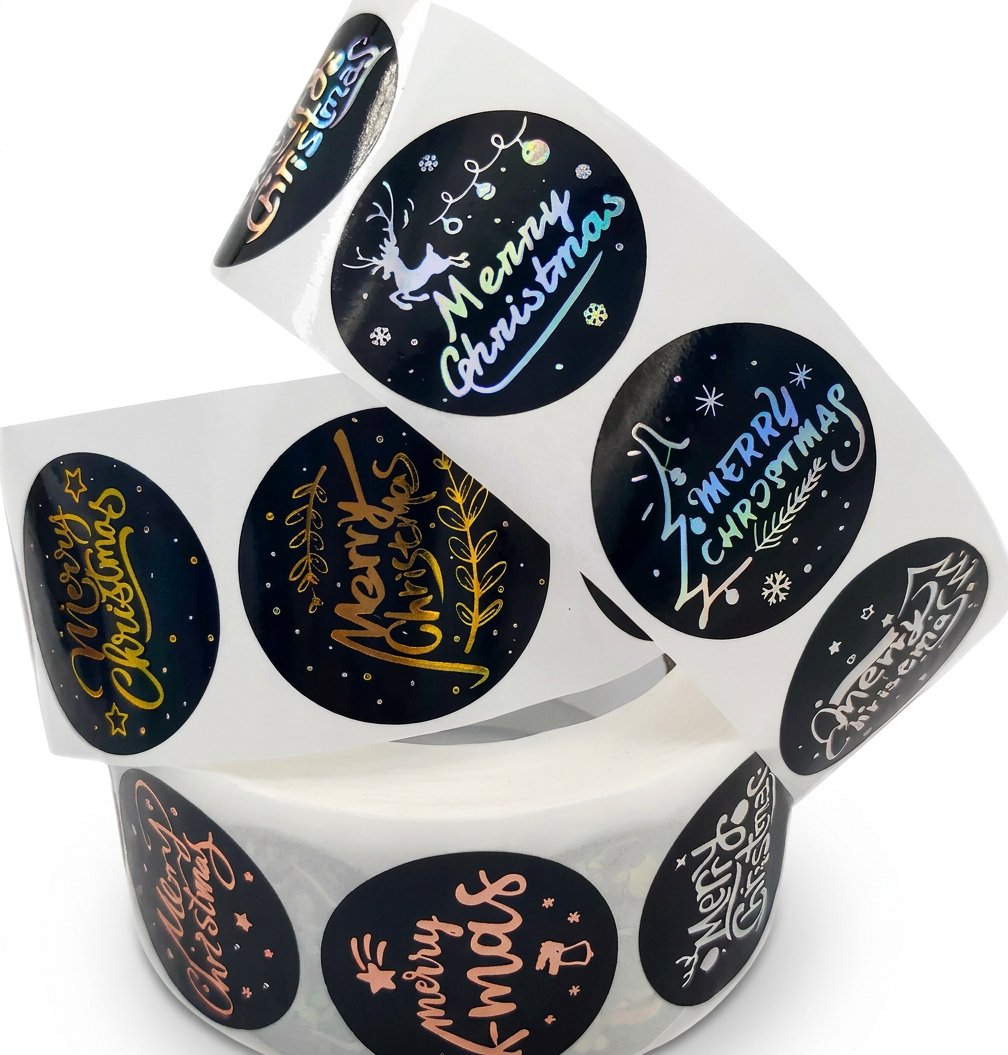
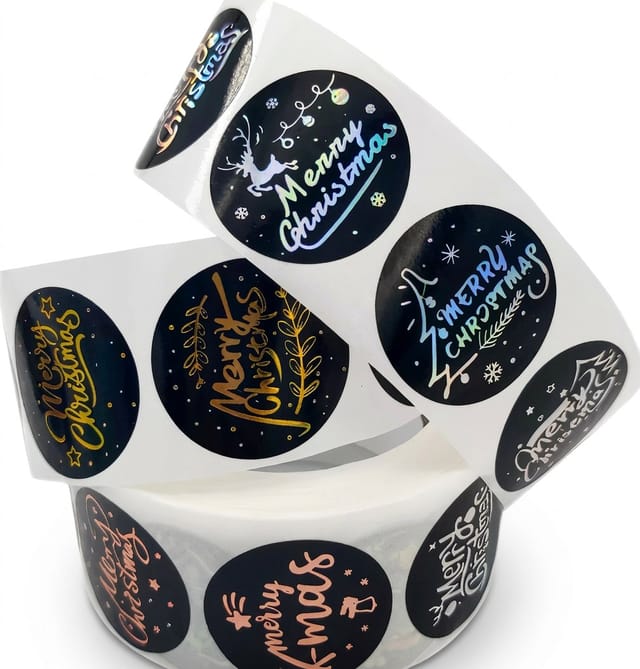
White vinyl is the workhorse for photo stickers. It resists water, holds up to handling, and keeps the color from fading quickly outdoors, especially with a laminate over the ink. Gloss laminate deepens contrast and makes saturated photos pop. Matte laminate mutes glare and gives portraits and product shots a softer, more photographic feel. Holographic film adds a shifting rainbow under the image, which suits graphic subjects far better than faces.
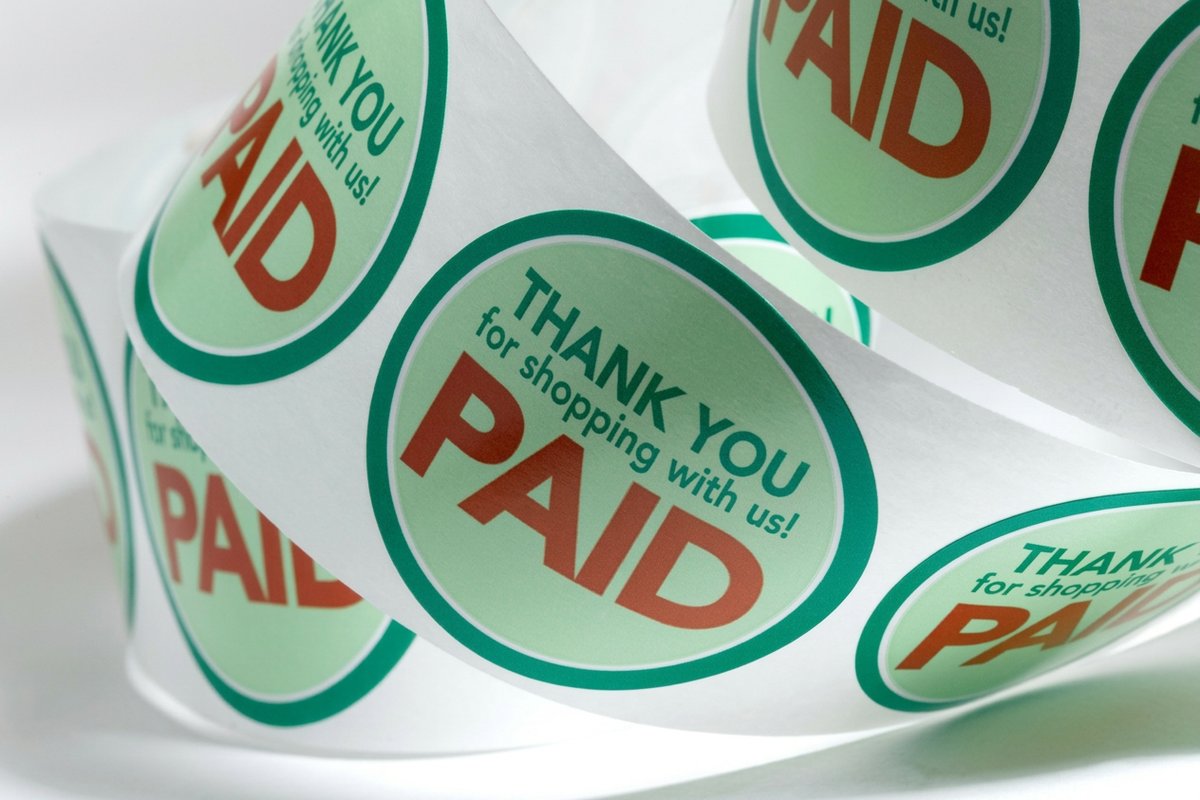
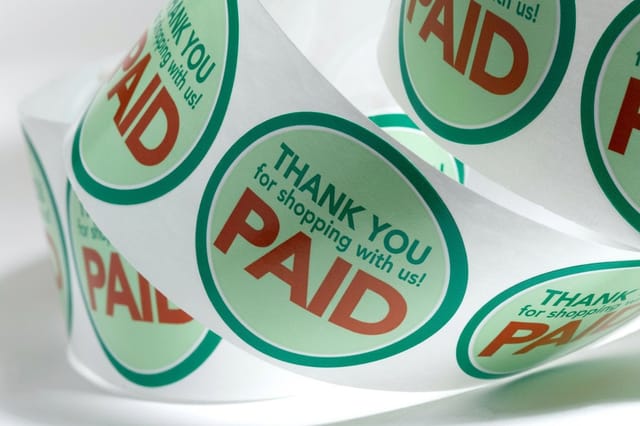
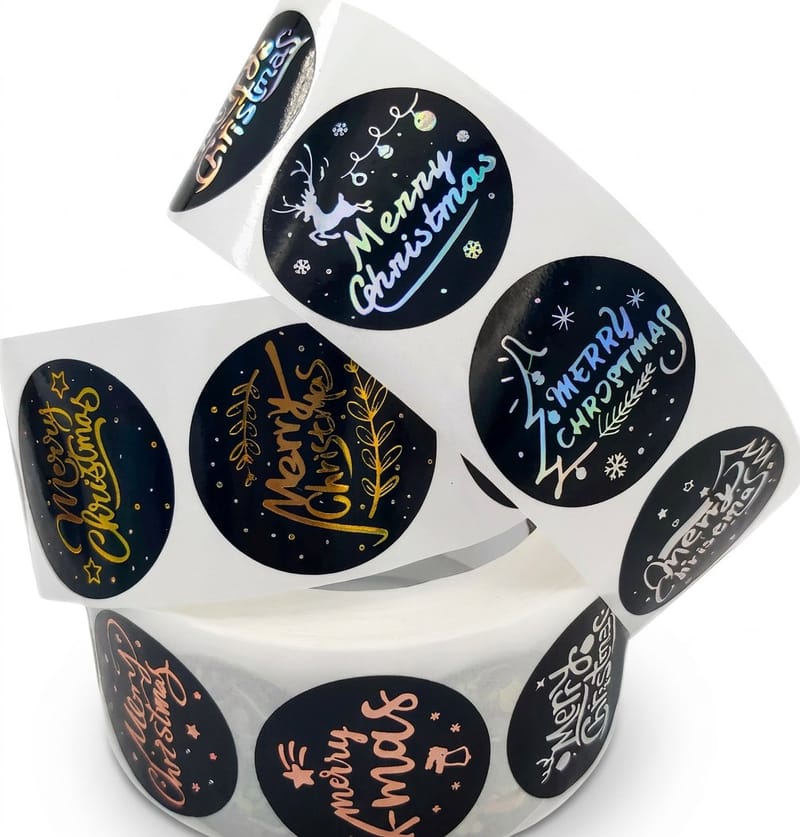
If the sticker is going on packaging, on a jar, or into a customer's hands with a product, a Roll Sticker order from $322.98 dispenses one at a time. For a display piece meant to catch light, a Hologram Sticker Roll from $322.98 does work no flat stock can imitate. Stickers earn their keep on storefronts and counters, as our salon signage ideas show.
Sheets, singles, or rolls, and how the choice changes the file
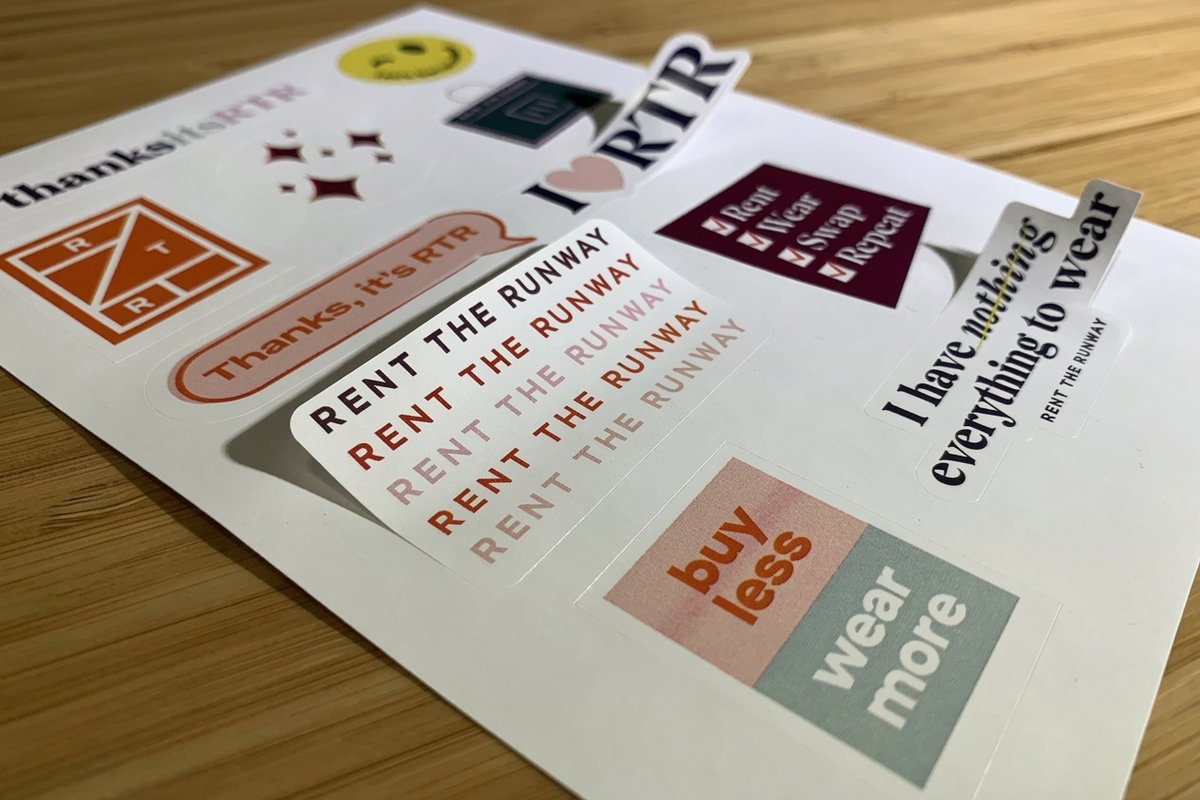
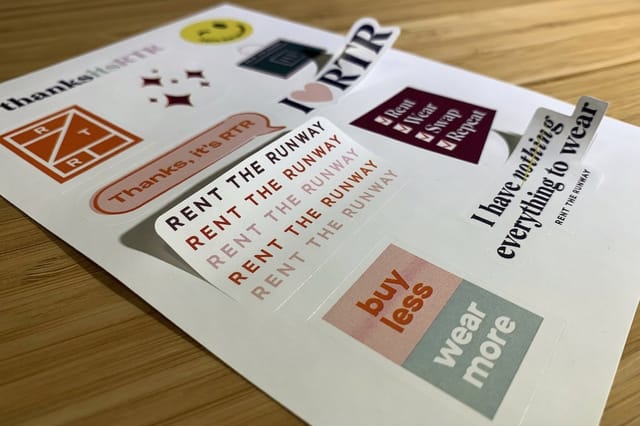
Sheets carry several stickers on one backing, kiss cut so the vinyl separates while the liner stays whole. That is the format for a set of photos, a family collection, a band's tour images, or anything handed out at an event. It is also the cheapest way to print twelve different pictures at once, since they share a single press sheet.
Singles are individual die cut pieces, each trimmed to its own outline, which is what people picture when they say die cut sticker. Rolls put one image in sequence on a continuous liner for packaging lines, retail sealing, and anywhere someone peels label after label without hunting across a sheet.
The format decides your layout. Sheets need every cut line on one artboard with even spacing and a shared bleed. Rolls need one repeating shape, a defined gap, and a stated unwind direction. Paper stickers stretch beyond photos too, from project management sticky notes to promotional pieces like the table tent tactics restaurants lean on.
Build the print file so what you approve is what you peel
Convert the document to CMYK before you judge color. Bright screen blues, hot pinks, and neon greens live outside the printable gamut and will shift when converted, so it is better to see that shift and adjust than to be surprised by it. Photographs generally convert gracefully. Flat brand colors are the ones that need checking.
Extend the background an eighth of an inch past the cut line as bleed, and keep anything you cannot afford to lose an eighth of an inch inside it. Flatten the image layers, keep the cut line as live vector on its own layer, embed the fonts if any text is present, and export a press ready PDF at 300 dpi. Then open that PDF and look at it once more at full size.
Order free paper samples if you are unsure how a stock reads under real light, and browse design templates for layouts that already carry correct bleed and cut geometry. The same file discipline pays off across formats, including the multi page work covered in our booklet design ideas.
Wally explains the cut line
The blade only knows what you draw for it
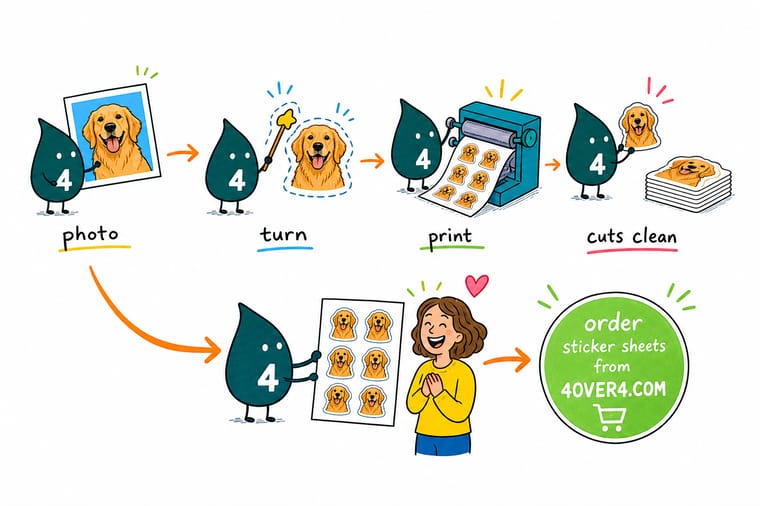
Wally has one rule for photo stickers: the picture and the path are two different jobs. He isolates the subject first, then draws a simple loop an eighth of an inch outside it, rounds the tight corners, and deletes any sliver of vinyl too thin to survive a peel. Everything after that is just choosing a stock and a finish.
Design and print sticker sheets →Infographic
From camera roll to cut sticker in seven steps
One frame, the whole workflow. Save it next to your artwork and check off each step before you upload, because every reprint we see traces back to one of these seven being skipped.
Steps three and four are where most photo sticker files go wrong. A path drawn tight to the subject, or bleed left off entirely, produces clipped edges and white slivers no press setting can rescue after the fact.
Specs and pricing
Sticker sheet specs and live pricing
Once the photo is isolated and the cut line is drawn, the rest is a stock and a quantity. Here are the sizes, materials, and finishes available, with pricing that updates as you change the run.
| Quantity | Price Per Unit | Total |
|---|---|---|
| 25 | $7.25 | $181.24 |
| 50 | $3.89 | $194.42 |
| 100 | $2.05 | $205.18 |
| 200 | $1.18 | $236.36 |
| 300 | 89.2¢ | $267.56 |
| 400 | 74.7¢ | $298.76 |
| 500 | 65.8¢ | $328.86 |
| 600 | 60.7¢ | $364.23 |
Print it
Three ways to print your photo as a sticker
See it in use
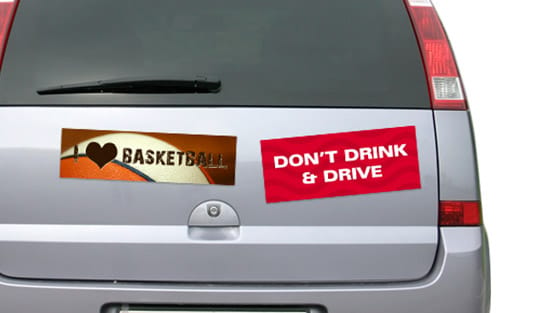
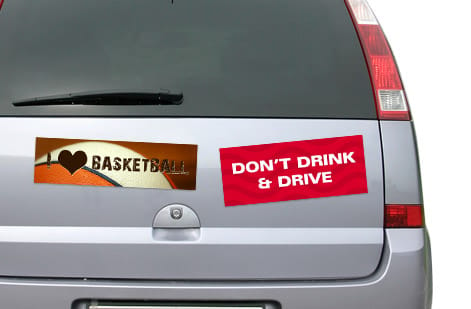
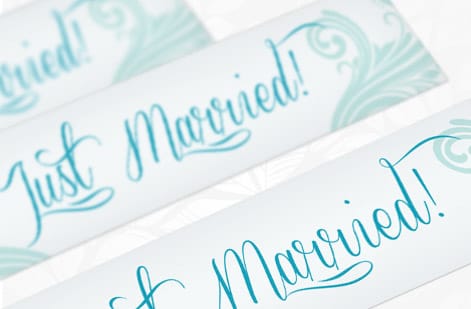
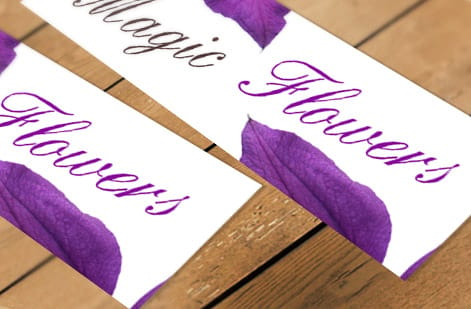
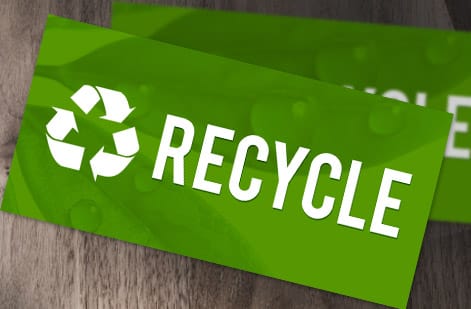
Real sticker work, printed in-house

Explore more
Where to go next
By the numbers
Printing you can count on at 4OVER4
Common Questions
Common questions about photo stickers
How do I turn a photo into a sticker?
Start with the sharpest original file you have, not a screenshot or a social media download. Cut the subject away from its background, add a border around the shape if you want the classic sticker look, then draw a cut line just outside that border on its own layer. Export the artwork in CMYK at 300 dpi with bleed, choose a stock and finish, and send it to print as sheets, singles, or a roll.
What resolution does a photo need to print as a sticker?
Aim for 300 pixels per inch at the finished size. Divide the pixel width of your photo by 300 to find the widest sticker it supports, so a 900 pixel image is comfortable at three inches and strained at five. Small stickers are forgiving because people hold them close, but a soft or heavily compressed file shows its blur the moment it is printed at scale.
How do I remove the background from a photo for a die cut sticker?
Use a selection tool or an automatic background remover, then zoom to 400 percent and fix the edge by hand. Hair, fur, glass, and motion blur are where automatic tools leave gray fringing or chewed outlines. Once the subject is isolated, save it as a transparent PNG or a layered file so the cut path can be built from the shape rather than from a rectangle of leftover background.
What is a cut line and how far should it sit from the photo?
The cut line, sometimes called a dieline, is the vector path the blade follows. Offset it about an eighth of an inch outside the subject so the finished sticker has a border that absorbs normal cutting tolerance. Keep the path simple, round off sharp inner corners, and avoid narrow necks thinner than an eighth of an inch, because thin bridges tear when the sticker is peeled off its liner.
What does photo sticker printing cost and how is the price set?
Price follows quantity, size, material, finish, and turnaround rather than the image itself. Larger stickers use more material, vinyl costs more than paper, laminates and specialty stocks add a step, and rush production carries a premium. At 4OVER4.COM, Sticker Sheets start at $181.24 and Roll Sticker orders start at $322.98, with the per piece cost dropping as the run grows.
What sizes, materials, and finishes are available for photo stickers?
Sizes run from small quarter sized circles up to large window and laptop shapes, in die cut, kiss cut, square, circle, or fully custom outlines. Materials include coated paper for indoor labels and white vinyl for anything that needs weather resistance, plus holographic film for a shifting rainbow effect. Finishes cover gloss for saturated color, matte for a soft photographic look, and laminate for scratch and moisture protection.
How long do photo stickers take to print and ship?
Most sticker jobs move through production in a few business days once the file passes prepress, with faster options available at checkout depending on material and finish. The step that usually delays an order is the artwork, not the press, so a file with a proper cut line layer, correct bleed, and CMYK color moves straight through. Shipping time is added on top of production and is quoted during checkout.
Get Started
Ready to peel your first photo sticker?
Upload the file, set your cut line, and let 4OVER4.COM print it on paper, vinyl, or holographic film. Order a small sheet first and scale up once you like the edge.
Legal Disclaimer
Gold Standard guarantees apply to all standard orders placed through 4over4.com. Price match requires verifiable proof of a competitor's published price for an equivalent product with matching specifications and turnaround time. Satisfaction guarantee covers manufacturing defects and print quality issues. Contact support with order number and documentation. On-time delivery rate based on tracked orders 1999 to 2026. Individual results may vary based on shipping carrier performance.
