
How to Print Picture Banners That Stay Sharp at Full Size


Picture banners fail for one of three reasons: not enough pixels, the wrong crop, or the wrong material. Here is the arithmetic that settles the first, and the choices that settle the other two.
To print a picture banner, divide your photo width in pixels by the banner width in inches: 150 ppi for something people walk up to, 100 ppi at storefront distance, 50 ppi across a parking lot, 25 ppi on a building face. Crop the photo to the banner shape before you scale it, then print on 13 oz scrim vinyl outdoors or matte polyester fabric indoors. Never print a photograph on mesh, because the perforations take a third of the image with them.
Quick answer
Pixels divided by inches, then material
Every picture banner is one division and one surface choice. Divide the image width in pixels by the finished banner width in inches to get the resolution you will really print at, and compare it against the closest place a person will stand: 150 ppi within arm reach, 100 ppi at six to ten feet, 50 ppi at twenty five, 25 ppi on a building. Then match the material to the light. Opaque vinyl outdoors, matte fabric wherever glare or a camera is involved, and mesh only when wind matters more than the picture does.
Work Out Whether Your Photo Is Actually Big Enough
Do the division first, before you choose a size, a material, or a price. Take the width of your image in pixels, divide it by the width of the banner in inches, and you have the resolution the printer will actually work with. A 6,000 pixel wide photo on a 96 inch banner is 62.5 ppi. That is sharp from across a parking lot and soft if somebody leans in.
The reason people get this wrong is that photo software reports a ppi number in the file info, and that number is meaningless on its own. A file marked 300 dpi at 5 inches wide and a file marked 72 dpi at 20.8 inches wide contain the same 1,500 pixels. Only the pixel count is real. Ignore the label, count the pixels.
| Where the photo came from | Pixels | Max width at 150 ppi | at 100 ppi | at 50 ppi |
|---|---|---|---|---|
| Phone, 12 MP | 4,032 x 3,024 | 26.9 in | 40.3 in | 80.6 in |
| Camera, 24 MP | 6,000 x 4,000 | 40 in | 60 in | 120 in |
| Camera, 45 MP | 8,256 x 5,504 | 55 in | 82.6 in | 165 in |
| Downloaded from social | 1,080 wide | 7.2 in | 10.8 in | 21.6 in |
That last row is the one that ruins jobs. A photo pulled back off a social feed or out of a group chat has already been resized and recompressed, and it will not carry a banner at any useful size. Go back to the camera roll or the photographer for the original.
If the original is genuinely too small, upscaling buys you roughly one doubling on a clean file. Beyond that the software starts painting rather than sharpening, and the results look worse at four feet wide than they did on a laptop. Our image resolution guide goes deeper on the arithmetic, and how to make an image less pixelated for print covers what to try when the file you have is the file you have. When the numbers work, vinyl banners start at $79.
Crop To The Banner Shape Before You Scale Anything

Banners and photographs disagree about shape. A 4 ft by 8 ft banner is 2:1. A camera frame is 3:2 and a phone is usually 4:3. Dropping one into the other means losing a third of the height, and the part that goes is normally the sky or the feet, whichever you cared about less. Make that choice deliberately in your editor.
A worked example: a 6,000 by 4,000 pixel photo cropped to 2:1 becomes 6,000 by 3,000. On a 96 by 48 inch banner that is 62.5 ppi in both directions, and you have thrown away 1,000 pixels of height you were never going to use. Crop first and the resolution question answers itself cleanly, because both dimensions land on the same number.
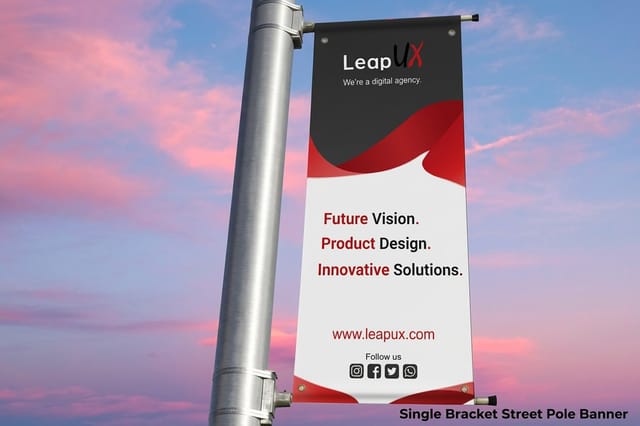
Then leave room for the parts of the banner that are not artwork. Run the background past the trim so a slight cut never shows a white strip, and keep faces, logos and type well inside it. Hems fold about an inch on each side, grommet margins need clearance so a punched hole does not land on an eye, and pole pockets take three to four inches at the top and bottom, which can remove seven inches of usable height on a banner that slides onto a rod. Our banner dimensions guide lists the standard sizes, bleed and trim explained covers the three lines every file needs, and the blank template library gives you a document already set up at your exact size.
Pick The Material By How The Light Will Hit It

Photographs are more sensitive to the surface than text is. A logo looks like a logo on anything. A face is a continuous tone across hundreds of subtle steps, and the material either holds those steps or eats them.
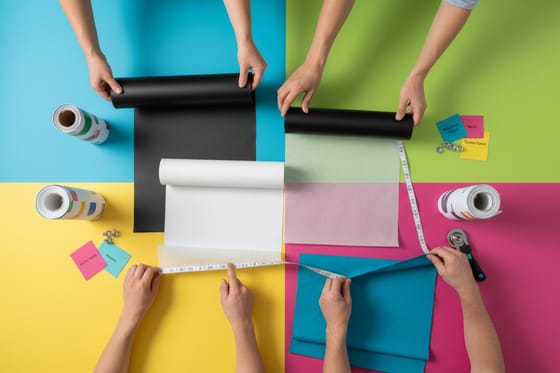
| Material | Surface | What it does to a photo | From | The catch |
|---|---|---|---|---|
| Vinyl | 13 oz scrim, opaque | Holds dense blacks and full saturation. The outdoor default. | $79 | A gloss finish throws a hot spot in direct sun. Order matte if it faces the light. |
| Fabric | Woven polyester, matte | No glare at all, which is why it wins for anything that gets photographed. | $57.20 | The weave softens the finest detail, and light passes through it. |
| Mesh | Perforated, open weave | Punches holes through the image. Faces go gray, fine detail vanishes. | $75 | Only for wind loading on fences and building faces, viewed from far off. |
| Pole banners | Vinyl, pockets both ends | Fine for a portrait crop, and usually printed double sided. | $97.76 | The pockets take several inches off the top and bottom of the image. |
The mesh row deserves a sentence of its own because people order it by accident. Mesh exists to let wind through a large span so the banner and its fixings survive a gust, and the holes that make that possible remove a serious share of the printed surface. On text and flat color you barely notice. On a portrait you absolutely do. If wind is the problem and the image matters, hang solid vinyl with wind slits instead, or move the banner somewhere sheltered. The vinyl versus mesh comparison lays out where the line falls, and how to choose banner material takes it further across the whole range in large format printing.
Color, Export, And What Comes Back Wrong
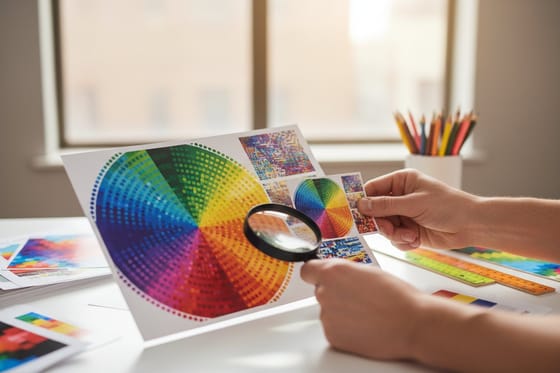
The last stretch is where a technically correct file still prints disappointingly. Photos are captured and edited in RGB with a backlight behind them. Banners are ink on vinyl reflecting whatever light is around. The gamut is smaller, and the colors that fall furthest are the ones photographers love: electric blue skies drift toward purple, neon greens go flat, and deep shadow detail closes up.
Convert to CMYK yourself rather than letting it happen unseen, then look specifically at skin tones, sky, and any large area of dark color. Lift what went flat. Large solid blacks are worth a second thought on vinyl too, because a dark expanse shows every crease from folding and shipping far more than a mid-tone does, and it draws attention to any banding across a wide gradient. Our RGB to CMYK conversion guide walks through the settings.
Export as a PDF or a flattened TIFF rather than re-saving a JPEG that has already been compressed. If the full size file gets unwieldy, build at half scale and double the resolution, so 200 ppi at half scale gives you 100 ppi at full size. Then plan the hanging before you order the finishing: grommet placement decides where the holes land in your picture, and the ways to hang a banner covers the tension that keeps a photograph from rippling. For an indoor photo backdrop that travels, a stand from banner stands beats grommets and zip ties every time.
Wally explains picture banners
Count the pixels, then step back and look
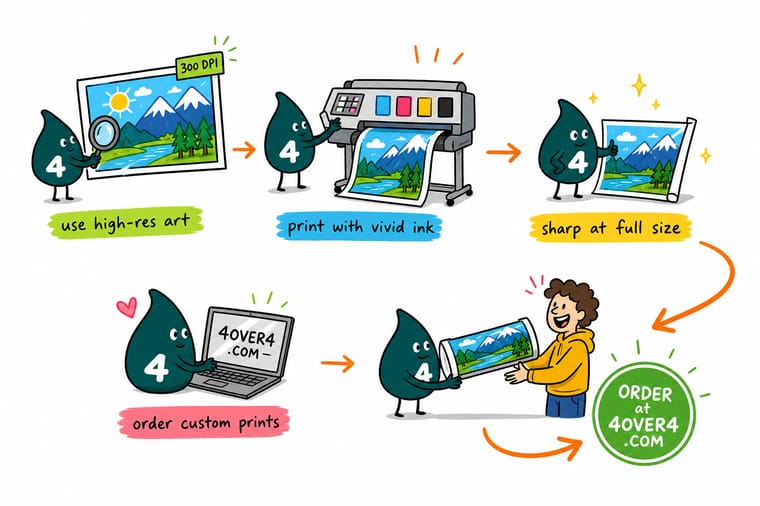
Wally does not guess. He takes the photo, counts how many pixels wide it is, divides by how many inches wide the banner will be, and that is the answer. Ninety six inches from a six thousand pixel photo gives him sixty two ppi, which is lovely from across the lot and fuzzy up close. Then he checks the light: shiny vinyl in full sun throws a glare across a face, fabric never does, and mesh has holes in it, so a photograph on mesh comes back with holes in it too.
Order vinyl banners →Specs and pricing
Banner materials, sizes, and starting prices
Configure the three materials that carry a photograph, with live size and finishing options and starting prices straight from the 4OVER4.COM configurator.

Print it
Print the photo at full size
Explore more
Where to go next
By the numbers
Photo banner work across 25 years of large format
Common Questions
Your picture banner questions, answered
What resolution does a photo banner need?
It depends entirely on how close people get. Divide your image width in pixels by the banner width in inches to find the real resolution at final size. For a banner people stand next to, such as a trade show backdrop or a retail window, target 150 ppi. At six to ten feet, 100 ppi holds up. Across a parking lot at twenty five feet, 50 ppi looks clean. On a building face or a highway frontage, 25 ppi is enough, because at that distance the eye cannot resolve the pixels anyway. Printing a highway banner at 150 ppi wastes nothing but your file size and your afternoon.
Can I use a phone photo for a large banner?
Often yes, within limits you can calculate. A 12 MP phone photo is 4,032 by 3,024 pixels. At 100 ppi that covers 40 inches of width, and at 50 ppi it covers 80 inches. So a 3 ft by 5 ft banner from a phone shot is comfortable, a 4 ft by 8 ft banner viewed from across a lot is workable, and a 4 ft by 8 ft banner people walk up to is not. The bigger trap is the version you send. A photo pulled back off Instagram or a text message is often 1,080 pixels wide, which is barely 11 inches at 100 ppi. Always go back to the original file on the phone or the camera.
Will upscaling software fix a low resolution photo?
It can help a little, and it cannot invent detail that was never captured. Modern upscalers do a genuinely good job of smoothing edges and rebuilding plausible texture, which is why a 2x upscale on a clean original often prints fine on a banner viewed from ten feet. Push it to 4x, or feed it a small JPEG that has already been compressed and re-saved a few times, and it starts producing waxy skin, painted-looking hair, and hard halos around high contrast edges that are more obvious at four feet wide than they ever were on screen. Upscale, then view the result at 100 percent, and judge that.
Which banner material is best for photographs?
For outdoors, 13 oz scrim vinyl, which is what our vinyl banners are printed on. It is opaque, it holds dense blacks, and it survives weather. Order it matte rather than gloss if the banner faces direct sun, because a gloss surface throws a hot spot straight into the photograph. For indoors and for anything that gets photographed, such as a step and repeat wall or an event backdrop, polyester fabric wins because the woven surface has no glare at all. The trade is that the weave softens the very finest detail slightly, and fabric passes light, so a bright window behind it will wash the image out. Do not print a photograph on mesh.
Why does my photo look duller printed than on screen?
Your screen emits light and ink does not. A monitor shows saturated color in RGB with a backlight behind it, while a banner reflects whatever light is in the room through CMYK inks on vinyl. The colors that fall furthest are electric blues, which tend to drift toward purple, and neon greens, which flatten out. Convert the file to CMYK yourself before sending it, look at the skin tones and the sky, and lift the areas that went flat. That way the shift happens where you can correct it rather than on the press.
How much does a photo banner cost at 4OVER4.COM?
Fabric banners start at $57.20, mesh banners at $75, vinyl banners at $79, and pole banners at $97.76. Price moves with the finished size, the quantity, and the finishing you add, so a small indoor fabric banner and a double-sided pole banner with pockets sit at opposite ends of that spread. The photo itself does not change the price. A hundred megapixel image and a phone snapshot cost exactly the same to print, which is a good reason to send the biggest file you have.
Get Started
Divide the pixel width by the banner width, then order
Send the original file, pick your size and material, and we print a picture banner that holds its detail from the distance it will actually be seen.
Legal Disclaimer
Gold Standard guarantees apply to all standard orders placed through 4over4.com. Price match requires verifiable proof of a competitor's published price for an equivalent product with matching specifications and turnaround time. Satisfaction guarantee covers manufacturing defects and print quality issues. Contact support with order number and documentation. On-time delivery rate based on tracked orders 1999 to 2026. Individual results may vary based on shipping carrier performance.
