
How to Write a Shipping Label That Arrives Without Delays


Return address, recipient address, service level, postage and barcode, each in the zone a carrier scanner expects to find it. Here is the exact layout, the formatting rules, and the label stock that still reads after a week in a wet trailer.
To write a shipping label: put your return address in the top left in small block capitals, the postage or account reference in the top right, and the recipient address in the center in larger block capitals, one element per line, ending with city, state and ZIP on a single line. Add the service level and a horizontal tracking barcode with clear space on all four sides, then print at 100 percent scale on matte or weatherproof stock and stick it flat on the largest face of the parcel.

Start here
The whole label in one paragraph
A shipping label is a fixed form, not a design. Your return address sits small in the top left, postage or the carrier account reference sits top right, and the recipient address sits in the center at the largest size on the label, written in block capitals with one element per line and city, state and ZIP together on the final line. Below that go the service level and a horizontal barcode with a clear margin on every side, with the tracking number printed in plain digits underneath. Print at full size on matte or weatherproof stock, apply it flat to the biggest face of the box, and keep tape and old labels away from it.
Why a badly written shipping label costs more than the shipment
Every parcel you hand to a carrier is read twice. First by a machine moving thousands of pieces an hour, then by a driver holding it in one hand at a doorstep in the rain. A label that satisfies only one of those readers is the reason packages sit in a sortation exception bin, get returned to sender, or arrive at the right street with the wrong suite number.
The rules are not mysterious. Carriers publish what they need, and the format has barely changed in decades because the scanners have not changed either. What changes is how sloppy a label becomes once a shipper is in a hurry, printing four to a page on the wrong stock, or reusing a box that still wears last month's barcode. Getting it right takes an extra thirty seconds per parcel and removes almost every delivery exception you can control.
This guide walks the label from top left to bottom right, then covers printing, placement, and the stock that survives a wet trailer. If you want the wider packing workflow instead, start with our step by step guide to labeling a package for shipping, then come back here for the label itself.
What goes on a shipping label, block by block
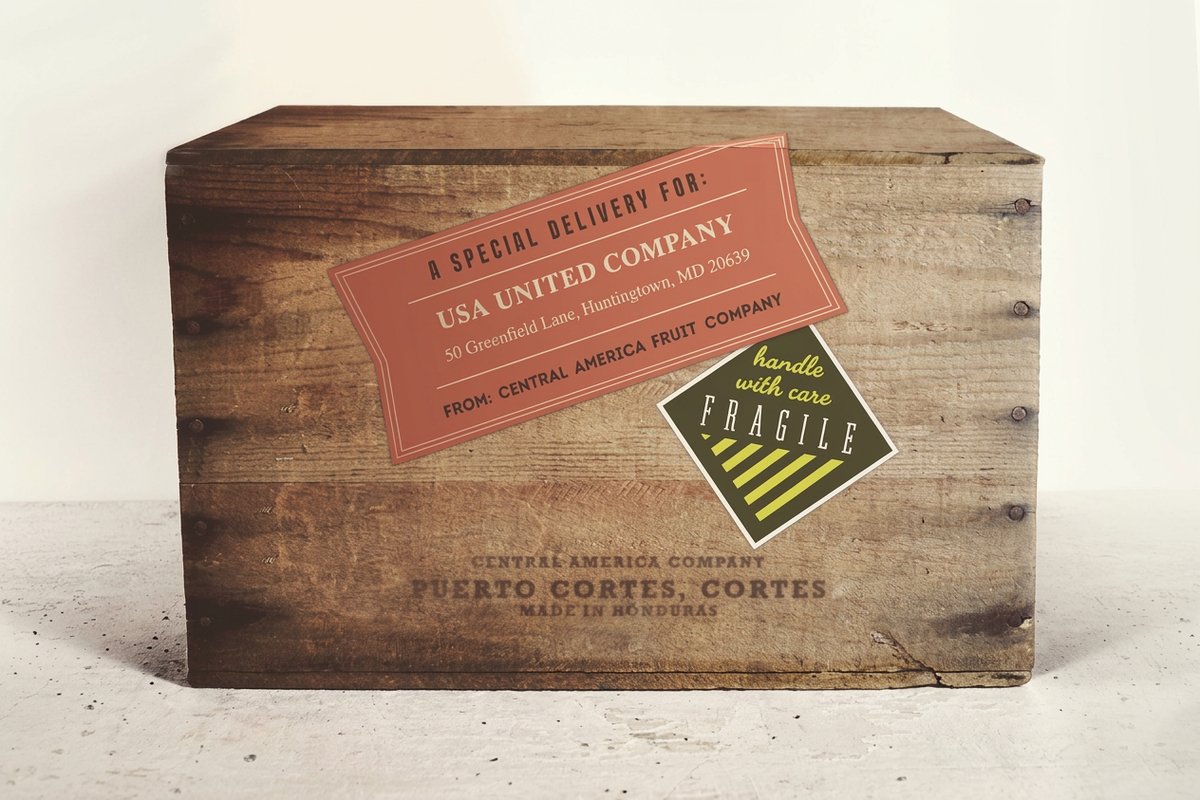
A shipping label is a form with fixed zones, not a free canvas. Top left holds your return address. Top right holds postage, the permit imprint, or the carrier account reference. The center holds the recipient address, printed larger than everything else. The lower third holds the routing barcode and tracking number, with the service level and any handling marks close by.
Those zones exist because sorting equipment looks in specific places. Move the recipient block into the corner where the return address belongs and an optical reader will happily route your parcel back to you. Shrink the barcode to make room for a logo and the parcel goes to manual keying, which adds a day and sometimes a fee.
Brand the label anywhere the carrier zones do not need. A logo bar across the top, a color edge, or a reference line under the address is fine and makes your parcels recognizable on a receiving dock. Just keep the carrier zones clean and uncrowded, and never let a design element touch the barcode.
How to write the sender and recipient addresses
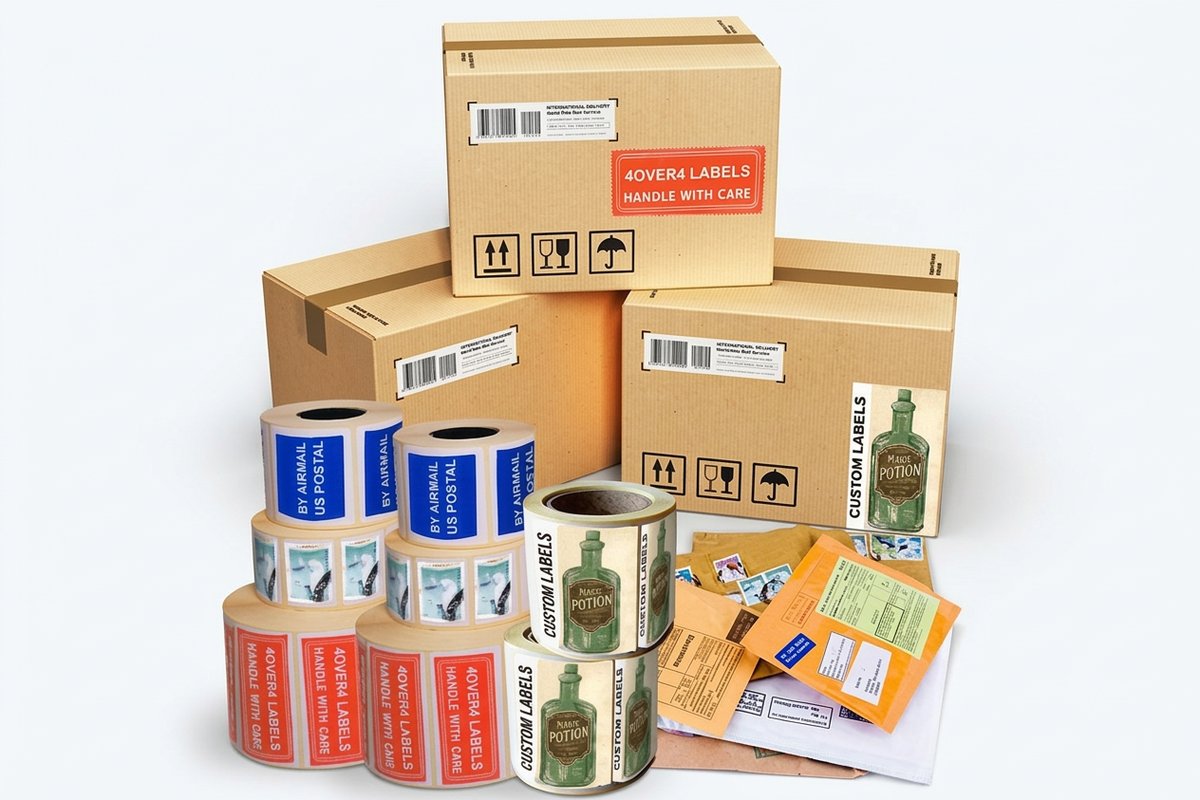
Write the recipient address in block capitals, one element per line, in this order: recipient name, company name if there is one, unit or suite number, street address with the number first, then city, state abbreviation and ZIP code on a single final line. Put the country name alone on the last line for international parcels, in English, in capitals.
Keep punctuation out of it. Commas and periods add nothing a scanner uses and can confuse address parsing software. Do not abbreviate a street name in a way the post office does not recognize, and never split a suite number onto its own line below the street. Sorting systems read the line directly above the city as the delivery line, so that line has to be complete.
The return address follows the same rules at a smaller size, top left. If you fulfill orders on behalf of a client and want their details in that block instead of yours, that is exactly what blind shipping is for, and it is worth setting up before you print a run of branded label stock.
Formatting rules that keep a label machine readable
Use a plain sans serif face at 10 to 12 point for the recipient block and 8 point or larger for the return block. Skip italics, condensed faces, script, and anything with thin strokes. Set the type in solid black on a white or very light background, because scanners read contrast rather than color and a gray tint can drop a line entirely.
Left align every line and keep line spacing generous. Do not center the address block, do not justify it, and do not run it at an angle for design effect. If you print in color for branding, keep the address and barcode areas pure black so they hold their density on any printer.
Resolution matters more than people expect. A 300 dpi print is the floor for a barcode and a thermal printer at 203 dpi is fine only when the barcode is sized correctly for that resolution. A code enlarged from a low resolution image scans intermittently, which is worse than not scanning at all because the failure only shows up mid route.
Barcodes, tracking numbers, and service marks
The barcode is the only part of the label the network truly depends on. Print it horizontally, keep it at the size the carrier specifies, and leave a quiet zone of clear white space on all four sides. Nothing crosses it: no tape, no pen mark, no fold, no perforation, and no second label overlapping its edge.
Print the human readable tracking number directly beneath the bars. When a scan fails, that number is what a hub employee keys in by hand, and a parcel with an unreadable code and no printed number becomes an orphan that only surfaces weeks later. Give your customer the same number in their shipping confirmation so both sides can track the same parcel.
Service level marks belong near the barcode and have to be unambiguous. If a parcel carries a priority or express indicator that no longer matches what you paid for, the carrier will correct it and bill the difference. Reprint the label rather than crossing anything out by hand.
How to print a shipping label so it scans the first time
Print at actual size. The single most common printing mistake is leaving scale to fit page enabled, which shrinks the barcode by a few percent and quietly breaks it. Set scaling to 100 percent, choose the correct paper size, and check the printed barcode width against the carrier specification once before you run a full batch.
Choose the stock for the job. Uncoated and matte faces hold toner and thermal transfer ribbon well. High gloss reflects scanner light and should stay out of the barcode area. For thermal printers, direct thermal stock is cheapest but fades under heat and sunlight, so anything going into a warehouse rack for weeks is better on thermal transfer or a laser printed weatherproof face.
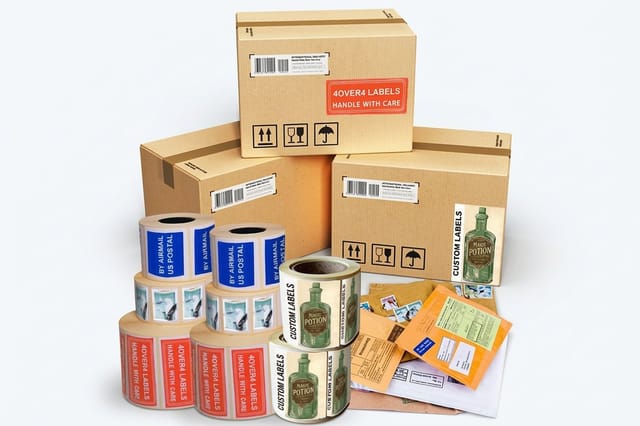
Volume decides the format. Sheets suit a few parcels a day from a laser printer, while rolls feed a dedicated label printer and never jam mid batch. Our Roll Shipping and Mailing Labels start at $322.98 for the quantities a busy fulfillment desk actually burns through, while Shipping Labels from $25 cover the shipper sending a handful of boxes a week.
Where to place the label on the parcel
One label, one flat face, centered on the largest surface of the box. Never wrap a label around an edge, never let it cross a seam or a flap gap, and never place it on top of tape. Curved and creased barcodes are the reason parcels get diverted to manual sorting even when the label itself was printed perfectly.
Reused boxes need attention. Remove old labels completely or black them out with a solid marker across the entire barcode. A carton wearing two live barcodes is a coin flip, and the wrong flip sends your parcel to whoever shipped it last. Our guide to custom corrugated boxes covers picking a box with enough flat area in the first place.
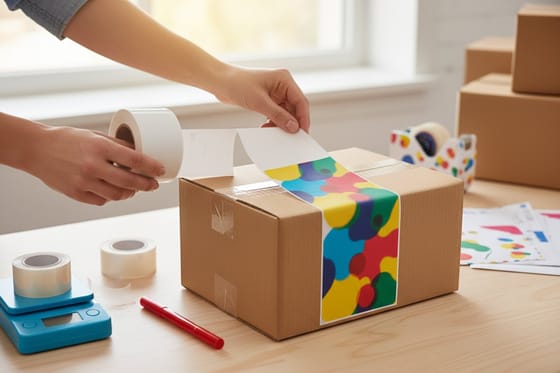
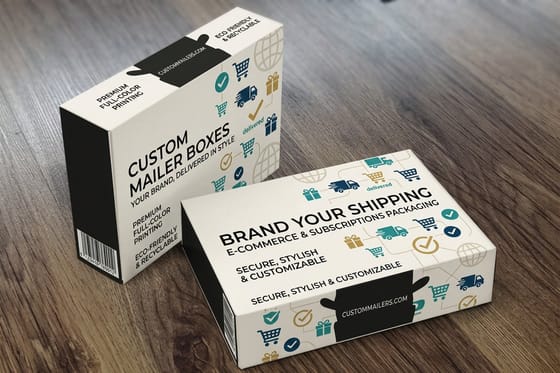
Seal with the label in mind. Tape the seams, not the label, and keep the water activated or plastic tape clear of the print area. If you want a branded seal that never competes with the address block, our custom shipping tape guide shows how to lay it out.
Common mistakes, and what durable label stock costs
The recurring failures are boring and preventable: an apartment number left off, a ZIP code that does not match the city, a barcode taped over, a label printed at 96 percent scale, an economy paper label that turned to pulp in a wet trailer, and a handwritten address in cursive. Every one of them turns a routine delivery into support tickets and a reship.
Durable stock is the cheapest insurance in the chain. A weatherproof face with a permanent adhesive costs a few cents more per label and removes the entire category of failure where the label is gone by the time the parcel reaches the hub. Premium Shipping and Mailing Labels start at $29.16 and are built for exactly that: rain, cold storage, rough handling, and long dwell times on a rack.
If shipping cost rather than label cost is what pushed you here, compare the terms. We break down the trade offs against other printers in our MOO free shipping alternative, PrintPlace free shipping alternative, and GotPrint free shipping alternative comparisons, and against a faster option in our UPrinting shipping alternative.
Wally explains the label
Write it for the scanner and the driver will find the door
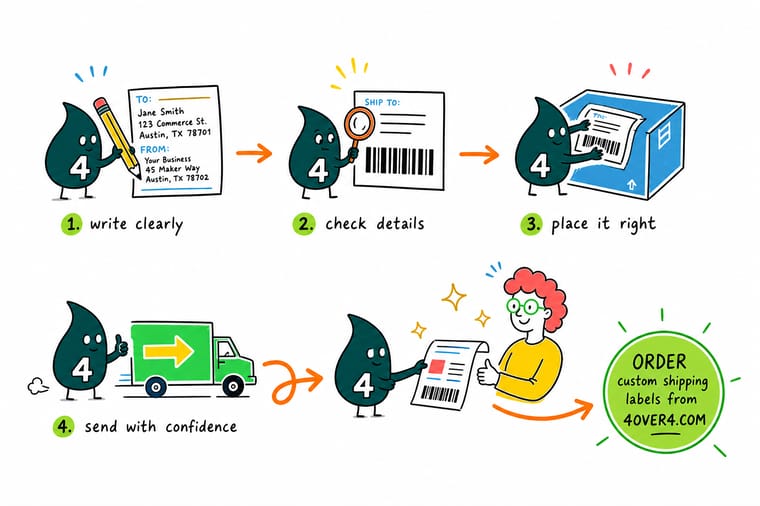
Wally fills every label the same way, top left first. Your address small, their address big, one line per element, capitals only, and nothing clever near the barcode. He checks the ZIP against the city, prints at full size on stock that shrugs off rain, and sticks it flat on the widest face. Thirty seconds of care, zero delivery exceptions to chase later.
Order custom shipping labels →Infographic
The 7 parts of a shipping label at a glance
One frame, seven zones. Save it, pin it above the packing bench, and check every label against it before the box gets sealed.
The seven zones work as a set. Miss one and the parcel still moves, miss the address hierarchy or the barcode quiet zone and it stops.
Specs and pricing
Shipping label specs and live pricing
Once you know what goes on the label, the next decision is stock, size and quantity. Here are the live specs and price breaks on our standard shipping labels.

| Quantity | Price Per Unit | Total |
|---|---|---|
| 1 | $25.00 | $25.00 |
Print it
Label stock that holds up in transit

See it in use
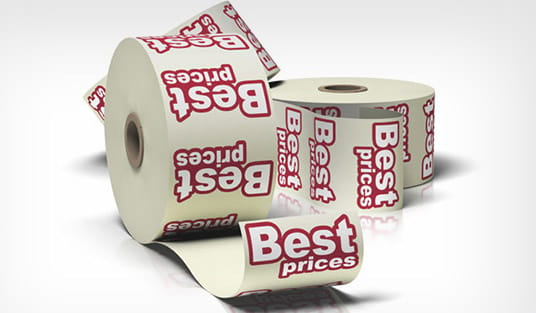
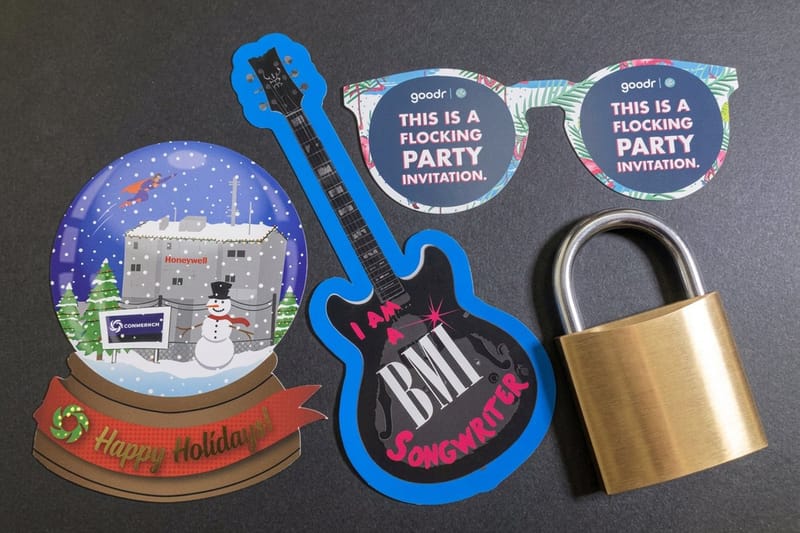
Real shipping labels, printed in-house






Explore more
Where to go next
By the numbers
Label printing you can count on at 4OVER4.COM
Common Questions
Common questions about writing shipping labels
What is a shipping label and what has to be on it?
A shipping label is the printed instruction sheet a carrier reads to move your parcel. At minimum it carries the recipient name, street address, city, state and ZIP code, your return address, the service level you paid for, the postage or account reference, and a scannable tracking barcode. Anything else, such as a purchase order number or a fragile note, is helpful to you and your customer but is not what gets the box moved.
How do I choose the right shipping label size and stock?
Match the label to the parcel and the machine that prints it. The 4 by 6 inch format is the standard for thermal printers and for most carrier labels because the barcode and address block both fit at readable size. Smaller 2 by 4 inch or 3 by 4 inch labels suit poly mailers and small cartons. For sheets you feed through a laser printer, choose an uncoated or matte face so toner grips. For anything that will sit outside or travel in a damp trailer, choose a weatherproof face with a permanent adhesive.
What do custom shipping labels cost and how is the price set?
At 4OVER4.COM, Shipping Labels start at $25, Premium Shipping and Mailing Labels start at $29.16, and Roll Shipping and Mailing Labels start at $322.98 for high volume runs. Price moves with quantity, label size, face stock, adhesive type, and whether you order sheets or rolls. Per label cost drops steeply with quantity, so a shipper mailing weekly almost always saves by ordering one large run instead of several small ones.
What sizes, stocks and finishes are available for shipping labels?
You can order standard 4 by 6 inch carrier labels, half sheet formats, small parcel sizes, and custom cut sizes. Face stocks range from economy uncoated paper for indoor handling to premium coated and weatherproof synthetics for outdoor storage and cold chain. Finishes stay matte or uncoated on the print area because gloss reflects scanner light, while the rest of the label can be printed in full color for branding. Adhesives come in permanent and high tack for corrugated surfaces.
How long does it take to print and ship custom labels?
Production on standard label stock runs a few business days once your artwork passes preflight, and rush turnarounds are available on most sizes. Add transit time from our facility to yours. If you print your own carrier labels in house on blank stock, order the blanks ahead of your busy season so you are never choosing between a delayed shipment and a handwritten label.
Can I write a shipping label by hand?
Yes for a single parcel dropped at a counter, as long as you print in block capitals with a permanent marker or ballpoint, keep the recipient address larger than the return address, and cover it with clear film only outside the barcode area. Handwriting does not scale. Once you ship more than a handful of parcels a week, printed labels cut address errors, speed up drop off, and stop the delivery exceptions that handwriting causes.
Where exactly should the label go on the box?
Put one label flat on the largest face of the parcel, centered, with the barcode running horizontally and at least a quarter inch of clear space on every side of it. Never fold a label around a corner or across a seam, never place it over tape, and remove or fully black out any old label from a reused box. Two readable barcodes on one parcel is the single most common cause of a misroute.
Get Started
Ready to print labels that scan the first time?
Bring your address data to 4OVER4.COM and print on stock built for transit, from single sheets to full rolls, with weatherproof faces and adhesives that stay put.
Legal Disclaimer
Gold Standard guarantees apply to all standard orders placed through 4over4.com. Price match requires verifiable proof of a competitor's published price for an equivalent product with matching specifications and turnaround time. Satisfaction guarantee covers manufacturing defects and print quality issues. Contact support with order number and documentation. On-time delivery rate based on tracked orders 1999 to 2026. Individual results may vary based on shipping carrier performance.
