
How to Get Cheap Booklet Printing Without Cheap Results


Booklet quotes swing wildly for reasons that have nothing to do with quality. Page count, binding method, paper weight, and quantity each pull the number in a different direction. Here is how to set all four so your booklet costs less and still feels substantial in someone's hands.
To get cheap booklet printing, cut the page count to the nearest multiple of four, choose saddle stitch binding under roughly eighty pages, run a standard trim size on house text stock with a heavier cover, and order the quantity that clears the next volume break. Then take the standard turnaround instead of a rush fee, and preflight your file for bleed, resolution, and CMYK color so the job never needs a reprint.

Start here
The short version before the detail
Booklet price is set by four inputs and one habit. The inputs are page count in multiples of four, binding method, paper for the interior and cover, and the quantity tier you land in. The habit is submitting a file that passes preflight the first time. Get those right and a booklet that looks like a considered piece of marketing costs roughly what a stack of loose flyers would have, without any of the choices that make cheap printing look cheap.
Why two booklet quotes for the same job can differ by hundreds of dollars

Two people order what sounds like the same booklet. Same page count, same quantity, same week. One pays a few hundred dollars, the other pays close to a thousand. Nothing shady happened. One order simply matched the way a commercial press already wants to run, and the other asked the press to stop and reconfigure itself at four separate points along the way.
Booklet pricing is not a single number applied to a product. It is a stack of decisions, and each one either rides along with the existing workflow or interrupts it. A saddle stitch booklet that uses a standard trim, a page count divisible by four, house text stock, and a normal turnaround costs what it costs because none of those choices required special handling.
This guide walks the stack in the order it affects your invoice. Page count first, then binding, then paper, then quantity, then the small operational choices at the end. Work through it once and you will be able to look at any booklet quote and tell exactly which decision is carrying the cost.
What cheap booklet printing actually means

Cheap does not mean thin, flimsy, or disposable. In commercial printing, cheap means efficient. A press has a fixed setup cost per job and a marginal cost per sheet. Everything that shortens setup or increases the number of good sheets that come off a single configuration pushes your unit price down.
That is why the cheapest booklet is rarely the one with the fewest features. It is the one whose features happen to be the ones the printer already keeps in stock and already has calibrated. Standard sizes are cheap because the cutting dies are already set. House stock is cheap because it arrives on pallets, not by special order. Saddle stitch is cheap because the machine that does it also folds and gathers in the same pass.
The mindset that gets you a genuinely good price is not haggling. It is designing the job to be easy to make. The same logic runs through our guides on getting cheap signs fast and cheap photo and poster prints, because it is the same press economics wearing a different product name.
Page count is the single biggest lever you control
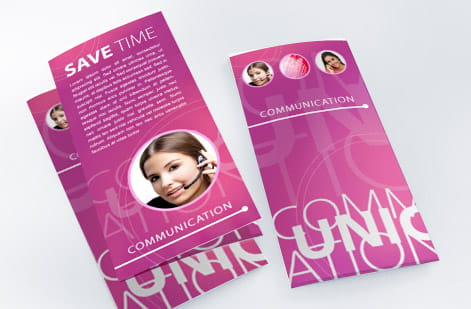
Every booklet page count must be divisible by four. This is not a rule someone invented to be difficult. A sheet of paper folded down the middle produces four printable pages, two on each side. Ask for a 22 page booklet and the bindery will produce 24 and leave two blank, and you will pay for 24.
Because pages arrive in blocks of four, the savings arrive in blocks of four too. Cutting a booklet from 28 pages to 24 removes an entire press sheet from every single copy. On a run of five hundred, that is five hundred sheets of paper, five hundred passes of ink, and a measurable reduction in folding and gathering time.
The practical move is to lay out your content and then count honestly. Section dividers that carry three words, a full page of white space before the back cover, a repeated contact block: these are the pages to cut first. Tightening the layout so a spread carries what two spreads carried is design work, and it pays for itself. Our roundup of booklet design ideas for effective marketing shows layouts that stay dense without feeling cramped.
Saddle stitch versus perfect binding, and when each one pays off
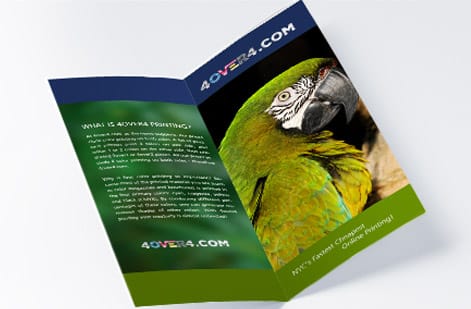
Binding is the second largest cost decision and the one people get wrong most often, usually by reaching for the more expensive option out of instinct rather than need.
Saddle stitch nests folded sheets inside one another and drives two wire staples through the fold. It is fast, it uses almost no consumables beyond the wire, and it lets the booklet lie flat when open, which matters for programs, workbooks, and anything a reader writes in. It works cleanly from eight pages up to roughly eighty, depending on how thick your stock is.
Perfect binding gathers the folded sections, trims three edges flat, applies hot melt adhesive to the spine, and wraps a scored cover around the block. It produces a flat printed spine that can carry a title on a shelf. It also adds adhesive, curing time, a heavier cover requirement, and a separate machine pass, all of which show up in the price.
Choose saddle stitch unless the page count physically prevents it or a printed spine is genuinely part of the product. If you are torn, order the saddle stitch version and put the budget you saved into a better cover stock, where readers will actually feel it.
Paper choices that cut cost without making the booklet feel cheap
Paper is where most people either overspend quietly or undercut the whole project. The trick is to split the decision: the cover and the interior do not need the same sheet, and they should not get the same budget.
Interiors carry the page count, so every gram of extra weight multiplies across every page in every copy. A 70 lb or 80 lb text stock reads well, takes ink cleanly, and does not show through on a two sided spread. Jumping the interior to a heavy coated sheet can add meaningfully to the total on a long booklet while doing very little for the reader.
Covers are a single sheet per copy, so upgrading them is cheap in relative terms and highly visible. An 80 lb or 100 lb cover with a matte or soft touch finish is the upgrade people actually notice when they pick the booklet up. That is the correct place to spend.
- Ask for house stock by name. The sheets a printer runs constantly are priced better than anything special ordered.
- Match coating to content. Photo heavy pages benefit from gloss or silk. Text heavy pages read better uncoated.
- Consider a self cover. Printing the cover on the same text stock as the interior removes a material change entirely, which suits short event programs.
Standard trim sizes ride the press for free

Presses run large parent sheets that are cut down after printing. Standard booklet sizes exist because they divide into those parent sheets with almost nothing left over. A custom trim that falls between standard sizes forces the same parent sheet to be used with a strip of waste falling on the floor, and that waste is on your invoice.
The workhorses are 8.5 by 11 inches for catalogs, reports, and manuals, and 5.5 by 8.5 inches for programs, menus, and pocket sized lookbooks. The smaller format is exactly half the larger one, which is why both are efficient. Square formats sit slightly higher on cost but remain standard and predictable.
If a custom size is genuinely central to the concept, price it against the nearest standard before committing. In most cases the difference between what you imagined and the standard trim is a quarter of an inch that no reader will ever register, and the saving is real.
Quantity breaks reward ordering the number you will actually use
A large share of any booklet job is fixed cost. Prepress, plate or file setup, makeready sheets while the press comes up to color, and the bindery adjustment for your specific page count all happen once whether you print one hundred copies or one thousand. Spread across one hundred copies, that fixed cost dominates. Spread across a thousand, it nearly disappears.
This is why the per unit price curve on booklets drops sharply through the first few quantity tiers and then flattens. Moving from 100 to 250, or from 250 to 500, typically produces a much larger percentage saving than moving from 1,000 to 1,500.
The discipline is to order the quantity you will genuinely distribute before the content goes out of date. Printing a thousand price lists that expire in six weeks is not a saving. Printing five hundred evergreen booklets instead of two hundred and fifty, when you know the content will hold for a year, usually is. Run your real number through the live booklet configurator at two or three quantities and read the per unit column, not the total.
Color and finishing decisions that are worth the money

Full color throughout is the default, and on a digital or offset run with modern equipment the premium over limited color is small enough that limiting color rarely pays. What does move the price is finishing: lamination, spot gloss, foil, and die cutting each add a separate pass through a separate machine.
Apply finishing selectively. Soft touch lamination on the cover alone costs a fraction of what it costs across every page, and it is the surface a reader touches first. Spot gloss on a logo reads as deliberate. Foil across an interior spread reads as budget that could have gone into a better paper.
Keep an eye on ink coverage too. Full bleed solid color across every page uses more ink and can require slower drying on coated stock. A design that uses white space intentionally prints faster, dries cleaner, and often looks more confident. The same restraint that works on a well designed flyer works across a booklet spread.
File setup mistakes that quietly add cost
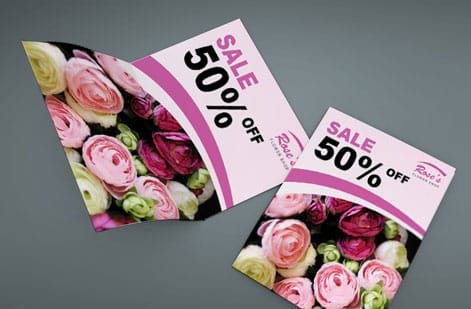
Nothing raises the real cost of a booklet like a file that fails preflight after the job has been scheduled. A rush fix, a reprint, or a missed event date costs far more than the hour it would have taken to set the file up correctly.
- Build in bleed. Any color or image that runs to the edge needs to extend past the trim line so the cutter has room to work.
- Keep content inside the safety margin. Page numbers and text sitting too close to the trim will look uneven across a stack.
- Supply images at print resolution. A photo that looks sharp on screen can be soft on paper. Screen resolution and print resolution are not the same thing.
- Convert to CMYK. Bright RGB colors, especially saturated blues and greens, shift when converted at the press. Convert yourself so you see the result before the run.
- Export as single pages, not spreads. The bindery imposes the pages into signatures. Reader spreads have to be pulled apart first, which invites errors.
- Account for creep on thick booklets. Nested sheets push inner pages outward. Shift interior margins slightly so the trim stays even.
Getting these right once gives you a reusable template. Every future booklet drops into it and moves straight through preflight.
The order of operations for the lowest booklet price
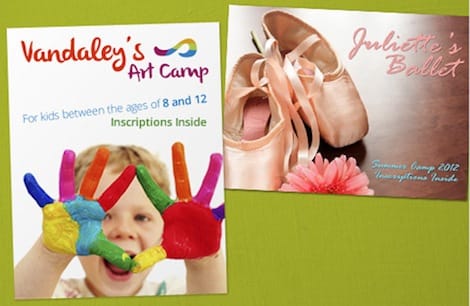
Run the decisions in this sequence and each one narrows the next. Reversing the order is how budgets get blown.
- Step 1. Fix the page count. Lay out the content, cut the filler, and land on a multiple of four. Every four pages you remove comes off every copy.
- Step 2. Pick the binding. Under eighty pages, take saddle stitch. Over that, or when a printed spine matters, move to perfect binding.
- Step 3. Choose the standard trim. Take the closest common size rather than a custom cut.
- Step 4. Split the paper budget. Standard text weight inside, better stock on the cover.
- Step 5. Test quantity tiers. Price your realistic number and the next tier up, then compare per unit costs.
- Step 6. Take the standard turnaround. Order earlier instead of paying to compress the schedule.
- Step 7. Preflight before you pay. Bleed, safety, resolution, CMYK, single pages.
Saddle stitch booklet printing starts at $240.55, and the configurator recalculates as you change each variable, so you can watch exactly what each decision is worth before you commit.
Wally explains booklet pricing
Cheap is not a discount, it is a build
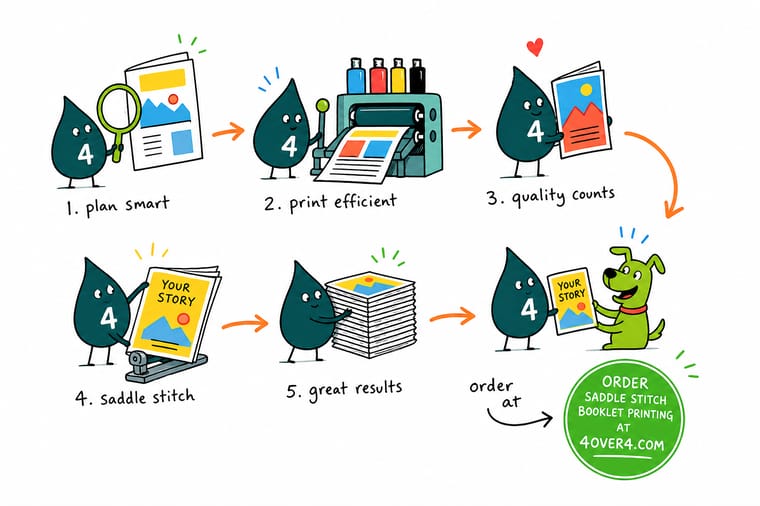
Wally counts booklets in sheets, not pages. One folded sheet gives four pages, so every page you add arrives with three friends. That is why trimming a section saves more than switching paper, and why the staple beats the glue on almost every job under eighty pages. Decide the page count first, and the rest of the quote follows quietly behind it.
Configure a saddle stitch booklet →Infographic
The 7 levers that set your booklet price
One frame, seven decisions. Keep it open next to the configurator and work down the list in order, because each choice narrows the one after it.
No single lever wins on its own. A short page count on the wrong binding, or house paper at the wrong quantity, gives back most of the saving. Pull all seven in the same direction and the difference shows up in the total.
Specs and pricing
Saddle stitch booklet specs and live pricing
Change the page count, quantity, stock, and turnaround below and watch the per unit number move. Reading the unit column rather than the total is what makes a quantity break obvious.
| Quantity | Price Per Unit | Total |
|---|---|---|
| 25 | $9.62 | $240.55 |
| 50 | $6.04 | $302.06 |
| 100 | $3.61 | $361.37 |
| 200 | $2.22 | $444.85 |
| 300 | $1.65 | $495.38 |
| 400 | $1.29 | $515.14 |
| 500 | $1.06 | $531.61 |
| 600 | 91.5¢ | $549.19 |
Print it
Order your booklets at 4OVER4


See it in use
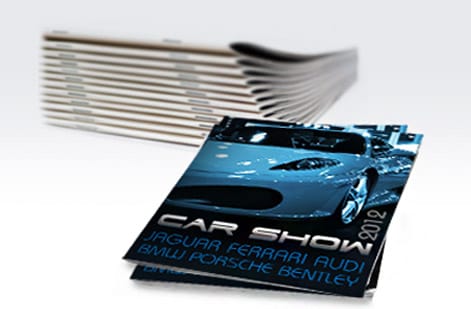
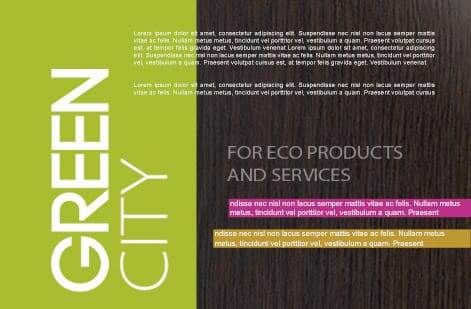
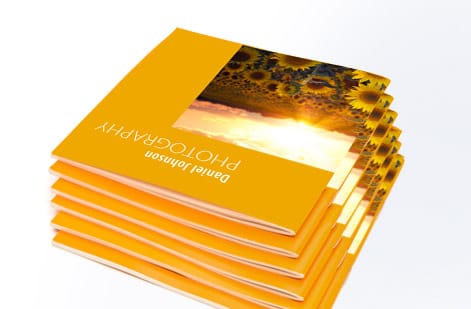
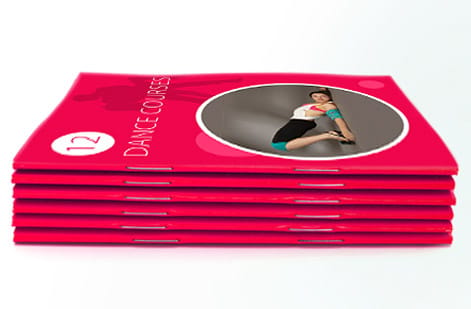
Real booklet work, printed in house

Explore more
Where to go next


By the numbers
Printing you can count on at 4OVER4.COM
Common Questions
Common questions about cheap booklet printing
What is cheap booklet printing?
Cheap booklet printing means a multi page booklet built entirely from the choices a commercial press runs most efficiently. That usually looks like a saddle stitched booklet on a standard trim size, printed on house text stock with a slightly heavier cover, in a page count divisible by four, ordered in a quantity that clears a volume break. Nothing about it is low quality. It is simply a job that avoids every option a printer has to charge extra to accommodate.
How do I choose the right booklet printing option for my budget?
Start from the job the booklet has to do, then work backwards. A program handed out at one event can run on lighter interior stock with a self cover. A product catalog that sits on a desk for a year needs a heavier cover and a coating. Once the durability is settled, lock the page count to a multiple of four, pick the standard trim closest to what you sketched, and choose the largest quantity you will realistically use before the content goes stale.
What does booklet printing cost and how are prices set?
Saddle stitch booklet printing at 4OVER4.COM starts at $240.55, and the live configurator prices your exact build. Four inputs drive the number: page count, quantity, interior and cover stock, and turnaround. Page count sets how many press sheets each copy needs, quantity spreads the fixed setup across the run, stock sets the raw material cost, and turnaround decides whether the job takes a normal slot in the schedule or jumps the queue.
What sizes, stocks, and finishes are available for booklets?
Standard trims cover the common needs: 8.5 by 11 inches for catalogs and reports, 5.5 by 8.5 inches for programs and lookbooks, and square formats for portfolios. Interiors typically run on 70 lb or 80 lb text, with covers on 80 lb or 100 lb cover stock. Gloss, matte, and uncoated finishes are all available, and heavier options such as soft touch lamination or spot gloss can be applied to the cover alone to keep the added cost contained.
How long does booklet printing take to print and ship?
A saddle stitched booklet on standard stock generally prints in a few business days once files pass preflight, then ships on the transit time you select at checkout. Binding adds a step that flat printing does not have, so build in a buffer. If you have a hard event date, order at the standard turnaround well ahead of it rather than paying a rush fee to compress the schedule later.
Is saddle stitch or perfect binding cheaper?
Saddle stitch is cheaper for almost every booklet under about eighty pages. The pages are folded, nested, and stapled through the spine in one continuous pass. Perfect binding trims the folded sections flat, applies adhesive, and wraps a scored cover around the block, which adds materials, machine time, and a curing period. Choose perfect binding when the page count is too thick to staple or when a flat printed spine genuinely matters.
How many pages can a saddle stitched booklet have?
Page counts must land in multiples of four because every sheet folded down the middle produces four pages. Practical saddle stitch runs sit between eight and eighty pages depending on stock thickness. Past that point the nested sheets push the inner pages outward, creep becomes visible at the trim, and the staples struggle to hold. That is the signal to move to perfect binding.
Get Started
Ready to print a booklet that costs less than it looks?
Set your page count, pick saddle stitch, choose your stock, and let the configurator show you the per unit price before you commit to anything.
Legal Disclaimer
Gold Standard guarantees apply to all standard orders placed through 4over4.com. Price match requires verifiable proof of a competitor's published price for an equivalent product with matching specifications and turnaround time. Satisfaction guarantee covers manufacturing defects and print quality issues. Contact support with order number and documentation. On-time delivery rate based on tracked orders 1999 to 2026. Individual results may vary based on shipping carrier performance.
