
How to Design Custom Price Tags for Retail Products


A price tag has about one second to answer one question. Here is how to build the hierarchy that answers it, protect the punch hole and the barcode so the run does not come back, and pick the size and stock that survive a season on a rack.
Design a price tag by making the price the largest thing on it, keeping the brand name small above it, and protecting the two zones that ruin tags in production: the punch hole and the barcode quiet zone. Pick a trim size that suits the product, set the hole about 0.25 in from the top edge and keep artwork out of a clearance ring around it, move the SKU and barcode to the back, then build the file in CMYK with 0.125 in bleed and a 0.125 in safe margin.
What a price tag has to do in one second
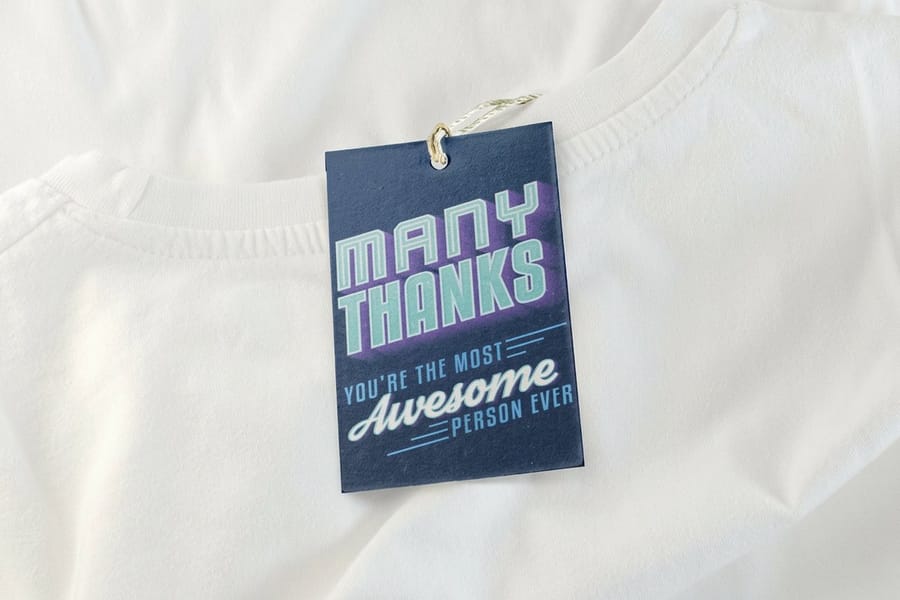
Someone lifts a sleeve, turns the tag, and decides. That is the whole interaction. A price tag is not a brochure and it is not a brand statement, it is an answer to one question, and every design decision on it either speeds that answer up or gets in its way.
So the hierarchy is fixed before you start: price first, product identity second, everything else third. Set the price at roughly two to three times the size of the brand name and the tag reads correctly from a rack at arm’s length. Reverse that, put a large logo on top and the price in 8 pt beneath it, and you have made a small poster that happens to have a number on it. The shopper turns it over looking for the price, which is exactly the friction you were trying to remove.
This is the one place a price tag genuinely differs from a branding tag. If your tag is doing both jobs, and most retail tags are, read this alongside our guide to designing custom tags, which covers the material and string decisions in more depth. The tag stock and shape options behind both live in hang tag printing.
Size the tag to the product, not to your artboard
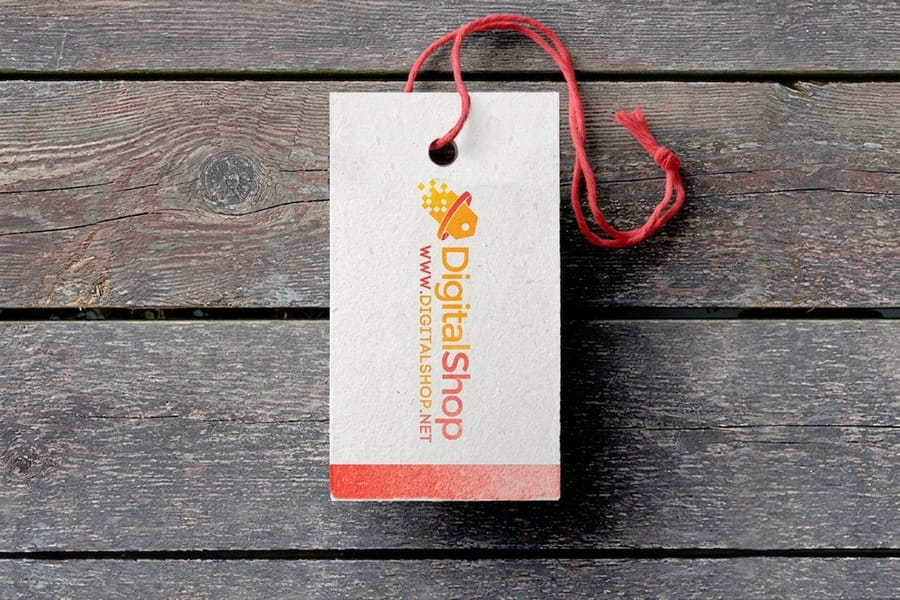
2 x 3.5 in is the rack default, and it earned that position. It clears a hanger, it holds a two-line price block without crowding, and it is the same footprint as a business card, so it feels correct in the hand. Start there unless the product argues otherwise.
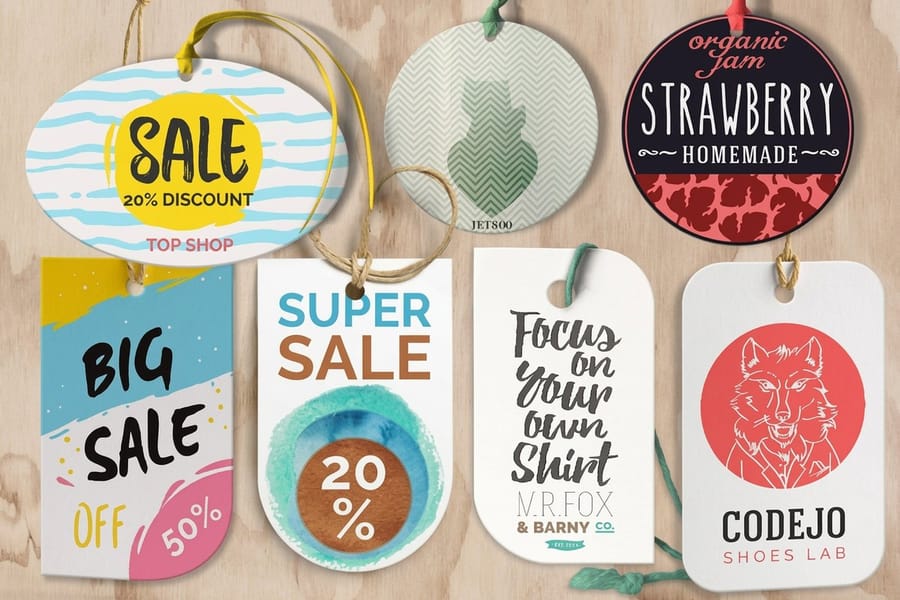
The product usually does argue. A candle, a small jar or a boxed accessory is overwhelmed by a full-size tag, and 1.5 x 3 in sits better against it. Jewellery and small leather goods go down to 0.75 x 2.5 in, which is enough for a price and a SKU and nothing more, so any barcode has to move to a separate label. At the other end, if the back of the tag carries a product story, a care paragraph or a provenance line, 3.5 x 4 in gives you a readable block instead of a wall of 6 pt type. Our full breakdown of hang tag sizes maps each size to the goods it suits.
One test settles it. Cut the size out of scrap card, hold it against the actual product on the actual fixture, and look at it from where a customer stands. A tag that looks balanced on a 27 inch monitor is routinely a third too big in the hand.
The punch hole and the barcode are design constraints
These two elements cause more reprinted tag runs than anything else, and for the same reason: neither is visible in the artwork file. The punch hole is a hole that will exist, and the barcode quiet zone is white space that has to stay white.
Place the hole first. About 0.25 in in from the top edge is the working figure. Closer to the edge and the paper tears out the first time the tag is pulled off a hanger; further in and you have surrendered a strip of the face for nothing. Then draw a clearance ring around it and treat that ring as occupied, because in real life the punch removes the middle of it and the string knot covers the rest. A logo centered under a punch hole looks fine in the proof PDF and arrives with its top third missing.
The barcode is the mirror image of the same mistake. Scanners read the white gap at each end of the symbol as part of it, so a barcode pushed against the trim edge or butted up against a block of text can fail at the till even though it looks perfect on screen. Keep it on the back, horizontal, on plain white rather than a tint or a photograph, and never bend it around a die-cut curve. If a tag is too small to hold the barcode plus its clear gaps, the answer is a bigger tag or a separate custom label, not a smaller barcode.
Decide the markdown plan before you print
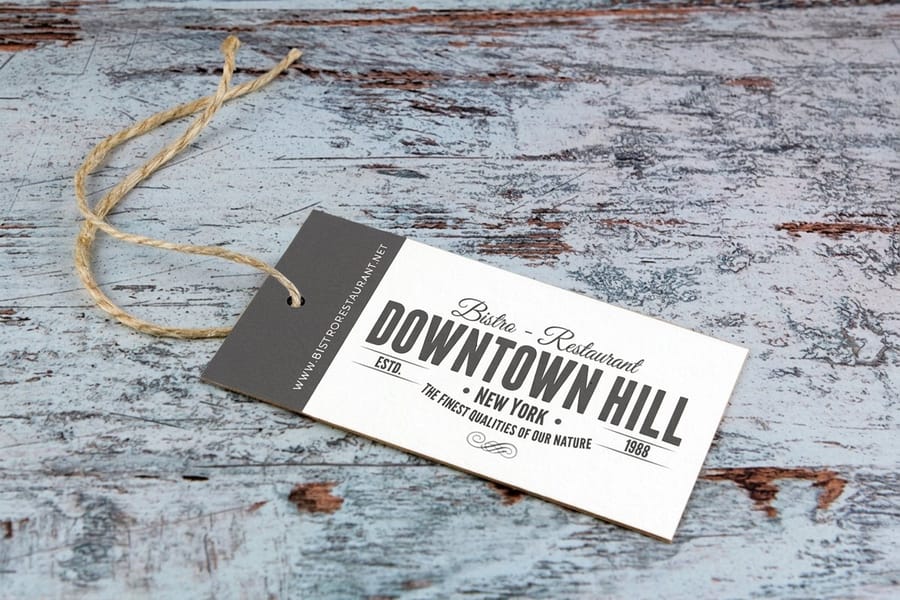
Here is the trade-off nobody mentions until the sale starts. A price printed on the tag is cleaner, costs nothing extra, and cannot be misread at the till. It also means that every markdown either needs a reprint or a sticker slapped over a tag you paid to make look good.
The alternative is a blank price panel: a framed box, a printed dollar sign, a ruled line, designed so that a handwritten or stickered figure looks intentional rather than improvised. This is standard for market stalls, one-off pieces, antiques and anything where you set the price at the point of sale. The cost is that a handwritten number on an otherwise polished tag reads as less certain, which matters more at $200 than at $12.
Most retailers land in between. Print the full price, then design a small sale sticker or a second tag in a different stock for markdown periods, so the discounted price looks like a deliberate promotion instead of a correction. If you go that route, order both runs together and take the bulk quantity break across the whole order rather than paying a small-run price twice.
Stock and finish decide how the tag ages
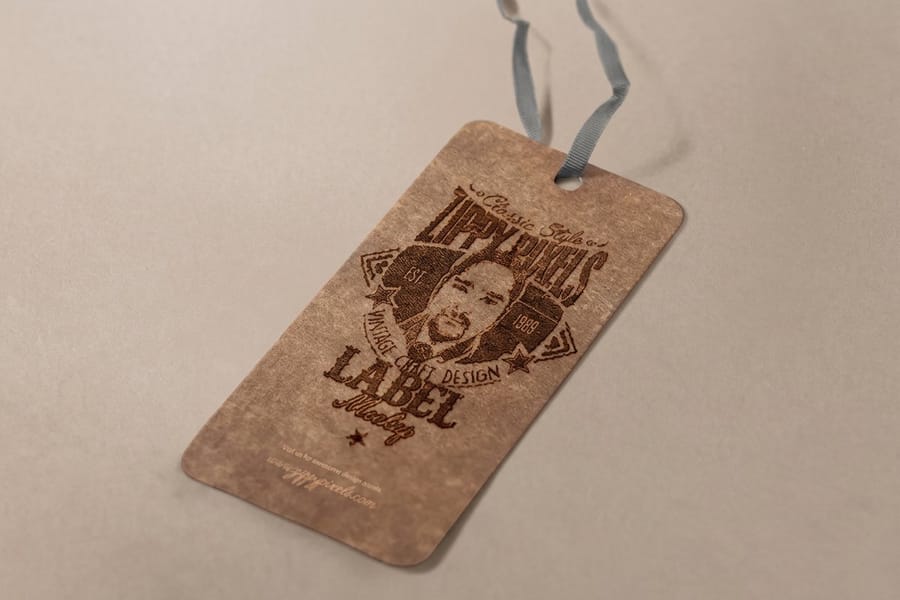
Weight first. 14pt is light and economical and is fine for a short promotional run, but after a few weeks of customers handling it in a bin the tag curls and starts to look tired. 16pt holds its shape through a season, which is why it is the default on most retail racks. 32pt is a rigid board that reads as premium the moment it is picked up, and it costs accordingly.
Then the face, and this is where a genuine limit bites. A gloss or matte laminate protects the tag and makes color look richer, but ink and pencil sit on top of a laminate rather than soaking in, so a marked-down price written in ballpoint pen will smear across the shop floor. If anyone is ever going to write or stamp on the tag, you need an uncoated or kraft face. Kraft also happens to suit handmade, natural and food brands, and our comparison of kraft, recycled and standard tag stocks lays the differences out side by side.
Shape is the last layer. A rectangle hangs straight and costs the least. A die-cut outline is worth paying for when the tag is also doing branding work on a gift item or a boutique piece. Whatever you choose, keep the price block well inside the outline, because a curve that clips a dollar sign is not a design detail, it is a defect.
File setup, then a physical proof before the run

Build the artwork in CMYK, not RGB, because the bright screen colors that survive on a monitor shift on paper, and a price in a color you did not choose looks like an error. Our note on CMYK versus RGB explains where the shift comes from.
Run any edge-to-edge color out to a 0.125 in bleed and hold every piece of live text inside a 0.125 in safe margin, so a small shift on the cutter never trims a digit off the price. Set small type, including the SKU, the care line and the fine print, in 100% black rather than a four-color mix, because a single plate stays sharp at 6 pt where a four-color build goes soft. If bleed and safe margins are new territory, bleed and trim explained covers the mechanics, and the design templates already have the guides in place.
Then do the thing that catches everything else: print one tag at final size on any printer, cut it out, punch the hole, thread it, and hang it on the real product. Scan the barcode with a phone. Stand where the customer stands. That five minute test finds the covered logo, the unscannable barcode and the price you cannot read from three feet, and it costs nothing compared to reprinting a run of standard hang tags. When it passes, set the quantity in the configurator below and watch the per-tag price drop as the tier grows, or start from the wider custom printing collection if the tags are part of a bigger retail order.
Wally prices a rack the right way
Price large, hole clear, barcode breathing
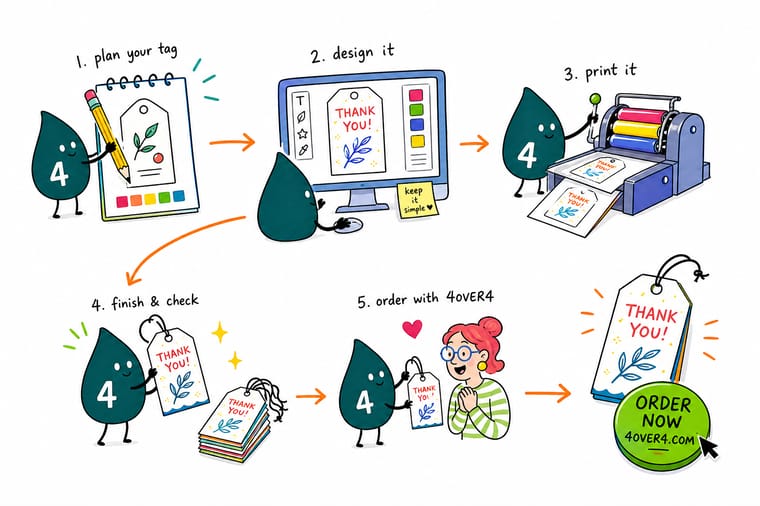
Wally puts the price first and the logo small, because the shopper is asking one question. He punches the hole before he places the art, keeps a clear ring around it so the string knot covers nothing, and leaves the barcode a white gap at both ends so it scans first time. Then he prints one tag, hangs it on the real product, and only after that orders the run from 4OVER4.COM.
Design your price tags →Quick reference
The price tag numbers worth memorizing
| Detail | What to set | Why it matters |
|---|---|---|
| Trim size | 2 x 3.5 in default | Fits a rack hook and a hand, and leaves room for a two-line price block. |
| Punch hole | 0.25 in from the edge | Closer and it tears out on a hanger, further and you lose usable face. |
| Hole clearance | Keep a ring empty | The punch and the string knot both sit here, so artwork under them is lost. |
| Price type | 2 to 3x the brand name | The price is the reason the tag exists, so it should be read first. |
| Barcode | Clear gap each side | A scanner reads the white quiet zone as much as the bars. |
| Bleed and safe | 0.125 in each | Color runs to the bleed, live text stays inside the safe margin. |
| Small type | 100% K, not a CMYK mix | Four-color small text goes fuzzy where a single black plate stays crisp. |
| Stock | 14pt, 16pt or 32pt | Weight decides whether the tag hangs straight or curls in a bin. |
Step by step
How to design a price tag in 7 steps
- Write the tag content before you open the fileList every item the tag must carry: price, product name, size, SKU, barcode, care line, country of origin. Anything that does not earn a line gets cut now rather than shrunk to 5 pt later.
- Pick the trim size from the productHold the actual item. A knitwear tag at 2 x 3.5 in reads well on a rack, a candle or a small jar takes 1.5 x 3 in, and jewelry cards down to 0.75 x 2.5 in. If the back needs a paragraph, step up to 3.5 x 4 in.
- Place the hole first, then design around itPut the punch about 0.25 in from the top edge, centered, and draw a clearance ring around it that no logo or text may enter. The string knot occupies that ring in real life even though it is invisible in your file.
- Build the front around the pricePrice largest, brand small above it, product line under it. If you run sale pricing, set the old price beside or under the new one at half the size, struck through, in a second color so the eye reads the drop instantly.
- Put the machine-readable data on the backSKU, barcode and any care or origin lines belong on face two. Give the barcode a clear gap on both sides, keep it on white rather than a tint, and never rotate it onto a die-cut curve.
- Set color, bleed and marginsBuild in CMYK, run any edge color out to the 0.125 in bleed, hold live text inside the 0.125 in safe margin, and set every piece of small type in 100% black so it prints from one plate.
- Proof the physical tag, then run the quantityPrint one at size, punch it, thread it and hang it on the actual product. Scan the barcode with the phone at the till. Only then choose the quantity tier, because the per-tag price falls as the run grows.
Specs and pricing
Hang tag specs and live pricing
Once the artwork is settled, the print decisions come down to size, stock, finish and quantity. These are the live specs and the price per unit at 4OVER4.COM, straight from the configurator.

| Quantity | Price Per Unit | Total |
|---|---|---|
| 50 | 50.5¢ | $25.27 |
| 100 | 28.6¢ | $28.56 |
| 200 | 15.9¢ | $31.86 |
| 300 | 12.4¢ | $37.35 |
| 400 | 10.2¢ | $40.64 |
| 500 | 8.79¢ | $43.94 |
| 600 | 8.24¢ | $49.43 |
| 700 | 7.53¢ | $52.73 |
Order it
Tags for the rack, the shelf and the gift table

Explore more
Where to go next



By the numbers
Printing you can count on at 4OVER4
Common Questions
Common questions about custom price tags
What is a custom price tag?
A custom price tag is a small printed tag, usually punched and strung, that carries the selling price of a product plus the data your till needs, most often a SKU and a barcode. It differs from a branding hang tag in what it prioritizes: on a price tag the price is the dominant element and the logo is a supporting mark, because the shopper is asking one question and the tag exists to answer it. In practice most retailers print one tag that does both jobs, with the price on the front and the machine-readable data on the back.
How do I choose the right size and shape for a price tag?
Start with the product and the fixture. On a clothing rack, 2 x 3.5 in is the workhorse because it clears the hanger, holds a two-line price block and still reads at arm’s length. Smaller goods on a shelf or a counter take 1.5 x 3 in, jewelry and accessory cards go down to 0.75 x 2.5 in, and anything that needs a product story or a care paragraph on the back wants 3.5 x 4 in. Shape follows the same logic: a rectangle is the cheapest and the easiest to hang straight, while a die-cut outline is worth the extra when the tag doubles as branding on a gift item.
What do custom price tags cost and how is the price set?
Four things set the price: quantity, size, stock and any extra like a die-cut shape or a foil finish. Standard hang tags at 4OVER4.COM start at $25.27, die-cut shapes at $36.26 and kraft at $57.96, and every one of those is a starting run, so the per-tag figure falls as the quantity climbs. Set the options in the configurator on the product page and the total updates live, which is the fastest way to see what a shape or a heavier stock actually costs you per tag before you commit.
What sizes, stocks and finishes can I get?
Sizes run from small jewelry cards up to 3.5 x 4 in tags with room on the back, and the stock choice is the one that changes how the tag ages: 14pt is light and economical, 16pt hangs straight through a season of handling, and 32pt is a rigid board for premium goods. Finishes include gloss, matte and suede laminates, kraft and uncoated faces, and metallic or foil treatments. One rule matters more than taste here: if anyone will ever write or stamp a marked-down price on the tag, you need an uncoated or kraft face, because ink sits on top of a laminate and smears.
How long do price tags take to print and ship?
Turnaround depends on the stock, the finish, the shape and the quantity, and the current production time for your exact configuration is shown on the product page as you build the order. Plain rectangular tags on a standard stock move fastest; a die-cut shape or a specialty laminate adds a step. Retail timing is the real constraint, so work backwards from the day the product hits the floor and add a day for proofing, because the most common delay is not the press, it is a reprint caused by a detail nobody checked at size.
Should I print the price on the tag or leave it blank?
Print it if the price is stable and the run is tied to one season, because a printed price looks better, costs nothing extra and cannot be misread. Leave a blank panel if you discount often, run a market stall, or sell one-off items, and print the tags with an empty box framed for a handwritten or stickered figure. The trade-off is honest: printed prices force a reprint at every markdown, while blank panels put a handwritten number on a tag that otherwise looks professionally produced. Some retailers split it, printing the full price and covering it with a small sale sticker when the markdown comes.
Do price tags need a barcode, and where should it go?
A barcode is only needed if your point of sale scans one, but if you have one, treat it as a technical element rather than a design element. Put it on the back, on plain white rather than a tint or a photo, keep it horizontal, and leave a clear gap on both ends because a scanner reads that white quiet zone as part of the symbol. Do not shrink it to fit a gap in your layout and do not lay it over a die-cut curve. If the tag is too small to hold a full barcode with its quiet zones, the tag is too small.
What is the most common mistake on a printed price tag?
Designing over the punch hole. The hole is invisible in the artwork file, so a logo or the top of the price sits exactly where the punch and the string knot will be, and nobody notices until the physical tags arrive. The second most common is a barcode crowded against the trim edge with no quiet zone, which passes a visual proof and then refuses to scan at the till. Both are caught in ten seconds by printing one tag at size, punching it and threading it before the full run.
Get Started
Ready to tag the whole floor?
Set size, stock, finish and quantity below and watch the per-tag price fall as the run grows, then order your price tags from 4OVER4.COM.
Legal Disclaimer
Gold Standard guarantees apply to all standard orders placed through 4over4.com. Price match requires verifiable proof of a competitor's published price for an equivalent product with matching specifications and turnaround time. Satisfaction guarantee covers manufacturing defects and print quality issues. Contact support with order number and documentation. On-time delivery rate based on tracked orders 1999 to 2026. Individual results may vary based on shipping carrier performance.
