
How to Design a Spot Gloss Business Card in Adobe Illustrator


Emma is our prepress and print production voice, built from the knowledge of our production team, with over 20 years in printing.
To design a spot gloss business card in Adobe Illustrator, treat the gloss as what it is: selective gloss is a second pass on the press, so it needs its own artwork. This guide walks the full Illustrator setup, from artboards and bleed to the spot color coating layer, accent placement, alignment checks, and the export that arrives print ready.
To set up a spot gloss business card in Adobe Illustrator, build the card at 3.5 x 2 in with 0.125 in bleed, place your CMYK artwork, then add a top layer named Spot Gloss. Create a swatch, set its color type to Spot Color, fill each coating shape with it as flat vector art, and switch on Overprint Fill. Check the plate in Separations Preview, outline your type, and export a press PDF that separates into five plates.
Start here
Artboards, spot swatch, export
Spot gloss is clear coating applied only where you tell the press to apply it, which makes it a separate plate rather than a visual effect. In Illustrator you build the card at trim plus bleed, keep the printed artwork in CMYK, then draw the coated areas as flat vector shapes on a dedicated top layer filled with a spot color swatch and set to overprint. You confirm the plate in Separations Preview, outline the type, and export a PDF that separates into cyan, magenta, yellow, black, and your named gloss. The file needs two artboards, front and back, each 3.5 x 2 inches; to delete an artboard in Adobe Illustrator, such as a leftover third one, remove it in the Artboards panel before export, since unused artboards are part of the cleanup the press expects.
Why spot gloss decides whether a card gets kept or pocketed
Handing someone a card is a two second event, and almost all of it is touch. A flat matte card reads as competent. A matte card with one glossy mark reads as deliberate, because the person feels the change under a thumb before they read a single word. That contrast is the entire point of the finish, and it is built in the file long before the press runs.
Spot gloss, often called spot UV, is a clear coating cured under ultraviolet light and applied only where your artwork says it should go. Because it is a separate pass, the press needs separate art. Get that art right and a glitter spot UV card can carry a logo that lifts off the stock. Get it wrong and the coating floods the face, dulls the contrast, and costs you the effect you paid for. The steps below build the file correctly the first time, and the setup diagram further down keeps the sequence on screen while you work.
Set up your artboards and bleed

Open a new Illustrator document in CMYK color mode at 300 ppi raster effects. Make the artboard 3.5 x 2 in for a standard card, then add a second artboard for the back so both faces live in one file. Anything that touches an edge has to extend 0.125 in past the trim on every side, which puts your full bleed area at 3.75 x 2.25 in.
Draw two guide rectangles and lock them. The first sits at 3.75 x 2.25 in centered on the artboard and marks bleed. The second sits at 3.25 x 1.75 in and marks the safe margin, the zone inside which every phone number, email address, and logo has to stay. Cutting happens in a stack, so a card that puts type 2 mm from the trim will show that type drifting from one card to the next in the same box.
Name the layers now, while the file is empty. A working file for this job needs four: Guides, Back, Front, and Spot Gloss. Naming them later, after fifty objects exist, is how gloss art ends up buried inside the artwork layer where the press cannot separate it. If you would rather skip the setup entirely, start from a card layout in design templates and drop your art into it, or open a blank business card template with the trim and bleed already drawn.
Place your front and back designs
Build or place the visible artwork on the Front and Back layers, with the Spot Gloss layer switched off while you work. Everything printed in ink stays in CMYK. Any placed photo needs to be 300 ppi at final size, which for a full bleed card face means an image at least 1125 x 675 pixels. Illustrator will happily scale a 72 ppi web JPEG to full card width and it will look correct on screen and mushy on paper.
Watch your rich blacks. Large solid black areas print deeper when built as roughly 60C 40M 40Y 100K rather than 100K alone, and a deep black background is exactly the kind of surface that makes gloss visible. Small black type stays at 100K only, because a four color build on 8 pt type shows registration fuzz on the letter edges.
Keep the artwork simple enough that the coating has somewhere to land. If you want a reference for how far the format can be pushed before it stops working, the roundup of amazing business card designs is a useful reality check, and current card design trends shows where specialty finishes are actually being used.
Build the spot gloss layer
This is the step that everything else depends on. Open the Swatches panel, create a new swatch, name it Spot Gloss, and set Color Type to Spot Color. Give it a value nobody would mistake for real ink, such as 100 percent magenta, so a stray gloss shape is impossible to miss on screen.
Now move to the Spot Gloss layer and redraw, as solid vector shapes, every element you want coated. Redraw is the operative word. Do not copy the artwork and recolor it if that artwork contains gradients, transparency, drop shadows, or placed images. The coating plate has no tones. A shape is either coated or it is not, so a gradient in the gloss art becomes an unpredictable edge on press. Trace the outline you want and fill it flat.
Fill each shape with the Spot Gloss swatch, give it no stroke, and open Window then Attributes and tick Overprint Fill. Overprint tells the press this separation sits on top of the ink instead of knocking a hole in it. Skip it and the preview may still look fine while the output shows white gaps under every coated shape. Switch on Overprint Preview from the View menu to confirm the ink beneath is still visible through your magenta shapes.
Position gloss accents for impact
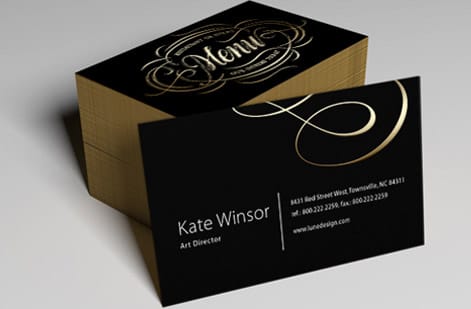
Coating is emphasis, and emphasis divided is emphasis lost. Choose one primary target, usually the logo mark, and at most two supporting ones. A strong pattern is a glossy logo on the front and a glossy repeating pattern filling the back, with all contact type left matte so it stays easy to read under office lighting.
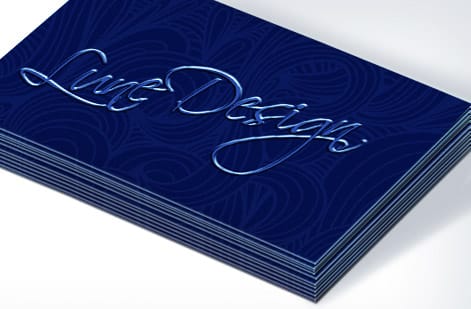
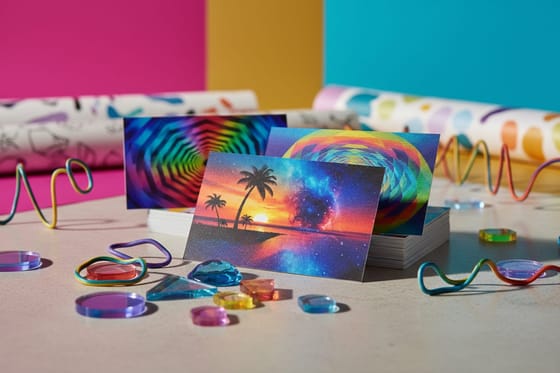
Three combinations do most of the heavy lifting. Gloss on a dark matte field gives the sharpest contrast, because the coating shows as a wet looking reflection against a surface that absorbs light. Gloss on an uncoated or soft touch stock adds a texture change you can feel as well as see. Gloss over a metallic or glitter base, as on the glitter spot UV card, layers two kinds of shine and needs the coated area kept small or the card turns into noise.
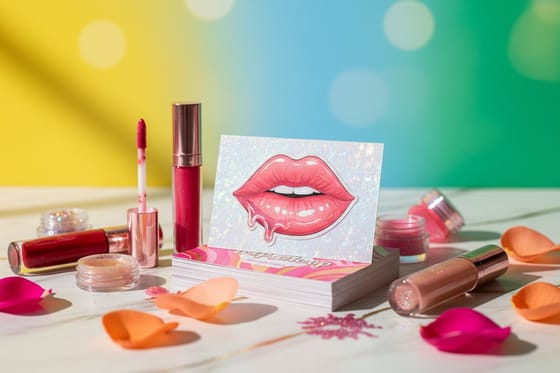
Leave breathing room. Keep coated shapes at least 0.125 in from the trim edge unless the design intends a bleeding coated block, and keep the thinnest line in the gloss art at or above 0.5 pt. Hairline coating tends to break up. If a beauty or wellness brand is the audience, the survey of lip gloss business cards shows how far a single high shine element can carry a whole identity.
Verify gloss alignment before anything leaves your machine
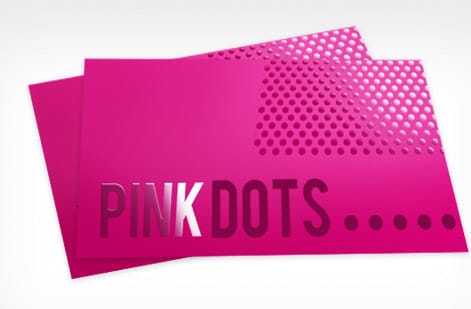
Open Window then Separations Preview and tick Overprint Preview. You should now be able to switch every plate off and on. With CMYK hidden and only the Spot Gloss plate visible, you are looking at exactly what the coating unit will lay down. If a shape you never intended appears there, it belongs to the wrong layer. If a shape you expected is missing, it is filled with process magenta rather than the spot swatch.
Check registration tolerance next. Coating can shift a fraction of a millimeter against the ink, so gloss art that has to sit precisely inside a colored shape should be drawn very slightly smaller than that shape, roughly 0.25 pt inset. Gloss that extends slightly past an ink edge is far more forgiving than gloss that falls short, because a thin unglossed halo is visible and a small overlap is not.
Finally, zoom to 400 percent on the smallest coated element you have. Anything with detail finer than 1 pt, such as a serif hairline or a thin registered trademark symbol, either gets thickened or gets removed from the gloss art. Screen zoom flatters detail that a coating unit cannot hold.
Outline text and clean up the file
Save a working copy first, because outlining is one way. Then select all type on both the artwork layers and the Spot Gloss layer and use Type then Create Outlines. Outlined type removes every font dependency, and it guarantees that the letterforms in your gloss art match the letterforms in the ink exactly, which is the whole reason coated type looks crisp.
Clean the rest of the file in the same pass. Delete unused artboards, hidden objects, and swatches you abandoned. Release any clipping masks you no longer need, expand live effects that appear in the gloss art, and embed placed images rather than leaving them linked. Run Object then Path then Clean Up to remove stray points and empty text paths.
Leave the Spot Gloss swatch itself alone. Do not expand it, do not convert it to process, and do not merge the gloss layer into the artwork. Everything else can flatten. That one separation has to survive intact all the way to the RIP.
Export the print ready files
Use File then Save As and choose Adobe PDF. Pick the PDF/X-1a preset when the product wants a flat file, or PDF/X-4 when layered spot data has to stay live. In the Marks and Bleeds panel, tick Use Document Bleed Settings so all 0.125 in is carried through, and turn on crop marks only if the product instructions ask for them. In Output, leave color conversion off so your CMYK values and the spot separation pass through untouched.
If a separate coating file is requested instead of a layered PDF, export twice. The first PDF holds artwork only, with the Spot Gloss layer hidden. The second holds the gloss shapes only, filled 100 percent K on a white background, at the identical page size and in the identical position. Same dimensions, same origin, no exceptions, or the two plates will not register.
Reopen the finished PDF in Acrobat and use the Output Preview panel to confirm the separation list reads Cyan, Magenta, Yellow, Black, and Spot Gloss. Five names means the file is right. Four means the coating collapsed into process somewhere and the card would print with no gloss at all. If you would rather have the layout handled for you, the free business card design tool produces a correct file without any of this, and the roundup of card design tools for beginners and pros covers the alternatives.
Order your spot gloss cards
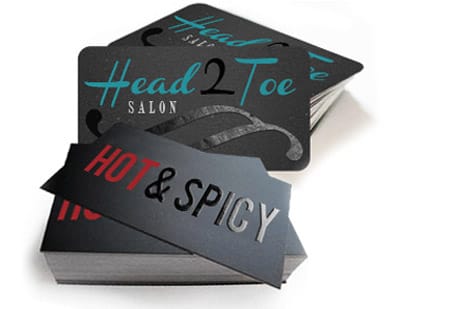
Choose the product before you finalize quantity, because stock and coating options differ. Glitter Spot UV Business Cards start at $200.84 and pair a glitter base with selective coating for the loudest version of this finish. If you want shine across the entire face instead of selected areas, Gloss Laminated Business Cards start at $37.24. For a restrained option where the design does the work, Interior Design Business Cards start at $17.57.
Upload the press PDF, confirm the on screen proof at full zoom, and pay particular attention to the coating preview if one is shown. Order request quantities in the ranges the product offers rather than an odd number, since price per card drops sharply as the run grows and the coating setup is a fixed cost either way. If the card is for a launch or an event with a hard date, build in a few extra days, and browse free card design tools or simple card ideas by trade if a second design is still in progress.
Wally explains the gloss layer
The press only coats what your top layer tells it to coat
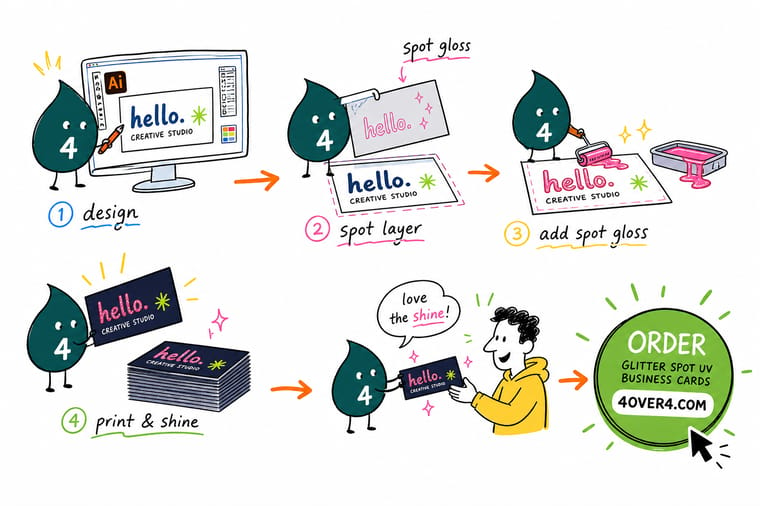
Wally thinks of the gloss layer as a stencil. Everything you draw on it in that spot swatch gets a clear, shiny coat. Everything you leave empty stays matte. That is why the layer is drawn, not styled, and why gradients and shadows have no place on it. Draw the shape, fill it flat, overprint it, and the card does the rest in the light.
Design and print spot gloss cards →
Infographic
The spot gloss file, from artboard to export
One frame, seven steps: artboards at a 3.5 x 2 inch trim with bleed, the front and back artwork, the gloss layer, the spot swatch, the accents, the alignment check and the export. Keep it open on a second screen while you build the file, and check each stage off before you move to the next one.
The seven steps are sequential for a reason. Bleed decided late forces a redraw, and a gloss layer built before the artwork is final rarely survives the next round of edits intact.
Specs and pricing
Glitter spot UV card specs and live pricing
When the file separates cleanly, the only remaining decisions are quantity, stock, and coating sides. Here are the specs and current prices for the glitter spot UV card. It comes in 2 x 3.5, 1.5 x 3.5 or 2.5 x 2.5 inches on 16 point silk laminated stock, with glitter spot UV on the front, the back or both, optional foil and rounded corners, from 500 cards on 10 business days of production.
| Quantity | Price Per Unit | Total |
|---|---|---|
| 500 | 40.2¢ | $200.84 |
| 1,000 | 30.2¢ | $301.88 |
| 2,000 | 23.9¢ | $478.73 |
Print it
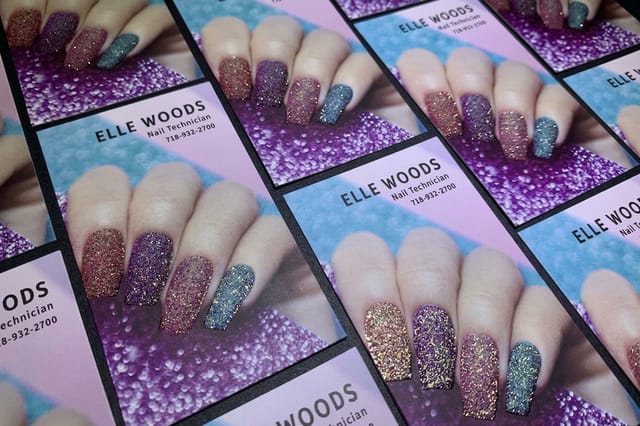
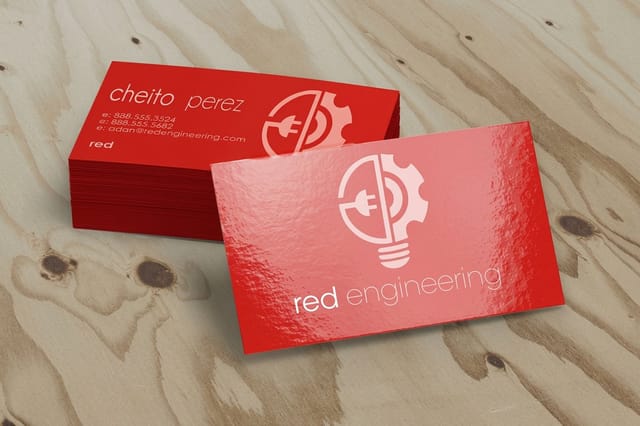
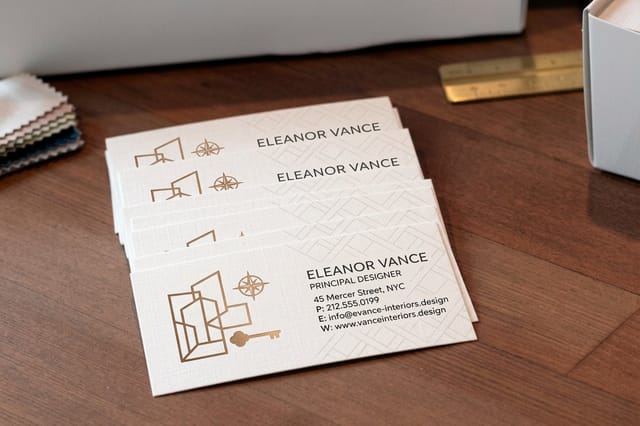
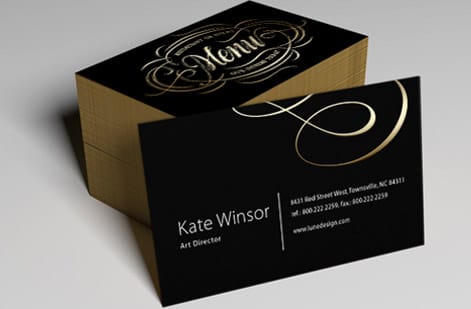
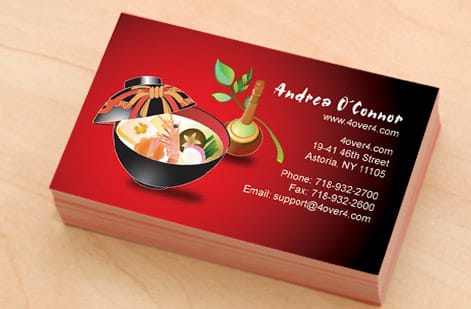
Cards that carry a high shine finish well
See it in use
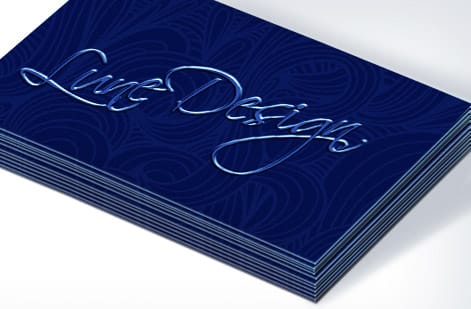
Spot gloss cards from real Illustrator files





Explore more
Where to go next

By the numbers
Sixty plus papers a spot gloss card can sit on
Common Questions
Common questions about spot gloss business cards
What is a spot gloss business card?
A spot gloss business card is a matte or soft touch card with a clear, high shine coating applied to selected areas rather than the whole surface. The coating is printed as a separate pass on top of the ink, so a logo, a name, or a graphic pattern catches the light while the paper around it stays flat and velvety. Designers also call it spot UV, because the clear coating is cured under ultraviolet light.
How do I set up a spot gloss layer in Adobe Illustrator?
Create a new layer above your artwork and name it Spot Gloss. Make a new swatch, set its color type to Spot Color, and give it one obvious value such as 100 percent magenta. Fill every gloss shape with that swatch, set the fill to overprint in the Attributes panel, and keep the shapes as solid vector paths. When the file is separated at the press, that layer becomes the coating plate and nothing else on the card is affected.
How do I choose where the gloss should go?
Pick the one element you want a person to notice when the card catches a lamp. For most cards that is the logo mark, a single word in the name, or a background pattern behind the contact block. Gloss reads as emphasis, so two or three targets is usually the ceiling. If you cannot decide, print the layout in grayscale and mark what you would keep if you could only keep one thing.
What does a spot gloss business card cost and how is the price set?
Price moves with quantity, stock weight, whether the coating is one sided or two sided, and any added specialty such as glitter or foil. Glitter Spot UV Business Cards start at $200.84 for a specialty run, while Gloss Laminated Business Cards start at $37.24 when you want shine across the whole face instead of selected areas. Larger quantities lower the unit cost quickly because the setup is spread over more cards.
What sizes, stocks, and finishes work with spot gloss?
The standard 3.5 x 2 in card is the most common, and square and slim formats are also produced. Spot gloss needs a base that contrasts with it, so heavy uncoated, matte, soft touch, and suede stocks in the 16 pt to 32 pt range give the best result. You can combine the coating with glitter, colored edges, or rounded corners. Check the product page specs before you commit, since available stocks differ by product.
How long does printing and shipping take?
Specialty finishes need a coating pass after the ink dries, so production runs longer than a plain four color card. Turnaround is shown on the product page once you choose quantity, stock, and finish, and the estimate updates with your shipping method at checkout. If a date is fixed, order with a few days of margin and upload files that are already print ready, because file corrections are the most common cause of delay.
Do I send one file or two files?
Send one press ready PDF with the gloss art as a named spot color layer above the artwork whenever the product allows layered files. If a second file is requested, export the same gloss shapes alone, in position, filled 100 percent black on a white background, at the exact same page size as the card. Both methods work, but the two files must share identical dimensions or the coating will land off register.
Get Started
Order 500 glitter spot UV cards from $200.84
Upload the press PDF, pick your stock and quantity, and let the coating unit do what your top layer told it to do. Free paper samples are available first.
Legal Disclaimer
Gold Standard guarantees apply to all standard orders placed through 4over4.com. Price match requires verifiable proof of a competitor's published price for an equivalent product with matching specifications and turnaround time. Satisfaction guarantee covers manufacturing defects and print quality issues. Contact support with order number and documentation.
