
How to Set Up a Business Card Outline With Bleed, Trim and Safe Zone


Emma is our prepress and print production voice, built from the knowledge of our production team, with over 20 years in printing.
The numbers for a press-ready card file, how to draw them in the software you already use, and how a die line changes the rules on a custom shape.
A business card file needs three rectangles: bleed at 3.75 by 2.25 inches, trim at 3.5 by 2 inches, and a safe zone at 3.25 by 1.75 inches. Background art runs all the way to the bleed, the blade cuts at the trim, and nothing you need to keep crosses out of the safe zone. Custom shapes add a fourth line, a die line drawn as a closed path in a 100 percent magenta spot color on its own layer.
Quick answer
Bleed, trim, safe zone, and the eighth of an inch between them
Build the artboard at 3.75 by 2.25 inches and treat the middle 3.25 by 1.75 inches as the only part guaranteed to survive. Background color and photos run to the outer edge, the guillotine aims at 3.5 by 2 inches, and the eighth of an inch on either side of that line absorbs the small drift that happens when several hundred cards are cut in one lift. Shaped cards swap the trim rectangle for a die line you draw yourself, and the bleed then follows that shape instead of a box around it.
The Three Rectangles Every Business Card File Carries
An outline is not decoration on the artboard. Each of the three rectangles corresponds to a physical event in the shop, and once you know which event, the rules stop being arbitrary.
| Line | Inches | Millimeters | Pixels at 300 dpi | What happens there |
|---|---|---|---|---|
| Bleed | 3.75 x 2.25 | 95.25 x 57.15 | 1125 x 675 | The edge of your artboard. Background art must reach it and is then thrown away. |
| Trim | 3.5 x 2 | 88.9 x 50.8 | 1050 x 600 | Where the guillotine aims. The finished card you hold. |
| Safe zone | 3.25 x 1.75 | 82.55 x 44.45 | 975 x 525 | The inner boundary for anything that must survive: type, logos, QR codes. |
The gap between bleed and trim exists because cards are cut in lifts, not one at a time. A stack of several hundred sheets goes under the blade together, the paper compresses slightly, and the cut lands within about a sixteenth of an inch of the mark rather than exactly on it. Extending the background an eighth of an inch past the trim gives that variation somewhere to go. Without it, the card that sat at the bottom of the lift comes out with a hairline of white paper along one edge, and there is no fixing that after the fact.
The safe zone is the same tolerance mirrored inward. Type set a sixteenth of an inch from the trim is not clipped in the file, it is clipped on the machine. Our bleed and trim guide covers how the same two lines scale up to postcards and posters, where the bleed allowance changes with the size of the sheet.
Full bleed works the same way on every card size we cut, so the artboard is always the trim plus an eighth of an inch on each side. These are the catalog sizes and the artboard each one needs.
| Card | Trim sizes, inches | Artboard with bleed, inches | Stocks and turnaround |
|---|---|---|---|
| Standard | 3.5 x 2, 2 x 2, 3.5 x 1.5, 3.375 x 2.125 | 3.75 x 2.25, 2.25 x 2.25, 3.75 x 1.75, 3.625 x 2.375 | 14pt Gloss Cover to 24pt Ultra Thick Gloss Cover, 3 business days |
| Square | 2 x 2, 2.5 x 2.5, 3 x 3 | 2.25 x 2.25, 2.75 x 2.75, 3.25 x 3.25 | 14pt Gloss Cover to 18pt Premium White Linen, 3 business days |
| Die-cut | Five shapes on a 3.5 x 2 card, plus 2 and 2.5 inch circles | The die line plus 0.125 on every side | Seven stocks including 15pt Synthetic Plastic, 3 business days |
Send one PDF with the front and back at the same artboard size, and run every background color or photo to the outer edge of it.
Drawing the Outline in Illustrator, InDesign, Photoshop and Canva
Every one of these gets you to the same 3.75 by 2.25 inch artboard. They differ in how much of the outline the software draws for you.
- Illustrator. New document at 3.5 by 2 inches, color mode CMYK, raster effects 300 ppi, and bleed 0.125 inches on all four sides. The red guide that appears outside the artboard is your bleed line. Draw a rectangle at 3.25 by 1.75 inches, center it, lock it on a guide layer, and you have the safe zone too. Export with Save As PDF and tick Use Document Bleed Settings under Marks and Bleeds.
- InDesign. Same document setup, with one bonus: set the margins to 0.125 inches and InDesign draws the safe zone as a live guide on every page. This is the right tool when the card has a lot of small type, because paragraph and character styles keep the address block consistent across a whole team of cards.
- Photoshop. There is no bleed field, so build the canvas at 1125 by 675 pixels, 300 dpi, CMYK, 8 bit. Add guides 37.5 pixels in from each edge for the trim, then 75 pixels in for the safe zone. Remember that Photoshop rasterizes type, so vector-crisp small print is not available here.
- Canva. Start a custom size at 3.5 by 2 inches, switch on Show print bleed under File, and keep everything important inside the dotted margin. Download as PDF Print with Crop marks and bleed ticked, then open the result and confirm the page measures 3.75 by 2.25 inches before you upload it.
The fastest route is to skip the setup entirely and start from a file that already has the three rectangles on it. Our blank template library has the card sizes with bleed, trim and safe zone drawn on locked layers. If you want the color side of the file right as well, the color profile guide explains which CMYK profile to convert to and when to leave a photo in RGB until export. For a standard card, open the blank template for business cards and the three rectangles are already drawn.
Die Lines, the Outline That Actually Cuts
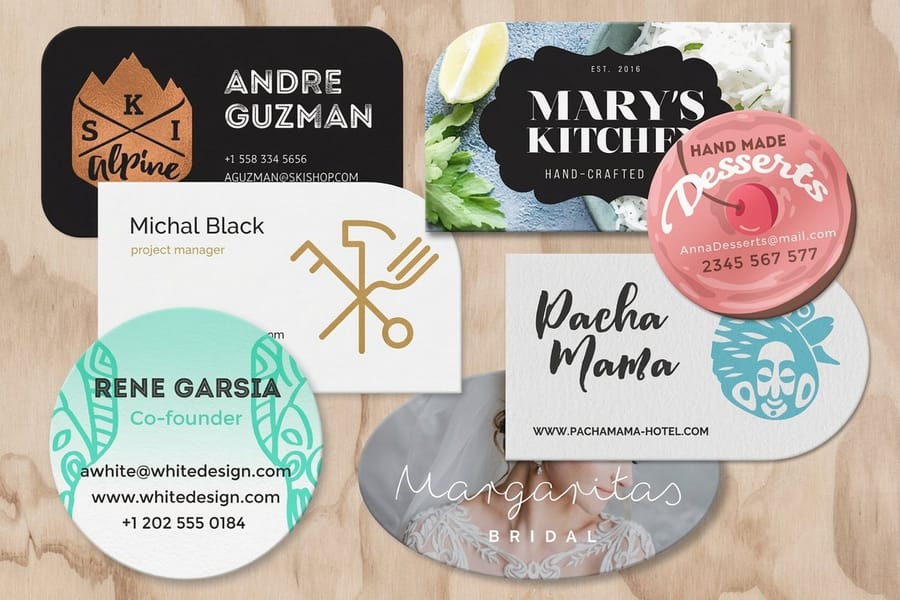
A straight-cut card needs no outline from you, because a guillotine follows the page size. The moment the shape stops being a rectangle, the cut has to be drawn, and that drawing is the die line.
Build it as a single closed path with a stroke and no fill. Give the stroke a new spot swatch set to 100 percent magenta, name it something unmistakable, and set the path to overprint so it does not knock a white gap out of the artwork underneath. Put it on its own layer above everything else and leave the layer in the exported PDF. Two paths, an open path, or a die line flattened into the artwork all mean the same thing at our end: nobody can separate the cut from the design, and the job waits.
The spacing rules shift with it. Bleed still runs an eighth of an inch outside the cut, but it now follows the curve of the die line rather than a rectangle around it, so a rounded corner needs rounded bleed. Type still stays an eighth of an inch inside the cut, measured from the die line at its nearest point, which on a shape with a notch or a deep curve is closer to the middle than you expect. Check the tight spots rather than the average.
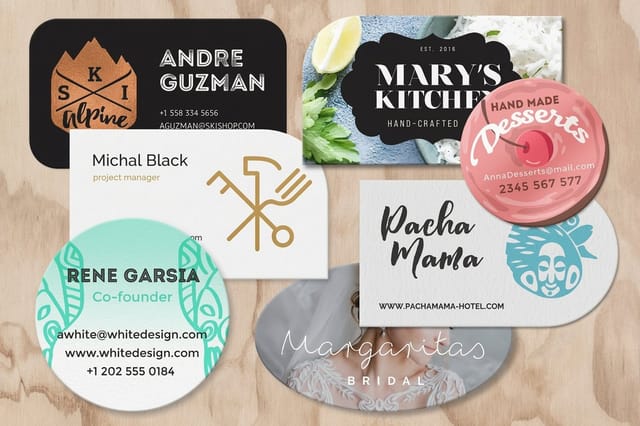
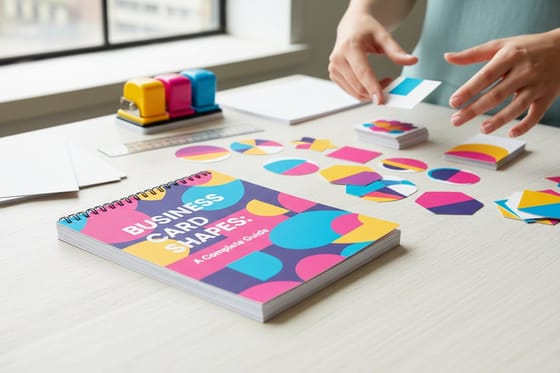
Shape costs money, and it is worth knowing how much before you commit. Die-cut business cards start at $26.37 against $17.57 for standard business cards, because a die has to be made and the cards are cut in smaller lifts. Square business cards start at $17.57 with no die at all, since four straight cuts still make a square. When none of the stock die shapes fits your outline, die cut any shape business cards follow the die line you draw as a basic or complex shape, from 50 cards in 5 business days, and oval die cut business cards run on the same custom die setup. See the square format in the square business cards story. If you want the card to look unusual without paying for a die, that is the cheapest lever you have. Our guide to business card shapes walks through which outlines a die handles well and which ones fight the material.
Exporting a File the Press Will Take First Time
Most held jobs are not design problems. They are export settings, and the same five come back again and again.
- Format. Press-quality PDF or PDF/X-1a, with bleed included. Native Illustrator, InDesign and Photoshop files need fonts and links that may not travel with them.
- Color. CMYK throughout. An RGB file gets converted at our end, and the conversion is rarely the shift you would have chosen, particularly on deep blues and bright oranges.
- Type. Outlined or fully embedded. For small text, use one ink rather than four: 100 percent black type is sharp, while type built from all four inks shows a soft fringe if the plates sit a hair apart.
- Solids. Large black areas print flat and slightly gray in 100 percent black alone. A rich black mix behind a big field gives the depth people expect from a dark card, and it matters more on a coated stock like silk laminated business cards, where the surface reflects any weakness in the solid.
- Pages. Front and back at the same size and orientation, in that order, in one PDF or two matching files.
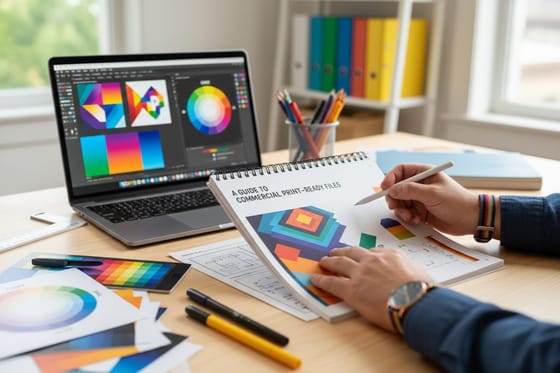
Images are the last check. Anything placed in the file should be 300 dpi at the size it appears on the card, not 300 dpi before you scaled it up. A logo pulled off a website at 72 dpi looks acceptable on screen and prints as a soft, stepped edge that no press setting can rescue. The print-ready file checklist lists every check we run on an incoming file, and business card stock explained covers how the paper you choose changes the way ink sits once the file is right. Ready to print, browse business card printing and pick the stock first, because the stock decides how much the artwork can get away with.
Wally draws the outline
One eighth out, one eighth in, and everything important in the middle
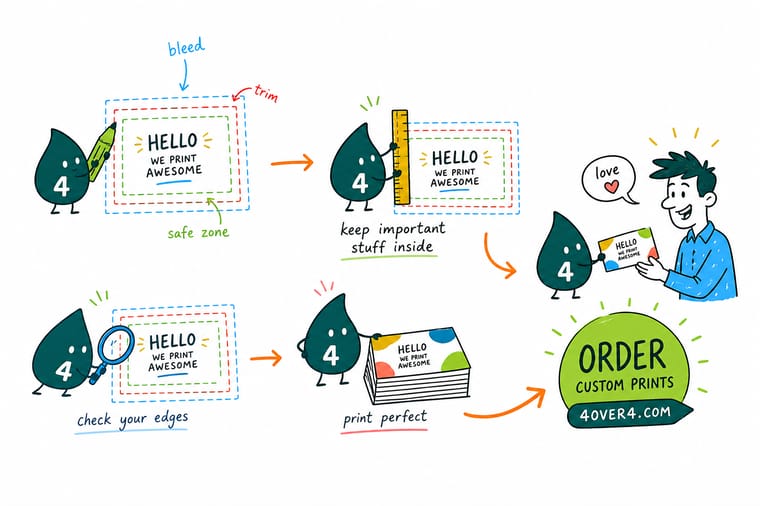
Wally starts at 3.75 by 2.25 inches and paints the background right off the edge, because the outer eighth of an inch gets cut away and thrown out. Then he marks 3.5 by 2 inches, where the blade lands, give or take a sixteenth on a tall stack. Then he pulls the phone number, the logo and the QR code another eighth of an inch inside that, so a small drift never touches them. Give him a shape instead of a rectangle and he draws a magenta die line on its own layer, then bends the bleed to follow it.
Order standard business cards →%22%2F%3E%3Ccircle%20cx%3D%2242%22%20cy%3D%221%22%20r%3D%2217%22%20fill%3D%22%2314b8a6%22%20opacity%3D%220.15%22%2F%3E%3Ccircle%20cx%3D%2240%22%20cy%3D%2250%22%20r%3D%225%22%20fill%3D%22%2314b8a6%22%20opacity%3D%220.1%22%2F%3E%3Crect%20x%3D%2272%22%20y%3D%22-7%22%20width%3D%2227%22%20height%3D%2210%22%20rx%3D%224%22%20fill%3D%22%2314b8a6%22%20opacity%3D%220.08%22%20transform%3D%22rotate(7%2080%2030)%22%2F%3E%3C%2Fsvg%3E)
Specs and pricing
Card sizes, stocks, and starting prices
Straight-cut cards come in 3.5 by 2, 2 by 2, 3.5 by 1.5 and 3.375 by 2.125 inches, square cards in 2, 2.5 and 3 inch squares, and die-cut cards in seven shapes, among them a leaf, an oval and two circles. All three start at 100 cards with 3 business days of standard production, and the widgets below show every stock and the live starting price from the 4OVER4.COM configurator.


Standard, die-cut or silk laminated
Take the file you just set up and print it

Bleed, sizes, shapes and file checks
Where to go next


Our Queens plant since 1999
What the cutter does to your edges
Common Questions
Your file setup questions, answered
What size should a business card file be, including bleed?
Build the artboard at 3.75 by 2.25 inches, which is 95.25 by 57.15 millimeters, or 1125 by 675 pixels at 300 dpi. That is the standard 3.5 by 2 inch card plus an eighth of an inch of bleed on each of the four sides. Keep your logo, name and contact details inside the middle 3.25 by 1.75 inches so nothing sits close enough to the blade to get clipped.
Do I still need crop marks if my file already has bleed?
No. Once the bleed is in the file we can impose the job from the page size alone, and crop marks on a card that small often overlap the bleed area anyway. If your software adds them by default, leave them on and set the offset to at least 0.0833 inches so the marks sit outside the artwork rather than on top of it. What we cannot work around is a file with crop marks but no bleed, because the marks tell us where to cut without giving us anything to cut into.
Why did my border come out thicker on one side?
Because the blade landed a fraction off the mark, and a border shows that fraction immediately. Trimming a lift of several hundred cards is accurate to roughly a sixteenth of an inch, and a border drawn tight to the trim line has nowhere to absorb it. Either pull the frame at least an eighth of an inch inside the trim so a small shift is invisible, or drop the border and let the background run off the edge instead.
How do I set up a die line for a custom shaped card?
Draw the finished outline as a single closed path with a stroke and no fill, give the stroke a new spot swatch at 100 percent magenta, name it clearly, and set it to overprint. Put that path on its own layer above the artwork and leave it there when you export. Extend the background art an eighth of an inch outside the die line, following the same curve, and keep type an eighth of an inch inside it. Die-cut business cards start at $26.37, against $17.57 for standard business cards, which is the practical cost of asking for a shape instead of a rectangle.
Can I set up a business card in Photoshop?
Yes, with one caveat. Photoshop has no bleed setting, so start the document at the bleed size of 1125 by 675 pixels at 300 dpi in CMYK and place your own guides 37.5 pixels in from each edge for the trim and 75 pixels in for the safe zone. The caveat is that Photoshop rasterizes type, so small print gets slightly soft edges compared with vector text from Illustrator or InDesign. On a card carrying 6pt legal text or a fine script logo, that difference is visible under good light.
What happens if my front and back are different sizes?
The job stops and we come back to you, because we cannot tell which page defines the trim. Both sides need identical dimensions and the same orientation, supplied either as a two page PDF in front then back order or as two separate files. A common cause is a front built at the bleed size and a back built at the trim size, which looks correct on screen and only shows up when the two pages are compared.
Get Started
File ready? Print it on the stock it deserves
Upload a PDF with bleed, pick your stock and finish, and we handle the trim. Not sure how a stock will feel in the hand? Order the sample pack first.
Legal Disclaimer
Gold Standard guarantees apply to all standard orders placed through 4over4.com. Price match requires verifiable proof of a competitor's published price for an equivalent product with matching specifications and turnaround time. Satisfaction guarantee covers manufacturing defects and print quality issues. Contact support with order number and documentation.
