
Backdrop Banner Sizes and Setup for Photo Walls That Look Sharp on Camera


Tobias is our voice for cutting, binding and large format, built from the knowledge of our production team, with over 20 years in printing.
Sizes that fit real groups, step and repeat spacing that survives a shoulder, blockout material that stops backlight, and a setup sequence that gets the panel flat before the first guest arrives. Everything you need to order a backdrop banner once and hang it right.
A backdrop banner is a large printed panel hung behind people so every photo carries your brand instead of a blank hotel wall. The default size is 8 ft by 8 ft, which frames three or four adults. Go 10 ft wide for group shots. Print on blockout material when light sits behind the wall, keep step and repeat logos 8 to 12 inches wide on staggered rows, and finish with hems and grommets or pole pockets to match your frame.
Start here
Step and repeat spacing that survives a shoulder
A backdrop banner is the printed wall your event photos happen against. Choose the width by how many people belong in one frame, keep the height at 8 ft, and print on blockout stock whenever a window or a stage light sits behind it. Lay step and repeat logos on staggered rows at 8 to 12 inches wide, hold live artwork 3 inches inside the trim, and match the finishing to your hardware. Hang it early, tension it evenly, and steam what is left.
Why the backdrop banner is the most photographed thing at your event

Every guest who steps in front of the wall leaves with a photo, and that photo travels further than anything you hand out at the door. An 8 ft by 8 ft wall puts three or four people and your logos in each shot, and a 10 ft by 8 ft wall holds a group of six, so one panel shows up in every camera roll and group chat from the night.
The common mistake is treating it like a very large poster. A backdrop is sized to bodies, lit by flash, and shot from an angle, so the rules that make a typical event display work do not fully transfer. Sizing, logo spacing, opacity, finishing, and the on site hang all change the result.
What a backdrop banner is, and how a step and repeat differs
A backdrop banner is a large printed panel hung behind people instead of in front of them. Its job is to control what appears in the frame: your brand, a sponsor lineup, an event name, and nothing else. Hotels, ballrooms, gyms, and warehouses all supply the same distracting background, and a backdrop replaces it with a surface you own.
A step and repeat is a specific type of backdrop, the one you know from premieres and press lines. The artwork is a repeating grid of one or two logos, deliberately built so that any crop of the wall still shows complete marks. Every step and repeat is a backdrop banner, but plenty of backdrops are single image scenes, sponsor walls, or a headline with a pattern behind it.
The practical difference is how you design the file. A scenic backdrop is composed once for the full panel. A step and repeat is a tile you build small and multiply, which means spacing and rotation matter more than any single graphic. Both print on the same materials and hang on the same hardware, and both follow the same setup rules covered in our print ready banner setup guide.
Backdrop banner sizes and how to choose the right one

Width is decided by how many people you want in one shot, not by how much wall you have. Roughly 30 inches of banner width covers one adult with breathing room, so a 6 ft panel frames two people, 8 ft frames three or four, and 10 ft holds a group of six or a lineup with an award between them. Height of 8 ft is the practical standard because it clears the tallest guest and stays in frame when a camera tilts.
The four sizes that cover almost every event are 6 ft by 8 ft for a compact check in wall, 8 ft by 8 ft as the all purpose default, 10 ft by 8 ft for group and team photos, and 20 ft by 8 ft when you need a full sponsor wall behind a stage. Anything wider is usually printed as two panels and butted together on a wider frame, which also makes shipping and handling far easier.
If a venue caps your ceiling height, drop to a 7 ft panel rather than trimming width, since losing width costs you people in the frame. Our standard banner sizes guide lists the full width and height chart, and the trade show banner guide covers what fits inside a 10 by 10 booth footprint. For a booth wall on a frame, see pop up banner sizes and the booth footprint each one fits.
Use this chart to match each backdrop size to the product that prints it:
- 6 ft by 8 ft, two people. Order a vinyl banner at Any Size on 13oz Outdoor Vinyl or 15oz BlackOut Vinyl, from $79 for a 2 x 4 foot banner and priced by area above that, printed in 3 business days.
- 8 ft by 8 ft, three or four people. The same vinyl banner at Any Size, with hems on all 4 sides and grommets every 2 feet for a pipe and drape rig, or 4 inch pole pockets top and bottom for a telescopic frame.
- 10 ft by 8 ft, a group of six. Vinyl banner at Any Size, or the preset 6 ft by 10 ft and 8 ft by 12 ft sizes turned on their side.
- 20 ft by 8 ft, a full sponsor wall. The 8 ft by 20 ft vinyl banner preset, or two 8 ft by 10 ft panels butted together on a wider frame.
- Up to 4 ft by 10 ft, double sided. 2 Sided Blockout Banners on 15oz BlackOut vinyl in 13 sizes from 2 ft by 3 ft, from $108.75 for one at the smallest size, printed in 4 business days.
Whichever size you pick, upload a PDF built at one tenth scale, 9.6 by 9.6 inches for an 8 ft by 8 ft wall or 12 by 9.6 inches for 10 ft by 8 ft, with images at 1,500 dpi at that scale, which gives 150 dpi at full size, and choose the free online proof so you see the hems and grommets on your art before production.
Laying out a step and repeat so every logo survives the photo
Build the pattern as a single tile, then repeat it. Give each logo 8 to 12 inches of width, which is the range that still reads clearly after a phone camera compresses the image and someone views it at thumbnail size. Anything smaller turns to mush, anything larger means fewer marks appear behind each person.
Stagger the rows. If logos sit in a strict grid, a head or a shoulder can hide a whole column, and one guest ends up standing in a hole where your brand should be. Offsetting every other row by half a tile guarantees complete marks around the body no matter where a person stands. Some event teams also rotate the grid 15 to 45 degrees for a looser, more editorial look.
Keep the gap between logos at roughly half a logo width. Tighter looks cluttered under flash, wider leaves dead space that reads as unfinished. If you are mixing a sponsor set, size marks to matching visual weight rather than matching pixel width, because a wide wordmark and a compact badge at the same width look nothing alike on camera. Zoom out to 25 percent before you approve the proof, since that is closer to what a lens sees than a full resolution view.
Materials, opacity, and why blockout stock matters behind people
Most backdrops print on heavy scrim vinyl, a woven core that resists tearing at the grommets and holds color well under flash. It is the right default for indoor and short outdoor runs, it rolls without cracking, and it wipes clean when a venue floor leaves a mark on the bottom hem.
Opacity is the specification people forget. If a window, an open doorway, or a stage light sits behind the wall, a standard banner glows and whatever is behind it ghosts through the face. Blockout material carries an internal blocking layer that stops light passing through, which keeps the print solid and lets you print both faces without one bleeding into the other. That is exactly what our 2 Sided Blockout Banners are built for, starting at $108.75 for one 2 x 3 foot banner.
Finish choice affects photography as much as material does. A matte or low sheen face scatters flash instead of bouncing a hot spot back into the lens, which is why glossy laminates are a poor fit for a photo wall. Dark backgrounds hide fingerprints and scuffs better than pale ones, but they also swallow logo detail, so keep contrast high between the mark and the field behind it.
File setup, resolution, and the safe zone that saves your logos
Large format does not need 300 dpi at full size. Build the file at a scale you can handle, commonly one tenth or one quarter of final size, and raise the resolution to match: 1,500 dpi at one tenth or 600 dpi at one quarter gives 150 dpi on the finished banner. Vector logos should stay vector all the way through, since they enlarge without softening and they are the elements a camera will judge you on.
Hold live artwork at least 3 inches inside the finished edge. Hems fold material over, grommets punch through it, and pole pockets consume several inches at the top and bottom, so anything parked near the trim can end up wrapped, punched, or hidden. Extend the background pattern past the trim as bleed and keep the logos inside the safe zone.
Build in CMYK and expect brand colors to shift slightly against a white vinyl face. If a sponsor color has to be exact, flag it before production rather than after the proof. Our banner template and setup guide walks through document sizes, bleed, and export settings. For the backdrop itself, download the vinyl banner template with the bleed and safe zone drawn in.
Frames, hems, grommets, and pole pockets
Hardware and finishing are one decision, not two. A telescopic backdrop frame, the aluminum uprights and crossbar sold as a photo wall kit, expects pole pockets so the banner slides on and tensions with the bar. A pipe and drape rig, a truss, or a plain wall expects hems and grommets so you can tie, hook, or bungee at fixed points.
Ask for hemmed edges on every backdrop. The hem doubles the material at the perimeter, keeps the panel hanging straight, and gives grommets something strong to grip. Space grommets every 24 to 36 inches around the edge, and add corner reinforcement on anything 8 ft or wider. Bungee loops beat zip ties because they hold tension while letting the panel move slightly instead of puckering.
Outdoors, tie every point rather than only the corners, and move to mesh if the site is windy. A backdrop that is not tied along its full edge becomes a sail. If you also need a freestanding piece for check in or a sponsor spot beside the wall, compare our pull up banner guide and the roundup of retractable banner sizes, since those stands set up in under a minute and travel in a single case.
Setting up a backdrop banner on site, step by step
Give yourself 30 minutes the first time and 10 minutes after that. The sequence below is what event crews run, and following it in order is the difference between a flat wall and a rippled one.
- 1. Unroll early. Take the banner out of the tube as soon as it lands at the venue and lay it face up so the material can relax. Rolled vinyl loses its curl within an hour or two.
- 2. Build the frame first. Assemble uprights and crossbar at final height with the feet set wide, and lock every collar before any fabric goes on. A frame adjusted after loading will twist the panel.
- 3. Load from the top. Slide the top pole pocket on, or hang the top grommet row, and let the banner fall under its own weight before you touch the bottom edge.
- 4. Tension evenly. Work outward from the center to the corners, taking up slack in small increments at every tie point. Pulling two corners hard is what produces diagonal ripples.
- 5. Steam the survivors. Hold a handheld steamer a few inches off the face and move it steadily. Never press an iron directly onto vinyl.
- 6. Check it through a camera. Take a test shot with flash from where the photographer will stand. Hot spots, reflections, and a crooked hang all show up on the screen before they show up in a guest photo.
- 7. Weight the base. Sandbags on the feet indoors, stakes or water weights outdoors. A backdrop that shifts mid event is worse than one that was never hung.
What a backdrop banner costs and how to order yours
Pricing follows finished square footage first, then material, sides printed, finishing, and turnaround. That is why an 8 ft by 8 ft blockout wall and a 10 ft by 8 ft single sided vinyl panel can land close together on price. Quantity helps only at volume: on 2 Sided Blockout Banners the second panel costs the same as the first, and the price per panel drops from four panels up, to $97.76 each.
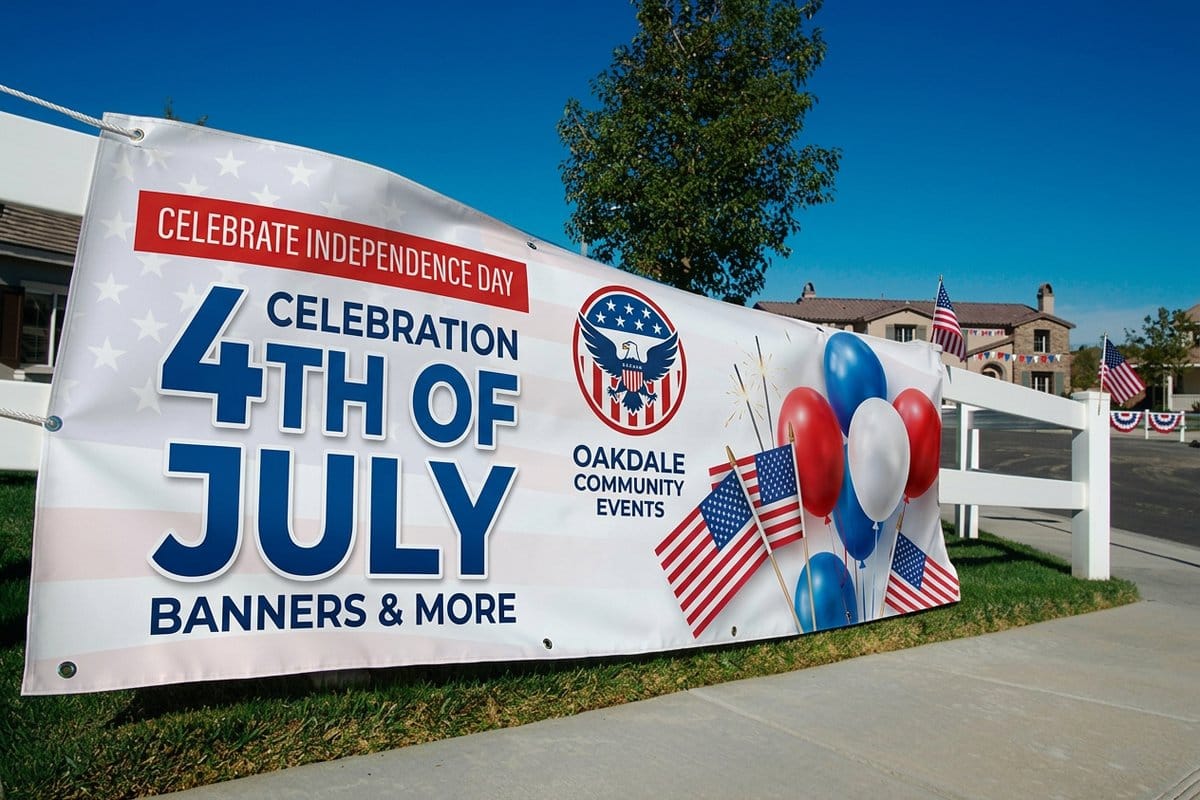
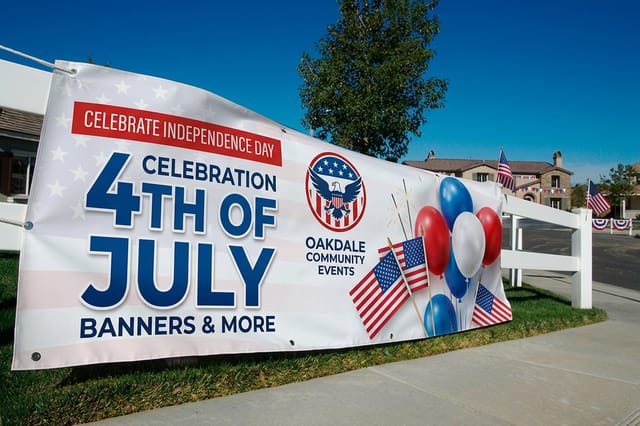
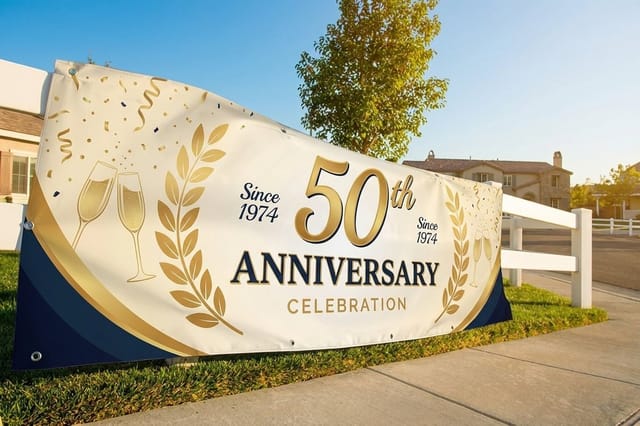
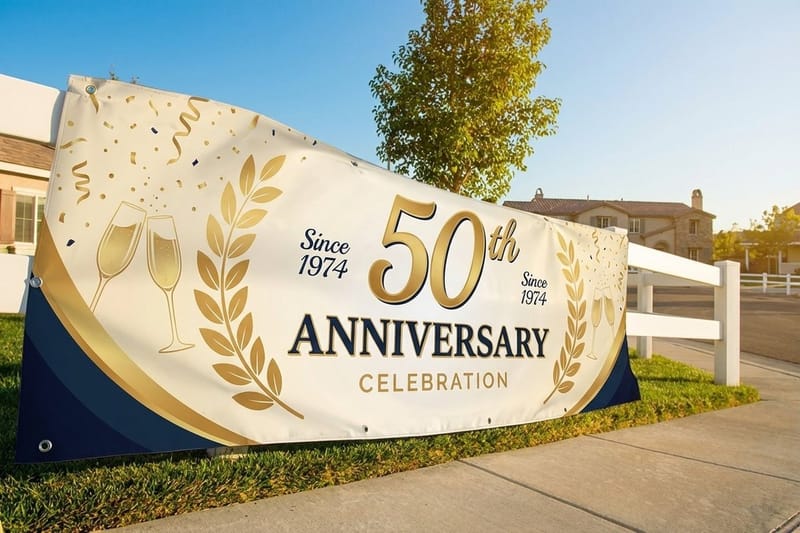
Our 2 Sided Blockout Banners start at $108.75 for one 2 x 3 foot banner and are the strongest choice when light sits behind the wall or both faces will be seen. Seasonal event styles such as 4th of July Banners and Anniversary Banners start at $79 for a 2 x 4 foot banner and work well as the flanking pieces around a photo wall. Tap through the anniversary banners story to see the product up close. Browse the full range in banner printing, or see how we compare on custom signage in our Printmoz alternative breakdown.
Wally explains backdrop banners
Design it for the camera, not for the wall
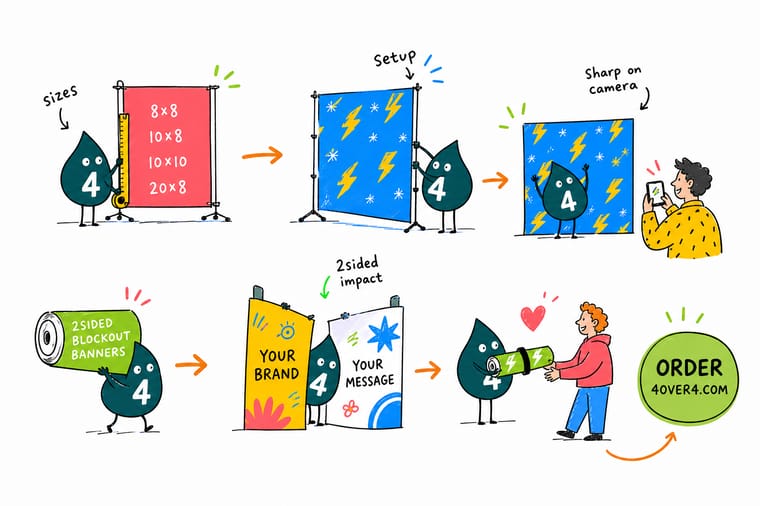
Wally checks every backdrop through a phone screen before it prints. He asks how many people stand in front of it, whether light sits behind it, and what the logos look like at thumbnail size. Get those three answers right and the rest is hardware. Size to the group, block the light, stagger the logos, then tension the panel until nothing ripples.
Design and print your backdrop →
Infographic
Backdrop banner sizes and setup at a glance
The frame puts the numbers on one page: 8 ft by 8 ft for three or four people, 10 ft by 8 ft for a group, a staggered logo grid, 8 to 12 inch logo width, a 3 inch safe zone and grommets every 24 to 36 inches. Send it to whoever builds your artwork and check it again before you approve the proof.
These seven numbers work together. A wider panel needs more grommets, a staggered logo grid needs the safe zone respected at the edges, and none of it matters if the banner goes up ten minutes before doors open.
Specs and pricing
Blockout banner specs and live pricing
2 Sided Blockout Banners print on 15oz BlackOut vinyl in 13 sizes from 2 ft by 3 ft to 4 ft by 10 ft, at $108.75 for one and $217.47 for two, in 4 business days. Change size, grommets and pole pockets below to watch the price move before you commit to a run.

| Quantity | Price Per Unit | Total |
|---|---|---|
| 1 | $108.75 | $108.75 |
| 2 | $108.74 | $217.47 |
| 3 | $108.74 | $326.22 |
| 4 | $97.76 | $391.02 |
| 5 | $97.76 | $488.78 |
| 6 | $97.76 | $586.53 |
| 7 | $89.28 | $624.98 |
| 8 | $86.77 | $694.18 |
Print it
Backdrop and event banners printed in house
See it in use
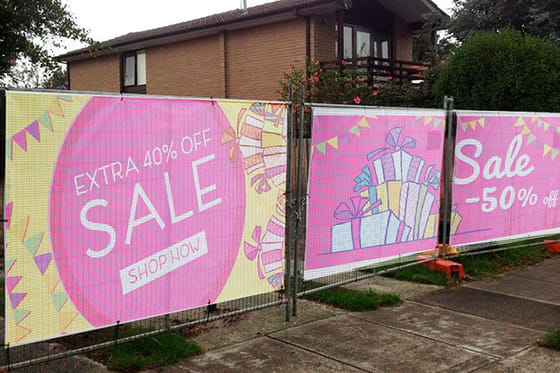
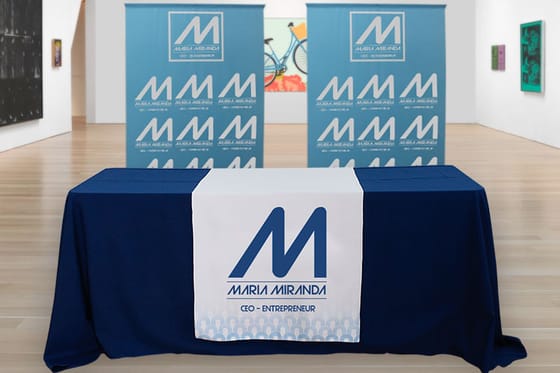
Real banner work, printed on our presses
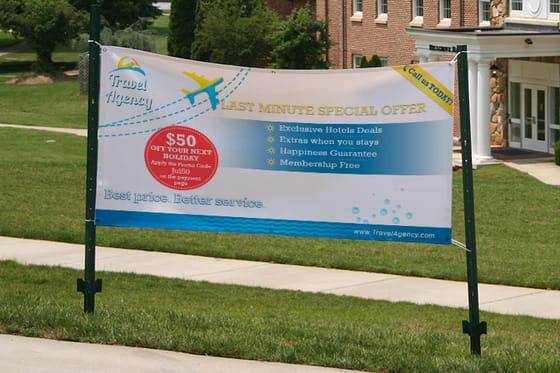
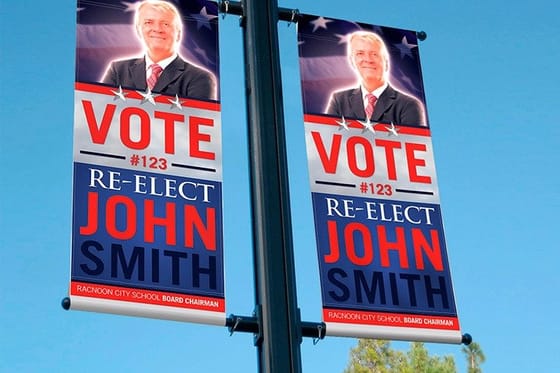
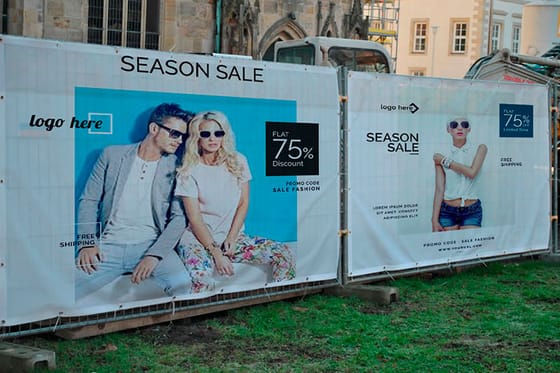
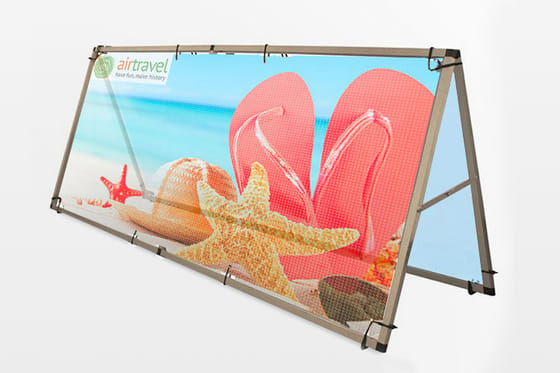

Explore more
Where to go next

By the numbers
Backdrop banners in a 1,000+ product range
Common Questions
Common questions about backdrop banners
What is a backdrop banner?
A backdrop banner is a large format printed panel hung behind people rather than in front of them. It gives photographers a controlled, branded surface instead of a hotel wall or a parking lot. Most are printed on heavy vinyl or blockout material, finished with hems and grommets or pole pockets, and mounted on a telescopic frame or a pipe and drape rig. The step and repeat pattern used at press events is the best known version.
What size backdrop banner do I need?
Match the width to the number of people you want in one frame. An 8 ft by 8 ft panel holds three or four adults with room to spare. A 10 ft by 8 ft panel handles a group of six or a photographer shooting head to toe. Height of 8 ft covers almost everyone standing, and it keeps the top of the wall out of frame when the camera tilts up slightly.
How do I space logos on a step and repeat backdrop?
Set logos on a staggered grid so each row offsets from the one above it. That way a head or a shoulder never blocks a full mark. Keep 8 to 12 inches of width per logo, leave a consistent gap of roughly half a logo width, and rotate the grid slightly if you want a looser, more editorial look. Test the layout at 25 percent zoom to see what a camera will see.
What does a backdrop banner cost and how are prices set?
Price is driven by finished square footage, the material you choose, single or double sided printing, the finishing, and the turnaround you select. Our 2 Sided Blockout Banners start at $108.75 for one 2 x 3 foot banner, and event styles such as 4th of July Banners and Anniversary Banners start at $79 for a 2 x 4 foot banner. The configurator recalculates as you change size and quantity, so you see the real number before you order.
What sizes, stocks, and finishes are available for backdrop banners?
Vinyl banners come in 23 preset sizes from 2 x 4 to 8 x 20 feet or any size, on 13oz Outdoor Vinyl or 15oz BlackOut Vinyl, with optional hems, grommets at the corners or every 2 feet, and 2 or 4 inch pole pockets. For a wall seen from both sides, 2 Sided Blockout Banners run on 15oz BlackOut vinyl in 13 sizes up to 4 x 10 feet.
How long does a backdrop banner take to print and ship?
Vinyl banners print in 3 business days and 2 Sided Blockout Banners in 4, and the configurator shows the ship date attached to each option before you pay. Large format work is printed and finished in house. For an event, order with a buffer of a few days so you can hang the banner, inspect it, and steam out shipping creases without pressure.
How do I keep a backdrop banner wrinkle free?
Ask for it rolled rather than folded, and unroll it as soon as it arrives so it can relax flat. Hang it the day before if the venue allows. Tension it evenly across every grommet or pole pocket instead of pulling hard at two corners, which is what creates diagonal ripples. A handheld steamer held a few inches away clears anything the hang leaves behind.
Get Started
A 2 sided blockout banner costs $108.75 and stops backlight
Send us the artwork and we print, hem, and finish your backdrop banner in house, sized to your crowd and ready to tension the moment it lands at the venue.
Legal Disclaimer
Gold Standard guarantees apply to all standard orders placed through 4over4.com. Price match requires verifiable proof of a competitor's published price for an equivalent product with matching specifications and turnaround time. Satisfaction guarantee covers manufacturing defects and print quality issues. Contact support with order number and documentation.
