
Cute Name Tag Ideas That Stay Readable From Across the Room


Jordan is our labels, packaging and sustainability voice, built from the knowledge of our production team, with over 20 years in printing.
Cute name tags work when the shape carries the personality and the type carries the name: pick a die-cut outline, a color block or a button, then set the name at about three quarters of an inch of cap height so it reads from across the room. Everything else, the icon, the role line, the pronouns, sits underneath at roughly half that size.
Name tag formats at a glance
| Format | Typical size | How it attaches | Best for | Product at 4OVER4 |
|---|---|---|---|---|
| Printed event badge | 3 x 4 in or 4 x 6 in | Lanyard or clip | Conferences, multi-day events, workshops | Event badges |
| Plastic badge | 3.375 x 2.125 in, card size | Lanyard, clip or magnet holder | Staff, reusable and reprinted rarely | Plastic event badges |
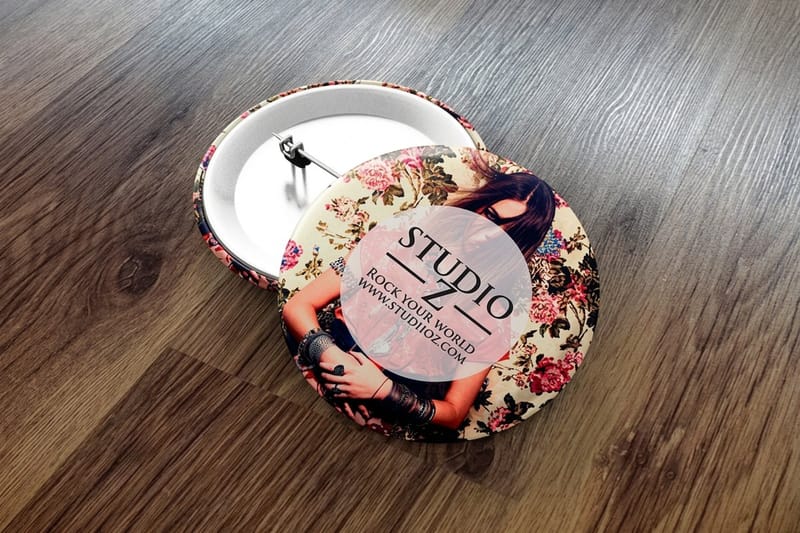
| Pin-back button | 2.25 in round | Pin through the fabric | Volunteers, kids, campaigns, market stalls | Standard buttons |
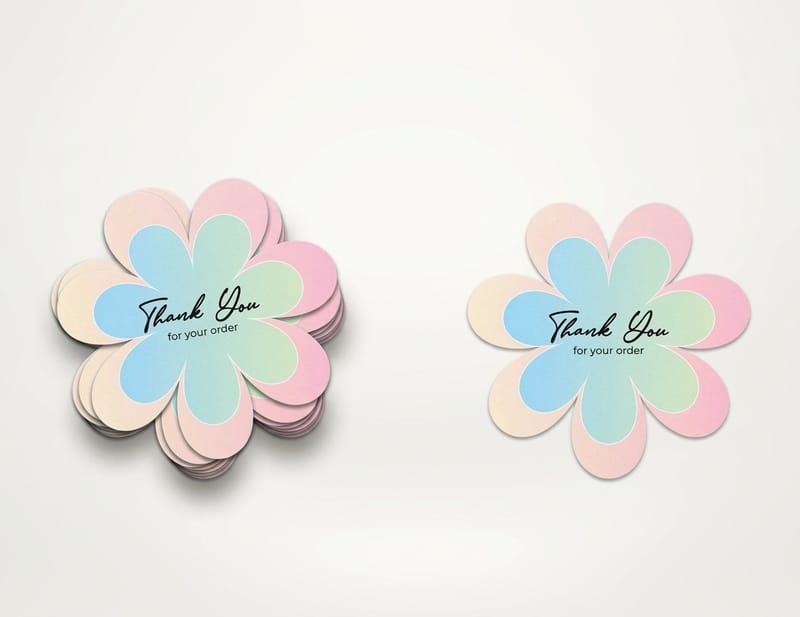
| Die-cut sticker tag | Any shape, 2 to 3 in across | Peel and stick | Parties, classrooms, single-session events | Die-cut stickers |
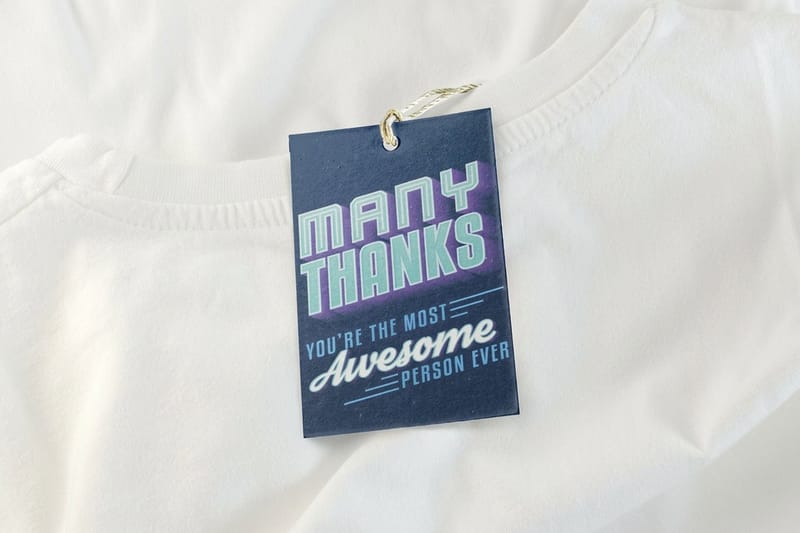
| Hang tag on twine | 2 x 3.5 in | String, ribbon or a small clip | Place settings, gift tables, workshops | Standard hang tags |
Match the format to the room before you match it to the mood board. A three-day conference wants a 3 x 4 or 4 x 6 in badge on 30pt Gloss Laminated with a lanyard slot, while a two-hour baby shower does fine with a die-cut sticker 2 to 3 in across. You can order event badges in any of these sizes straight from the configurator.
Cute wins nothing if the name cannot be read
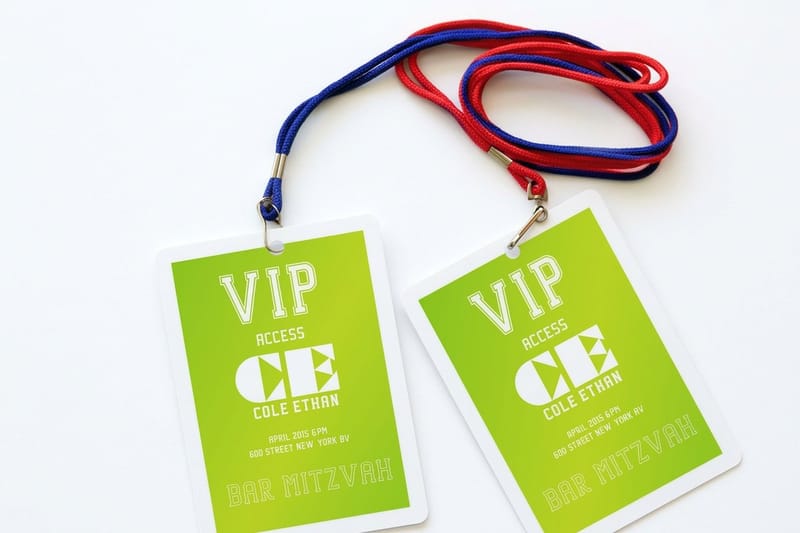
A name tag has one job before it has any other. Someone standing four or five feet away has to read the name without leaning in and squinting. Sign shops size type by a rough rule of one inch of cap height for every ten feet of reading distance, and it transfers almost exactly to name tags: half an inch is fine at a seated dinner, three quarters of an inch is the honest minimum for a standing mixer, and an inch is what you want if people are calling names across a hall.
That one number decides most of the design. On a 3 by 4 inch badge, a three quarter inch name takes the top third of the card. The remaining two thirds is where everything cute lives, and two thirds of a badge is a lot of room. Most charming name tags fail because the illustration was placed first and the name was shrunk into whatever gap survived.
Work the other way round. Set the name, lock it, then decorate around it. Our guide to designing conference badges walks through the same order for multi-day events, where the badge also has to carry a track, a session color and sometimes a meal ticket.
Where the decoration actually belongs
Four places take decoration without stealing legibility: the outline, the background field behind the name, a strip along the bottom, and one small icon no taller than the second line of type. A die-cut edge shaped like a leaf, a cloud, a pennant or a cactus reads as personality from ten feet away while the name stays on a flat, quiet field in the middle.
What does not work is illustration behind the name. A pattern, a photograph or a watercolour wash under the type drops the contrast and costs more legibility than the pattern is worth. If you want the texture, put it on the border and keep the name on solid color.
Leave room for the second line
Almost every name tag needs a second line: a role, a team, a table number, pronouns, or the company. Set it at roughly 40 to 50 percent of the name height. Any closer and the two lines compete; any smaller and nobody reads it, which defeats the point of printing it.
Pronouns belong on the same line as the name or immediately under it, in the same typeface. Tucked into a corner in gray 6pt they read as an afterthought, and at that size they are invisible anyway.
Twelve cute name tag styles worth printing
These twelve run roughly from the easiest to produce to the most involved. A first-time host can start at the top and a conference team can pick further down. Each one names the stock or product that suits it, because the idea and the material are the same decision.
None of them are expensive to try. Standard stickers start at $23.88 and standard hang tags at $25.27, which is inside the budget of a classroom, a baby shower or a fifty-person launch.
Ideas one to six: quick and charming
1. A die-cut silhouette that matches the occasion. A leaf for an autumn dinner, a pennant for a school sports day, a cloud for a nursery open day. Die-cut stickers cut to any outline, and the shape does the whole job of looking different from a rectangle.
2. Color block by table or team. One layout, six background colors, and the room organises itself. Guests find their table without a seating chart and staff can tell at a glance who belongs where.
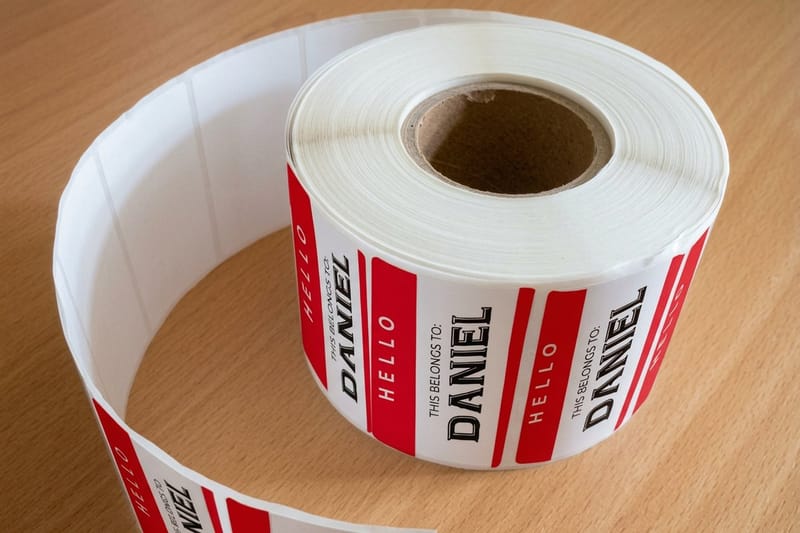
3. Your own take on Hello, my name is. The red-and-white sticker is a cliché precisely because everybody recognises it instantly. Keep the structure, change the typeface and the color, and you get the recognition without the office-supply look.
4. A sticker sheet of mixed shapes for a classroom. Print eight or ten shapes on one sheet and let children pick. It costs the same as one shape and turns handing out name tags into the first activity of the day.
5. Big hand lettering, one tiny icon. The name occupies the card in a brush or script face, and a single small icon sits in the bottom corner. Check the script at a distance first, because loose lettering loses more legibility per point size than a plain face.
6. Kraft or uncoated stock guests write on themselves. An uncoated surface takes a marker cleanly. Gloss and laminate smear under a Sharpie and the name is a gray smudge by the second hour, so choose the stock and the pen together.
Ideas seven to twelve: more involved, more memorable
7. Pin-back buttons with the name and one icon. A 2.25 inch button reads well and survives a whole festival. Remember the wrap: roughly a quarter inch of the printed edge folds around to the back, so keep type well inside. Our guide to pin-back buttons covers where they beat a printed badge.
8. Hang tags on twine as place settings. A 2 x 3.5 inch tag on baker’s twine sits over a wine glass or under a napkin, and guests take it home. It is a name tag and a favour in one printed piece.
9. A two-sided lanyard badge. Print the name on both sides. A badge on a lanyard spins constantly, and a blank back means half the people who look at it learn nothing.
10. Photo badges for staff. A small photograph next to the name tells a guest who to approach. Keep the photo under a third of the card, or the name shrinks and the badge stops working at distance.
11. Season or theme runs. Short runs are cheap enough to print a new design per intake, per term or per event, and a name tag people notice gets photographed and shared.
12. A QR on the back, pointed somewhere useful. Link it to a profile, a schedule or a menu, not the homepage. A code that lands on a homepage teaches people not to scan your codes.
How it attaches matters more than how it looks
This is the part that gets decided last and causes all the trouble. An adhesive name tag holds on cotton and a smooth blouse. It does not hold on fleece, chunky knit, wool or anything with a nap, and at an outdoor event in November most of the room is wearing exactly that. The tags curl at the corner within the hour and end up on the drinks table.
Pins hold on almost anything, which is why buttons are the default at festivals and volunteer teams. The cost is a hole. Nobody wants a pin through silk or a fine knit, so if the dress code is smart, have lanyards available for the people who ask.
Lanyards and clips damage nothing and carry the biggest cards, so conferences settled on them. The trade-off is that the badge hangs at waist height, spins to its blank side, and disappears under a jacket. Print both sides and keep the name in the top half of the card, above the point where a lapel covers it.
Magnets, string and the quiet options
A magnetic holder is the gentlest thing you can put on clothing, with no hole and no residue, and it is the usual choice for staff who wear a badge every day. It costs more per unit than a pin and it is worth telling a team that anyone with an implanted medical device should ask for a clip instead.
String is the underrated option. A hang tag on twine works as a place setting, a workshop station marker or a name tag for a gift table, and it attaches to a chair, a glass or a bag rather than to a person. Our explainer on hang tags covers stocks and hole placement.
Stock, and whether anyone has to write on it
If names are printed, a coated stock is fine and the colors look better for it. If names are written at the door, use uncoated or matte and test the actual pen on the actual stock before the event. This one check has saved more name tag runs than any other.
For anything outdoors, or an event running more than a day, move to a plastic badge or a laminated card. Paper badges buckle in humidity and the corners fur where they rub against a coat. Our guide to name tag printing compares each badge type and size. Choosing the right sticker material applies here too, since a stick-on name tag lives or dies on its face stock.
Name tag pricing and specs at 4OVER4.COM
Event badges come in six sizes from 2 x 3 to 4 x 6 in, on 18pt PVC Vinyl or 30pt Gloss Laminated, with a 5/16 in drilled hole or a lanyard slot, and the personalization option prints a different name on every badge. 25 badges cost $49.88, 100 cost $101.04 and 500 cost $305.53, so a 100 person workshop pays about a dollar a badge and a 500 person conference about 61 cents. The numbers below come from the live configurator, so you can size a guest list against a budget before you order anything.
Quantity and price
Event badge pricing and specs
Real configurator numbers, where the more badges you order the lower the per unit cost drops.
| Quantity | Price Per Unit | Total |
|---|---|---|
| 25 | $2.00 | $49.88 |
| 50 | $1.25 | $62.51 |
| 100 | $1.01 | $101.04 |
| 150 | 86.7¢ | $130.10 |
| 200 | 78.0¢ | $155.93 |
| 250 | 73.1¢ | $182.74 |

You can also earn coins on every order and redeem them against future printing, which helps when a name tag design changes each term or each event.
Stock, finish and how long the tag has to last
A name tag for a two-hour party and a badge for a three-day conference are the same design on different materials. Card stock is fine for a single session. Past that, humidity softens the corners, a coat sleeve furs the edges, and a badge that looked sharp on Monday looks tired by Wednesday. Plastic badges and laminated cards solve it, and they cost more, which is the trade. The badge is one piece of a larger event kit, and our conference printing ideas that make an event stand out cover the rest of it.
Print it
Event badges, ready to wear
Preset sizes that fit standard lanyards and clips, printed on stock built for a full event.
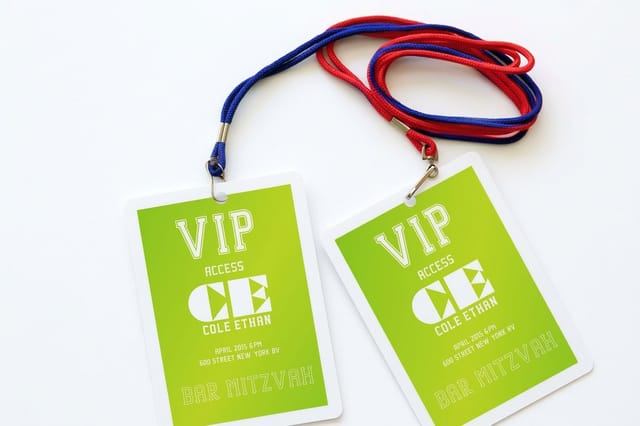
Finish changes the look and what you can do to the tag afterwards. Gloss lifts color and photography and wipes clean. Matte cuts glare, which matters under the hard downlights most venues use. Uncoated is the one to pick when guests write their own names, since it is the only surface that takes a marker without smearing. For stick-on tags, the face stock decides everything, and the sticker size chart is a useful starting point for shapes and dimensions.
Choosing the right name tag for your event
Different rooms need different things from the same twelve ideas, so the picks change by event type.
- Schools and classrooms. A sticker sheet of mixed shapes, uncoated so children write their own names. Cheap enough to reprint each term and durable enough for one school day, which is all a classroom name tag needs.
- Conferences and trade shows. Two-sided lanyard badges with the name in the top half and a color band for the track. Plastic badges for staff who wear the same badge for three days.
- Weddings and parties. Hang tags on twine as place settings, or die-cut shapes matching the invitation. Guests take these home, which is why they are worth printing properly.
- Retail and hospitality staff. Magnet-backed or clip badges so nothing pierces a uniform, with the first name large and the role underneath at half the height.
- Volunteer groups and campaigns. Pin-back buttons. They attach to a coat, a bag or a hi-vis vest, survive rain, and cost little enough to hand out to a whole crew.
If the name tags are part of a wider set of printed pieces, promotional materials for events covers what else earns its place on a welcome table. The invitations that go out before the party can share the same playful look, and our cute invitation ideas for parties and showers show how.
Badge blanks with the name field ready to swap
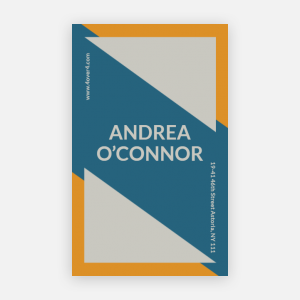
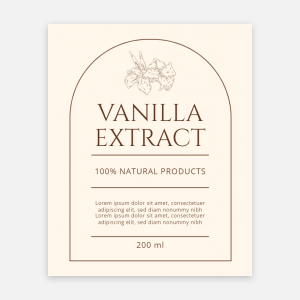
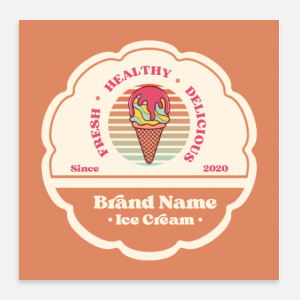
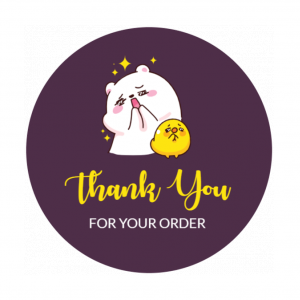
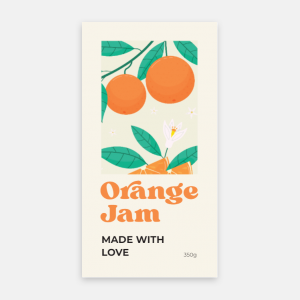
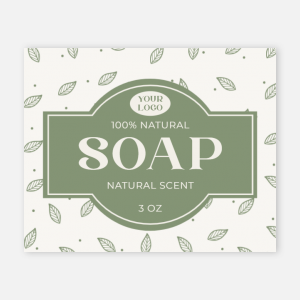
Starting from a blank with the cut line and bleed already marked removes the two mistakes that cost a reprint: artwork that stops short of the edge, and type that runs into the trim. Pick the blank at the size you will print, a 2 x 3.5 in sticker for a party tag or a 3 x 4 in sticker for a table name, and keep the name field in the top half where the lettering stays readable from across the room. Grab a print-ready blank from the blank template library, or start from a design in the template gallery and change the name field.
Start fast
Badge blanks with the name field ready to swap
Design templates and exact-size blanks so your name lands inside the cut line.


Wally sizes the name before he draws anything cute
Legibility first, personality around the edges
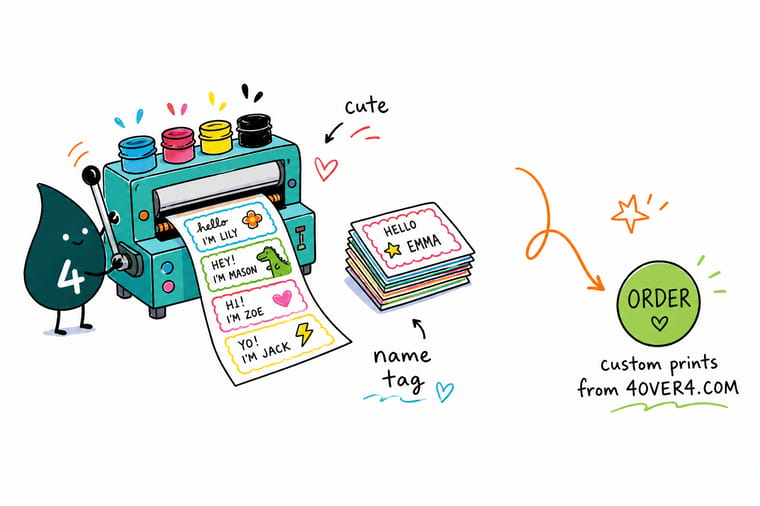
Set the name at about three quarters of an inch of cap height for a standing event and half an inch for a seated one, then put the second line at half that size. Decorate the outline, the background block and one small icon, never the field behind the name. Pick uncoated stock if guests write their own names, and 4OVER4.COM prints the run on badges, buttons, die-cut stickers or hang tags.
Order event badges →What stays readable across a room
Design tips that work at every size
- Set the name first. Lock the name at three quarters of an inch of cap height, then design around it. Every unreadable name tag was decorated first and typeset second.
- One accent, held steady. Pick a single accent color or a single illustration style and repeat it. A set that varies wildly reads as a jumble; a set that varies in one controlled way reads as a system.
- Respect the button wrap. On a round button, about a quarter inch of the printed edge disappears around the back. Keep type inside a circle noticeably smaller than the one you see.
- Print one and stand back. Print a single tag, pin it on a colleague, and read it from five feet away. It takes two minutes and it catches every type-size mistake before the run.
- Match the pen to the stock. If guests write their own names, use uncoated or matte stock and test the marker you will actually put on the table. Gloss smears.
Explore more
More ways to name, badge and brand a room
Event badges run 25 for $49.88 on 18pt PVC vinyl and standard stickers 25 for $23.88 in 3 business days.
Product Event Badges Printed badges sized for lanyards and multi-day events. 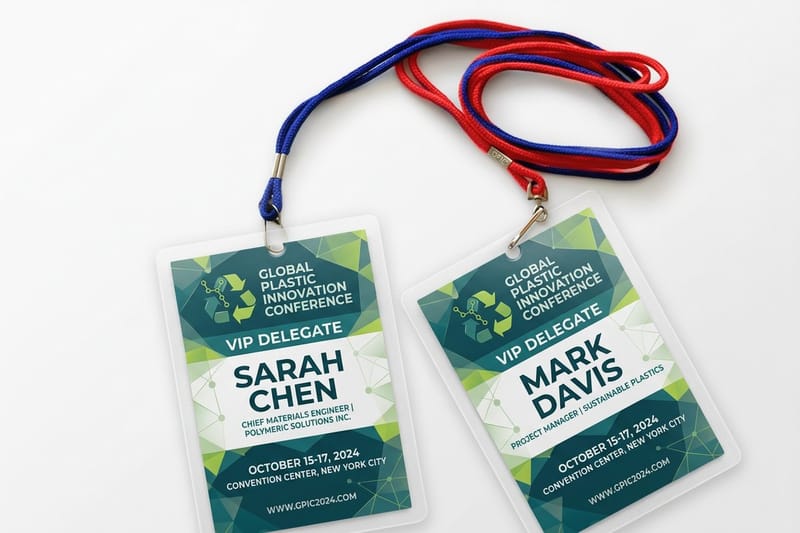 Product Plastic Event Badges Card-size plastic badges that survive being worn all week. Product Custom Buttons Pin-back name buttons that attach to anything. Product Die-Cut Stickers Cut to your shape, so the tag is not a rectangle.
  Product Custom Hang Tags Tags on twine for place settings and gift tables.
  Category Name Label Printing Every name label size, stock and finish in one place.
 Ready to print your name tags?
Pick the format, drop in your design or start from a free template, and 4OVER4.COM prints it sharp on badge stock, plastic, sticker or tag, as fast as your event date needs.
Common questions about name tags
What size should a cute name tag be so people can still read it?
Size the type first and the card second. A cap height of about three quarters of an inch reads comfortably at a standing event where people talk from four or five feet apart, and half an inch is enough at a seated dinner. Once the name is set, a 3 by 4 inch badge or a 2.25 inch button gives you room for a second line and a shape without crowding. If a pin suits the crowd better, compare custom button options and see our button printing examples for how a name fits a round face. If you are unsure, print one tag, pin it on somebody and read it from five feet away, because that test settles the argument faster than any chart.
What is the best way to attach a name tag without ruining clothes?
A magnetic holder or a lanyard leaves no hole and no residue, which is why staff who wear a badge daily use one or the other. Pins are the most reliable grip and the reason buttons dominate festivals and volunteer crews, but they put a hole in the fabric, so avoid them if the dress code is smart. Adhesive tags are the cheapest and the least reliable: they hold on cotton and smooth fabric, and they curl off fleece, knit and anything with a nap within about an hour. Pick the attachment for what the room will be wearing.
Can I print name tags that guests write their own names on?
Yes, and the stock decides whether it works. Uncoated and matte surfaces take a marker cleanly and stay legible all evening. Gloss and laminated stocks repel the ink, so the name smears the first time somebody brushes past. Print the decoration, the event name and the second line, then leave a clear rectangle at least three quarters of an inch tall for the handwriting. Test the exact pen you plan to put on the welcome table against the exact stock before the run, because marker brands behave differently on the same paper.
Are die-cut shapes worth the extra cost, or should I stick with a rectangle?
A die-cut shape costs more per piece than a rectangle and it is the cheapest way to make a name tag look designed rather than bought. The shape is what people notice from across the room, before they are close enough to read anything, so it does work a rectangle cannot. Keep the name inside a flat area of the shape and hold type at least an eighth of an inch back from the cut line, since cutting has a small tolerance and a name that runs to the edge can lose a letter. Die-cut stickers start at $93.37, so it is worth a short first run to check the shape in the hand.
What should go on a name tag besides the name?
One more line, chosen for what the room needs. At a conference that is usually the company or the track. At a volunteer event it is the role, because guests need to know who to ask. At a wedding it is the table number. Pronouns go on the name line or directly beneath it in the same typeface, not tucked into a corner in small gray type where nobody can read them. Anything beyond a second line belongs on the back of the card, along with a QR code if you have somewhere genuinely useful to send people.
