
Custom Embossing That Turns Flat Print Into a Tactile Brand Statement


Emma is our prepress and print production voice, built from the knowledge of our production team, with over 20 years in printing.
Custom embossing is a finish you can feel: it raises part of your design off the page so a logo, monogram, or title catches the light and reads as premium the moment it is picked up. As for cost, 250 embossed business cards start at $251.36 and embossing one side adds $75, both sides $150. This page covers blind, registered, and foil embossing, and how to order each at 4OVER4.COM.
Embossing is a finishing process that presses part of your design into a raised, three-dimensional relief on the stock. Your sheet is squeezed between a custom metal die and a matching counter-die under pressure so the artwork lifts off the surface. Emboss with no ink for a subtle tone-on-tone look, register the raise to a printed element, or combine it with foil for a raised metallic finish. It is tactile as well as visual, which is why it makes cards, invitations, and packaging feel premium.
Start here
What a die and counter-die do to a sheet
Embossing raises part of your artwork into a three-dimensional relief, pressing the stock between a custom die and counter-die so the design lifts off the page. You can emboss with no ink at all (blind), align the raise to a printed element (registered), or combine it with foil for a raised metallic finish. It works best on heavier stocks and turns cards, invitations, letterhead, and packaging into pieces people notice with their hands as well as their eyes.
What embossing costs on cards and plastic
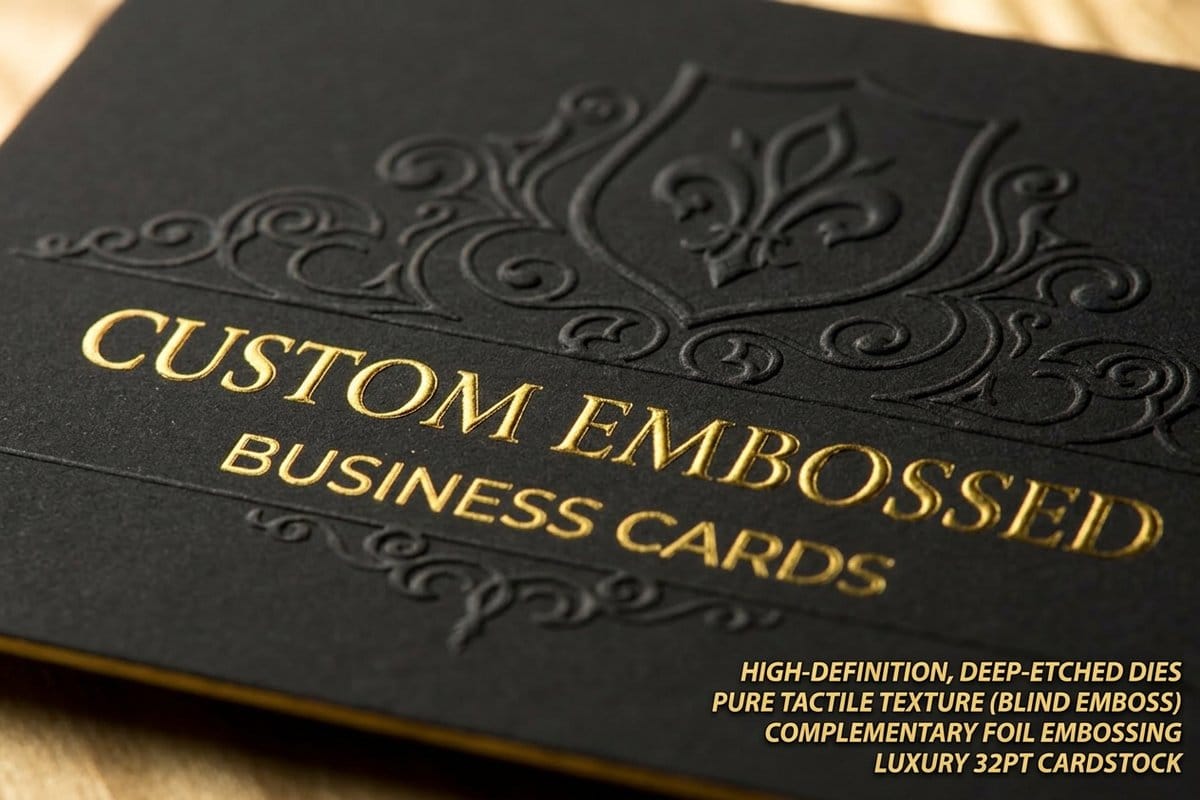
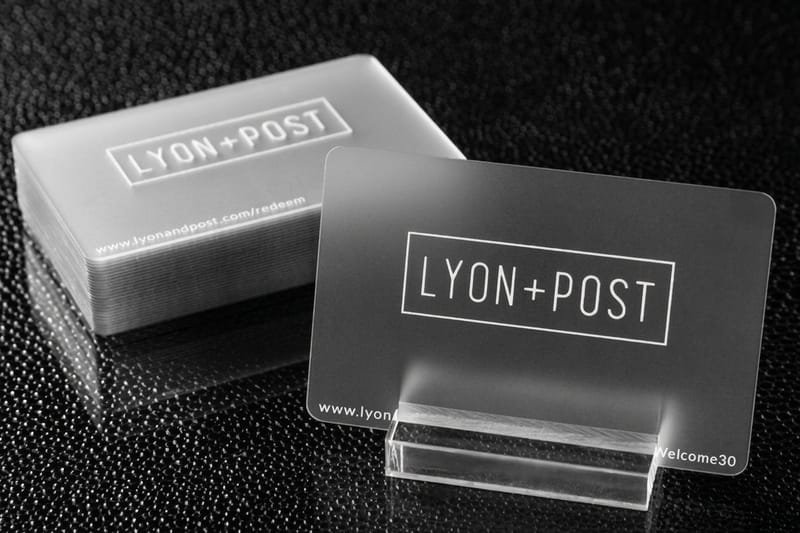
On a standard product, embossing is a line on the order page, not a separate quote. For 250 embossed business cards on 32pt silk laminated stock the base price is $251.36; embossing the front or the back adds $75 at that quantity, both sides $150, and moving up to 48pt silk laminated adds $110. On 30 mil plastic membership cards, raised numbers add $55 to a 250 card order.
Custom embossing outside those products, a crest on a folder, a monogram on letterhead, a mark on packaging, is quoted per job, because the die is cut from your artwork before anything runs. Plan on 15 business days of production for embossed business cards and for plastic cards with embossed numbering.
Custom embossing from your own artwork

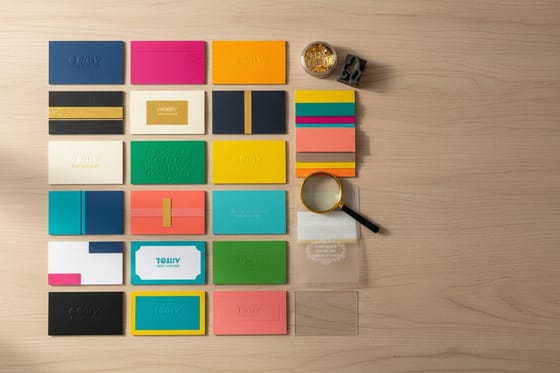
Custom embossing starts with your art: the area to raise, supplied as vector shapes on their own layer. On embossed business cards you pick 2 by 3.5, 1.5 by 3.5 or 2.5 by 2.5 inches, 32pt or 48pt stock in silk or velvet lamination, and emboss the front, the back or both. The same order page adds debossing, foil stamping, spot UV, edge painting or edge gilding, so the raise can sit beside a second finish on one card.
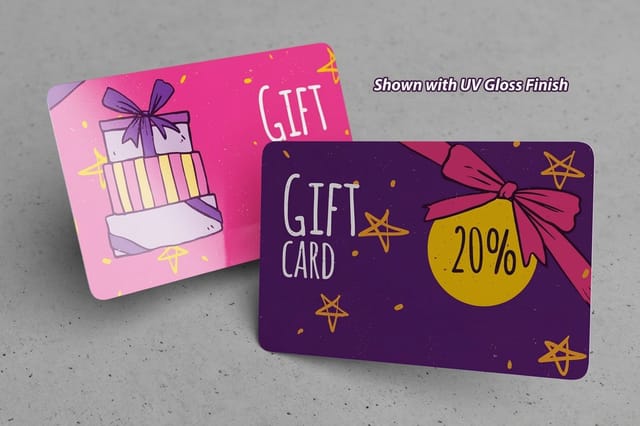
On plastic cards the raise is usually the member number, embossed in 14pt or 18pt type, plain or tipped in gold or silver foil. Embossed letterhead printing starts from the 8.5 by 11 inch sheet on 24# Royal Laid or 28# Royal Linen, with the raise quoted as custom work.
Why embossing makes a printed piece feel premium
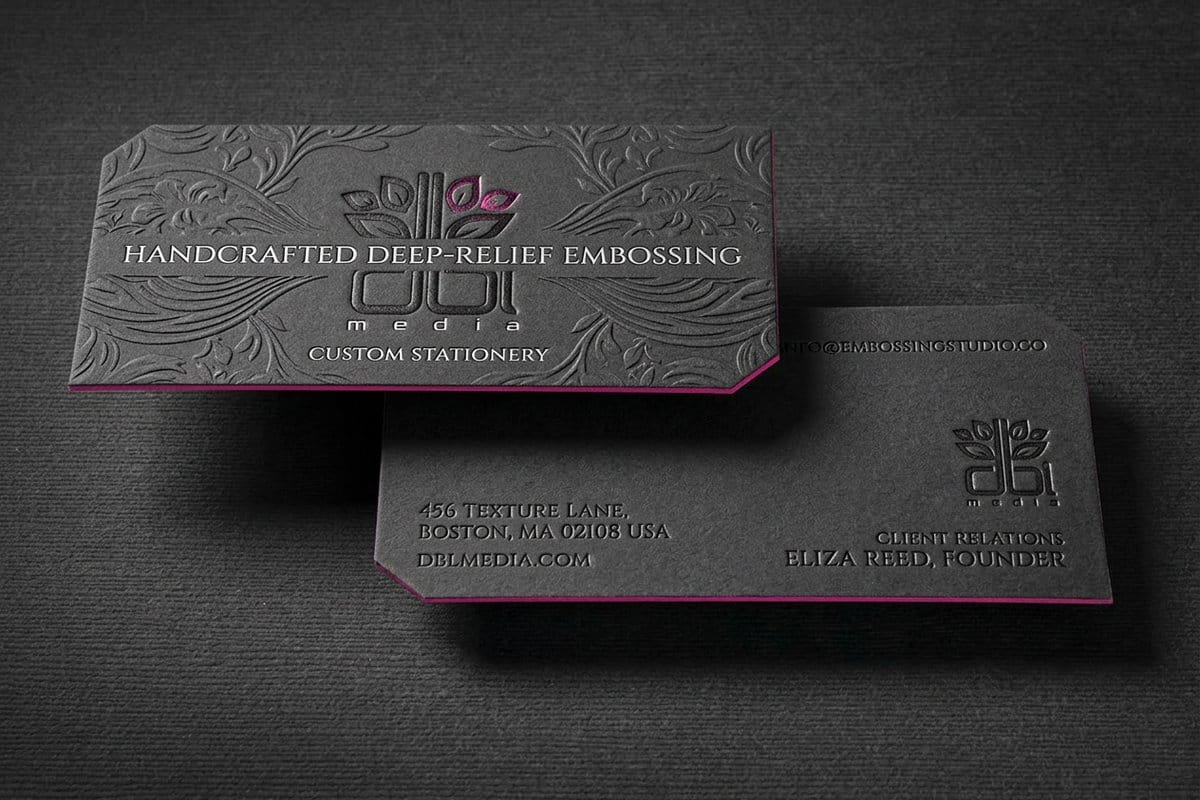
Pick up a 32pt card with an embossed logo and something happens before you have read a single word. Your thumb finds the raised edge, the light shifts across it, and the whole thing registers as considered and expensive. That is the quiet power of embossing: it turns a flat print into an object you want to hold.
Embossing is a finishing service, not a print step. After your cards, invitations, or covers come off the press, they pass through a die that lifts part of the design off the surface. It is the same instinct behind a raised bank card or a debossed leather notebook, applied to your brand. Because so few pieces bother with it, the ones that do get kept on a desk instead of filed away.
For pieces where the finish is the point, embossing pairs naturally with our other tactile services, from special-effect UV coatings to tip-on printing. This page walks through what embossing is, the ways to use it, the stocks that take it best, and how to prepare your file so the raise comes out crisp.
What embossing actually is: the die, the counter, the press

Embossing raises part of your artwork into a three-dimensional relief. Your sheet is placed between two pieces of tooling: a metal die cut in the shape of your design, and a matching counter-die that fits into it. Under pressure, and often a little heat, the stock is squeezed between them and takes on the raised shape permanently.
The important thing to understand is the die. It is cut once, from your artwork, and then reused for the entire run, which is why embossing rewards larger quantities. The precision of that die is what separates a sharp, confident emboss from a mushy one, so the cleaner your source art, the better the result. Our finishing team handles the tooling. You supply the shape.
What gets raised depends on the piece. On plastic membership cards it is the member number, in 14pt or 18pt type; on invitations and letterhead it is more often a monogram or a crest. Once the run is finished, our kitting and fulfillment service packs, stores and ships it to your customers.
Blind, registered, and combination embossing
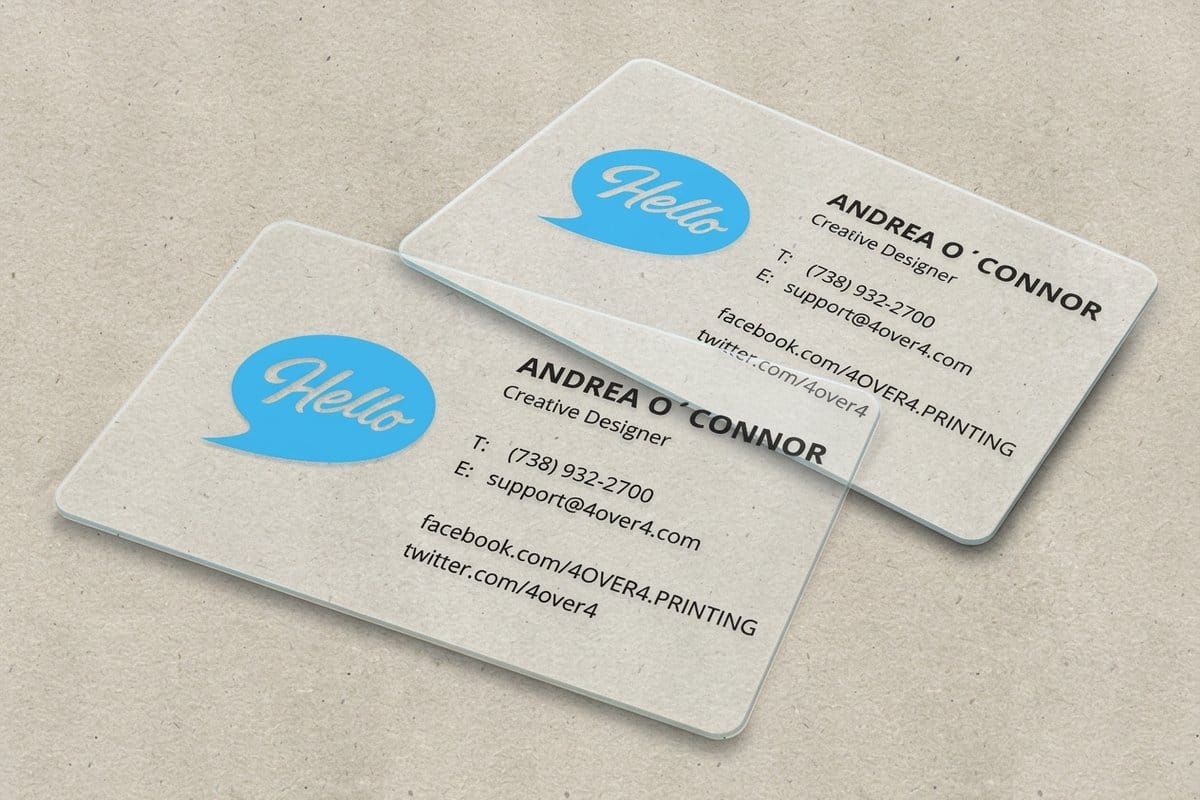
There is more than one way to emboss, and the right choice depends on how loud you want the effect to be. Blind embossing raises the design with no ink or foil, so it is the same color as the stock and shows purely as texture and shadow. It is the most restrained option, the right choice for a monogram or a logo you want people to discover by touch.
Registered embossing lines the raise up precisely with a printed element, so a logo that is already printed in your brand color gets lifted off the page, ink and relief in perfect register. Combination embossing goes furthest: a sculpted die raises the shape and lays down metallic foil in the same pass, giving you a design that is both lifted and finished in gold, silver, or color.
If the metallic look is what you are after, our metallic and foil finishing covers foil on its own, and special-effect UV coatings add gloss and dimension without a die. Not sure which term applies to your idea? The printing terms glossary defines each finishing method.
Embossing vs debossing vs foil: which finish fits
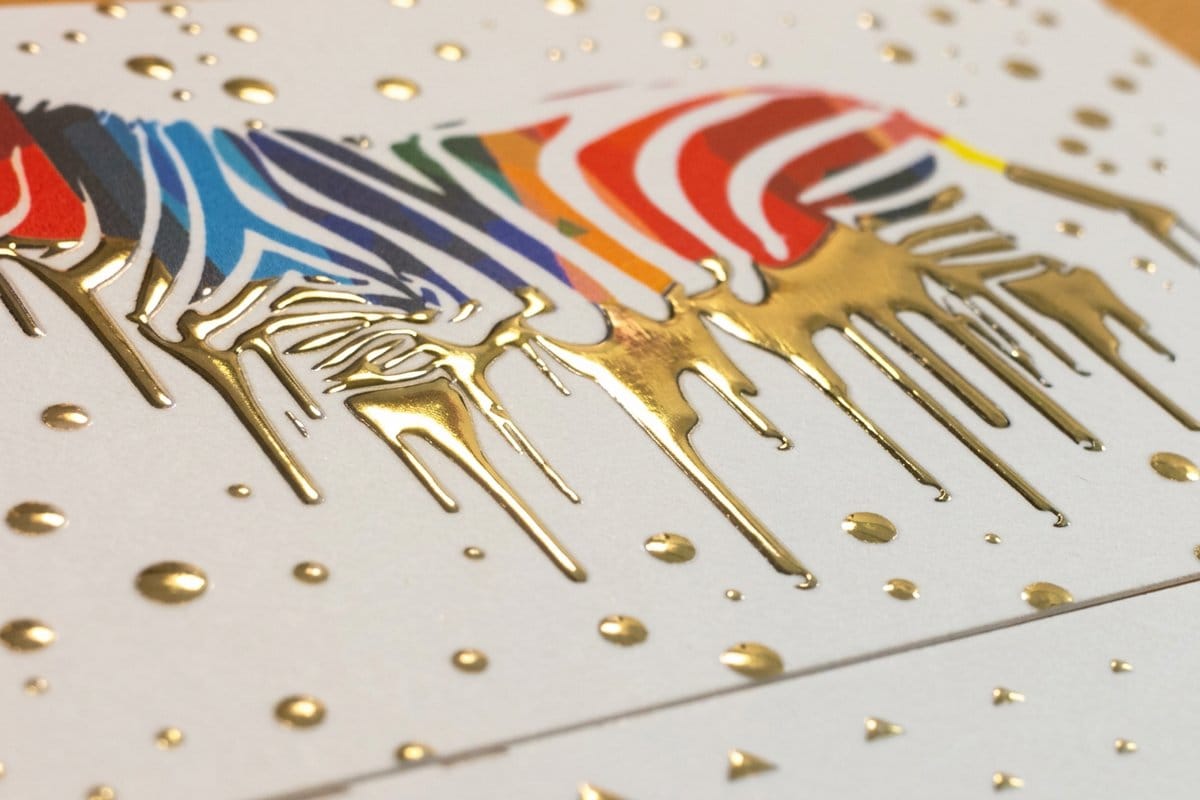
Embossing gets grouped with a few related finishes, and on the embossed business card order page three of them sit side by side: embossing, debossing and foil stamping, each for the front, the back or both. Embossing lifts the design up. Debossing is the same idea in reverse, pressing the design down into the stock for a recessed, stamped-in impression. Foil stamping adds metallic shine that sits flat on the surface, and a combination emboss marries a raised shape with that foil in one hit.
None of these is strictly better than the others. They simply do different jobs. Debossing suits thick, soft stocks and a quiet, tactile brand. Combination emboss suits invitations and packaging that should feel unmistakably luxury. Use the table below to match the effect to the piece, then order free paper samples so you can feel each one before you decide.
The stocks and pieces that take an emboss best

A great emboss starts with the right stock. Heavier, more forgiving papers have the body to hold a crisp raised edge without cracking, which is why cover weights, cotton papers, and soft-touch or uncoated stocks are the classic choices. Thick premium card takes a deep, clean impression that feels solid in the hand.
Very thin text-weight paper and heavily coated stocks are harder to emboss cleanly, because they either lack the body to hold the shape or resist the die. That does not rule them out, but it does mean testing first. The safest path is to order free samples and press a fingernail across a few weights so you can feel which one holds a raise before you commit a full run.
The pieces that reward embossing most are the ones people hold and keep: plastic cards, invitations, letterhead, folders, and book or booklet covers. Browse the full catalog through our finishing services and product range to see where a raised finish belongs on your kit.
How to set up artwork for a clean emboss
Embossing rewards simplicity. Supply the area you want raised as clean vector art on its own clearly labeled layer, kept separate from your printed artwork, so the finishing team can cut an accurate die straight from your shapes. Bold, confident forms emboss beautifully, while hairline rules and very small text tend to lose definition once they are pressed into relief.
Keep a little breathing room around the embossed element and avoid placing a raise right on a fold or trim edge, where the pressure can distort the stock. If you are pairing the emboss with color, register the printed layer to the emboss layer so ink and relief line up exactly on press. These are the same file habits that make any finish come out sharp.
Before any die is cut, our team checks your emboss layer against the printed layer, the trim and any fold, so the raise lands where you drew it and nothing gets cut wrong. Color mode and bleed are covered in our printing guides, and the printing terms glossary separates blind, registered and combination embossing.
Where embossing pays off across your print kit
Embossing earns its keep on the pieces that carry your brand into someone's hands. A raised logo on a 2 by 3.5 inch business card turns a routine exchange into a small moment. An embossed monogram on an invitation signals the event matters. A lifted crest on a folder or certificate reads as authority. The finish does the talking before the copy gets a chance.
It also scales into a system. When a raised mark shows up on your membership cards, your mailers, and your invitations alike, the repetition builds recognition, and the whole kit feels like it came from one confident brand rather than a stack of unrelated orders. For a member program, custom membership cards carry the raised number on 30 mil plastic.
Retail packaging, hang tags, awards, and book covers all benefit from the same treatment. If your piece will be seen up close and kept for a while, it is a candidate for embossing, and it can be combined with foil or UV for even more presence.
The die charge, then the per-piece rate
Embossing pricing has two levers. First, a one-time die charge to cut the custom tooling for your artwork. Second, a per-piece rate for running the emboss. Because the die is made once and reused for the whole order, the per-unit cost falls as your quantity climbs. The embossed business card shows it: the base goes from $251.36 for 250 cards to $377.68 for 1,000, so four times the cards costs about one and a half times the money.
To price a card job, open embossed business cards and set the emboss to front, back or both; for letterhead, folders or packaging, ask our print team for a finishing quote. The panel on this page prices the 30 mil white plastic card, so you can watch quantity move the base before the emboss goes on.
When you are ready, choose your product, prepare the emboss layer, and place the order. Our finishing team handles the tooling and the press. Explore the rest of our finishing services to see everything that can ship on the same job, from foil to UV to kitting.
Compare the finishes
Embossing, debossing, and foil at a glance
The tactile finishes get confused for one another, yet on a 32pt or 48pt embossed business card you can order embossing, debossing and flat foil on the same piece, a side at a time. Here is what each one does, how it feels, and where it fits, so you can match the effect to the piece.
| Finish | How it feels | How it looks | Best for |
|---|---|---|---|
| Embossing | Raised up off the surface | Design lifts toward you, catches light on the edges | Logos, monograms, letterhead, business cards |
| Debossing | Pressed down into the stock | Recessed impression with soft shadow inside the shape | Understated branding, thick cover stocks, folders |
| Combination emboss + foil | Raised and metallic at once | A raised shape finished in gold, silver, or color foil | Invitations, luxury packaging, awards, covers |
| Foil stamping | Flat and metallic | Bright metallic ink-free shine, level with the surface | Accents, type, borders on any stock |
%22%2F%3E%3Ccircle%20cx%3D%2235%22%20cy%3D%2219%22%20r%3D%2230%22%20fill%3D%22%23f59e0b%22%20opacity%3D%220.15%22%2F%3E%3Ccircle%20cx%3D%2233%22%20cy%3D%2229%22%20r%3D%229%22%20fill%3D%22%23f59e0b%22%20opacity%3D%220.1%22%2F%3E%3Crect%20x%3D%2275%22%20y%3D%229%22%20width%3D%2220%22%20height%3D%2219%22%20rx%3D%224%22%20fill%3D%22%23f59e0b%22%20opacity%3D%220.08%22%20transform%3D%22rotate(15%2080%2030)%22%2F%3E%3C%2Fsvg%3E)
Infographic
Die, counter-die, and the pressure between them
From flat artwork to a raised finish, here is what happens between your file and the piece in your hand: a vector emboss layer, a die cut once from it, the press between die and counter-die, then trim, with 15 business days of production on embossed cards.
The die is cut once from your artwork and reused for the whole run, which is why the per-piece cost of embossing drops as your quantity climbs.
Specs and pricing
What the piece under the emboss costs
Embossing pricing depends on your die and quantity, but the piece it finishes prices out in the configurator. The 30 mil white plastic card is credit card size, 2.125 by 3.375 inches, in UV gloss or silk matte, runs from 250 to 10,000, and offers embossed numbering on the order page. Here are the live specs and price-per-unit for this stock that takes a raised finish well, straight from 4OVER4.COM.
| Quantity | Price Per Unit | Total |
|---|---|---|
| 250 | 90.4¢ | $226.11 |
| 500 | 55.3¢ | $276.63 |
| 1,000 | 37.8¢ | $377.68 |
| 2,000 | 34.7¢ | $693.46 |
| 2,500 | 35.3¢ | $882.94 |
| 3,000 | 33.6¢ | $1,009.25 |
| 3,500 | 32.4¢ | $1,135.55 |
| 4,000 | 31.5¢ | $1,261.87 |
Emboss these
Products that shine with a raised finish

Wally explains embossing
Some finishes you see. This one you feel.
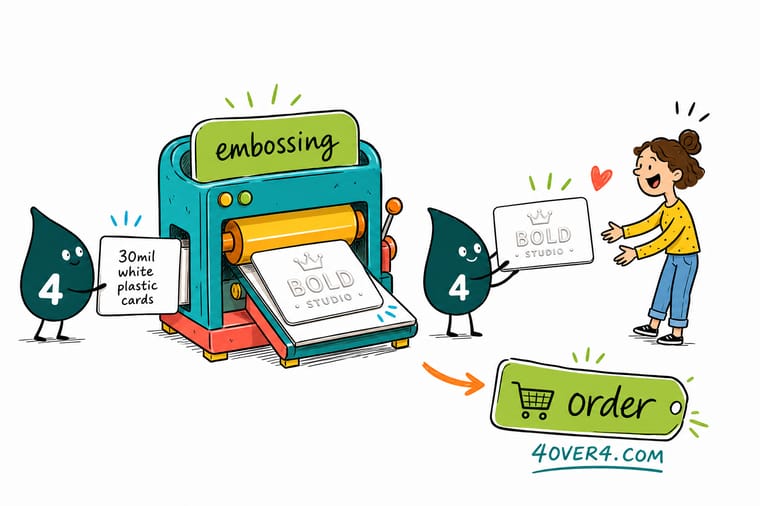
Wally treats embossing like a handshake for your print: before anyone reads a word, their fingertips find the raised logo and decide the piece is worth keeping. A custom die does the work once, then repeats across the whole run, so the more you print the less each raised piece costs. Pick a heavier stock, keep the shape bold, and let 4OVER4 lift it off the page.
Start an embossing project →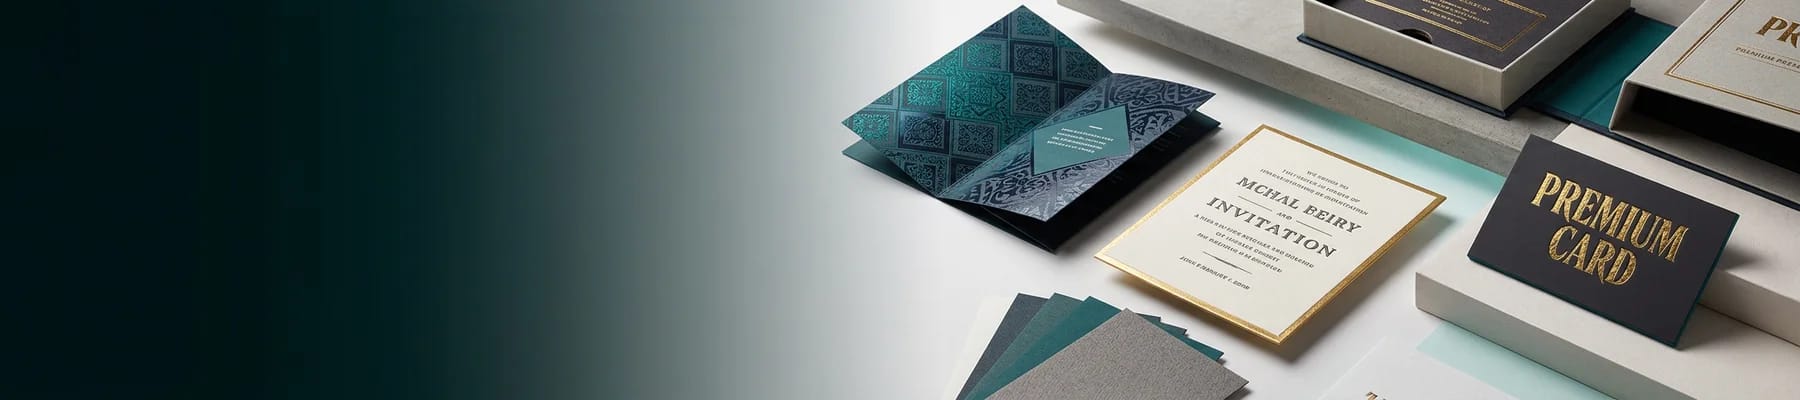
Get Started
Ready to add a raised finish to your print?
Bring your design to 4OVER4.COM and finish it with embossing, foil, or UV on the stock that makes it shine. Configure your piece and watch the price update live.
Explore more
Where to go next
By the numbers
What it takes to raise a design and keep it sharp
Common Questions
Common questions about embossing
What is embossing in printing?
Embossing is a finishing process that presses part of your design into a raised, three-dimensional relief on the surface of the stock. The sheet is placed between a metal die and a matching counter-die, then squeezed under pressure so the artwork rises above the rest of the page. The result is tactile as well as visual: people notice an embossed logo with their fingertips as much as their eyes, which is why it reads as a premium, considered finish.
What is the difference between embossing and debossing?
They are opposites made with the same idea. Embossing raises the design up off the surface so it lifts toward you, while debossing presses the design down into the stock for a recessed, stamped-in impression. Embossing tends to feel elegant and eye-catching because the raised edges catch the light. Debossing feels understated and tactile, and it holds up especially well on thick, soft cover stocks. Many designers pair one with the other on the same piece.
What is blind embossing versus registered embossing?
Blind embossing raises the design with no ink or foil at all, so it is the same color as the stock and shows purely as texture and shadow, which is subtle and refined. Registered embossing aligns the raised area precisely to a printed element, for example lifting a logo that is already printed in color, so the ink and the emboss line up exactly. Both start from a custom die. The difference is whether the raise stands alone or reinforces something already on the page.
Can you emboss and foil stamp at the same time?
Yes. A combination emboss (also called a foil emboss) uses a sculpted die to raise the design and apply metallic or colored foil in a single pass, so the shape is both lifted and finished in gold, silver, or a color of your choice. It is one of the highest-impact finishes available and a favorite on invitations, luxury packaging, and covers. If you want the metallic look without the raise, plain foil stamping keeps the shine flat and level with the surface.
What paper stocks work best for embossing?
Heavier, more forgiving stocks emboss best because they have the body to hold a crisp raised edge without cracking. Cover weights, cotton papers, and soft-touch or uncoated stocks are ideal, and thick premium card takes a deep, clean impression. Very thin text-weight paper or heavily coated stocks are harder to emboss cleanly. The simplest way to choose is to order free samples first and feel how each stock holds a raise before you commit your run.
Do I need to set up my file a special way for embossing?
Yes, and it is straightforward. Supply the area you want embossed as clean vector art on its own clearly labeled layer, separate from your printed artwork, so our team can cut an accurate die from it. Keep the shapes bold and avoid hairline details or very fine text, because extremely thin lines do not emboss crisply. If you are pairing the emboss with color, keep the printed layer registered to the emboss layer so the two line up on press.
How much does embossing cost?
Embossing pricing has two parts: a one-time die charge to cut the custom tooling for your artwork, and a per-piece rate for running the emboss. Because the die is made once and reused across the whole order, the per-unit cost drops as your quantity climbs, which makes embossing far more economical on larger runs. The most accurate way to price a specific piece is to build it in the configurator or reach our print team for a finishing quote.
Legal Disclaimer
Gold Standard guarantees apply to all standard orders placed through 4over4.com. Price match requires verifiable proof of a competitor's published price for an equivalent product with matching specifications and turnaround time. Satisfaction guarantee covers manufacturing defects and print quality issues. Contact support with order number and documentation.
