
How to Use an Event Tent Template for Print Ready Canopy Artwork


Tobias is our voice for cutting, binding and large format, built from the knowledge of our production team, with over 20 years in printing.
The canopy prints flat and gets sewn back into shape, so the template is the whole game. Each panel does a different job, the seams bite in known places, and eight steps take artwork from logo file to print ready tent.
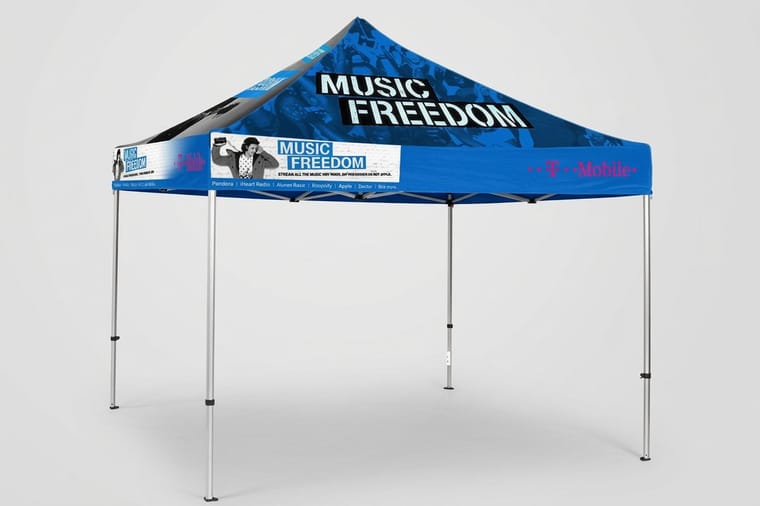
An event tent template is the canopy unfolded flat: four trapezoid roof panels and four valance strips, drawn at print size with the cut line, seams, and safe area marked. You place artwork on that flat layout, keep logos and type inside the dashed safe area, run backgrounds out to the bleed, and the printed fabric is cut and sewn back into the top. Design low on each tapering slope, put your name on the valance, and the tent reads from across the field.
Quick answer
Four slopes, four strips, one flat file
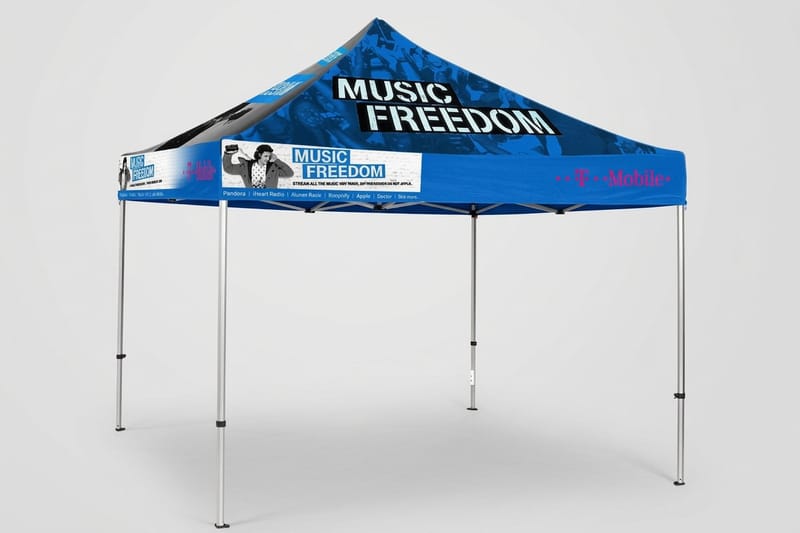
The template turns a 3D canopy into a flat layout you can actually design on. Every 10 x 10 pop up top breaks into four tapering roof panels and four valance strips, each with a solid cut line, a seam zone the sewing machine claims, and a dashed safe area where art is guaranteed to survive. Backgrounds run to the bleed, logos sit low on the slopes where panels are widest, and the valance carries your name at eye level. Get those placements right and the sewn tent reads exactly the way the flat file promised.
What an Event Tent Template Actually Is
A tent template is a dieline: the canopy top unfolded flat, at print size, with every panel drawn in place. On a 10 x 10 pop up frame that means four roof panels shaped like trapezoids, four valance strips that hang at the eave, and the peak where the slopes meet. The fabric prints flat, gets cut along the solid line, and is sewn back into the three dimensional top that snaps over the frame.
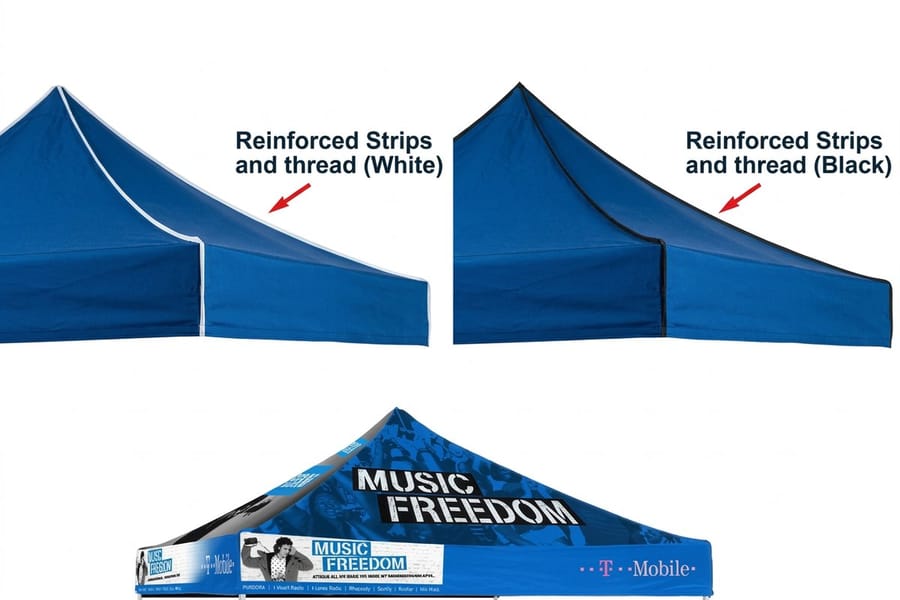
The template file carries three kinds of line, and confusing them is the classic first mistake. The solid cut line is where the knife runs. The seam zone just inside it is fabric the sewing machine claims, usually swallowing anything printed there. The dashed safe area is the only region guaranteed to survive cutting and sewing intact, so logos, type, and anything else that must not be clipped live inside it. Background colors and patterns run past the cut line to the bleed so no white sliver shows at a seam.
One more thing the template encodes that a blank canvas cannot: orientation. Each roof panel leans back at an angle when the tent is up, and the template positions your art so it reads level from the ground, not level on the flat sheet. That is why you start from the file the printer supplies instead of guessing panel shapes yourself, exactly as you would grab the right layout from the blank template library for a card or brochure. The 4OVER4.COM event tent ships as a 10 foot by 10 foot canopy and pop up frame, printed on 6oz tent fabric, and its template matches that construction stitch for stitch.
Roof Panels, Valance, and Safe Area, Piece by Piece
Each zone of the canopy is seen from a different distance and angle, so each one has a job. Design the pieces for their jobs and the tent reads twice as well without a single extra element.
| Zone | Where it sits | What works there | What fails there |
|---|---|---|---|
| Roof panels (x4) | The four sloped trapezoids, visible from far across a field or hall. | One big logo or bold graphic per slope, placed low where the panel is widest. | Small type, and anything crowded toward the peak, where the taper squeezes it. |
| Valance (x4) | The short vertical strip at the eave, face-on at roughly head height. | Company name, web address, or a short offer in large clean type. | Long sentences, and type that runs into the corner seams. |
| Peak | The small square where the four slopes meet, seen mostly edge-on. | A solid brand color, or nothing at all. | Anything that has to be read, because it is barely visible from the ground. |
| Walls (add-on) | Full or half walls zipped to the frame behind and beside you. | Big product imagery and menu style information people read while standing close. | Ignoring the zipper lines and sewn edges, which have their own safe areas. |
The pattern behind the table: the further away a zone is read from, the fewer and bigger its elements should be. A crowd fifty feet away catches the roof logo, walks closer, reads the valance, and by the time they can read a sentence they are standing at your table. If you want the same thinking applied to the rest of the booth, our table cover fit guide and the trade show printing collection cover the pieces that work at conversation distance.
Setting Up Your Artwork on the Template, Step by Step
The whole job is eight moves, and none of them is exotic. What kills tent files is skipping a step, not failing at one.
- Get the template for your exact product. Download it from the event tent product page or request it from support. A template for another maker’s frame will not match the seams on ours.
- Open it in a vector editor and keep the dieline layer intact. Lock it. You design under or around it, never on it, and it must survive to the final file so the cutter knows where the lines are.
- Set color to CMYK. Screens show RGB, fabric prints CMYK. Converting at the start means the colors you approve are the colors that print. Our color profile guide covers the conversion if your logo lives in RGB.
- Flood the background first. Run your base color or pattern past the cut line to the bleed on every panel, so no unprinted sliver can appear at a seam.
- Place the big elements low on each roof panel. The widest, most vertical part of the slope is the bottom third. One logo per slope, sized to be obvious, inside the dashed safe area.
- Set the valance in large, plain type. Name or web address, centered, clear of the corner seams. This strip does more selling than any other part of the tent.
- Outline the fonts and check resolution. Convert type to outlines so no font substitution can happen, and confirm any photos sit near 100 to 150 dpi at full size, per our image resolution guide.
- Export a PDF with the dieline on its own layer. Keep the template visible, not flattened into the art. Prepress checks your work against it, which is how mistakes get caught before fabric is cut.
If bleed, trim, and safe area are new concepts, read the short bleed and trim explainer first. It is the same logic as a business card, scaled up to a hundred square feet of fabric.
The Tent Is the Roof of the Booth, Not the Whole Booth
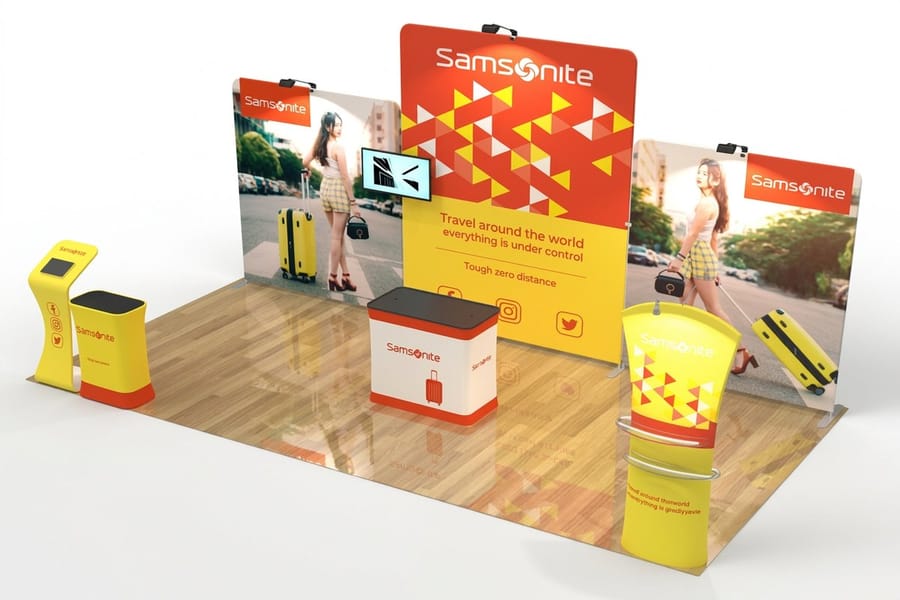
A finished tent template usually means an event is coming, and the tent rarely stands alone. The 10 x 10 foot canopy on 6 oz tent fabric takes up to four full walls or four half walls in the same file set, and the same artwork you just placed on the canopy stretches across the rest of the space, and doing it in one pass keeps every piece in the same colors and type.
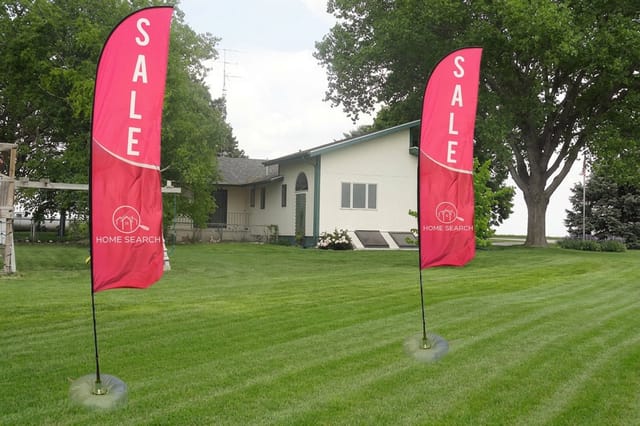
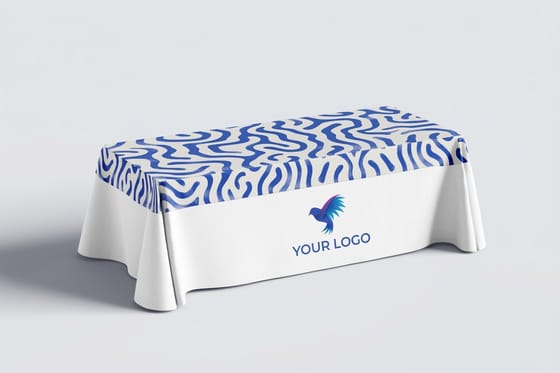
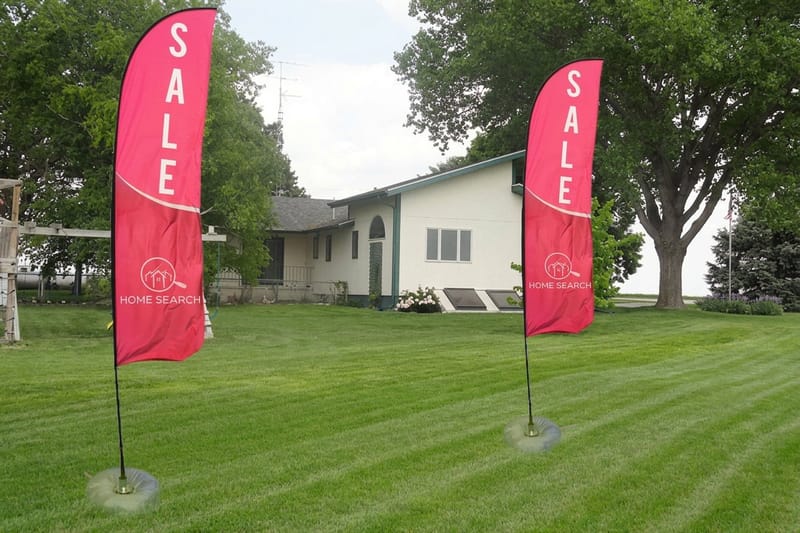
Feather flags, from $108.75, are the tall movers that flag your corner from down the row and pull people toward the tent. A stretch table cover, from $250.00, turns the front table into a printed billboard at exactly the height people read while talking to you. Retractable banner stands, from $139, carry the detailed story, the part with sentences, for people already standing inside. Each of those products has its own template with the same cut, seam, and safe area logic you just learned on the canopy.
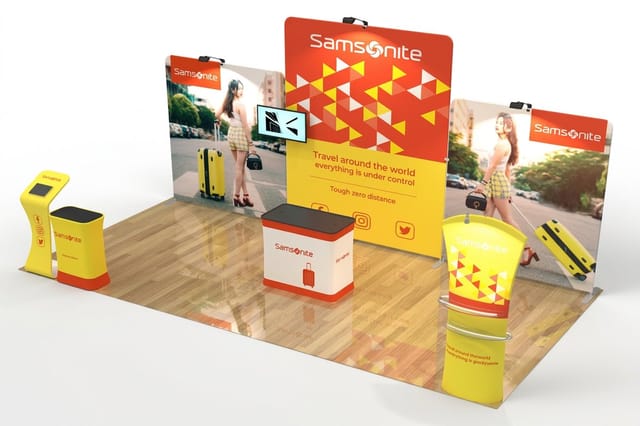
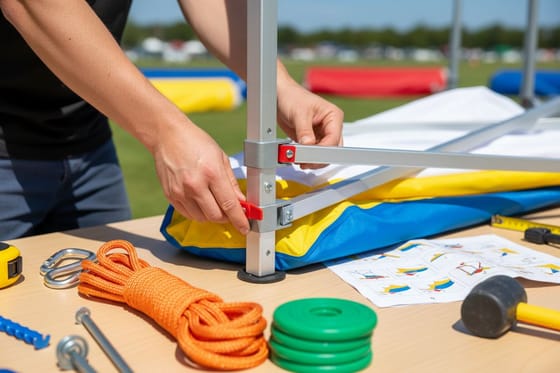
If you are building the whole space at once, the trade show booth kits, from $2,599.00, bundle the display pieces as a matched set, and the large format printing category holds everything bigger than a sheet of paper. And before the event itself, the physical half of the job matters as much as the artwork: our guide on setting up an event tent safely covers the frame, the anchoring, and the wind, which is the part of tent ownership no template can save you from.
Wally explains tent templates
Design it flat, and it snaps up right
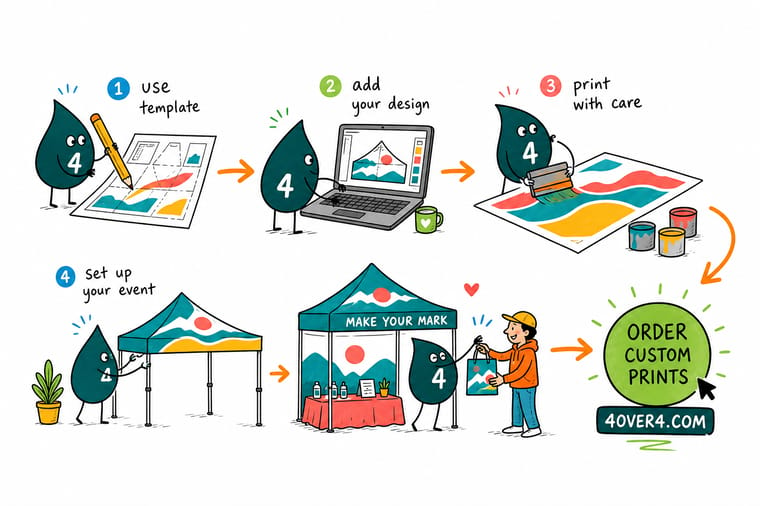
Wally unfolds the canopy into its flat template: four sloped panels, four valance strips, one little peak. He floods the background color past the cut line, drops the logo low on each slope where the fabric is widest, and letters the web address across the valance in type you could read from the parking lot. Nothing touches the seam zones, because the sewing machine eats whatever sits there. Then the fabric prints, the panels get sewn, and the tent pops up reading exactly like the flat file said it would.
Order a custom event tent →
Specs and pricing
Event tents and booth displays, sizes and starting prices
Compare the tent and the displays that stand next to it, with live configuration choices and starting prices straight from the 4OVER4.COM configurator. The event tent is a 10 x 10 foot canopy on 6 oz tent fabric in 5 business days, the booth kits come in 10 x 10, 10 x 20 and 20 x 20 feet on 8.8 oz tension fabric, and the retractable stands run 24 x 79 to 59 x 85 inches.

Print it
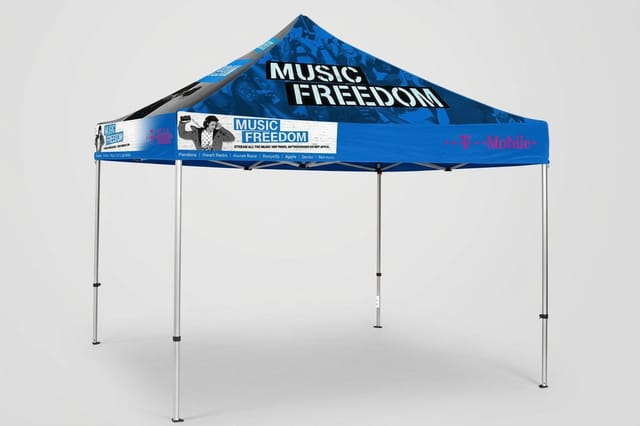
Put your artwork ten feet in the air
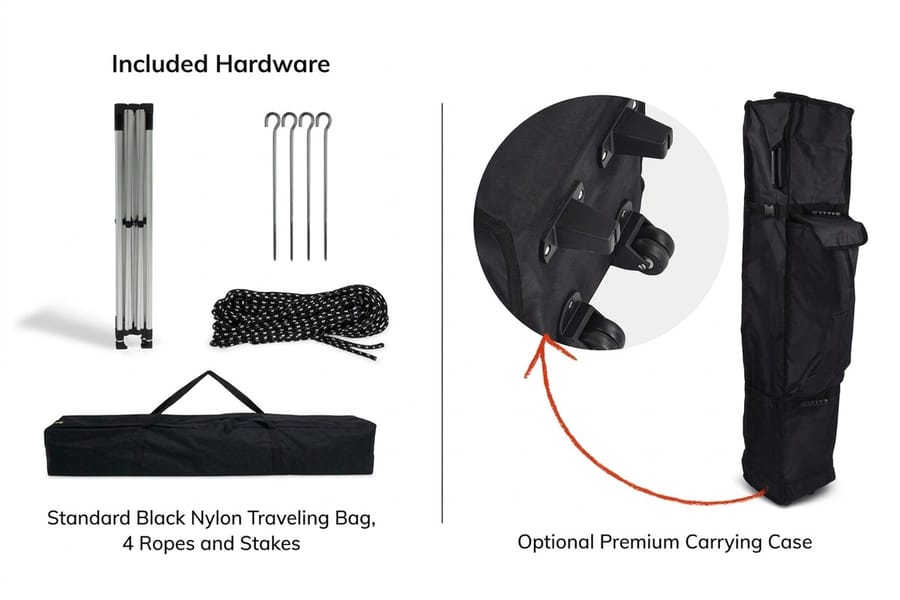
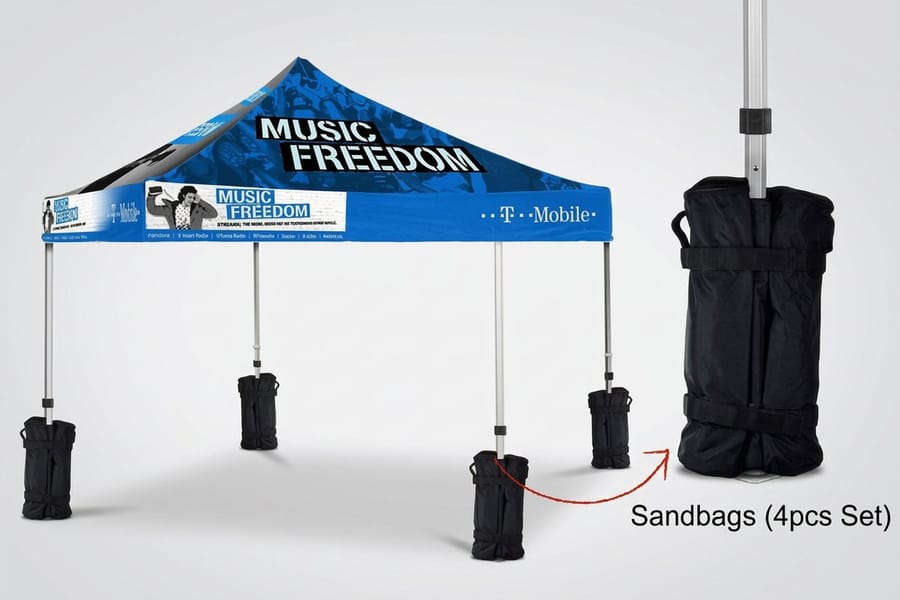
The tent comes with a standard bag or a premium bag with wheels and an optional set of 4 sandbags. Add feather flags at 8, 10, 12 or 15 feet tall with a stake base outdoors or a cross base indoors, or a booth kit when the space has walls instead of a canopy.

Explore more
Where to go next
Anchor the frame with the tent safety guide, run the first exhibitor checklist, fit a cover to a 6 or 8 foot table, and size the feather flags that stand beside the tent.

By the numbers
Canopies printed flat and sewn back to shape
Common Questions
Your tent template questions, answered
What is an event tent template?
It is the flattened cutting layout, or dieline, of the canopy top: four trapezoid roof panels, four valance strips, and a peak, drawn at print size with the cut line, seam allowance, and safe area marked as separate layers. You place your artwork onto that flat layout, the fabric prints, and the panels are cut and sewn back into the finished top. Without the template your art lands on the wrong part of the panel, or a seam runs straight through your logo.
What size is a 10 x 10 tent template?
Far bigger than the footprint suggests. Each roof panel on a 10 x 10 frame is roughly ten feet wide at the eave before it tapers toward the peak, plus the valance strip below it, so the flat artwork for one side alone is wider than a door. That is why templates ship as vector files: you work at full scale, or at a stated ratio like 1:10, and the print keeps its sharpness either way as long as logos stay vector.
Can each side of the tent carry different artwork?
Yes. The four roof panels and four valances are separate pieces of the template, so a common setup is the company name repeated on all four valances, a large logo on the front slope, and a product photo or tagline on the sides. If your booth will sit against a wall, spend nothing on the back panel and put the strongest art on the three sides people actually see.
What resolution and color mode should the file be?
Build in CMYK, and keep logos and type as vectors with fonts converted to outlines. For photographic areas, 100 to 150 dpi at full print size is enough, because the roof is read from ten feet or more. What matters more than raw dpi is contrast: a dark logo on a light canopy, or the reverse, stays legible at the distance a tent is designed to work at.
Do the tent walls need their own template?
Yes, each printed piece has its own dieline. At 4OVER4.COM full walls, half walls, sandbags, and a carrying bag are add-ons to the Event Tents product, and the printed walls come with their own flat layouts, the same way the canopy does. A wall is a simpler shape, close to a big rectangle, but the same safe area logic applies at every sewn edge and zipper line.
How long does a printed event tent take?
Standard turnaround on 4OVER4.COM event tents is 5 business days, with 3 day, 2 day, and next day rush options when a show date is close. A clean file on the template is what protects that schedule: artwork that ignores the dieline goes back for rework, and rework is what actually blows deadlines, not printing.
Get Started
Order an event tent from $987.45
Place your artwork on the template, and we print a 10 x 10 canopy on 6oz tent fabric with the pop up frame included, walls and weights optional, rush turnaround when the show is close.
Legal Disclaimer
Gold Standard guarantees apply to all standard orders placed through 4over4.com. Price match requires verifiable proof of a competitor's published price for an equivalent product with matching specifications and turnaround time. Satisfaction guarantee covers manufacturing defects and print quality issues. Contact support with order number and documentation.
