
How to Set Up a Retractable Banner Stand in Minutes


Tobias is our voice for cutting, binding and large format, built from the knowledge of our production team, with over 20 years in printing.
Unfold the base, click the pole together, and pull the banner up. A retractable stand needs no tools and goes up in about two minutes. A curl at the edge means the graphic was rolled too long, and it flattens overnight.
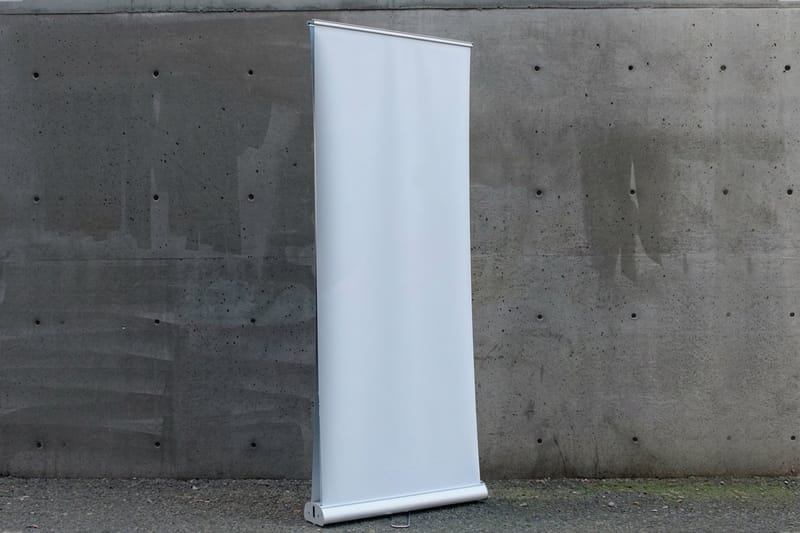
To set up a retractable banner stand, work in four tool-free steps: position the base flat with the print facing your audience, assemble the support pole and seat it in the cassette, pull the banner straight up by its top rail, then hook or rest that rail on the top of the pole. Give it a gentle tug to confirm it is holding and square the base to the room. The whole thing takes about two minutes.
Quick tips
Quick tips for setting up your retractable banner
Set the base on a flat, level floor with the print facing your audience before you build. Snap the pole together and seat it fully in the cassette, then pull the banner straight up in one steady motion so it climbs even and true. Hook the top rail on the pole tip and give it a gentle tug to confirm it is locked. To pack up, guide the banner slowly back into the base so the spring re-rolls it crease-free. Done with care, a 4OVER4.COM retractable stand goes up in about two minutes and travels for years.
The two minute set up, timed
- 0:00 to 0:30, set and level the base. Unfold the foot on a flat, level floor with the print facing your audience, then rest one shoe against the edge of the base so it cannot slide while you lift. Almost every stand that leans later started on a floor that was not level here.
- 0:30 to 1:00, build the pole and seat it. Click the pole sections together until every joint is tight with no gap showing, then drop the bottom of the pole fully into the socket at the back of the cassette so it stands on its own before you touch the banner.
- 1:00 to 1:30, draw the banner up. Grip the top rail in the middle, not at one end, and pull straight up in one steady motion. Keeping the rail level is what makes the graphic climb even and true instead of feeding in at an angle.
- 1:30 to 2:00, hook the rail and square the stand. Rest or lock the top rail on the pole tip, give it a gentle tug to confirm it is holding, then square the base to the room and step back to check the banner hangs flat.
Total: about two minutes, one person, no tools. Standard, premium, and deluxe stands run on the same clock, since the only thing that changes between tiers is the base weight, the pole, and whether the rail rests on a pin or locks on a hook. Packing down takes the same two minutes in reverse: unhook the rail, walk the banner slowly back into the base so the spring re-rolls it crease-free, then break the pole down and lay it in the bag.
Why a retractable stand goes up faster than any other display
Setting up a retractable banner stand takes four moves and about two minutes: stand the base flat on the floor with the print facing your audience, click the support pole together and seat it in the cassette socket, pull the top rail straight up in one steady motion, then hook that rail on the pole tip. No tools, one person, roughly thirty seconds a step.
A retractable banner stand is the whole reason pull-up displays took over trade show floors. The graphic lives inside a spring-loaded cassette in the base, so there is nothing to inflate, no frame to thread, and no tape to peel. You unfold one foot, click a pole together, and lift the banner into place.
Because the mechanism does the work, one person in a suit can raise a seven-foot display alone. That matters when you are setting up a booth alone at 7 a.m. or refreshing a lobby sign between meetings. If you want to see what these look like standing in the real world, the banner stand displays our customers printed show the range, from clean single graphics to full step-and-repeat walls.
This guide walks through the exact setup for standard, premium, and deluxe retractable banner stands, adds a short troubleshooting note for the day something leans or curls, and points you to the right hardware for your space. If you are still deciding on the print itself, our guide to how to make banners covers artwork and file setup first.
Need the stand before the show, not after it? The retractable banner stand page sends the printed graphic and the hardware together in one box, in standard, premium, and deluxe tiers, and the live configurator prices your exact size and finish before you commit. Same-day and next-day turnaround options are listed there with the size and material choices, so a stand ordered for a show later this week still arrives with time to run the two-minute set up once at home before the doors open.
Know your stand: standard, premium, and deluxe
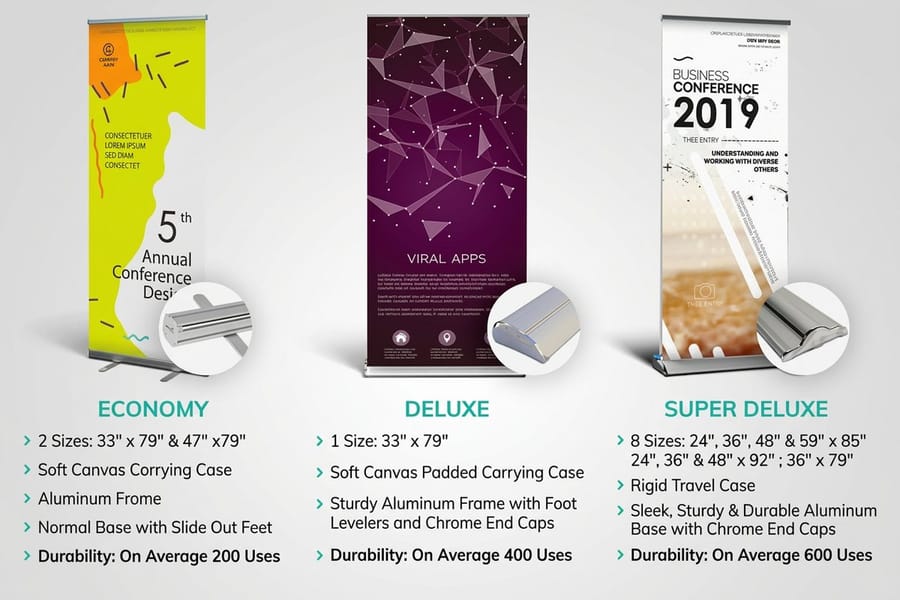
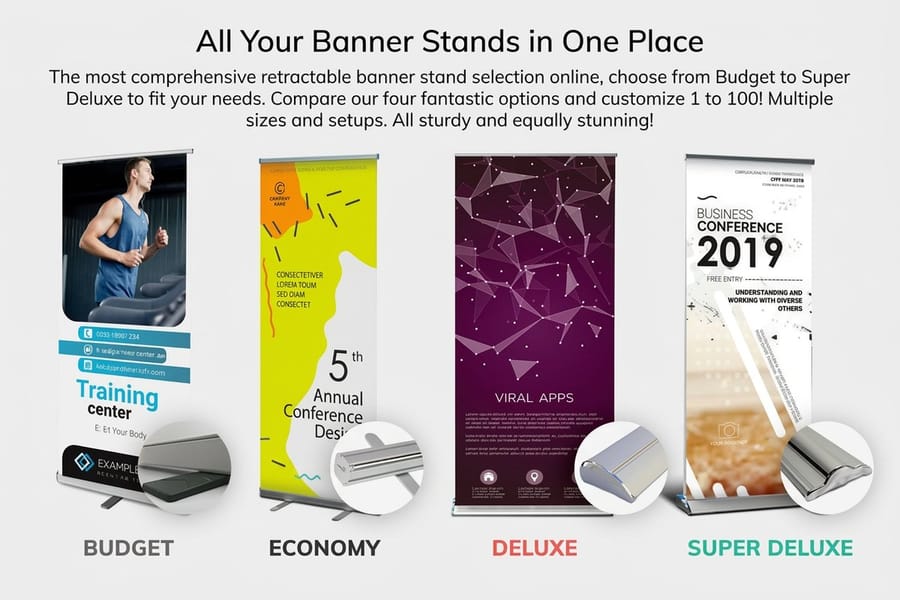
All three tiers pull up the same way, so the setup steps below apply to every one of them. What changes is the base weight, the pole, and how the top rail locks. Knowing your tier means you are never surprised by a fitting mid-setup.
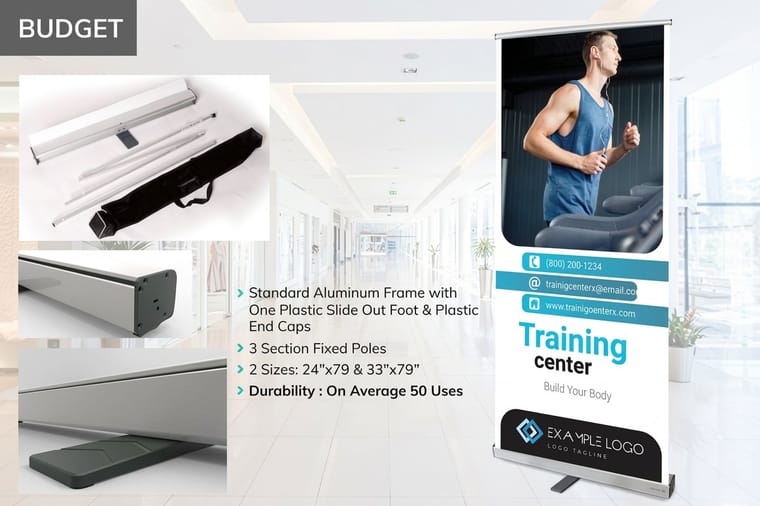
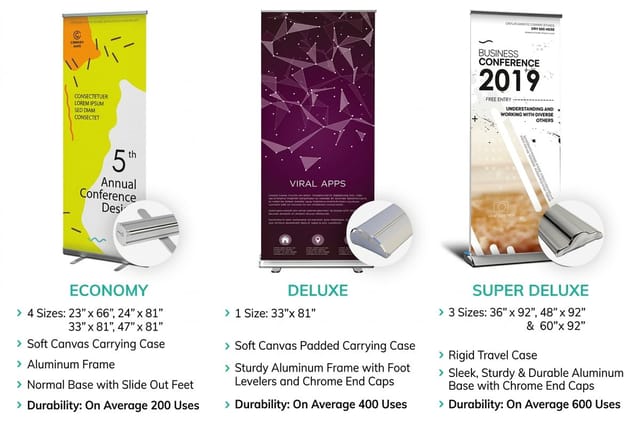
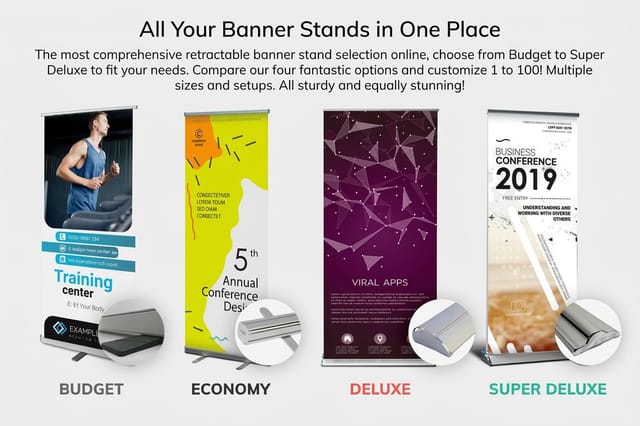
- Standard. The lightest and most affordable stand. A slim aluminum base and a rail that rests on the pole pin. Perfect for indoor booths, lobbies, and shows you break down the same day.
- Premium. A heavier base and a top hook that positively locks the banner, so it shrugs off knocks in a busy aisle. This is the one most exhibitors reach for.
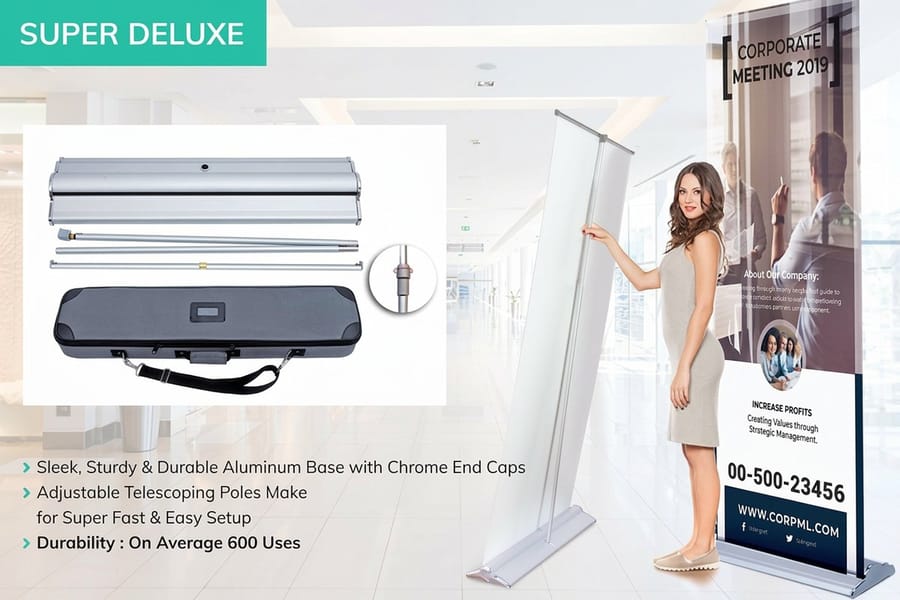
- Deluxe. The widest, most weighted foot and a stronger telescoping pole for taller graphics and long-haul reuse. Built for the stand you will set up dozens of times.
Not sure which tier fits your event? The banner stand printing lineup lays the hardware out side by side, and the mini retractable stand and X-frame stand cover the lighter, tabletop end of the range.
Before you start: what is in the box and where to stand it
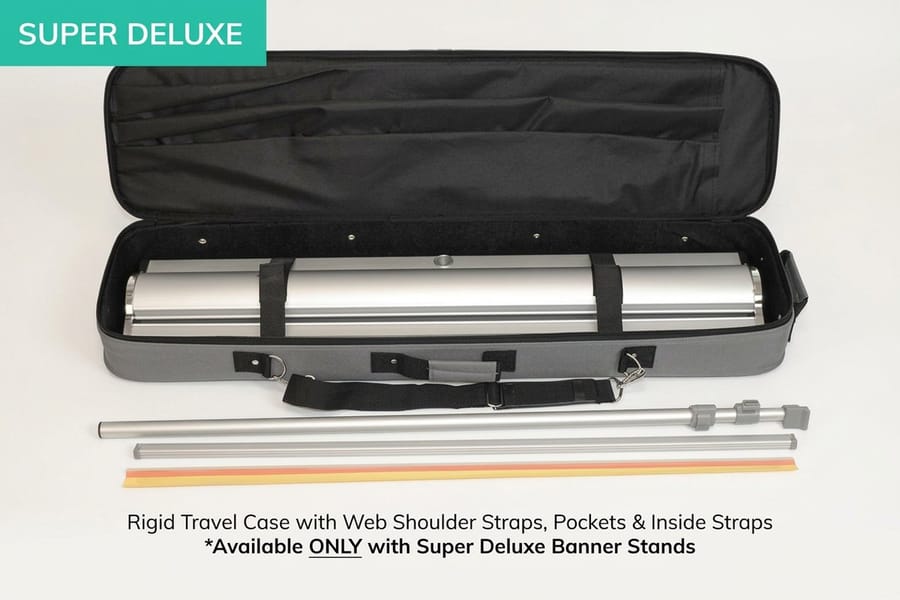
Open the padded carry bag and you will find three things: the base with the banner already rolled inside, the support pole in two or three sections, and sometimes a top cap or foot. That is it. No screws, no bag of loose parts to lose under a table.
Pick your spot before you build. You want a flat, level floor and enough clearance behind the display for the pole. Set the base so the printed side faces the direction your audience walks in from. A stand that ends up facing a wall is the most common setup mistake, and it is the easiest to avoid by choosing the spot first.
If your venue floor is carpet over concrete, feel for a level patch. Uneven ground is the number one reason a finished stand leans, and it is far easier to fix now than after the banner is up. For sizing the graphic to the space, our typical banner sizes for events and displays reference saves a round of guessing.
Set up your retractable banner in four steps
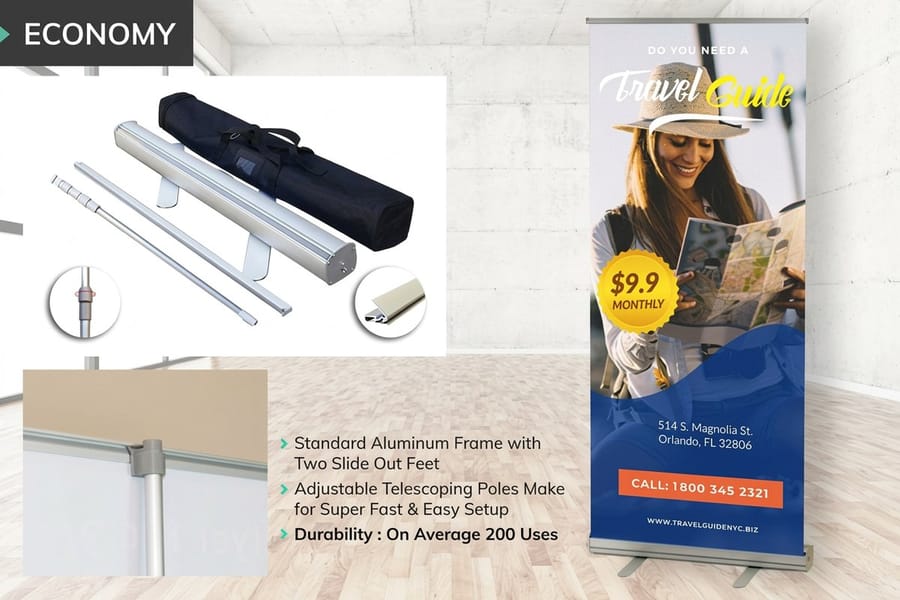
The whole routine takes about two minutes the first time and closer to thirty seconds once it is familiar. No tools, no help needed.
- 1Step 1: Position the baseStand the aluminum base upright on a flat, level surface with the retractable cassette running left to right and the printed side facing your audience. Steady it with one foot so it will not slide as you build up.
- 2Step 2: Assemble the support poleSnap the two or three pole sections together end to end. The internal elastic cord pulls them into one rigid rod. Drop the base of the pole into the socket at the back of the cassette until it seats with a soft click.
- 3Step 3: Pull the banner upGrip the top rail of the graphic and draw it straight up in one steady motion. The spring inside the base carries most of the weight, so let it climb evenly and keep the print from twisting to either side.
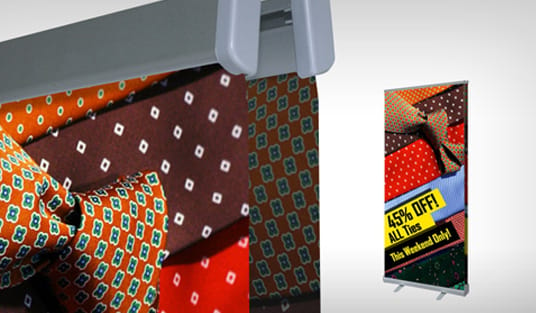
- 4Step 4: Attach the banner to the poleHook the top rail onto the tip of the support pole. On premium and deluxe stands the hook locks. On standard stands the rail simply rests on the pin. Give the graphic a gentle tug to confirm it is holding, then square the base to face the room.
That is the entire setup. To take it down, you reverse the last two steps: unhook the rail and guide the banner slowly back into the base so the spring re-rolls it clean. For a two-sided display or a photo-wall backdrop, the sequence is identical on a double retractable stand or a step-and-repeat banner stand, you just repeat the pull-up on the second face or add the extra poles.
Rolling it back down without creasing the banner
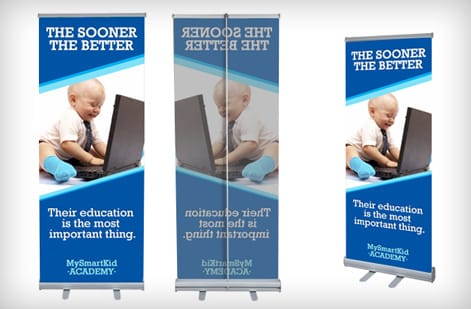
The graphic is the part you paid for, so the takedown matters as much as the setup. The single rule is this: never let the spring snap the banner down on its own. Control it the whole way.
Unhook the top rail from the pole, then hold the rail firmly and let the banner retract slowly into the cassette while you walk it down. A controlled roll keeps the print flat and crease-free. If you let it fire back, the leading edge can fold and leave a line that shows on the next setup.
Pull the pole sections apart, fold the base, and slide everything back into the carry bag graphic-side in. Stored this way, a well-kept stand travels for years. When you are ready to add more to the booth, our trade show and event displays and retractable fabric banner stands pair naturally with a retractable graphic.
Troubleshooting a stand that leans, curls, or will not lock
Nine out of ten setup problems come down to three things, and all three take under a minute to fix.
The stand leans. The floor is uneven or the pole is not fully seated. Move the base to a level patch and press the pole down into its socket until it clicks home. On deluxe stands, extend the wider foot for a longer footprint.
The banner curls at the edges. A graphic rolled tight in transit relaxes on its own. Leave the stand up overnight and the curl settles out by morning. This is normal and does not mean anything is wrong with the print.
The banner will not stay up. The top rail is not fully hooked on the pole tip. Lower the graphic a few inches, seat the hook or pin square, then lift again. On premium and deluxe stands you should feel the lock engage.
If a stand ever arrives with a hardware fault rather than a setup quirk, that is on us to make right. Compare hardware quality against the market on our alternative to BannerBuzz page before you decide where to reorder.
Choosing the right retractable banner stand for your space
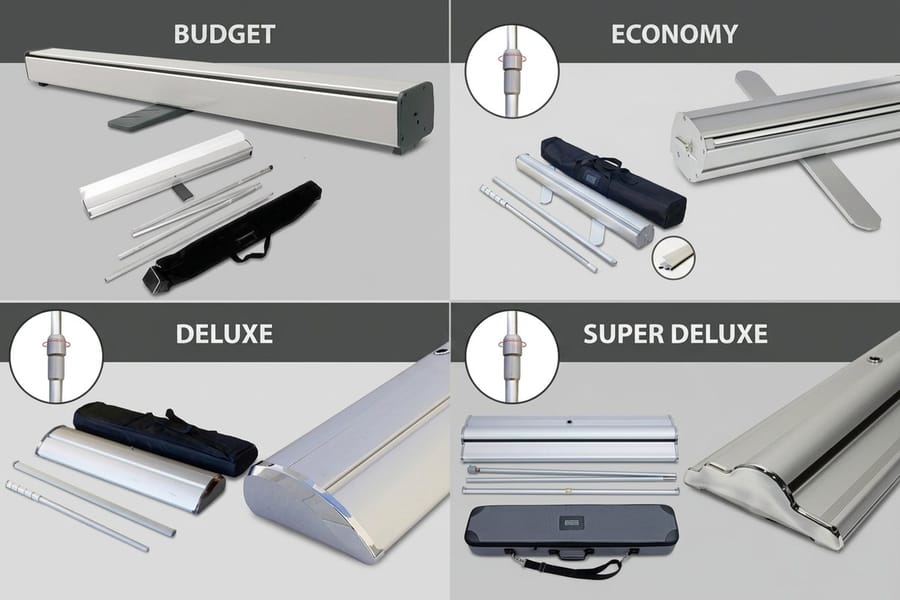
Setup is easy on every tier, so pick your stand by where it will live and how often it travels rather than by the fittings. Measure the spot first: full size stands run from 24 to 59 inches wide and 79 to 92 inches tall on 13 oz smooth blockout vinyl, so a 24 inch stand fits beside a registration table and a 47 or 48 inch stand carries a wider graphic across a booth wall.
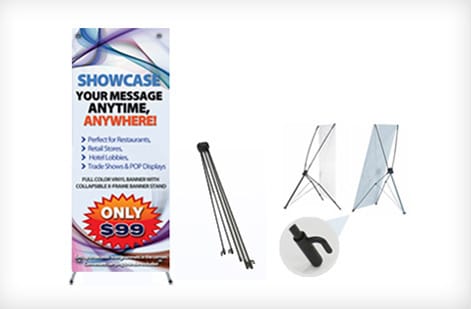
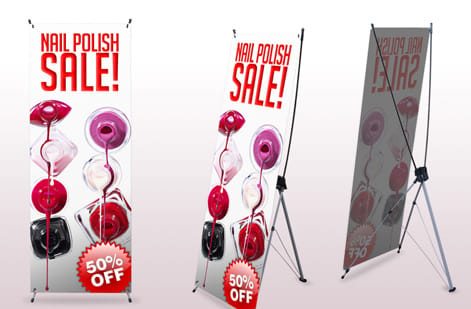
For a lobby sign or a booth you take to the same shows all year, a premium or deluxe stand pays for itself in stability and years of reuse. For a single event, a pop-up shop, or a tight registration counter, a lighter mini retractable stand or an X-frame stand is cheaper and packs smaller: minis run 8.25 by 12 up to 15.75 by 32 inches on 10 mil premium vinyl from $49.41, and X-frames run 24 by 60 up to 48 by 78 inches from $99. Planning a temporary retail moment? Our guide to pop-up shops and how to create one maps the display mix.
If your message needs a step-and-repeat backdrop for photos or a two-sided display in a walkway, the step-and-repeat banner stand and double retractable stand set up the same way with a little more hardware. To round out a booth, browse the full banners printing collection and event displays. You can lay out any of these graphics in our online designer before you order.
What retractable banner stands cost and how the price is set
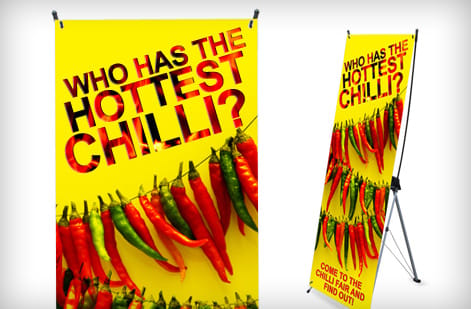
Three things set the price of a retractable stand: the hardware tier, the banner size, and the material you print on. Full size stands start at $139 for 24 by 79 inches on 13 oz smooth blockout vinyl and climb with width and height up to 59 by 85 inches. There is no per-color or per-word charge. A compact standard stand costs less than a heavier deluxe unit because its base and pole use less aluminum, and a larger graphic costs more than a compact one because it uses more material.
Everything is bundled. When you order, the graphic and the hardware ship together, ready to pull up out of the bag. You never buy the stand and the print as two separate line items and hope they fit.
The live specs and price below come straight from the configurator on the product page, so what you see is what a made-to-order retractable banner stand costs for its standard size and finish. If money is tight, read how to budget the trade show around one stand. For a fuller picture of the event budget, the trade show ROI benchmarks put display spend in context, and you can request free print samples to feel the material before you commit.
Wally explains the two-minute set up
No tools, no help, no drama at the booth
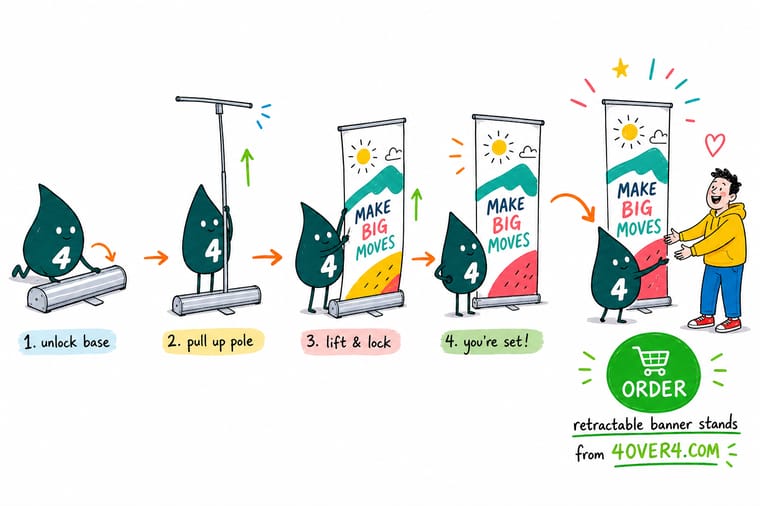
Wally treats a retractable stand like a pop-up book for your brand: the graphic lives in the base, and one steady pull brings it to life. Level the foot, seat the pole, draw the banner up straight, and hook the rail. That is the whole trick, about thirty seconds a step, and it works the same on standard, premium, and deluxe stands. When you are ready for the show, order a stand where the print and the hardware arrive bundled and ready to lift at 4OVER4.
Order a retractable banner stand →
Specs and pricing
Retractable banner stand specs and pricing
Retractable stands ship in 3 business days with the graphic and the hardware bundled, from $139 on an aluminum stand with a 13 oz smooth blockout vinyl print, in widths from 24 to 59 inches and heights of 79, 85 or 92 inches. The live specs and price-per-unit sit below.

| Quantity | Price Per Unit | Total |
|---|---|---|
| 1 | $139.00 | $139.00 |
Single, double or fabric
Order retractable stands and event banners at 4OVER4
Single sided retractable stands, double retractable stands for a walkway, and retractable fabric banner stands all go up with the same four steps and the same two minutes.
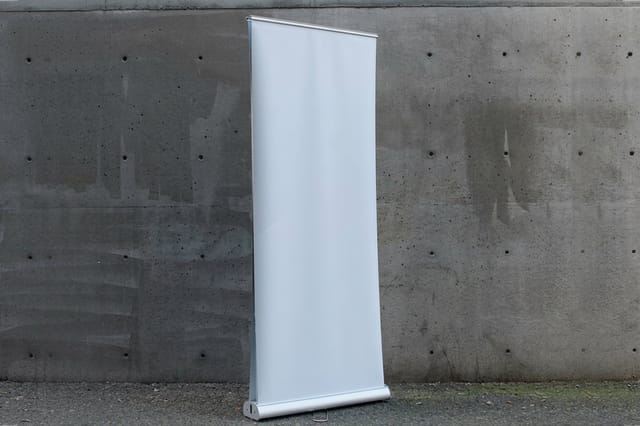
Customer stands from our Queens plant
Stands we packed and shipped to shows
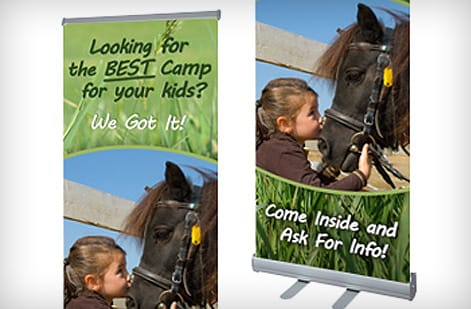


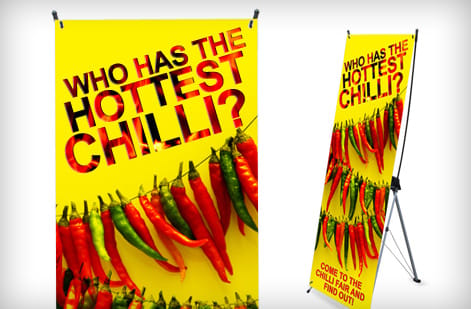

Banner sizes, booths and pop-up shops
Where to go next
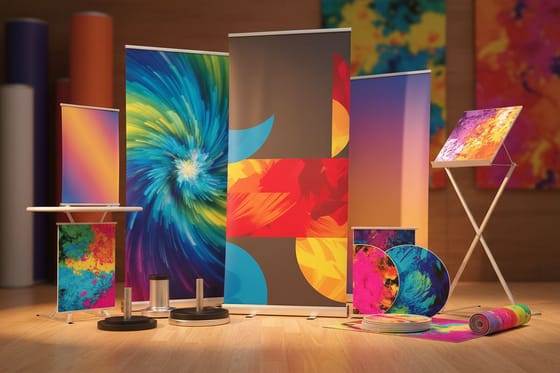

By the numbers
Mini stands at $49.41, fabric stands in 3 days
Common Questions
Common questions about setting up retractable banner stands
How long does it take to set up a retractable banner stand?
About two minutes once you have done it once. There are no tools involved. You unfold the base, click the support pole together, drop it into the cassette, and pull the banner up. Budget roughly thirty seconds per step: level the base, build and seat the pole, draw the banner up by the top rail, then hook the rail and square the stand. The first time takes a little longer while you get a feel for the spring tension, but after that it becomes a one-person, thirty-second job at the venue.
How do I set up a retractable banner stand by myself?
One person is all it takes, and no second pair of hands or tools. Stand the base on a flat, level floor with the print facing your audience and hold the base down with one foot so it cannot slide. Click the pole sections together until the joints close tight, then seat the pole fully in the socket at the back of the cassette so it stands on its own. Grip the top rail in the middle rather than at one end, pull straight up in one steady motion, and hook or rest the rail on the pole tip. Give it a gentle tug to confirm it is locked, then square the base to the room. Roughly thirty seconds a step, about two minutes in total, even on a seven-foot display.
What is the difference between standard, premium, and deluxe retractable banner stands?
The three tiers share the same pull-up mechanism but differ in base weight, pole design, and how the banner locks at the top. Standard stands are the lightest and most affordable, ideal for indoor use and quick shows. Premium stands add a heavier base and a locking top hook for extra stability. Deluxe stands use a wider, weighted foot and a stronger telescoping pole, which suits taller graphics and busy trade show floors. All three print the same crisp graphic. The frame is what changes.
What are the steps to set up a retractable banner stand?
Four steps, about thirty seconds each. First, position the base flat on the floor with the print facing your audience. Second, assemble the support pole and seat it in the socket at the back of the base. Third, pull the banner straight up by its top rail, keeping the rail level so the graphic climbs even. Fourth, hook or rest that rail on the top of the pole and give it a gentle tug to confirm it is holding. Then square the base to the room and you are done, roughly two minutes from bag to standing.
Standard, premium or deluxe, what changes in the base?
Match the stand to where it will live. For a lobby or a repeat trade show, a premium or deluxe retractable stand pays back in stability and years of use. For a one-off event or a tight counter, a mini stand or an X-frame stand is lighter and cheaper. If you need a two-sided display or a step-and-repeat backdrop, look at a double retractable stand or a step-and-repeat banner stand instead. Our banner stand printing pages lay the options side by side.
How much does a retractable banner stand cost, and how is the price set?
Price is driven by the hardware tier, the banner size, and the material you print on, not by a per-word or per-color charge. A compact standard stand starts well under a heavier deluxe unit because the base and pole use less aluminum. The live configurator on the product page shows the exact price for your size and finish before you order, with the graphic and the hardware bundled together.
My banner curls at the edges or will not stay straight, what should I do?
A fresh banner that was rolled tight in transit can curl for a day or two. Leave it standing overnight and the curl relaxes on its own. If the stand leans, the floor is almost always the cause. Move the base to a level spot and reseat the pole fully in its socket. If the graphic will not stay up, the top rail is not fully hooked on the pole tip, so lower it a few inches and re-seat the hook.
Get Started
Order a mini retractable stand at $49.41
Pick your tier and size, drop in your art, and we ship the graphic and hardware bundled so it pulls up out of the bag in minutes.
Legal Disclaimer
Gold Standard guarantees apply to all standard orders placed through 4over4.com. Price match requires verifiable proof of a competitor's published price for an equivalent product with matching specifications and turnaround time. Satisfaction guarantee covers manufacturing defects and print quality issues. Contact support with order number and documentation.
