
Print Your Own Invitations at Home and Still Get Clean Edges


A home printer handles a small run of flat invitations perfectly well. Here is the setup that works, the three things the machine cannot do, and the point where ordering costs less than the ink.
Yes, you can print your own invitations: build the card at its finished size on uncoated matte cardstock your printer is rated to feed, keep a quarter inch clear on all four sides, print two per letter sheet, and trim with a rotary cutter. What no home printer will do is run color to the edge, because the rollers hold an unprintable margin, and none of them score a fold, so heavy stock cracks when you bend it. Below about 25 flat cards that trade is easy. Past it, printed invitation cards start at $19.77.
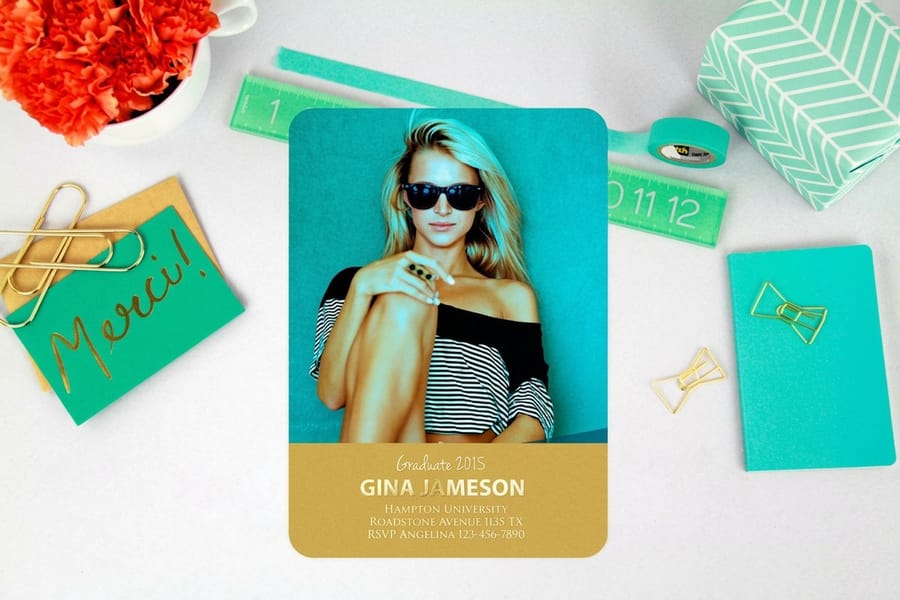
Quick answer
The white frame is the deciding detail
A home printer can print an invitation but cannot finish one. It holds an unprintable margin at every edge, tops out around 65 lb cover on feed weight, and has no way to score a crease or square a stack. That makes DIY a good answer for a small run of flat, light-background cards and a poor one for anything folded, dark-backgrounded or heavy. The diagram below shows exactly why the edge behaves differently on a press.
What a Home Printer Can and Cannot Do With Invitations
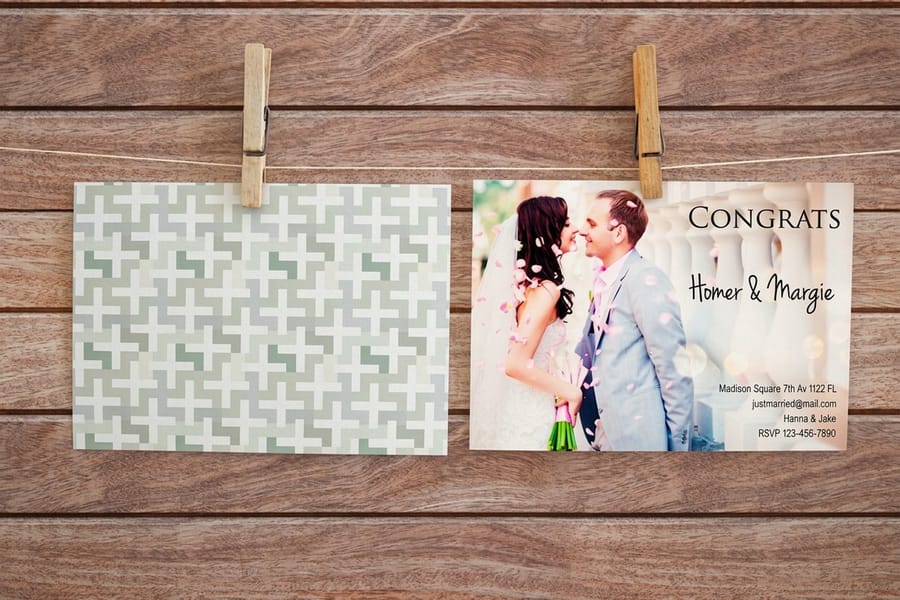
Three limits decide the whole project, and none of them are about design skill.
It cannot print to the edge. Rollers have to grip the sheet somewhere, so every consumer printer keeps an unprintable strip, usually a sixth to a quarter of an inch. Borderless mode on photo inkjets is real but narrow: it applies to photo paper at set sizes, not to cardstock, and it works by enlarging your file a few percent so the excess falls off the edge, which quietly pushes your text off center. If your design has a colored background, plan for a white frame or change the design. Our full bleed guide covers why bleed is a cutting operation rather than a printing one.
It cannot feed heavy stock. Check the manual for the maximum media weight before you buy paper. Most home machines stop around 65 lb cover, and heavy sheets are only allowed through the rear or manual tray where the paper path is straightest. Coated gloss stock is worse than heavy stock: inkjet ink pools on the coating and stays wet, and a laser fuser can craze the surface. Uncoated matte cardstock is the DIY answer.
It cannot finish. No trimming, no scoring, no rounded corners, no foil, no raised ink. Every one of those happens after the sheet leaves the press, and each one is a separate machine. That is the honest boundary between an invitation you print and an invitation you order.
What a home printer does well is small runs, fast turnarounds, and last-minute changes. Twenty cards for a dinner, a rehearsal-night note, a corrected date the week before. Below that threshold nothing beats it.
Print Your Own Invitations, Step by Step
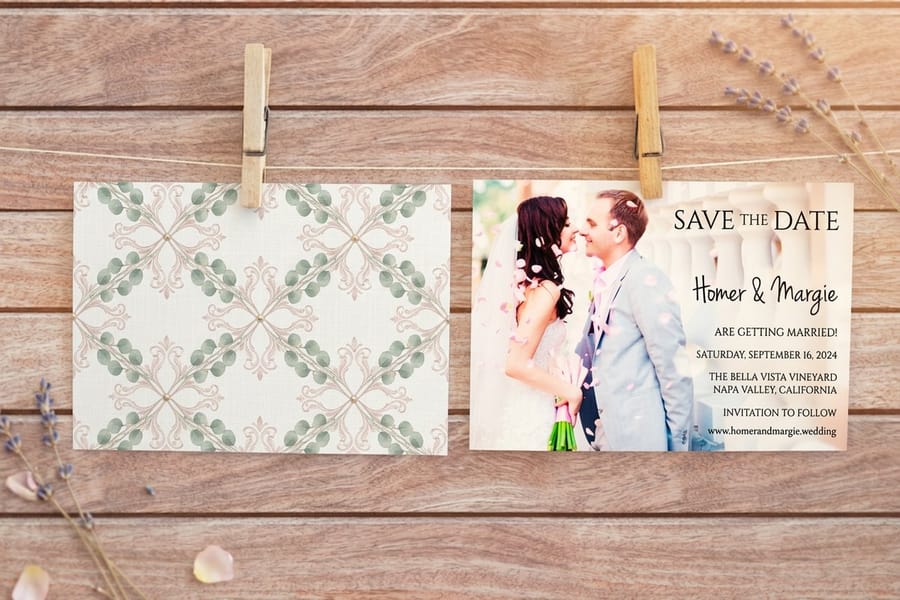
Work in this order and most of the usual failures never happen.
- Set the document at the finished card size. A 5 by 7 card is a 5 by 7 document, not a letter page with a card drawn on it. Keep all type at least 0.25 in from the trim, and do not add bleed: you have nothing to cut it with. The invitation size guide lists the standard sizes and the envelopes that match.
- Design on a white or pale background. This is the one concession DIY demands. A pale card with a strong border set in from the edge looks deliberate; a dark card with a white halo looks like a mistake.
- Buy stock your printer is rated for. Uncoated matte cardstock, 65 lb cover or lighter unless the manual says otherwise, and enough sheets to waste six.
- Convert your file to a PDF at actual size. Printing straight from a word processor rescales without telling you. A PDF with fonts embedded prints what you designed.
- Print one test card on plain paper first. Hold it against the cardstock, check the margins are even on all four sides, then print one on the real stock and let it dry for a minute before touching it. Home printers are not color managed, so screen colors will shift, and deep blacks in particular print flatter than they look.
- Impose two cards per letter sheet. Two 5 by 7 cards fit on 8.5 by 11 with a gap between them for the cut. Leave at least 0.4 in between the two cards so the blade has somewhere to land.
- Let the ink dry before stacking. Inkjet on matte cardstock offsets onto the back of the next sheet if you stack it warm. Lay the sheets out flat.
- Trim, then score, then fold. Cutting and creasing are covered below, and they are where DIY invitations are usually lost.
If you want the layout handed to you at the correct size with the margins already in place, the blank template library has print-ready files you can design into, and they work just as well for a home print as for a press run.
Cutting, Scoring and Folding: Where DIY Actually Breaks

Printing is the easy half. The finishing is what tells a guest which invitation came off a press.
Cutting. Scissors are out. A rotary trimmer or a steel ruler with a fresh craft knife is the minimum, and even then the cut drifts, because a blade follows the fibre and your hand pressure changes over fifty sheets. Two habits help: cut every long edge across the entire batch before you touch a short edge, so drift stays consistent rather than random; and change the blade halfway, because a dull blade tears rather than cuts and leaves a fuzzy white edge on colored stock. Fan the finished stack and look down the edge. If the cards step, the stack is not square.
Scoring. Any sheet heavier than roughly 80 lb text cracks along a fold unless it is creased first, because folding compresses fibers on the inside and stretches them on the outside until they split. A bone folder run along a steel ruler on the printed side gives you a crease that folds cleanly. Cardstock that has already been folded and cracked cannot be rescued. This is the main reason folded invitations at $38.22 are worth ordering rather than making: they are scored on a machine that puts the crease in the same place on every single card.
Corners and edges. Rounded corners need a punch, and a hand punch rounds each corner slightly differently. Foil, raised ink and painted edges are press-only. If the look you want depends on any of those, DIY is not a cheaper route to it, it is a different result. The flat versus folded comparison is worth reading before you commit, because flat cards remove the scoring problem entirely.
The Quantity Where Ordering Beats Printing Your Own
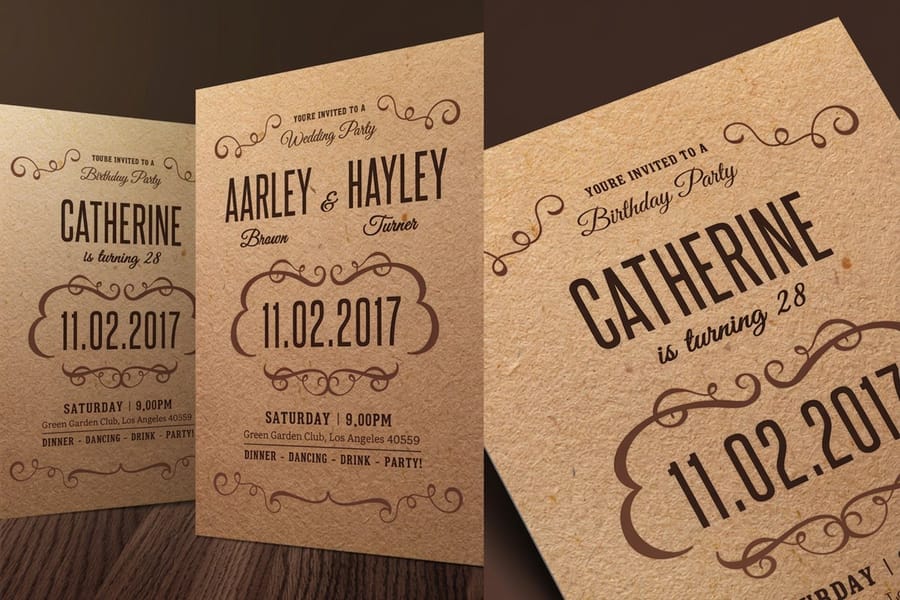
The switch happens earlier than most people expect, and it is ink that moves it.
Home printing looks free because the printer is already on the desk. It is not: a full set of replacement cartridges is a real cost, a heavy design covering most of a card drains them fast, and cardstock is bought by the pack whether you use it or not. Add the test sheets you will throw away and the evening spent cutting. Then compare against the catalog: invitation cards start at $19.77, wedding invitations start at $19.77, folded invitations start at $38.22 already scored, and kraft invitations start at $50.72 on uncoated brown stock a home printer struggles to feed.
| Job | Print it yourself | Order it printed | Why |
|---|---|---|---|
| 10 to 25 flat cards, white background | Yes | Optional | Small enough that ink and cutting time stay trivial, and the design needs no bleed. |
| Anything folded | No | Yes | Scoring is a machine step. An uncreased fold cracks and cannot be undone. |
| Dark or full-color background | No | Yes | Bleed needs a cut through the ink, which no home printer can do. |
| Heavy or specialty stock | No | Yes | Above roughly 65 lb cover the feed slips, skews or jams, and coated stock smears. |
| Matching envelopes, printed | Addressing only | Yes | Envelope faces run on press. Invitation envelopes start at $170.42 and arrive sized to the card. |
Read the middle two rows first. They are the ones that turn a saved evening into a reprint. If the design has a fold or a colored edge, the decision is already made, and the whole invitation printing range handles both without a compromise. For a broader picture of what a printed set actually costs across formats, our guide to wedding invitation costs breaks it down piece by piece.
Wally explains DIY invitations
The printer is not the problem, the edge is
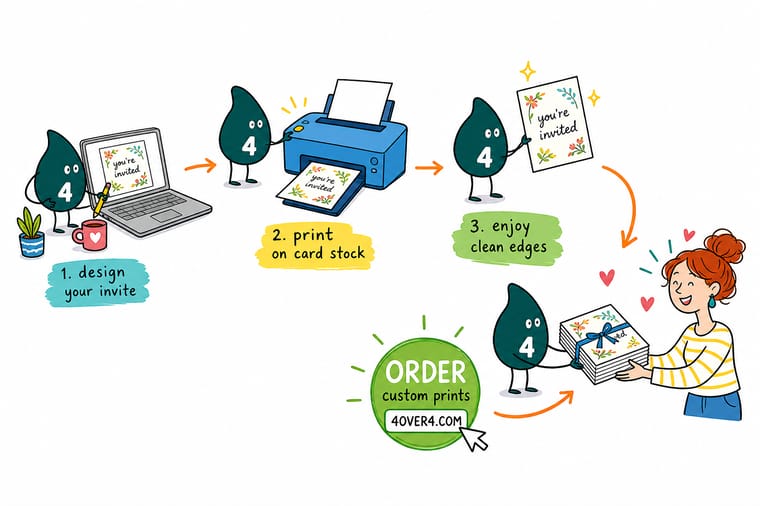
Wally runs a card through his home printer and it comes out fine, except for the white frame the rollers left behind. He tries to cut it off and the stack goes crooked. He folds one and the fibers crack because nothing creased it first. So for the dinner party he prints them himself and it is perfect, and for the wedding he sends the file to us, where a guillotine cuts through the ink and a machine puts the crease in the same spot on all two hundred.
Price invitation cards →Specs and pricing
Invitation sizes, stocks and starting prices
The formats a home printer struggles with, configured live. Pick a size and stock and the price updates straight from the 4OVER4.COM configurator.
Print it
Order the ones your printer cannot handle
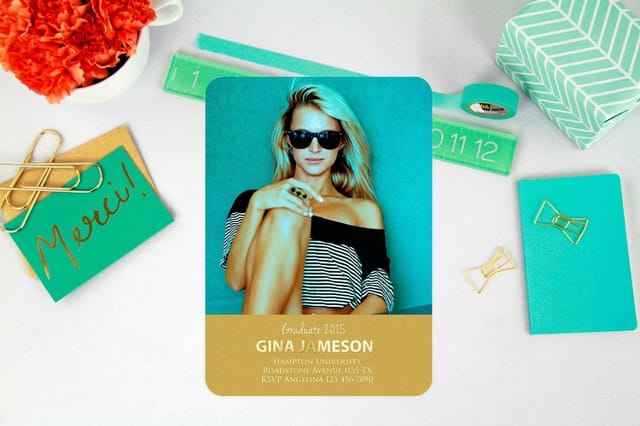
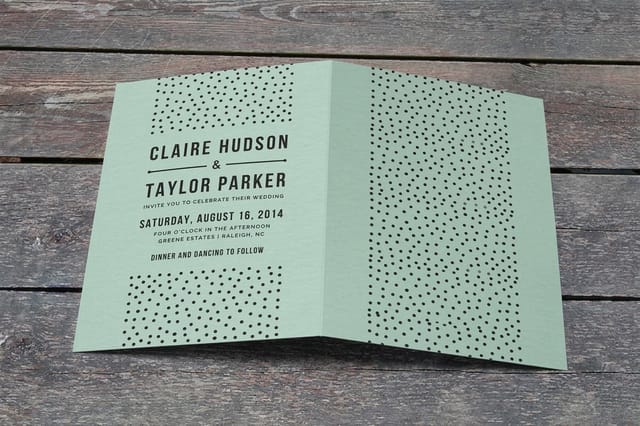
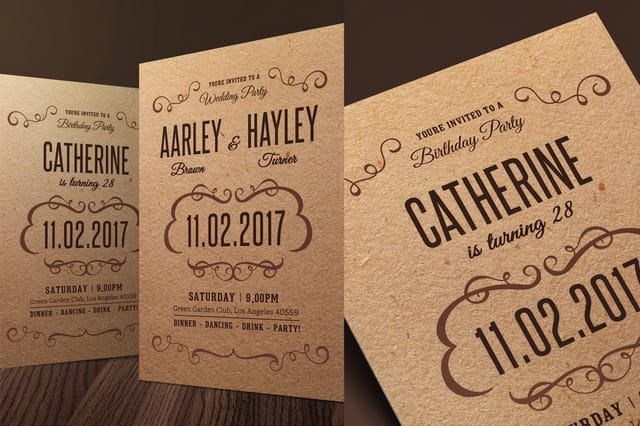
Explore more
Where to go next
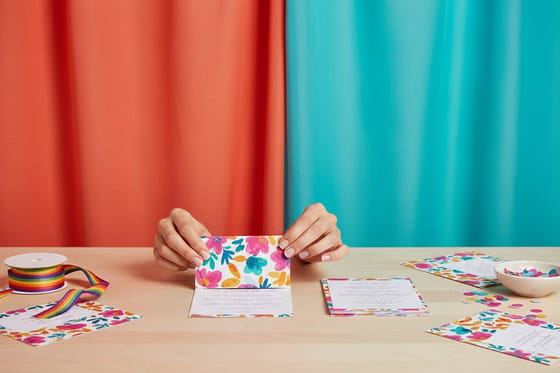
By the numbers
Invitation printing you can count on at 4OVER4
Common Questions
Your DIY invitation questions, answered
Can I print my own invitations on a home printer?
Yes, within limits. Set up the card at its finished size with a white margin of at least a quarter inch on all four sides, use uncoated matte cardstock the printer is rated to feed, print two cards per letter sheet, and trim with a rotary cutter. What you cannot do at home is print color to the edge, cut a perfectly square card by hand fifty times in a row, or crease a heavy sheet cleanly. Those three limits decide whether the result reads as handmade or as unfinished.
What cardstock weight can a home printer actually handle?
Most consumer printers list a maximum around 65 lb cover, which is about 176 gsm, and the manual usually names a single rear or manual-feed tray as the only path that heavy stock may take. Sending it through the standard cassette is where jams start, because the sheet has to bend around a tight roller. Coated gloss stock made for offset is the other trap: inkjet ink sits on top of the coating and smears under a thumb, and a laser fuser can crack the coating on the fold or leading edge. Uncoated matte cardstock is the safest thing to buy for DIY.
Why does my invitation have a white border I did not design?
Because the printer physically cannot lay ink where its rollers hold the paper. Borderless mode exists on many photo inkjets, but it is usually restricted to photo paper in 4 by 6 and 5 by 7 sizes, not to cardstock, and it works by scaling your artwork up a few percent, which shifts your text off center. The professional answer is to print oversized and cut through the ink, which is exactly what a trimmed press sheet does and what a home setup cannot.
How do I cut invitations straight without a paper cutter?
Use a steel ruler, a fresh craft knife blade and a self-healing mat rather than scissors, and change the blade halfway through the stack because a dulling blade pulls the cut off line. Score the cut lightly first, then go over it again with more pressure, instead of trying to slice cardstock in one pass. Cut every long edge across the whole batch before you switch to the short edges, so any drift is consistent instead of random. Even done carefully, a hand-cut card is visibly less square than a guillotined one when you fan the stack.
Is it cheaper to print invitations at home or order them?
For a dozen cards, home printing usually wins. For a real guest list it does not, because the cost you forget is ink. Price a full set of replacement cartridges for your own printer, add a pack of cardstock and a couple of wasted test sheets, then compare it against the $19.77 that invitation cards start at here or the $38.22 for folded invitations. The other cost is your evening: cutting and creasing a hundred cards by hand takes hours that a guillotine handles in seconds.
Can I print the envelopes at home too?
You can address them, and that is usually where home printing does earn its place. Envelope feeding is unreliable on most consumer printers because the double thickness of the flap confuses the paper sensor, so feed them one at a time and expect a few skewed passes. Full-color printing across an envelope face is a different job and needs a press: our invitation envelopes start at $170.42 and arrive already matched to the card size. If you are pairing a 5 by 7 card, the envelope you want is A7, which measures 5.25 by 7.25 inches.
Will guests notice that the invitations were printed at home?
They notice the edges before they notice the design. A white border where the design clearly wanted a colored background, a slightly off-square trim, and a cracked fold line are the three tells. If your design is set on a white or light background, keeps a generous margin and stays flat rather than folded, a careful home print holds up. If it has a dark background, foil, a fold, or heavy stock, it will not.
Get Started
Printing the ones you can, ordering the rest?
Send us the cards that need a fold, a dark background or a heavy stock. We print them, score them and cut through the ink so the color reaches all four edges.
Legal Disclaimer
Gold Standard guarantees apply to all standard orders placed through 4over4.com. Price match requires verifiable proof of a competitor's published price for an equivalent product with matching specifications and turnaround time. Satisfaction guarantee covers manufacturing defects and print quality issues. Contact support with order number and documentation. On-time delivery rate based on tracked orders 1999 to 2026. Individual results may vary based on shipping carrier performance.
