
How to Print Car Stickers That Survive Sun, Rain and the Car Wash


Jordan is our labels, packaging and sustainability voice, built from the knowledge of our production team, with over 20 years in printing.
The material stack that survives a windshield of weather, the sizes that read from three cars back, and the removal method that leaves the glass and the paint intact.
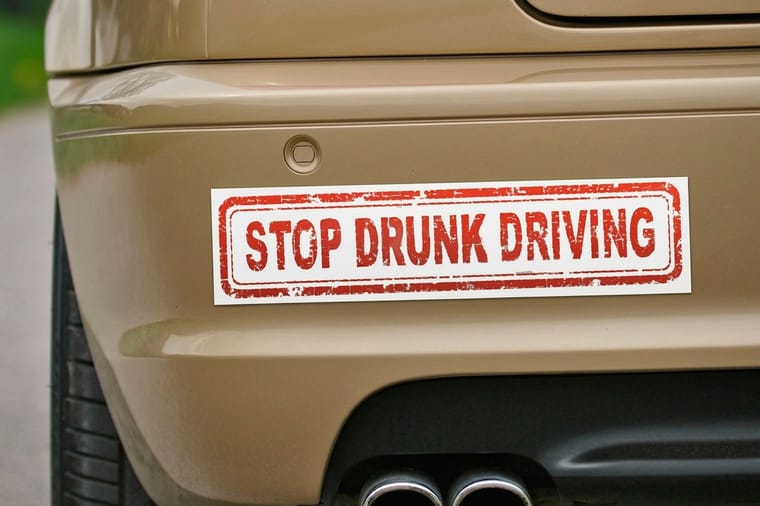
A car sticker lasts because of three choices: a white vinyl face film instead of paper, a gloss or matte laminate over the print, and a permanent adhesive underneath. Everything after that is a decision about shape and placement. Bumper stickers start at $38.44 on laminated white vinyl in five standard sizes, die-cut stickers start at $93.37 when the blade follows your artwork, and car magnets at $47.50 are the answer when the branding has to come off again.
Quick answer
Vinyl, laminate, permanent adhesive, in that order
Car sticker printing is a material decision before it is a design decision. White vinyl flexes with a panel that swings between freezing and scorching and shrugs off water. The laminate takes the UV and the car wash brush so the ink underneath keeps its color. Permanent adhesive holds the edges down, which is where every failure starts. Print on all three and the sticker will outlast the campaign. Skip the laminate and the reds fade first.
What Makes a Car Sticker Survive a Year Outdoors
A car sticker is a stack of four things, and a car finds the weakest one fast. Face film, ink, laminate, adhesive. Get all four right and the sticker outlives the interest in the message on it.
The face film is the decision that matters most. Vinyl stretches and relaxes with a panel that reaches uncomfortable temperatures in July and drops below freezing in January, and it does not absorb water. Paper does the opposite on both counts. It is fine on a box or a water bottle that lives indoors, and it is the reason a cheap sticker looks ragged at the edges after one storm.
The laminate is the layer people skip to save money. It is also the layer that takes the UV, the brush in an automatic wash, and the road salt. Without it the ink fades from the top down, and reds and blues go first because those pigments are the least UV stable. With it, the print sits under a sacrificial clear layer that can dull without the artwork changing color.
Adhesive is the last call and it is a commitment. Permanent adhesive is what belongs on a vehicle. Removable stock is engineered to release, which is exactly what you do not want on a corner that gets hit by a rotating brush at speed. Our bumper stickers ship on laminated white vinyl with permanent adhesive because that combination is the one that stays down, and the outdoor sticker material guide goes deeper on where each film sits.
| Face film | How it behaves on a car | Where it fails | What to order |
|---|---|---|---|
| Sticker paper | Prints sharp and costs the least. | Swells in rain, cockles at the edge, tears when you try to fix it. | Keep it indoors. Not a car product. |
| White vinyl, unlaminated | Survives water and flexes with the panel. | Ink fades from the top down and picks up scratches in the wash. | Short campaigns only. |
| Laminated white vinyl | Waterproof, UV protected, takes brush grit on the clear layer. | Nothing on a car. Overkill on an indoor label. | Bumper stickers and vinyl stickers. |
| Clear vinyl | Lets the paint or glass show through around the artwork. | Light colors disappear against a dark car unless a white layer backs them. | Clear stickers on glass. |
Pick the Surface Before You Pick the Sticker
Paint, glass and plastic trim behave differently, and the product that suits one is wrong on the next. Decide where the sticker goes before you decide what it is.
- Painted bumper or panel. Opaque white vinyl with permanent adhesive. The white base is what keeps your colors honest over a dark car, and the paint gives the adhesive a smooth surface to grip. Avoid the crease lines and the gap edges, because an adhesive that starts at a corner over a body gap never stops.
- Rear or side glass, viewed from outside. A standard sticker applied to the outside of the glass works and is the simplest option. If you want it applied from inside, you need artwork printed in reverse, which is what window decals are set up for.
- Glass where you want the view to survive. Clear stickers put the design on a transparent film so only the printed shapes read. Just remember that white ink is the only thing that makes a pale color visible against a dark interior.
- Textured plastic trim. The one surface where stickers genuinely struggle. Adhesive only touches the high points of the texture, so the bond is a fraction of what it is on paint. Move the sticker to a smooth panel.
- A door you do not want branded permanently. Car magnets at $47.50 sit on flat steel and come off in seconds, which is why service vehicles that double as family cars use them. They do not work on aluminum or plastic bumper covers, and the panel has to be flat enough that the whole magnet contacts it.
If you are still deciding between a permanent sticker and something removable, the decals, magnets and bumper stickers comparison lays the three side by side, and the full range sits in our sticker printing category.
Sizes, Shapes, and Why the Cut Changes the Price
Two products cover almost every car job, and the difference between them is the cut, not the material.
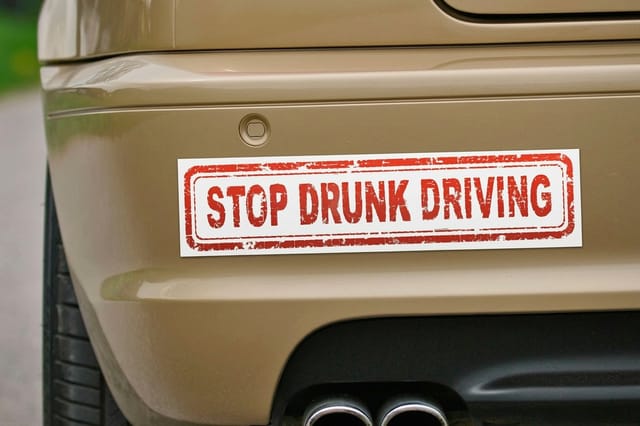
Bumper stickers are cut to a standard rectangle. The configurator offers 2 by 5, 3 by 9, 3 by 11, 3.75 by 7.5, and 2.75 by 15 inches. The long thin shapes exist because they match the flat strip on a bumper cover and stay legible from a car length back. They start at $38.44, and the reason they are the cheapest way to print a car sticker is that the cut is already tooled.
Die-cut stickers follow your artwork outline instead of a rectangle, in sizes including 2 by 2, 4 by 4 and 11 by 11 inches. That custom blade path is the cost, which is why they start at $93.37. A logo with a strong silhouette earns it. A logo inside a box does not, and you are better off putting that budget into quantity.
Two sizing habits save reprints. Print the artwork on plain paper at the exact size and tape it to the car before you order, because a 3 inch tall design that looks big on screen reads as a smudge from three cars back. Our article of design examples shows the bumper sticker size behind each one. And keep type well inside the trim on any die cut, since a blade path that runs close to a letter turns a small cutting tolerance into a visibly clipped character. The bumper sticker size guide shows each option at scale, and you can start from a correctly sized layout in the blank template library.
To print car decals that hold up on a vehicle, pick the product by the job, then upload a print-ready file at the exact finished size with type kept well inside the trim:
| Product | Material and finish | Sizes | Starts at | Standard production |
|---|---|---|---|---|
| Bumper stickers | White permanent vinyl with UV coating | 2 x 5 to 2.75 x 15 in, or any size | $38.44 | 5 business days |
| Die-cut stickers | White permanent vinyl among six stocks | 2 x 2 to 11 x 11 in | $93.37 | 5 business days |
| Vinyl stickers | Permanent or repositionable white vinyl, or clear | 2 x 3.5 to 5 x 7 in, or any size | $25.00 | 3 business days |
| Car magnets | 30 mil magnet with hi gloss UV coating | 9 x 9 to 24 x 36 in | $47.50 | 4 business days |
Applying It So the Edges Never Lift
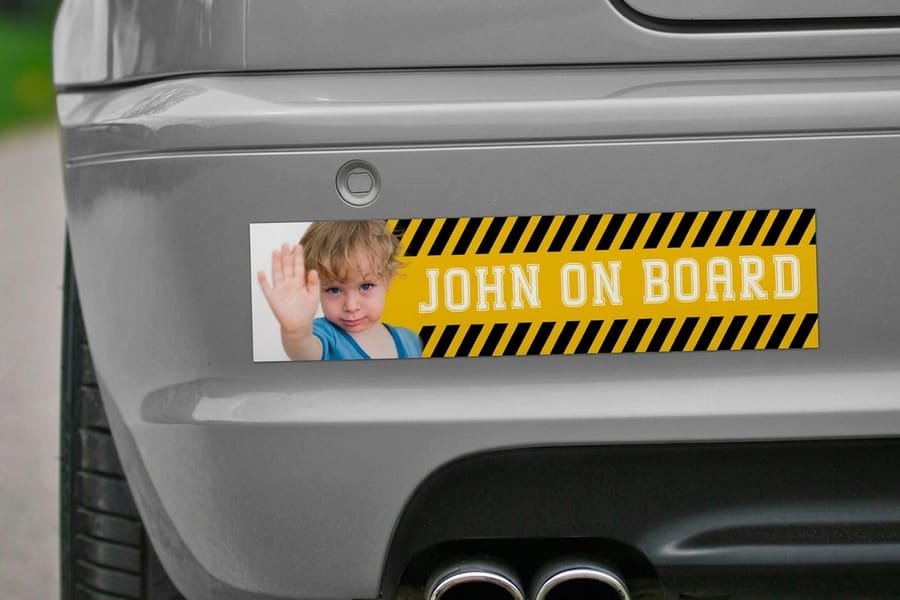
Most car stickers that fail early were applied badly, not printed badly. The whole job is surface prep and temperature.
Wash the area, then wipe it with isopropyl alcohol and let it flash off. Car wax and quick detailer spray are the usual culprits: they leave exactly the film that adhesive cannot key into, and a sticker applied over fresh wax will let go within weeks. Skip soapy water as the final wipe, since the surfactants leave a residue of their own.
Apply in the shade, on a panel that is warm to the touch rather than hot, roughly between 50 and 90 degrees Fahrenheit. Cold vinyl is stiff and will not conform. A panel sitting in direct summer sun grabs the adhesive the instant it touches, which removes any chance of repositioning.
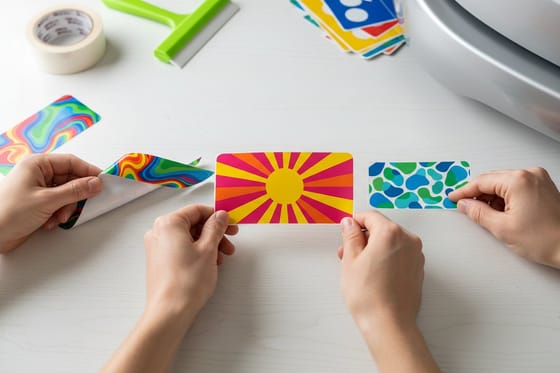
For anything longer than a few inches, use the hinge method. Tape the sticker in position along its top edge, lift it from the bottom, peel the liner back partway, then squeegee down from the hinge in overlapping strokes with a plastic card wrapped in a cloth. Air gets pushed ahead of the stroke instead of trapped behind it. Give it a firm press around the whole perimeter at the end, because edges are where every failure starts, and keep it out of an automatic car wash for the first 24 hours while the adhesive builds its bond. Our vinyl decal application guide covers the wet method for larger graphics.
How to Remove a Sticker From a Car Window Without Damage

Removal is three steps in order: heat, then a plastic edge, then solvent. Rushing straight to step two is what shreds a sticker into a hundred pieces you then have to pick off.
- Warm it. A hair dryer at moderate heat, held a few inches away and kept moving for a minute or two, softens both the vinyl and the adhesive. A heat gun works but concentrates enough heat to damage paint and can stress cold glass, so a hair dryer is the safer tool.
- Lift a corner and pull at a low angle. Use a plastic card, a plastic razor blade, or a length of fishing line worked underneath. Peel back on itself at roughly 180 degrees rather than straight out, and go slowly. Pulling up at a right angle is what tears vinyl.
- Clear the residue. Isopropyl alcohol on a microfiber cloth handles most of it. A citrus adhesive remover handles the stubborn old stuff. Let it sit for a minute so it can work rather than scrubbing, then wash the area and, on paint, re-wax it since the solvent will have stripped the wax off with the glue.
Two things you should not do. Never take a metal blade to paint, because the scratch it leaves costs more than any sticker. And never scrape the inside of a rear window: the defroster grid is printed on that inner surface, and a single pass with a blade will break a line and put a permanent stripe of fog in your rear view. On the outside of glass a plastic blade is fine, held at a shallow angle. If the glue itself is the problem rather than the sticker, the residue removal guide works through the solvents in order of aggressiveness, and removing stickers from glass covers the windows on the house too.
Wally explains durable car stickers
Vinyl under the ink, laminate over it, permanent glue below
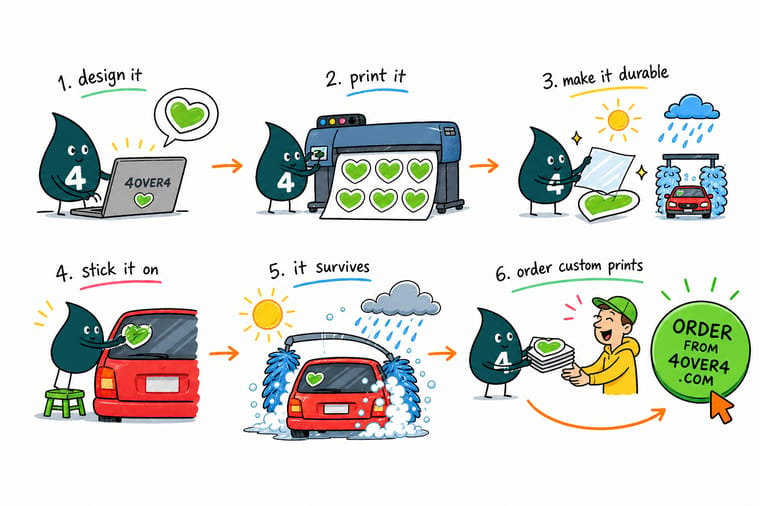
Wally prints on white vinyl so the rain runs off instead of soaking in, lays a clear laminate over the top so the sun bleaches that layer and not your logo, and sticks it down with permanent adhesive so the car wash brush finds no corner to grab. He wipes the panel with alcohol first, works in the shade, and presses the edges last. When it is time to take it off, he reaches for a hair dryer and a plastic card, never a metal blade.
Order bumper stickers →
Specs and pricing
Car sticker sizes, finishes and starting prices
Compare the three products that cover almost every vehicle job, with live configuration choices and starting prices straight from the 4OVER4.COM configurator. Bumper stickers start at $38.44 on UV coated white vinyl, die-cut stickers at $93.37 for 25 in 2 by 2 up to 11 by 11 inches, and vinyl stickers at $25.00 in permanent or repositionable vinyl.

Print it
Order stickers built for a vehicle
Bumper stickers from $38.44 for the strip on a bumper cover, die-cut stickers from $93.37 for a logo with a strong outline, and car magnets from 9 by 9 to 24 by 36 inches for a door you want to strip clean later.

%22%2F%3E%3Ccircle%20cx%3D%2243%22%20cy%3D%2245%22%20r%3D%2228%22%20fill%3D%22%23a78bfa%22%20opacity%3D%220.15%22%2F%3E%3Ccircle%20cx%3D%2280%22%20cy%3D%2262%22%20r%3D%2226%22%20fill%3D%22%23a78bfa%22%20opacity%3D%220.1%22%2F%3E%3Crect%20x%3D%2273%22%20y%3D%2221%22%20width%3D%2228%22%20height%3D%2232%22%20rx%3D%224%22%20fill%3D%22%23a78bfa%22%20opacity%3D%220.08%22%20transform%3D%22rotate(8%2080%2030)%22%2F%3E%3C%2Fsvg%3E)
Explore more
Where to go next
Five guides cover outdoor sticker materials, bumper stickers against car magnets, applying a vinyl decal, bumper sticker sizes and removing residue. The last card opens sticker printing.


By the numbers
Vinyl and laminate built for a vehicle panel
Common Questions
Your car sticker questions, answered
What material makes a car sticker actually last?
White vinyl with a laminate over the print and a permanent adhesive underneath. The vinyl flexes with a bumper that heats up in the sun and cools overnight, the laminate absorbs the UV and the grit from a brush car wash, and the permanent adhesive keeps the edges down. Paper stock is the usual failure: it holds up fine on a laptop lid or a shipping box, then swells and cockles the first time it gets properly wet. That is why our bumper stickers print on laminated white vinyl rather than on a sticker paper.
How do I remove a sticker from a car window without damaging it?
Warm it first with a hair dryer held a few inches away, moving constantly, until the vinyl is soft to the touch. Slide a plastic card or a length of fishing line under one corner and peel back on itself at a low angle rather than straight up. Whatever adhesive stays behind comes off with isopropyl alcohol or a citrus adhesive remover on a cloth. Two rules matter more than the technique: never use a metal blade on paint, and never scrape the inside of a rear window, because the defroster grid is printed on that surface and one pass will cut a line out of it.
Bumper sticker or car magnet for a work vehicle?
A magnet if the car is also a personal car, a sticker if the branding is permanent. Car magnets start at $47.50 and lift off in seconds for a weekend or a resale, which is the whole point of them. They also need a flat steel panel, so they will not sit on a bumper cover, a door with a deep crease, or an aluminum panel. A bumper sticker at $38.44 costs less, goes anywhere, and stays where you put it.
What sizes do bumper stickers come in?
The configurator lists 2 by 5 inches, 3 by 9 inches, 3 by 11 inches, 3.75 by 7.5 inches, and 2.75 by 15 inches. The long thin sizes read from behind at speed and fit the flat strip on most bumper covers. The smaller ones suit a rear window corner or a toolbox. If your artwork is not a rectangle, order die-cut stickers instead and the cut follows the shape.
Can a car sticker go on the inside of the glass?
Only if it is printed to be read from the outside, which means the artwork is reversed and the adhesive sits on the printed face. Standard stickers put the adhesive on the back of an opaque white film, so applied from the inside you would see the liner side. Window decals are the product designed for this, and clear stickers work when you want the glass to show through around the design. Check your state rules on windshield coverage before you commit to placement.
How long does car sticker printing take?
Standard turnaround on bumper stickers is 3 or 5 business days in production, and you pick that in the configurator before checkout along with size, quantity and finish. Production time is separate from transit time, so add shipping days on top when you are printing for an event or a fleet rollout date.
Get Started
Order 25 window decals from $93.37 for the glass
Pick a size, choose laminated white vinyl with permanent adhesive, and we print bumper stickers and die cuts that hold their color through the summer and the car wash.
Legal Disclaimer
Gold Standard guarantees apply to all standard orders placed through 4over4.com. Price match requires verifiable proof of a competitor's published price for an equivalent product with matching specifications and turnaround time. Satisfaction guarantee covers manufacturing defects and print quality issues. Contact support with order number and documentation.
