
How to Apply a Vinyl Decal Without Bubbles


Jordan is our labels, packaging and sustainability voice, built from the knowledge of our production team, with over 20 years in printing.
Clean the surface, work in mild temperatures, tape a hinge to lock your position, then squeegee from the center out and peel the transfer tape back flat. That is the whole routine, and it lands crisp every time.
To apply a vinyl decal, prep first and position second: degrease the surface with rubbing alcohol and dish soap and dry it fully, work in the 50 to 90 degree range, tape a hinge down the middle so the decal cannot go crooked, squeegee from the center outward in firm overlapping strokes, then peel the transfer tape back on itself at a sharp low angle. Let it cure 48 to 72 hours before washing.
At a glance
The four-step method, start to finish
Prep
Degrease and dry the surface
Position
Tape a hinge and line it up
Squeegee
Press from the center outward
Peel
Pull the transfer tape back flat
Quick tips
Quick tips for applying a vinyl decal
Prep decides the outcome. Degrease the surface with rubbing alcohol and dish soap, then dry it completely before the vinyl touches down. Apply in the 50 to 90 degree range so the adhesive tacks without grabbing too fast. Tape a hinge to lock your alignment, squeegee from the center outward to chase the air out, and peel the transfer tape back flat at a sharp angle. Then let it cure 48 to 72 hours before you wash it. 4OVER4.COM cuts vinyl clean so it lays flat and peels sharp.
What you need before you start
A clean vinyl decal application is more about preparation than luck. Get your tools in one place first and the whole job goes calm and quick. This short list covers almost every surface.
- Rubbing alcohol (70% isopropyl) and a drop of dish soap for degreasing.
- A plastic squeegee or an old gift card wrapped in a soft cloth so it will not scratch.
- A lint-free microfiber cloth for drying, plus a couple of paper towels.
- A strip of masking tape and a tape measure or ruler for positioning.
- A spray bottle of water for the wet method on bigger pieces, and a pin for popping stray bubbles.
The decal itself matters as much as the technique. A well-cut, quality-printed vinyl decal lays down flatter and peels cleaner than a bargain-bin cut, and if you are still finalizing the art, our online designer lets you build and proof it in the browser before it ever prints. If you are weighing what to order in the first place, vinyl decals vs. stickers is worth a two-minute read. Two more guides settle the choice: the basics of decals vs stickers, and custom stickers vs custom decals for cut vinyl against printed vinyl. To order a custom vinyl decal in your own shape, the decals range lists every film and size.
Pick the right surface, and know which ones fight back

Vinyl wants a surface that is smooth, flat, clean, and non-porous. Glass, painted metal, sealed plastic, a laptop lid, a car body panel, and a finished wall are all easy wins. The adhesive can spread evenly and grab a continuous surface.
Trouble shows up on textured or porous surfaces. Rough brick, raw wood, cinder block, and heavily orange-peeled paint give the adhesive only high points to hold, so the decal lifts at the low spots. Freshly painted walls are their own trap: latex paint needs about two to four weeks to fully cure, and vinyl applied too early can pull the paint right off when you reposition or remove it.
If your target is a curved or compound surface like a helmet or a bumper, a little heat from a hairdryer makes the vinyl stretch and conform. For big flat spans like storefront glass, front adhesive vinyl and perforated window vinyl are built for the job and behave predictably.
Mind the temperature: the 50 to 90 degree window
Temperature quietly decides whether a decal grabs or fails. Adhesive has a comfort zone, and it is narrower than most people expect: roughly 50 to 90 degrees Fahrenheit, measured at the surface, not just in the air.
Too cold and the adhesive turns stiff and will barely tack, so the decal drifts and the edges creep up over the next few hours. Too hot and it becomes aggressive, grabbing the instant it lands, which sounds helpful but actually traps bubbles because you get no window to smooth it out. A panel that has been baking in the sun can easily be 30 degrees hotter than the air around it.
The fix is simple. Work in a shaded garage or an indoor room on a mild day. If the surface has been in direct sun, move it into the shade and give it fifteen minutes to cool before you start. Patience here is free and saves you a re-do.
Clean and prep the surface, the step everyone rushes

Clean in this exact order: dry microfiber wipe, then rubbing alcohol with one drop of dish soap over the whole area, then a fresh lint-free cloth until it is bone dry, and no ammonia glass cleaner at any point. If a decal is going to fail, it usually fails here. Skin oils, wax, dust, and cleaner residue are invisible but deadly to adhesive. Slow down for two minutes and this step pays you back for years.
- Wipe off loose dust first with a dry microfiber cloth so you are not grinding grit into the surface.
- Mix rubbing alcohol with a drop of dish soap and go over the whole area to cut grease and fingerprints.
- Skip ammonia-based glass cleaners. Many leave a silicone or ammonia film that repels adhesive, which is a leading cause of edges that lift a week later.
- Dry it completely with a fresh lint-free cloth. Any leftover moisture weakens the initial grab.
Give the surface one last look in raking light to catch streaks or lint. A truly clean, dry, room-temperature surface is what separates a decal that stays crisp from one that peels. If a technical term trips you up along the way, our printing terms glossary keeps the definitions plain.
Measure, position, and tape a hinge
This is the trick that turns a nerve-wracking guess into a sure thing. Do not peel the backing yet. First, hold or lightly tape the decal, still on its transfer tape, exactly where you want it. Step back. Use a ruler or a level so it sits square, and mark the corners with a pencil dot or a sliver of tape.
Now build the hinge. Run a strip of masking tape straight down the middle of the decal, sticking it to the surface so the decal can pivot on that line like a book cover. Fold one half back over the tape, peel the paper backing off that half only, and trim or tuck the backing out of the way.
You are now set up to apply half at a time with zero alignment risk, because the taped hinge holds your position no matter what. For long runs of custom vinyl lettering, the same hinge keeps every letter on the same baseline.
Squeegee it down: dry method vs. wet method
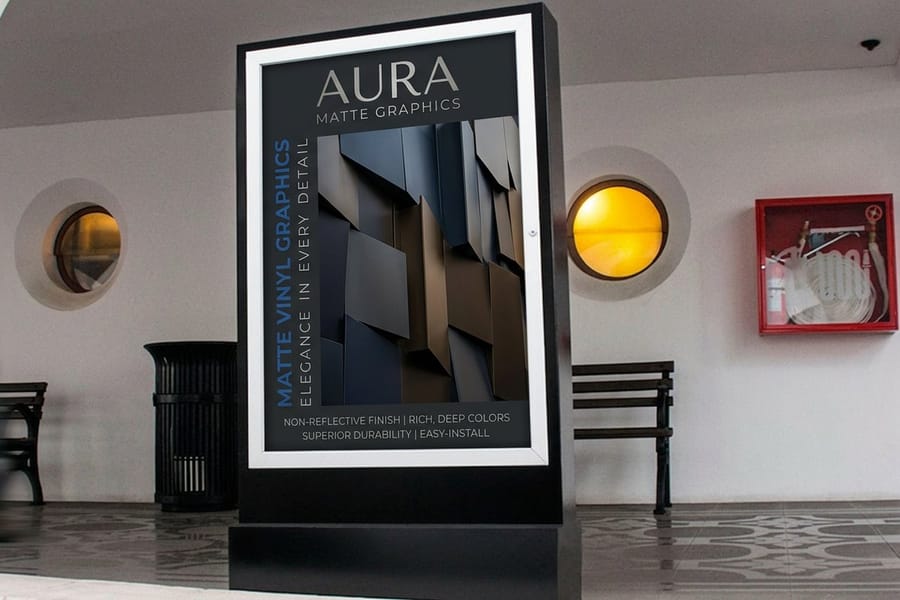
With the hinge holding your line, it is time to lay the vinyl. There are two ways to do it, and picking the right one for the size of your decal is half the battle.
Dry method (small decals). Fold the exposed half against the surface, then squeegee from the hinge line outward in firm, overlapping strokes. Working center-to-edge pushes air out ahead of the vinyl instead of trapping it. Peel the backing off the second half, tuck it down, and squeegee that side the same way. Remove the center hinge tape last.
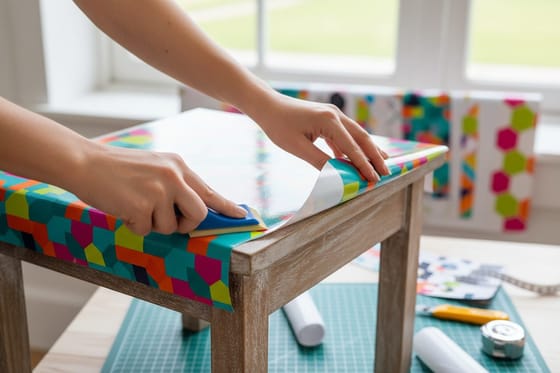
Wet method (large decals and windows). Mist the surface with water plus a single drop of dish soap. The slip solution lets the vinyl float for a few seconds so you can slide it perfectly square before it grabs. Once it is positioned, squeegee firmly from the center out to drive every drop of solution to the edges. It takes a little longer to set, but the do-over window is a lifesaver on big pieces like furniture wraps.
The whole job runs in four moves, in this order: clean, hinge, squeegee, peel.

Peel the transfer tape at a sharp angle
The decal is down, but the clear or paper transfer tape is still on top. How you remove it decides whether the vinyl stays put or lifts with the tape. The rule is low and slow.
Start at one corner and pull the transfer tape back on itself, almost flat against the surface, aiming for a peel angle close to 180 degrees rather than straight up. Peeling straight up puts tension on the vinyl and can drag it off the surface, especially fine lines and small text. Go slowly and watch the vinyl release from the tape.
If a piece of the decal tries to lift with the tape, stop, lay the tape back down over it, press that spot firmly with your squeegee for a few seconds, and try again from a different corner. Once the tape is off, give the whole decal a final pass with the squeegee through a paper towel to seat every edge.
Going big? Lean on the wet-application trick
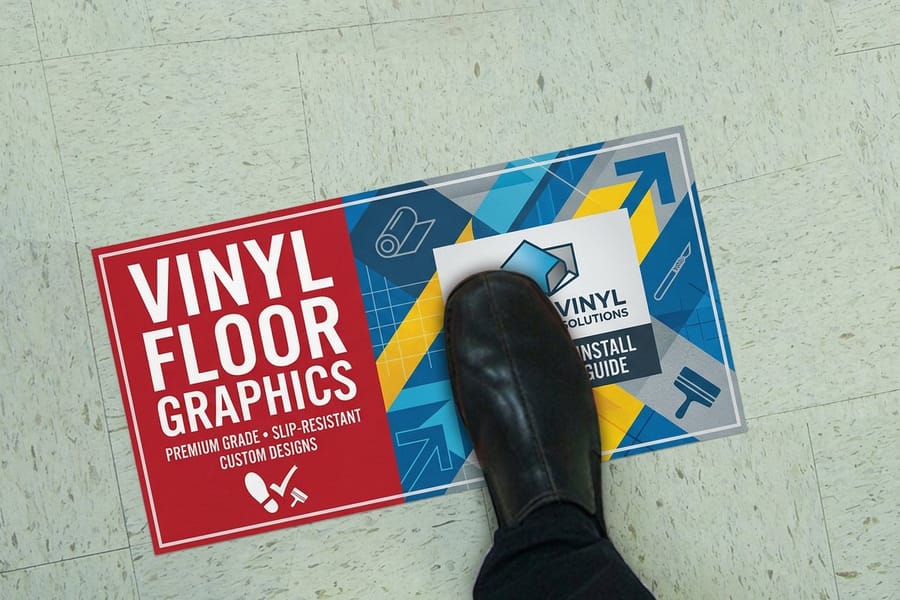
Large-format decals, full window graphics, and floor pieces are where beginners get intimidated, and where the wet method quietly saves the day. The larger the vinyl, the more room there is for a bubble or a crooked drop, so the ability to reposition is worth everything.
Mix a spray bottle of water with one drop of dish soap. Mist both the surface and the sticky side of the vinyl. Lay the decal down, and because it is floating on the slip solution, you can nudge it up, down, and level until it is exactly right. Then squeegee hard from the center outward, top to bottom, forcing the solution and the air out the edges in the same stroke.
Overlap each pass, and wipe the squeegee dry between strokes so you are not just pushing water around. Big floor and window jobs like perforated window vinyl go on far more calmly this way. For placement strategy on oversized graphics, vinyl banner placement covers the sightline math.
Applying vinyl to curves, rivets and textured surfaces
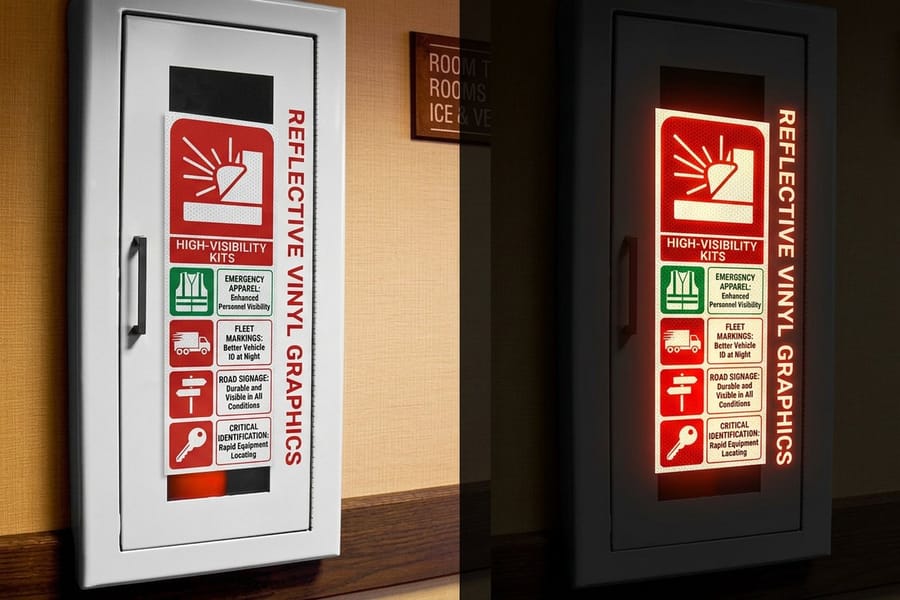
Flat glass forgives you. A curved hood, a corrugated trailer side, a riveted panel or a cinderblock wall does not, because the vinyl has to cover more surface than its own flat shape. Heat is what makes that possible: warm vinyl stretches and stays stretched, cold vinyl fights back and tents up a week later.
- Warm it, do not cook it. Keep a heat gun or hairdryer moving over the vinyl from about a hand's width away until the film goes soft and pliable. Park it in one spot and you will distort the print or scorch the face film.
- Stretch into the recess, not across it. On a concave curve, warm the panel and the vinyl, pull the film gently from both ends, then squeegee out from the deepest point so the vinyl settles into the low spot instead of bridging over it. Bridged vinyl is a bubble waiting to happen.
- Relief cuts on compound curves. Where a shape bends two ways at once, like a bumper corner or a door-handle recess, slit the vinyl with a fresh blade right at the point of the wrinkle, overlap the two flaps by a hair, and squeegee each one down on its own. A cut you planned always beats a crease you did not.
- Rivets and texture get a brush. Lay the vinyl over the rivet heads, warm the area, then work a rivet brush or a stiff-bristle brush in small circles until the film wraps each head and the shape shows through. The same circular brushing pushes vinyl into mortar lines on block and into the tooth of stucco.
- Post-heat to set it. Go back over every stretched area, every edge and every rivet with the gun until the vinyl is warm through, then press it once more. Post-heating resets the film's memory so it stops trying to shrink back to flat, which is the single step that decides whether a curved application survives its first cold night.
Two rules hold everywhere: work on a surface in the same 50 to 90 degree Fahrenheit range you would use for flat work, and give warmed vinyl a moment to cool before you move on, because pulling on hot film stretches the print. Textured and wrapped surfaces are also where the wet method stops helping, so on rivets, brick and stucco apply dry. For a full wrapped shape rather than a panel, covering furniture with vinyl sticker wrap walks through the same stretch-and-set sequence over corners.
Aftercare: let it cure before you wash it
The decal looks done, but the adhesive is not finished. Vinyl adhesive lands with a light grab and keeps building its bond over the next couple of days. Rushing the surface back into service is how good applications go bad.
Give it 48 to 72 hours before any water pressure, washing, or harsh weather. On a car, that means holding off on the car wash and, if you can, keeping it out of heavy rain for the first three days. On an interior wall or laptop there is almost nothing to worry about, but the same wait still delivers the strongest long-term hold.
When you do clean it later, use mild soap and a soft cloth, and avoid abrasive pads and solvent cleaners that can dull the print or lift an edge. If you notice a corner creeping up weeks down the line, a dab of heat from a hairdryer plus firm thumb pressure usually re-seats it. Placing a decal near others? Our tips on displaying signage help you keep spacing and height consistent.
Bubbles, wrinkles, and lifting edges: fixes that actually work

Even careful applications throw the occasional surprise. The three most common ones are all fixable without starting over.
Air bubbles. For a small one, prick a single edge with a pin and press the air toward that tiny hole with your thumb or squeegee. For a larger bubble, warm the vinyl gently with a hairdryer on low, lift with a pin, and re-squeegee it flat. Bubbles almost always trace back to a surface that was not fully clean or a stroke that went edge-to-center, so prevention lives in the prep step.
Wrinkles and creases. Caught early, warm the wrinkled area, peel back just to the crease, and re-lay it with tension pulled smooth. Deep creases in the vinyl itself rarely fully recover, which is the best argument for the hinge method and unhurried squeegee work. For fabric and heat-transfer wrinkles, proven techniques to get wrinkles out goes deeper.
Lifting edges. An edge that will not stay down is almost always a cleaning miss. Clean under the lifted corner with alcohol, dry it, add a whisper of heat, and press it firmly for thirty seconds. A quality vinyl decal on a properly prepped surface should not lift at all, which is exactly why the boring prep steps earn their place.
Wally walks you through it
A clean surface and a taped hinge do most of the work
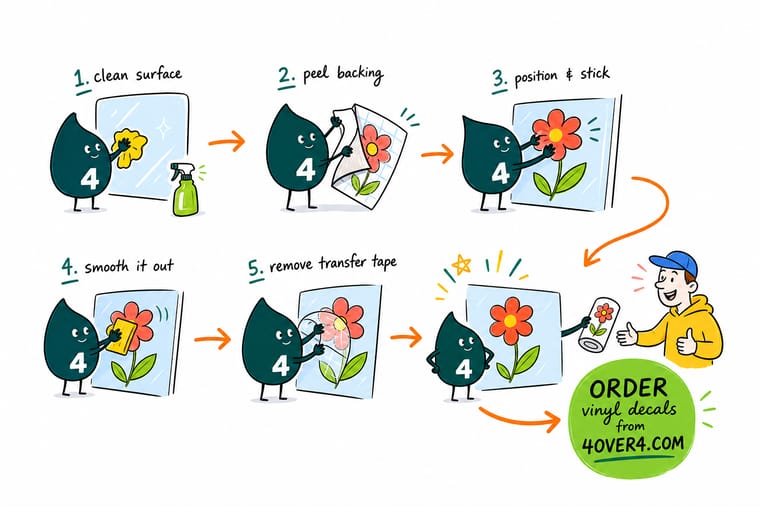
Wally treats every decal like a two-minute setup problem, not a nerve test. Clean the surface until squeaky, tape a hinge so the vinyl cannot wander, then squeegee from the middle out and peel the tape back flat. Rush the prep and you fight bubbles all day; nail it and the decal looks factory-applied. When you want vinyl that is cut clean and prints sharp so it lays down easy, start with 4OVER4.
Order vinyl decals →
Specs and pricing
Custom vinyl decal specs and pricing
Vinyl decals run 25 for $93.37, which is $3.73 each, with live specs and price-per-unit below so you can size the job before you buy.
| Quantity | Price Per Unit | Total |
|---|---|---|
| 25 | $3.73 | $93.37 |
| 50 | $1.91 | $95.56 |
| 100 | 100.0¢ | $99.95 |
| 200 | 56.3¢ | $112.59 |
| 300 | 41.4¢ | $124.13 |
| 400 | 33.9¢ | $135.65 |
| 500 | 29.2¢ | $146.10 |
| 600 | 26.4¢ | $158.17 |
Print it
Vinyl decals, adhesive vinyl, and window graphics

Explore more
Where to go next




By the numbers
The stock range behind the decal you are about to squeegee down
Common Questions
Common questions about applying vinyl decals
How do you apply vinyl without bubbles?
Clean the surface with rubbing alcohol and one drop of dish soap, dry it with a lint-free cloth, then run a strip of masking tape down the middle of the decal as a hinge and peel the backing off one half only. Squeegee from that hinge line outward in firm, overlapping strokes so the air is pushed ahead of the vinyl instead of being trapped under it, then repeat on the second half and take the hinge tape off last. Pull the transfer tape back on itself at close to 180 degrees, low and slow. Keep the surface between 50 and 90 degrees Fahrenheit, because a hot panel grabs the vinyl before you can smooth it and that is where most bubbles start. On anything wider than roughly a foot, mist the surface first with water and a drop of dish soap so the vinyl floats long enough to be squared up before you squeegee it out.
How long after applying vinyl can you wash the surface?
Wait 48 to 72 hours. The adhesive lands with a light grab and keeps building its bond over the next couple of days, so washing, pressure spray, or heavy weather before then can lift an edge that would otherwise have held for years. On a car, skip the car wash and keep it out of heavy rain for the first three days if you can. Interior walls, windows and laptops need far less caution, but the same wait still gives the strongest long-term hold. After the cure, clean with mild soap and a soft cloth and stay away from abrasive pads and solvent cleaners, which dull the print and creep under the edges.
How long should a vinyl decal cure before it gets wet?
Give it 48 to 72 hours before washing, pressure spray, or heavy weather. The adhesive lands with a light grab and keeps building its bond over the next couple of days as it cures. For a car decal, that means no car wash and no rain if you can help it for the first three days. On an interior wall or window there is far less to worry about, but the same patience still gives you the strongest long-term hold.
Should I use the wet method or the dry method?
Use the dry method for anything small, roughly under a foot wide, because it grabs instantly and there is no drying wait. Switch to the wet method for large decals, long windows, and any surface where you need a second chance to slide the graphic into place. A light mist of water with a drop of dish soap lets the vinyl float for a moment so you can nudge it square, then you squeegee the solution out and let it dry.
What temperature is best for applying a vinyl decal?
Aim for 50 to 90 degrees Fahrenheit, with the surface itself in that range, not just the air. Cold makes the adhesive stiff so it will not tack, and heat makes it grabby so it sticks before you can position it and traps bubbles. A shaded garage or an indoor room on a mild day is close to ideal. If a surface has been sitting in direct sun, let it cool in the shade first.
Why does my decal keep bubbling, and how do I get the bubbles out?
Bubbles come from three things: a surface that was not fully clean, air trapped by squeegeeing from the edges inward, or applying over heat. For a small bubble, prick one edge of it with a pin and press the air toward the hole with your thumb. For a larger one, warm the vinyl gently with a hairdryer on low, lift with a pin, and re-squeegee it flat. Prevention beats repair: clean well and always work from the center out.
Can I remove and reposition a decal after it is stuck?
A little. In the first few seconds after contact you can peel a small decal back and re-lay it, especially with the wet method. Once it has been pressed down and the transfer tape is off, treat the position as final, because pulling it up risks stretching or tearing the vinyl. That is exactly why the hinge-and-tape method matters: you lock in the alignment before any adhesive commits.
How should I clean the surface before applying a decal?
Wipe away loose dust, then go over the whole area with a mix of rubbing alcohol and a drop of dish soap on a lint-free cloth to cut grease, wax, and fingerprints. Skip household glass cleaners, because many leave an ammonia or silicone film that keeps adhesive from bonding. Rinse if needed, then dry completely with a clean microfiber cloth. Any leftover moisture or oil is the number one reason decals lift at the edges later.
Get Started
Order 25 vinyl decals at $3.73 each
Pick your size and shape, drop in your art, and we cut and print a decal that lays flat, peels clean, and holds for years.
Legal Disclaimer
Gold Standard guarantees apply to all standard orders placed through 4over4.com. Price match requires verifiable proof of a competitor's published price for an equivalent product with matching specifications and turnaround time. Satisfaction guarantee covers manufacturing defects and print quality issues. Contact support with order number and documentation.
