
How to Make a Water Bottle Label Template That Wraps Clean


Jordan is our labels, packaging and sustainability voice, built from the knowledge of our production team, with over 20 years in printing.
A wrap label template is two measurements and three rectangles. Take them off the bottle, set trim, bleed and safe, and keep the overlap seam out of your artwork.
A water bottle label template is a flat rectangle whose width equals the bottle circumference plus 0.25 to 0.5 inch of overlap, and whose height fits inside the straight section between the shoulder and base curves. On a standard 16.9 oz (500 mL) bottle that works out to about 8.25 by 2 inches trim, with 0.125 inch of bleed on all four sides and all type held 0.125 inch inside the trim. Build the artboard in CMYK at 300 DPI, keep the overlap strip free of logos and text, and export a PDF with the bleed included.
Quick answer
Two measurements, three rectangles, one seam
Measure the bottle first, then draw the template. Width is the circumference of the straight middle plus a quarter to half an inch of overlap. Height is the straight zone between the shoulder curve and the base curve. Draw that as your trim, add 0.125 inch of bleed outside it, hold everything readable 0.125 inch inside it, and reserve the last quarter inch at one end as the bonding strip where the wrap closes. On a 16.9 oz bottle that comes out near 8.25 by 2 inches.
Make them
Make water bottle labels from bottle to finished box
Wrap a paper strip around the bottle, set the file, pick the stock, then order the format your team applies. A 16.9 oz (500 mL) bottle runs about 7.75 inches around, so the trim lands near 8.25 by 2 inches once you add a quarter inch of overlap. Add 0.125 inch of bleed, keep type 0.125 inch inside the cut, and export a CMYK PDF with images at 300 DPI. Bottles served at room temperature take standard labels from $23.88. Bottles that go on ice need premium waterproof labels from $84.68. A machine applicator needs roll labels from $322.98, wound to the core size it takes.
Step One, Measure the Bottle You Are Actually Using
Two numbers make the template, and both come off the bottle rather than out of a chart. Skip this and you get a label that looks right flat and wrinkles the moment it goes on.
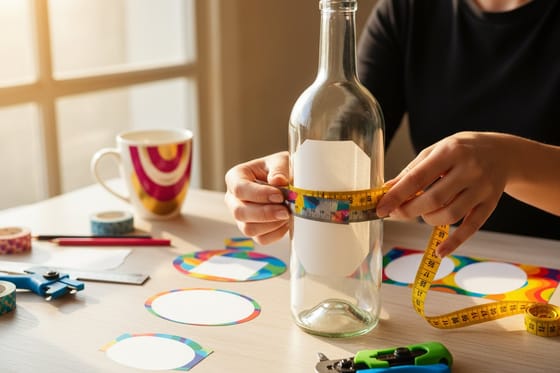
The circumference. Wrap a strip of paper around the straight middle of the bottle, mark where the strip meets itself, lay it flat and measure to the mark. On a 16.9 oz (500 mL) bottle that is usually around 7.75 inches. Add 0.25 inch of overlap for a bottle this size, or 0.5 inch on anything wider, and you have your template width.
The flat wrap zone. Look at the bottle from the side and find the straight section between where the shoulder stops curving in and where the base starts curving out. Measure that height. Your label has to fit inside it, because a label that runs onto a curve has more material on the outside edge than the bottle can take, and it puckers. There is no artwork trick that hides that.
Those two figures give you a trim size, commonly 8.25 by 2 inches on a standard bottle. If you want the full range across bottle volumes before you measure, the water bottle label size guide lists the usual target for each one, and the same measuring method applies to a very different silhouette in our wine bottle label dimensions guide.
Step Two, Build the Artboard at Trim, Bleed and Safe
A template is three nested rectangles. Get them right once and every future label reuses the same file.
- Trim is the artboard itself, at the finished size, 8.25 by 2 inches in our example. This is where the cut lands.
- Bleed is 0.125 inch beyond the trim on all four sides. Background colors, photos and any edge-to-edge pattern extend into it. Without bleed, a cut that drifts by a hair leaves a white line along the top of the label, and that is the flaw people notice first on a bottle.
- Safe is 0.125 inch inside the trim. Nothing you need to read crosses that line. On an 8.25 by 2 inch label that leaves 8 by 1.75 inches of usable area, which is less room than it sounds once a logo, a product name and a volume statement are all on the page.
Set the document to CMYK from the start rather than converting at the end, and place images at 300 DPI at final size. A logo scaled up from a 72 DPI web file will look soft in print no matter what the export settings say. Our bleed and trim guide walks through the same three rectangles on other products, and you can skip the setup entirely by starting from a correctly sized file in the blank template library.
Step Three, Design Around the Overlap Seam
This is the part flat mockups hide. A wrap label is not a rectangle on a wall. One end lands on top of the other, and that strip behaves differently from the rest of the label.
Three rules keep it clean. First, treat the last quarter inch at the right edge as a bonding strip and put nothing there that has to be read. Second, plan for the seam to sit at the back of the bottle, so the design has a clear front and the join hides behind it. Third, avoid a hard color change inside the overlap. Where two printed layers stack, ink reads darker, and a pale background that crosses the seam shows a visible band.
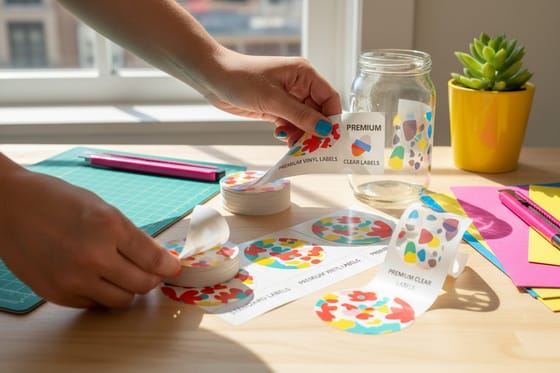
On a clear label the seam is more obvious again, because you are looking through two layers of film and whatever ink is on them. Clear stock has no white base either, so any area you leave unprinted shows the water behind it. That can be exactly the look you want on bottled water, or a surprise if you assumed white paper. The trade-offs across stocks are laid out in our comparison of paper, vinyl and clear labels.
One more habit worth building: after you finish the flat file, print it at 100 percent on plain paper, cut it out and wrap it around the real bottle with a piece of tape. Ten minutes there catches a height that overruns the shoulder, a seam that lands on the logo, and type that sits too close to the edge. It is the cheapest proof in printing.
Step Four, Match the Stock to How the Bottle Gets Used
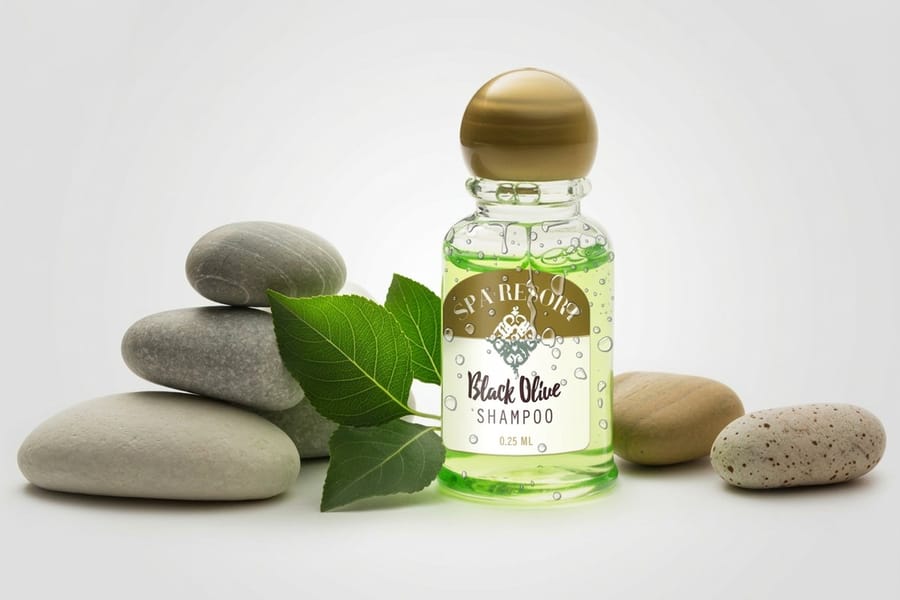
The 8.25 by 2 inch file stays the same on every material. The stock you pick decides whether the label still looks good two hours after the bottles come out of the cooler: paper for bottles handed out at room temperature, waterproof or clear film for anything that sweats or gets wiped.
| Option | Format | Starts at | Where it fits |
|---|---|---|---|
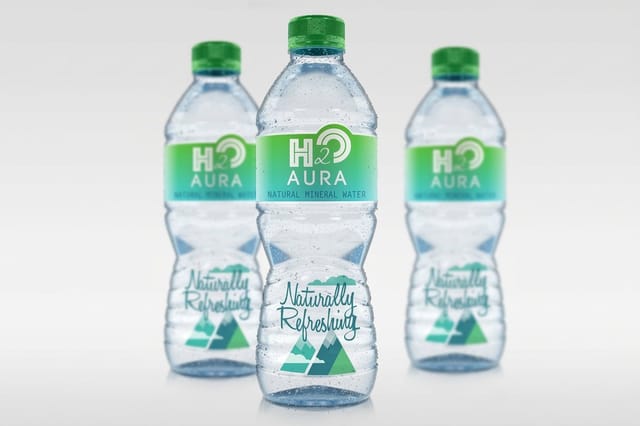
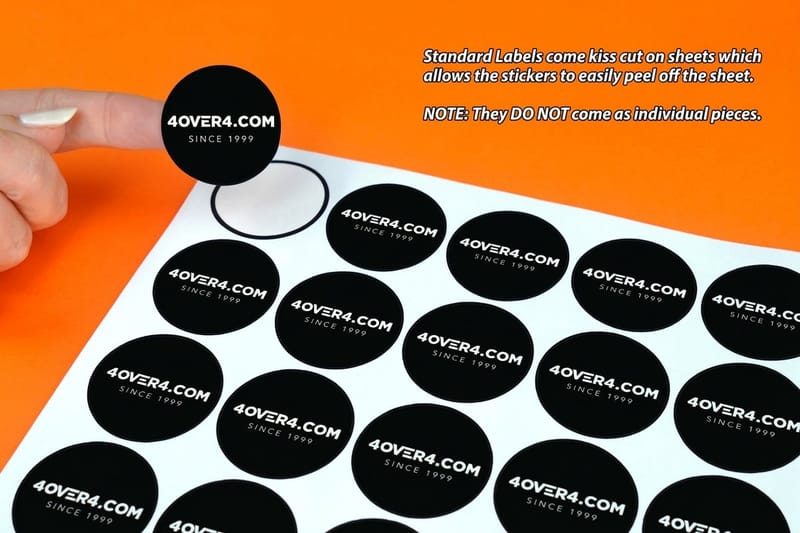
| Standard water bottle labels | Cut to size, applied by hand | $23.88 | Conferences, booths and giveaways where the bottles stay at room temperature. |
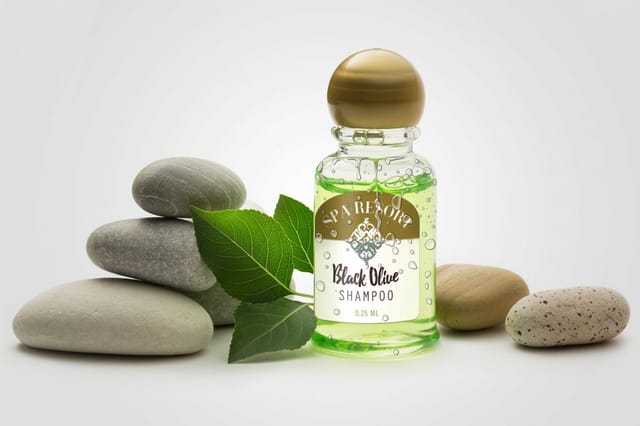
| Premium water bottle labels | Cut to size, premium finish | $29.16 | Hotel, retail and gifting bottles where the label is part of the presentation. |
| Premium waterproof labels | Cut to size, water resistant | $84.68 | Coolers, ice buckets and outdoor events, anywhere the bottle sweats or gets wiped. |
| Premium clear labels | Cut to size, clear stock | $86.17 | The no-label look, where you want the water visible behind the printed elements. |
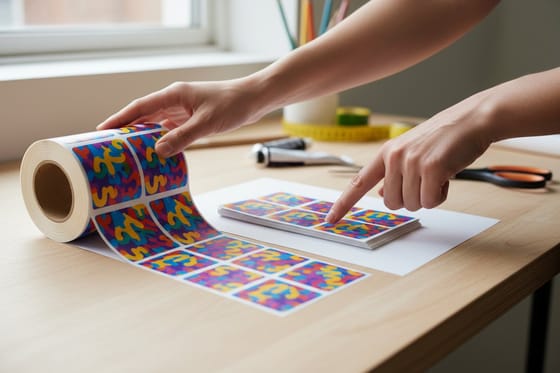
| Roll water bottle labels | Wound on a roll for applicators | $322.98 | Production runs applied by machine rather than by hand. |
Read the last column before the price column. The gap between $23.88 and $84.68 looks large until you count the cost of reprinting a run because paper labels curled in a cooler at an outdoor event. Equally, waterproof stock on bottles handed out indoors is money spent on a problem you do not have.
Step Five, Export the File and Order the Right Format
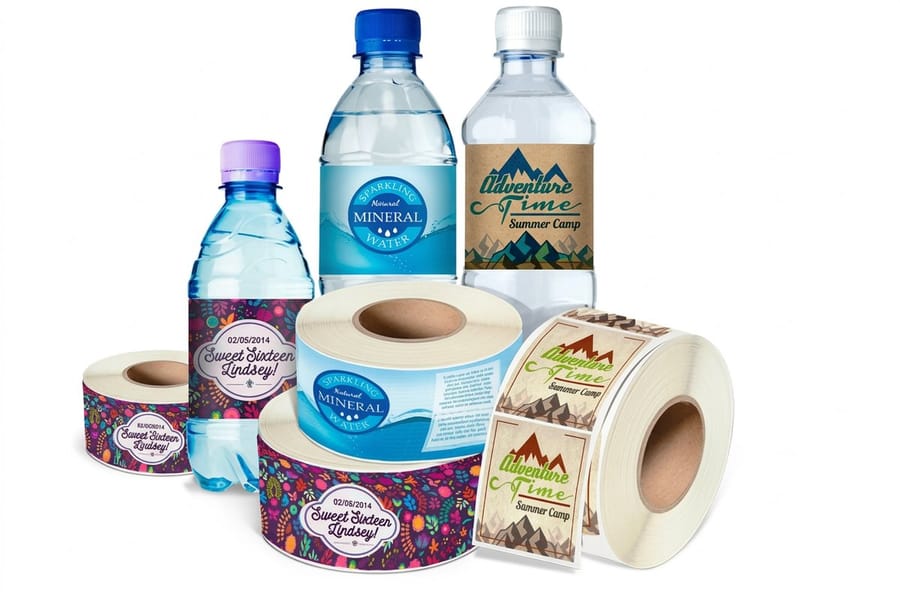
Export a print ready PDF, not a JPG and not a native design file. The settings that matter are short.
- PDF/X or press quality, CMYK, with the 0.125 inch bleed included in the export.
- Fonts outlined or fully embedded, so a typeface we do not have cannot substitute itself.
- Images at 300 DPI at their placed size, checked at 100 percent zoom rather than fit to screen.
- No crop marks drawn into the artwork. If the export adds real crop marks outside the bleed that is fine, but marks pasted into the design get printed as artwork.
Then pick a format. Hand application means cut-to-size labels, and standard water bottle labels at $23.88 cover most events and launches. Machine application means rolls, and roll water bottle labels at $322.98 arrive wound to a specified direction and core size, which your applicator dictates. Ordering a roll for a job somebody will apply by hand is a common and expensive mistake, and the split is explained in our comparison of roll labels and sheet labels. You can see both formats on a bottle first in the standard water bottle labels video and the roll water bottle labels story.
If you are new to how a label order moves from file to finished box, including where the die and the material choice fit in the schedule, the complete guide to label printing covers the full sequence, and the label printing category lists every format we run.
Wally builds the template
Measure the bottle, then draw three rectangles
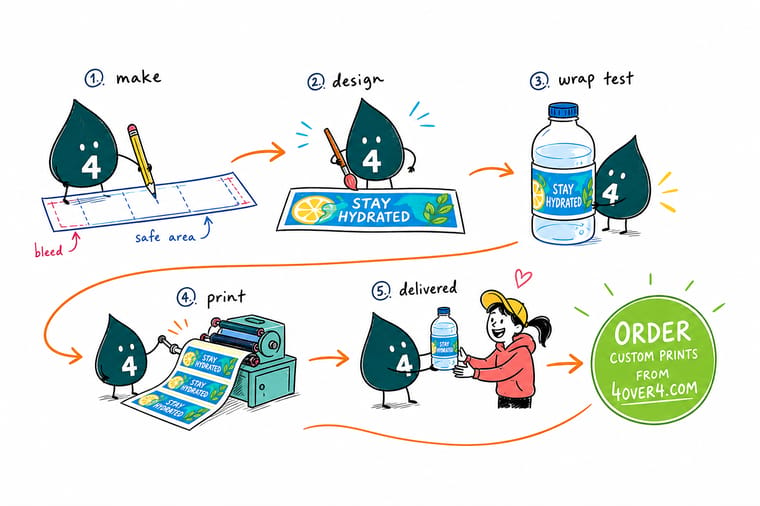
Wally wraps a paper strip around the straight middle of the bottle and measures it flat. That length plus a quarter inch of overlap is his width. The straight zone between the curves is his height. He draws that as trim, pushes the background an eighth of an inch past it for bleed, pulls the type an eighth of an inch inside it for safety, and leaves the last quarter inch clear so the seam can hide at the back. Then he prints it on plain paper and tapes it to a real bottle before ordering a thousand.
Order water bottle labels →
Specs and pricing
Water bottle label sizes, stocks and starting prices
Enter the size you measured, 8.25 by 2 inches on a 16.9 oz bottle, choose standard, premium or roll labels, and read the live starting price for your quantity straight from the 4OVER4.COM configurator.
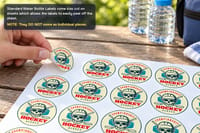
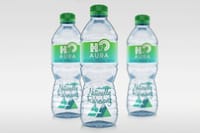
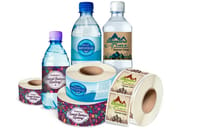
Print it
Print the label your template was built for
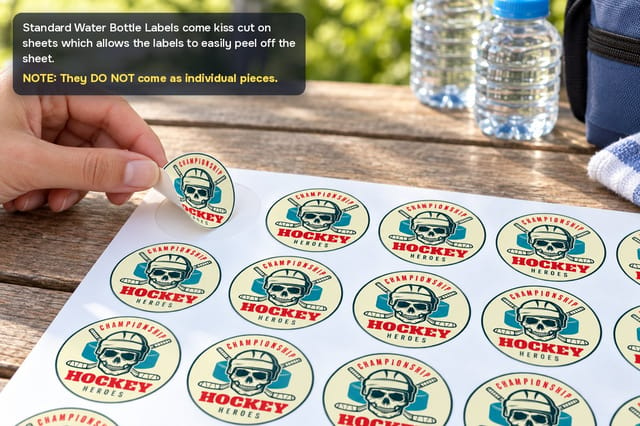
Standard labels at $23.88 suit bottles on a conference table, premium labels at $29.16 suit hotel and gift bottles, and waterproof labels at $84.68 hold up in a cooler or an ice bucket.
Explore more
Where to go next
Use the size chart if your bottle is not the 16.9 oz standard, and the stock comparison if the bottles will sit on ice.

By the numbers
Wrap labels cut to the bottle you measured
Common Questions
Your water bottle label template questions, answered
What size should a water bottle label template be?
Set the trim to the circumference of the straight part of the bottle plus 0.25 to 0.5 inch of overlap, by the height of that straight section. On the common 16.9 oz (500 mL) bottle, which runs about 7.75 inches around, that gives roughly 8.25 by 2 inches. An 8 oz mini takes closer to 6 by 1.5 inches and a 1 liter bottle nearer 9.5 by 3.5 inches. Bottle shapes differ between suppliers, so wrap a paper strip around the bottle you are actually using and measure that strip rather than trusting a chart.
How much bleed does a wrap label need?
An eighth of an inch, 0.125 inch, on all four sides, the same as any other trimmed print job. Build the artboard at trim size, then extend background colors and images past the edge into the bleed area so a small shift on the cutter never exposes a white line. Keep text and logos at least 0.125 inch inside the trim on the same principle. On a wrap label the top and bottom edges matter most, because a white sliver along the top of a label reads as a mistake even at arm's length.
How much overlap should I build into the template?
A quarter inch is the usual amount, and half an inch on bottles over about 8 inches around. Less than a quarter inch and the two ends can meet with a visible gap if the label goes on slightly crooked. More than half an inch on a narrow bottle and the extra material starts to buckle, because a small barrel curves away faster than the label wants to bend. Keep the overlap strip free of type and of any hard color break, since that band is where the print doubles up.
Can I make the template in Canva or Word?
You can lay out the artwork there, but both fight you at export. Neither gives you reliable control over bleed, both work in RGB rather than CMYK, and Word in particular resamples placed images. If that is what you have, build the page at trim size plus 0.25 inch in both directions, center the design, export the highest quality PDF available, and accept that colors will shift a little. Illustrator, InDesign and Affinity Designer all let you set a proper bleed and export CMYK, and the fastest route of all is to start from a correctly sized file in our blank template library.
Will a paper label survive an ice bucket?
No. Chilled bottles sweat, paper takes on that moisture, and the edges lift and pucker, usually within the first hour. Print on paper when the bottles are handed out at room temperature, at a conference table or a trade show booth. When the bottles go on ice, into a cooler, or outdoors in summer, use a waterproof or film label. The same rule applies to any bottle that gets wiped down or handled with wet hands.
Should I order sheet labels or roll labels?
Sheets if a person is applying them, rolls if a machine is. Cut-to-size water bottle labels start at $23.88 and you peel and place them by hand, which is right for events, launches and short runs. Roll water bottle labels start at $322.98 and come wound for an automatic applicator, which only pays off at production volumes where hand-applying thousands of labels is the real cost. Roll orders also need a stated wind direction and core size, so confirm what your applicator takes before ordering.
Get Started
Template ready? Print the labels.
Send the size you measured, pick paper for indoor bottles or waterproof stock for anything that goes on ice, and we print wraps that seal clean at the seam.
Legal Disclaimer
Gold Standard guarantees apply to all standard orders placed through 4over4.com. Price match requires verifiable proof of a competitor's published price for an equivalent product with matching specifications and turnaround time. Satisfaction guarantee covers manufacturing defects and print quality issues. Contact support with order number and documentation.
