
How to Design a Die-Cut Menu That Cuts Clean and Lasts


A shaped menu is two files in one, and the second one is the part people forget. Here is the cut path, the shapes that hold up in service, the sizes that still fit a holder, and the laminated stocks worth paying for.
To design a die-cut menu, draw your outline as one closed vector path with no fill, stroke it in a spot colour named CutContour, and put it on its own layer above the artwork. Run the art 1/8 in past that path as bleed, hold all type 1/8 in inside it, and keep inside corners at 1/8 in radius or larger because a steel rule cannot fold to a point. Then pick the stock for service, not for the mock-up: 14pt or 16pt laminated, cut after lamination so the film is flush and cannot peel.
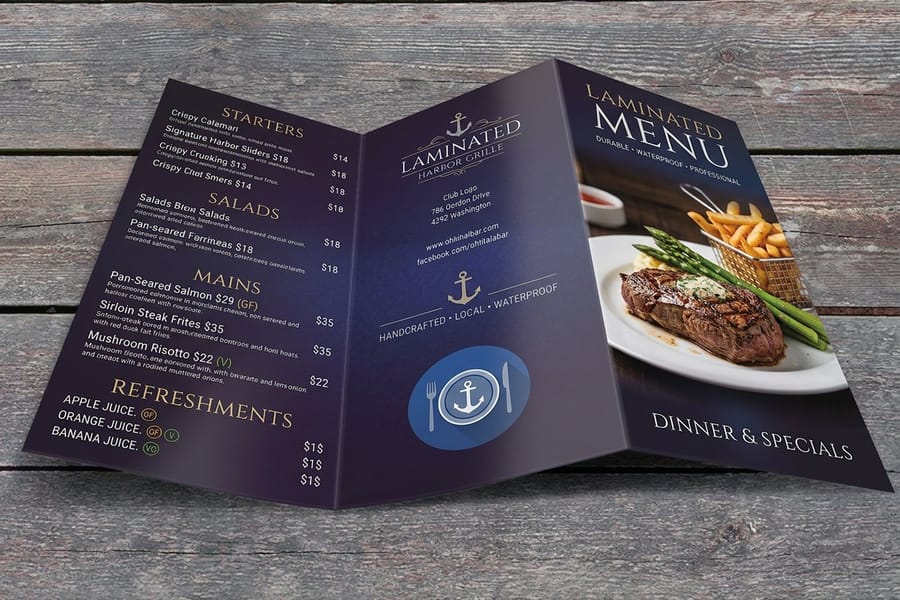
Quick answer
One cut path, two offsets, and a stock chosen for service
A die-cut menu is a menu trimmed to your outline instead of to a rectangle, and the outline has to be supplied as vector art. One closed path, no fill, spot swatch named CutContour, on its own layer. Artwork bleeds 1/8 in past it, type stays 1/8 in inside it, inside corners carry a 1/8 in radius. The die drifts about 1/16 in against the print, so full-bleed colour is safe and a thin parallel border is not. Laminate before cutting so the film is flush with the paper, and accept that a custom shape gives up the sealed encapsulated edge a rectangle can have.
Build the Cut Path Before You Build the Menu
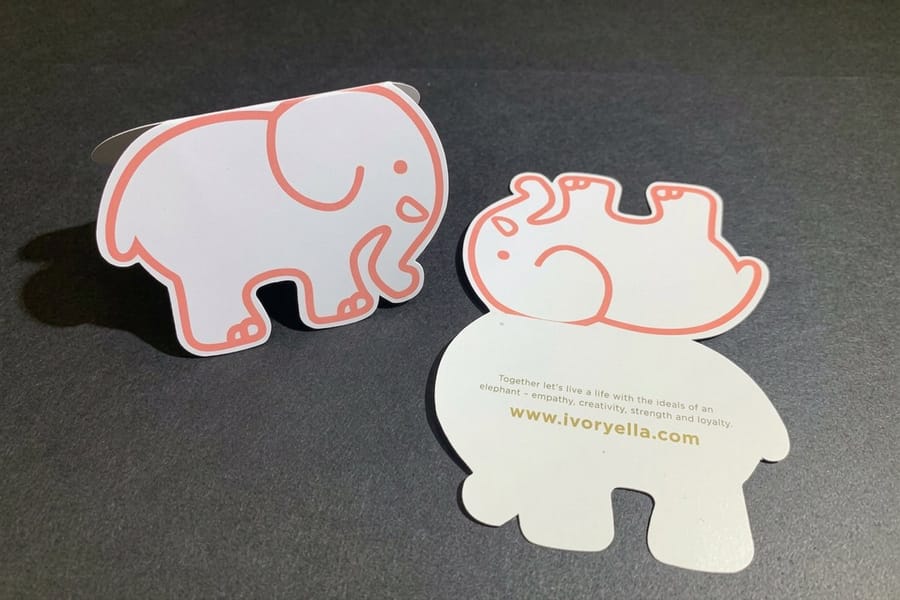
Every die-cut job that comes back wrong started as a file where the shape only existed in someone's head. The die is cut from your vector path, so that path has to be in the artwork, drawn to spec.
Draw one closed path. Not two overlapping shapes, not an open curve with a gap you cannot see at 100 percent, not a live text outline. Give it no fill and a 0.25 pt stroke, colour the stroke with a spot swatch named CutContour, and put it on its own layer above everything else. Spot colour is what lets the prepress operator pull the path out without pulling any artwork with it. If the line is plain black inside the design layer, it prints on the menu.
Then set the two outlines nobody remembers. Artwork extends 1/8 in beyond the cut path on every edge, including around every curve, so a slight drift still lands on ink instead of white paper. Type, prices and logos stay 1/8 in inside it. Registration on a die is looser than on a guillotine: a shape can shift about 1/16 in relative to the printed image, which is invisible on a full-bleed background and glaring on a thin decorative border drawn parallel to the outline. If you want a border on a die-cut menu, make it thick enough that 1/16 in of variation does not read.
Inside corners need a radius of at least 1/8 in. Steel rule bends around a curve; it cannot fold to a sharp interior point. The die cutting guide covers how the tool is built, and bleed and trim explained covers the setup that applies to every printed piece, shaped or not.
Die-Cut Menu Shapes That Survive a Real Service
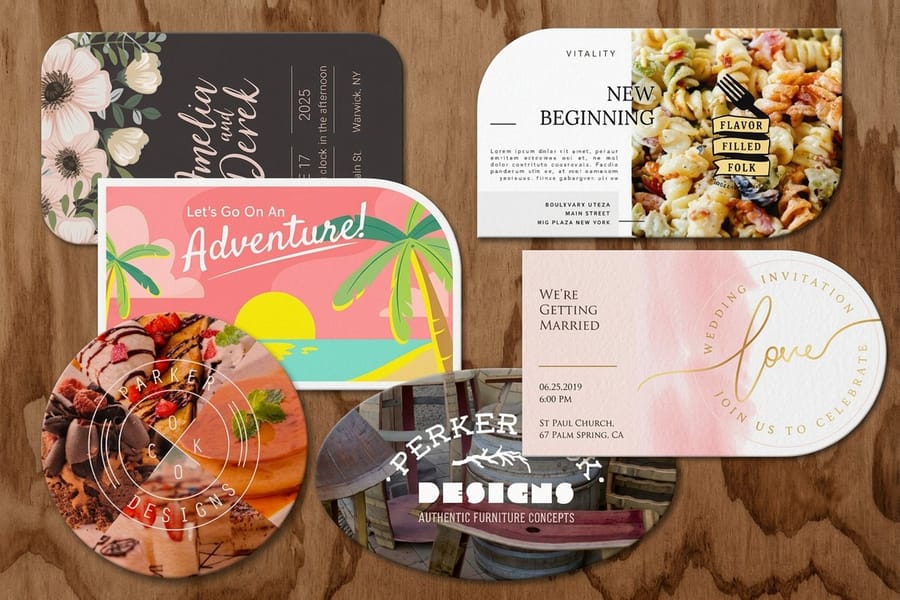
The shapes that work on a menu are the ones a server can stack, a guest can hold in one hand, and a dishwasher-adjacent counter will not destroy in a week. That rules out more ideas than most design briefs expect.
| Shape | What it does well | What it costs you |
|---|---|---|
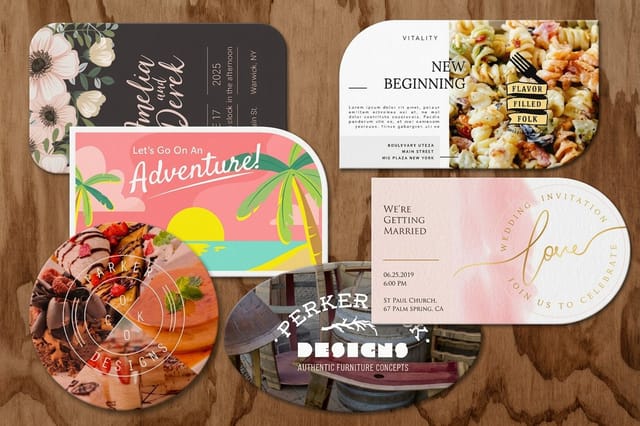
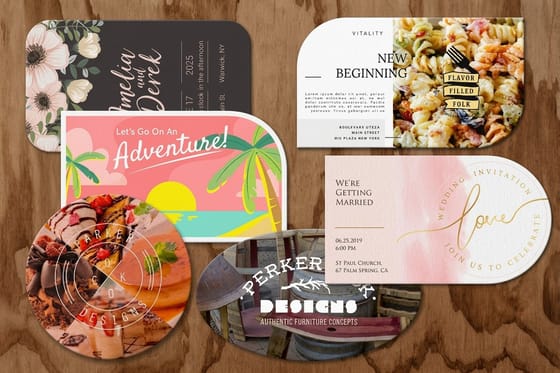
| Arched or domed top | Reads as custom from across the room while the bottom three edges stay square, so it still stacks flat. | Very little. This is the safest custom outline on a menu. |
| Rounded corners | Stops the corner curl and fray that kills a laminated menu first. Cheapest way to look finished. | Almost nothing, and it fits most covers. |
| Object silhouette | A bottle, a taco, a coffee cup. Strong on a drinks list or a dessert card where the piece is a prop. | Wasted panel area, awkward stacking, and text that has to reflow around the outline. |
| Stepped tabs | Each course sticks out further than the one above it, so the guest flips to a section by feel. | Only works on a multi-page bound menu, and every tab needs 1/8 in of width per rule. |
| Half-round bar card | Narrow, tall, tucked beside the condiments. Good for a happy hour list that changes weekly. | Not enough room for a full food menu, so it becomes a second piece to print. |
Read the third column before the second. The shapes that fail in restaurants fail on stacking and on panel area, not on looks. A silhouette menu that loses a third of its usable surface forces the type down a size, and small type on a dim table is how a menu stops working.
If the outline you want is genuinely irregular, any shape size paper die-cut handles it from your own path, starting at $87.00. If you only need a shaped insert or a takeaway piece to sit alongside a square menu, die-cut flyers start at $34.05 and carry the shape at a fraction of the cost.
Sizes, and Where the Die Line Is Allowed to Sit
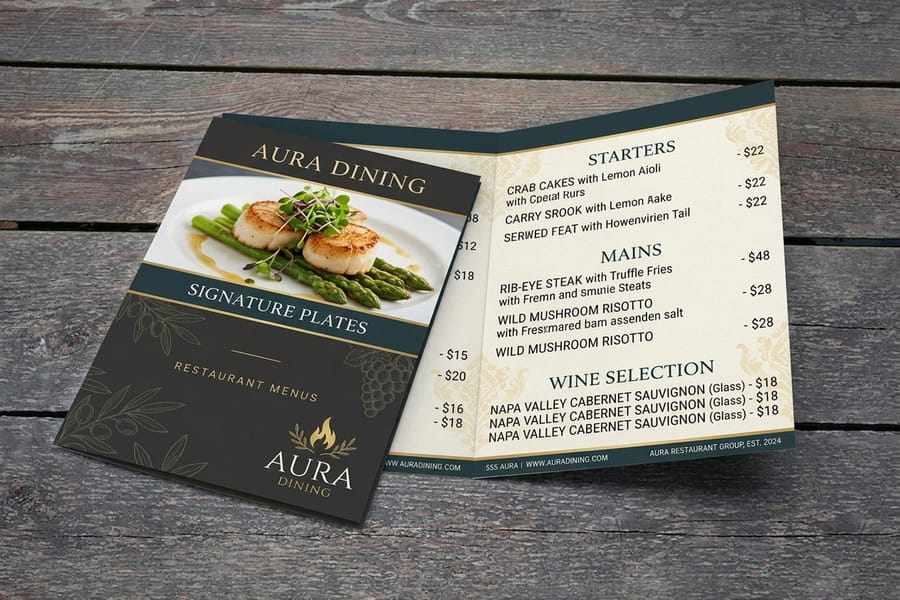
Start from a stock size and cut into it. A die-cut menu is still imposed on a press sheet, so an outline that fits inside a standard trim is cheaper and faster than a shape that forces a new sheet layout.
| Flat size | Usual job | Room for a shaped edge |
|---|---|---|
| 4.25 x 11 in | Insert, specials strip, wine list slipped into a cover. | Top edge only. The width is too narrow to give up on the sides. |
| 5.5 x 8.5 in | Dessert, cocktails, kids menu, table card. | Good. An arch or a silhouette works at this size and it still holds a short list. |
| 8.5 x 11 in | The default single-page dine-in menu. | Top edge and corners. Cutting into the sides costs columns you need. |
| 8.5 x 14 in | Full dine-in menu with two or three courses on one side. | The most forgiving. Three extra inches of height absorbs a shaped top. |
| 11 x 17 in folded | Bi-fold, four panels, full food and drink program. | Only on the outer edge. A die line cannot cross the fold without weakening it. |
The last row is the one that catches people. A cut line running into or across a scored fold leaves a hinge with less material holding it, and that hinge is exactly where a menu gets handled every day. Keep the die at least 1/2 in clear of any fold. Common restaurant menu sizes goes through the dine-in and takeout dimensions in more detail, and the blank template library gives you a correctly sized page to draw your outline on.
One more measurement worth taking before you design: the holder. Sleeves, clipboards and acrylic stands are built to rectangles. Measure the opening first, then decide how much of the outline you can afford to change.
Laminated Stocks That Get Through a Dinner Service

A menu is a printed piece that gets touched by every guest, wiped with a sanitiser cloth, and set down in a ring of condensation. Stock choice is a durability decision first and a design decision second.
Under the film, 14pt or 16pt cardstock is the working range for a single-panel menu. 14pt with lamination on both sides is stiff enough to hold itself up when a guest holds it at the corner. 16pt is noticeably more rigid, and worth the difference on anything above 8.5 by 11 or on a shape with a narrow waist, because a die-cut outline removes some of the structure a full rectangle gives you. Below 14pt, a laminated menu still works but it flops, and the flop is what makes a menu feel cheap.
The film itself is the next choice. Gloss lamination wipes cleanest and makes food photography pop, which is why it dominates diners and takeout. It also shows fingerprints and reflects overhead lights straight into a guest's eyes at a lit table. Matte lamination kills the glare and feels better in the hand, but it holds a grease mark longer and it flattens dark photography by a visible amount. Soft touch sits at the premium end and is the wrong call for food service, since it marks the moment a thumb with butter on it lands on the page.
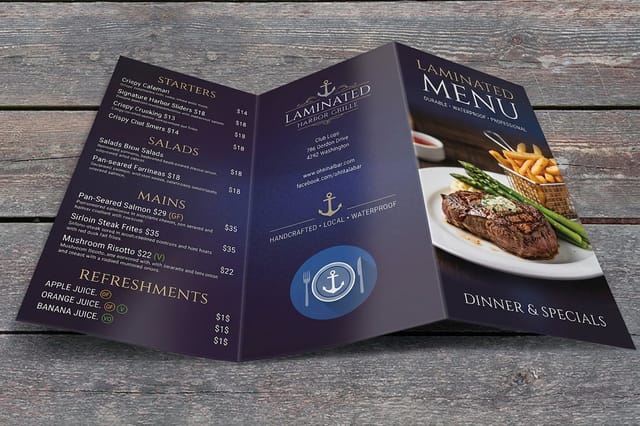
Order of operations decides how long the edge lasts. We laminate the sheet and then die-cut it, so the film is trimmed flush with the paper along your outline and there is no overhanging lip to catch and peel. The trade-off is that a custom shape cannot have an encapsulated edge, the sealed lip where laminate bonds to laminate past the paper. If a fully sealed border matters more to you than the shape does, keep a rectangle. Laminated menus start at $57.11, the same entry price as standard menus, so the film is not where the cost is. For an uncoated look, kraft menus start at $166.04 and take a die cleanly, but kraft does not laminate well and it stains, so treat it as a short-run or single-service piece. Matte against gloss finishes covers how each one behaves under light.
When a Rectangle Is the Better Menu
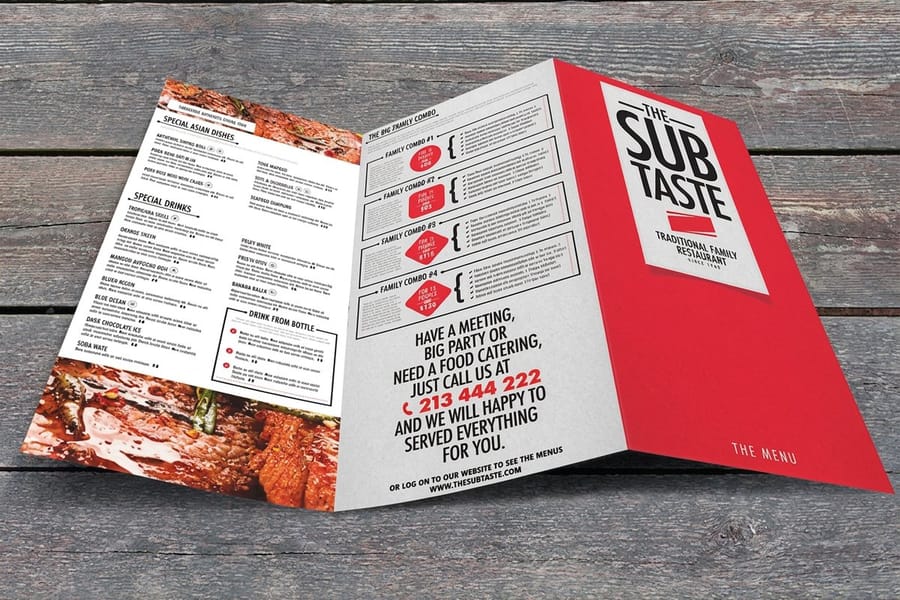
Half the value of knowing how to design a die-cut menu is knowing when not to. There are four situations where the shape works against the restaurant.
- You reprint often. A seasonal menu that changes four times a year pays the die-cut premium four times. Put the shape on the cover or on a table card that stays constant, and keep the changing pages square.
- You run small quantities. Tooling and setup spread across 50 pieces hurts. Across 500 it disappears into the per-piece price.
- The menu lives in a cover. A shaped edge inside a rectangular sleeve is a shaped edge nobody sees.
- Guests carry it out. Takeout menus get folded into a bag and pinned to a fridge. A silhouette folds badly and hangs crooked.
The productive compromise is to move the die cut onto the piece that benefits most. A shaped dessert card, a bottle-outline drinks list, or a die-cut insert reads as a designed restaurant while the working menu stays a stackable rectangle. Browse the full range on menu printing, and if the menu is one part of a larger print set, shop by industry lists what usually ships with it.
Before you commit the outline, print the shape on plain paper, cut it out with scissors, and stand it in the holder on an actual table. Ten minutes of that catches the problems no proof shows you.
Wally explains the die line
Draw the shape, then draw it twice more
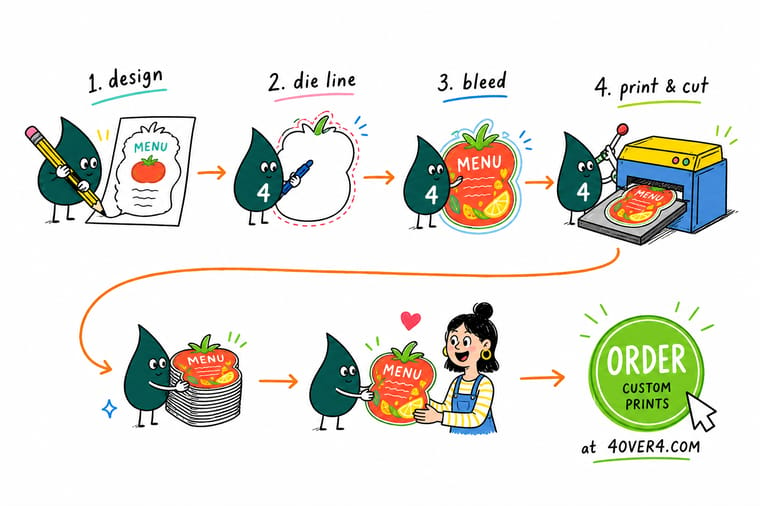
Wally draws the outline as one closed path, colours it in a spot swatch called CutContour, and parks it on its own layer. Then he pushes the artwork an eighth of an inch past that line and pulls the type an eighth of an inch inside it, because the die wanders about a sixteenth on press. He rounds every inside corner, laminates the sheet before it goes near the die, and prints one on plain paper to stand in the holder first. That last step has saved more menus than any proof.
Order laminated menus →Specs and pricing
Menu stocks, sizes and starting prices
Compare the laminated, standard and custom die-cut options side by side, with live configuration choices and starting prices straight from the 4OVER4.COM configurator.

Print it
Print a menu that holds its shape
Explore more
Where to go next
By the numbers
Menu printing you can count on at 4OVER4
Common Questions
Your die-cut menu questions, answered
What file do I send for a die-cut menu?
A print-ready PDF with two things in it. First, the artwork built to the finished size plus 1/8 in of bleed on every edge, with all type at least 1/8 in inside the cut. Second, the cut path drawn as a single closed vector, no fill, hairline stroke, coloured with a spot swatch named CutContour and placed on its own layer at the top of the stack. Do not outline the path into a filled shape and do not send the cut line as a black line inside the artwork, because it will print.
How much does a die-cut menu cost compared with a rectangular one?
Expect the shape to sit a tier above a straight trim. Standard menus start at $57.11 and laminated menus start at $57.11, while any shape size paper die-cut work starts at $87.00. The gap is tooling and setup rather than material, which is why it does not shrink much on a reorder and why a die-cut menu makes more sense at 250 or 500 pieces than at 50.
Can a die-cut menu be laminated?
Yes, and the order of operations matters. The sheet is laminated and then die-cut, so the film is cut flush with the paper along the custom outline. That gives you a wipeable surface with no lip to peel. What you cannot get on a custom shape is an encapsulated edge, the sealed border where laminate meets laminate past the paper, because that requires cutting outside the sheet on a shape the die does not follow.
What is the smallest detail a die can hold on a menu?
Plan for 1/8 in as your working minimum on inside corners and on the width of any protruding tab or finger. Anything narrower flexes while the die closes and comes back wavy. Outside corners can be tighter, down to about 1/16 in, because the rule is bending outward. If your logo has a fine notch you want reproduced, keep it in the printed artwork and let the outer shape stay simple.
Will a die-cut menu fit a standard menu cover?
Usually not, and this is the practical reason most restaurants keep the outer rectangle and die-cut something else. Menu covers, sleeves and clipboard holders are made to 8.5 by 11, 8.5 by 14 and 5.5 by 8.5. If your service model needs a cover, put the custom shape on an insert, a table tent or a dessert card and leave the main menu square.
Do I need a template from the printer before I design?
You need the finished size confirmed and you need to know we accept your cut path, which we do in the format described above. Starting from a correctly sized layout saves the most common revision, which is artwork built at trim with no bleed. Our blank template library covers the standard menu sizes, and you draw your outline over one of those rather than inventing a page size.
Get Started
Ready to cut your menu to shape?
Send the outline as a closed path, pick 14pt or 16pt with gloss or matte lamination, and we cut the film flush with the paper so nothing peels on the third night.
Legal Disclaimer
Gold Standard guarantees apply to all standard orders placed through 4over4.com. Price match requires verifiable proof of a competitor's published price for an equivalent product with matching specifications and turnaround time. Satisfaction guarantee covers manufacturing defects and print quality issues. Contact support with order number and documentation. On-time delivery rate based on tracked orders 1999 to 2026. Individual results may vary based on shipping carrier performance.
