
How to Build a Step-and-Repeat Wall That Photographs Clean


Tobias is our voice for cutting, binding and large format, built from the knowledge of our production team, with over 20 years in printing.
Width comes from the guest count, the pattern comes from a pitch you can calculate, and the face material follows what a camera flash does to it. The whole build runs in that order.
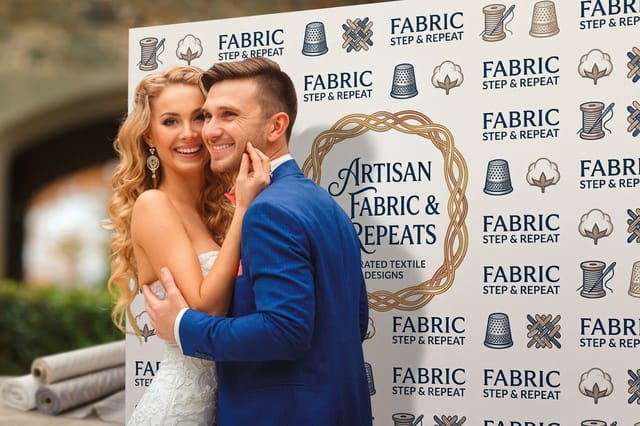
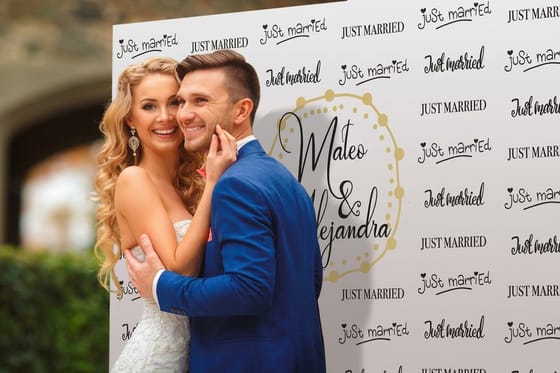
Build a step-and-repeat wall by matching the width to the biggest group you will photograph, tiling the logo on a pitch of logo width plus gutter, and mounting the printed face on a telescoping frame you tension last. An 8 by 8 foot wall covers three people, a 10 inch logo on a 14 inch pitch puts two complete marks in any two-person crop, and staggering every second row by half a pitch stops one guest from hiding a whole column.
Quick answer
Width from the group, pitch from the logo, tension from the frame
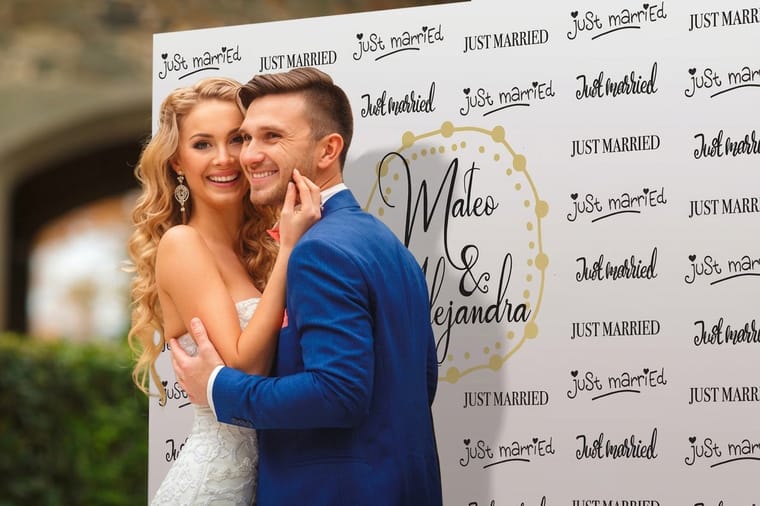
A step-and-repeat wall is a printed face on a frame, and it works when the pattern survives a crop. Set the width off the biggest group you plan to photograph, allowing about 2 feet per person plus a foot of margin each side. Set the pitch at logo width plus gutter, keep it at or under 15 inches, and stagger alternate rows by half a pitch. Print on matte fabric if a flash will be used and on vinyl if the wall lives outdoors. Then hang the face and pull the tension in last, because that is what removes the wrinkles the camera picks up.
Size the Wall From the Guest Count
Every other decision follows from width, so settle it first. A person occupies roughly 2 feet of shoulder room in a posed photo, and the wall needs about a foot of print past the outside shoulder on each side or the photographer ends up cropping into a bare edge.
| Wall width | People per frame | Logo pitch that works | Where it fits |
|---|---|---|---|
| 8 ft | 2 to 3 | 12 to 14 in | Grand openings, small fundraisers, office and conference photo corners. |
| 10 ft | 4 to 5 | 13 to 15 in | Awards nights, product launches, anything with team shots. |
| 16 ft | 6 to 8 | 14 to 16 in | Two photo positions side by side, sponsor rows, larger galas. |
| 20 ft | Continuous line | 14 to 16 in | Red carpet arrivals, where guests move along the wall and never stop in one spot. |
Height barely varies. Eight feet is the standard because it clears a raised hand and still leaves logo rows above head height for the wide shots. Drop to 7.5 feet when the venue has a low soffit, lighting hung close to the deck, or a doorway the frame has to pass through. Going taller than 8 feet mostly buys print you will never see in a photograph.
One thing that catches people out: guest count is not the same as frame count. A 200 person gala photographed three at a time still only needs an 8 foot wall, because the line moves. It is the size of the biggest group, plus whether the venue wants two stations running at once, that decides the width. If you are still mapping the whole event, our event signage planning guide covers what else has to be printed alongside the backdrop.
Tiling the Logo So Every Crop Carries the Brand
The pattern has one job: whatever rectangle the photographer crops, at least two complete logos have to sit inside it. That turns a design question into arithmetic.
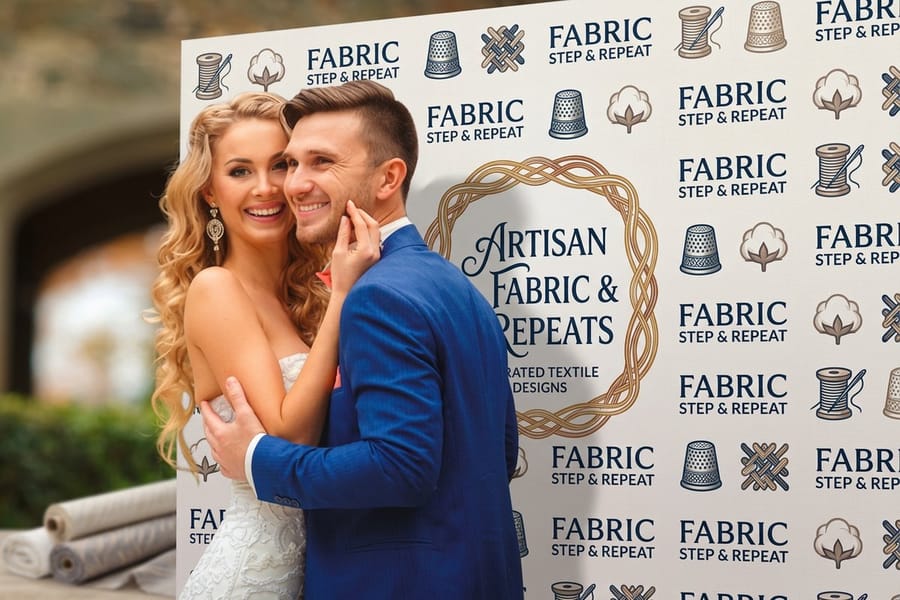
Pitch is logo width plus gutter. A 10 inch mark with 4 inch gutters gives a 14 inch pitch, which puts about seven marks across a 96 inch wall. A tight two-person crop is roughly 30 inches wide, so a 14 inch pitch guarantees two whole logos land inside it no matter where the crop falls. Push the pitch past 15 inches and the crop starts returning one full logo and two half ones, which is how a wall ends up looking expensive and reading as nothing.
Then stagger the rows. Offsetting every second row by half a pitch, 7 inches on a 14 inch grid, breaks the vertical columns. It matters because a person standing in front of a straight grid blocks an entire column of the same mark for the whole photo. On a staggered layout the body only ever covers part of two different rows. Rotating the whole field 20 or 30 degrees does the same job and looks more editorial, though it wastes print at the edges and makes any wordmark harder to read at a glance.
Two brands on one wall belong in a checkerboard, not in bands. Alternate them mark for mark, size them to look equal rather than measure equal, and drop both to about 6 or 7 inches so each one still repeats often enough to survive a crop. The file build itself, including bleed and how to keep the repeat from drifting, is covered in our step-and-repeat design guide, and you can start from a correctly sized layout in the blank template library.
The Band the Camera Actually Keeps

A step-and-repeat is not viewed, it is cropped. Photographers shoot waist up or full length, and both crops throw away parts of the wall you paid to print.
The bottom 18 inches is gone in almost every frame. Legs, gowns, the frame foot and whatever carpet or riser the wall sits on all live down there. Keep that strip patterned but expect nothing on it to be read. The top of the wall is the opposite problem: above roughly 78 inches the marks only appear in wide and low-angle shots, so it is a fine place for the pattern to continue and a poor place for a hashtag you want people to see.
That leaves the band from about 24 to 78 inches off the floor doing the real work. Head height and shoulder height are where sponsor logos earn their money, so if one brand is paying more than the others, put it in the rows that sit beside a standing adult, not on the ceiling row.
Keep gutters even in both directions. Uneven vertical gaps read as a printing error in photos, even when the design intended them, because the eye uses the repeat itself as the reference grid. If the wall gets a hashtag or an event name, set it once, centered, in the head-height band, and let the logo pattern run around it rather than through it.
Fabric or Vinyl, and Why the Flash Decides
This is the one choice photographers care about, and most buyers make it on price instead. A gloss vinyl face bounces a direct flash straight back into the lens as a bright hotspot, usually right behind the subject. Matte dye sublimated fabric scatters that light, which is why event crews keep asking for it.
| Face | Under a flash | Packing and creases | Best for |
|---|---|---|---|
| Dye sub fabric | Matte, scatters light, no hotspot. | Folds into a bag, creases hang out in about an hour. | Indoor events, red carpets, anything a photographer is paid to shoot. |
| Matte vinyl | Low sheen, mild hotspot at close range. | Rolls rather than folds, fold lines are permanent. | Repeat use where durability matters more than the photos. |
| Gloss vinyl | Strong hotspot with a direct flash. | Rolls, wipes clean, shrugs off spills. | Outdoor and trade show walls lit by ambient light, not flash. |
Cost is not the tiebreaker people expect. Fabric Step-and-Repeat starts at $217.50 and vinyl Step-and-Repeat Banners start at the same $217.50, so the real difference is behavior rather than budget. Fabric wins indoors. Vinyl wins where the wall will be rained on, leaned on, or stored badly between events. For the wider comparison across banner faces, see vinyl vs fabric vs polyester banners. Our polyester banners story covers the third face in more detail.
One limit worth naming: fabric is not opaque on its own. Backlight it, or stand it in front of a bright window, and the room behind it shows through as a gray shadow. If the wall has to sit against a window or a lit doorway, order a blockout construction or move the wall.
Building It on the Day and Keeping It Flat
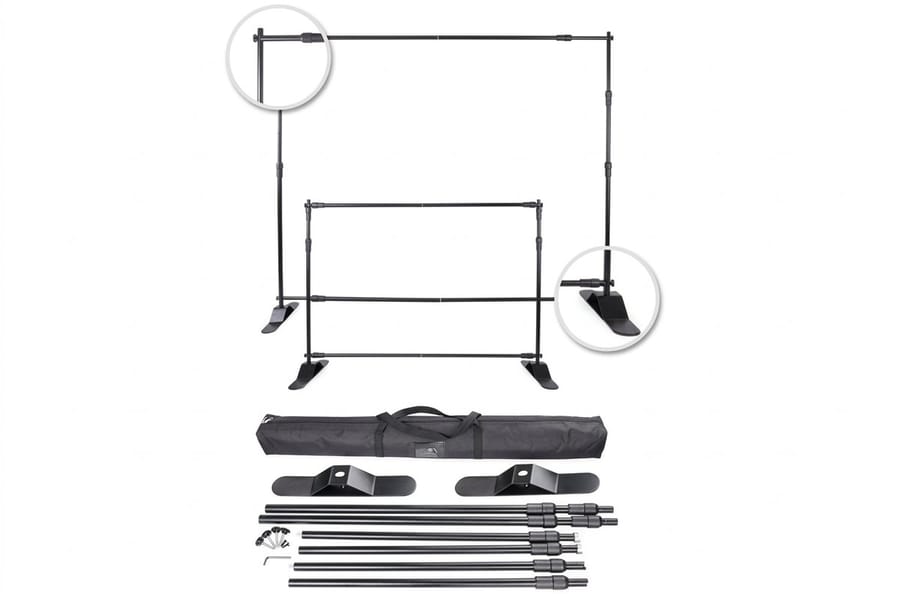
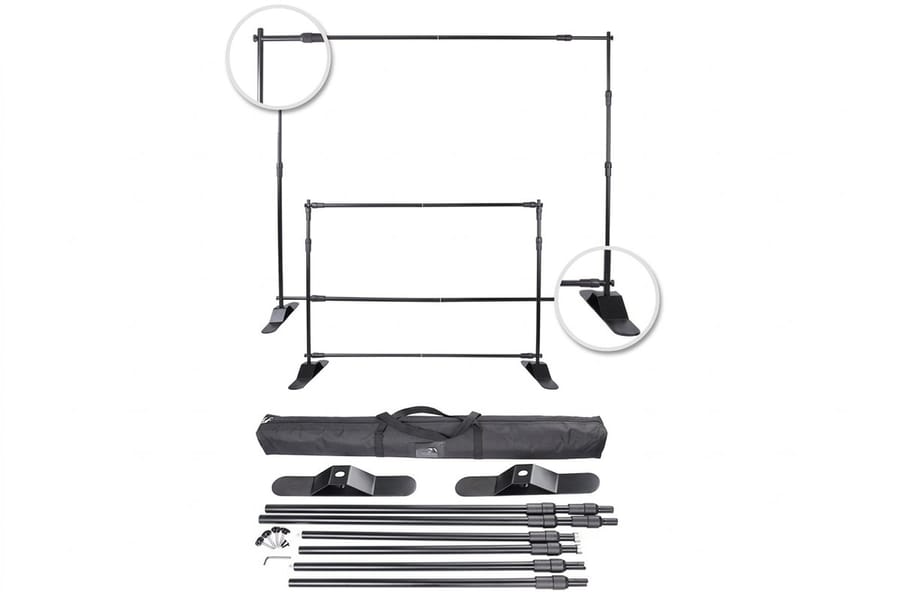
Two crew, twenty minutes, and the order of operations matters more than the tools. Assemble the frame flat on the floor first, set the uprights to the height you want before you attach anything, and only then dress the print onto it.
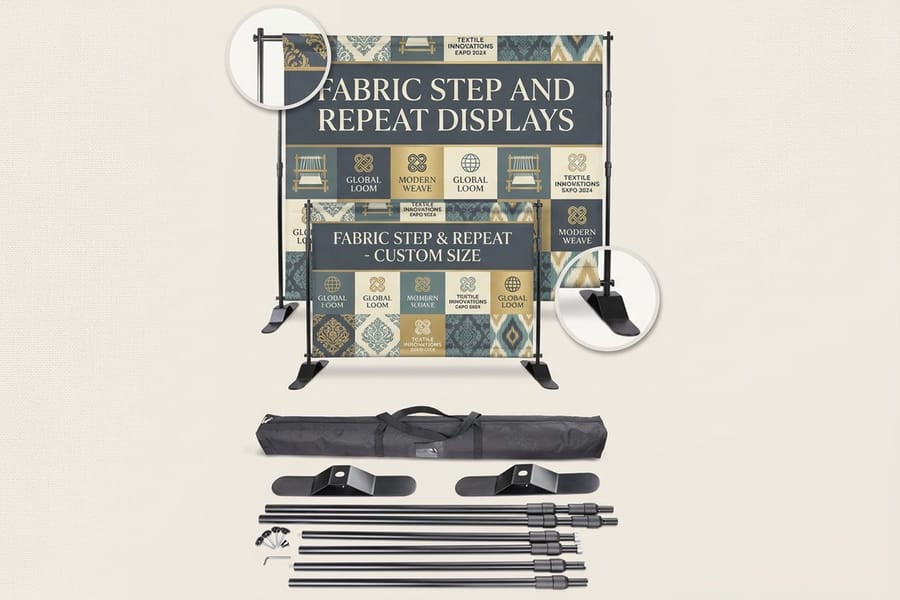
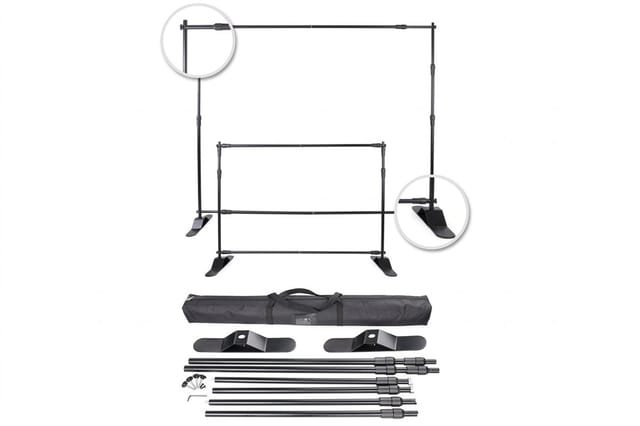
On a telescoping tube frame, the print carries a pole pocket along the top. Slide the crossbar through the pocket, lift the crossbar onto the uprights with one person at each end, then extend the uprights the last few inches to pull the face tight. Extending the uprights last is what removes the slack, and it is the step people skip. Step-and-Repeat Banner Stands from $192.22 bundle the frame with the printed face so the pocket and the bar actually match.
If the wall hangs from a truss, a fence or a wall instead, order the print hemmed with grommets every 24 inches and tension the bottom corners as well as the top. A face fixed only along the top edge billows every time a door opens, and the camera catches the ripple as a bent logo. Our guides to grommet placement and hanging a banner cover the hardware for each surface.
Weight the feet even indoors. Two sandbags per upright stop the frame walking when someone brushes it, and outdoors that becomes the whole job: 64 square feet of face acts as a sail, so ballast every foot, tie the top corners off if the venue allows it, and take the wall down rather than fight a real gust. Add a lint roller and a steamer to the kit, and mark the guest standing spot with a piece of tape about 2 feet out from the face. If you need a second branded surface beside the wall, a retractable banner stand from $139 sets up in a minute and packs down into a tube.
Wally explains the step-and-repeat
Pitch, stagger, tension, in that order
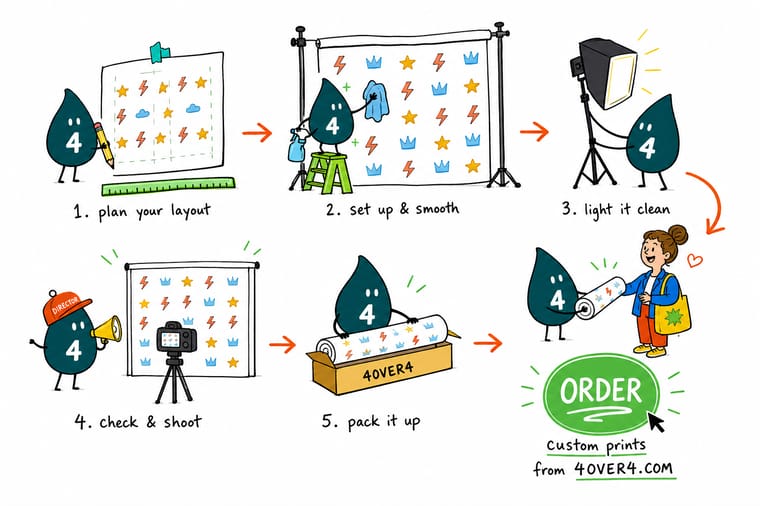
Wally measures the logo, adds the gutter, and calls that the pitch. He keeps it under 15 inches so a two-person crop always catches two whole marks, then shifts every second row over by half a pitch so nobody standing in front can hide a full column. He prints on matte fabric when a flash is involved, because gloss vinyl throws the light straight back at the lens. Last thing he does is extend the uprights, because that is what pulls the face flat.
Order a step-and-repeat banner →
Specs and pricing
Backdrop sizes, materials and starting prices
Step-and-repeat banner stands start at $192.22, the banners themselves print in 3 business days, and each product page sets its own widths and face materials.


Print it
Order the wall your photographer will thank you for
Both backdrops come 8 by 8 or 8 by 10 feet or any size, on 13 oz smooth blockout vinyl or 9 oz wrinkle free fabric, with pole pockets top and bottom and a stand if you add one. Each prints in 3 business days from a single wall.

Explore more
Where to go next
Build the repeating artwork file, see how a tension fabric frame holds a face flat, space grommets for a hanging wall, compare vinyl, fabric and polyester faces, then shop banner printing.

By the numbers
The build side of a photo wall, printed here
Common Questions
Your step-and-repeat questions, answered
What size step-and-repeat wall do I need?
Count the widest group that will stand in one frame and give each person about 2 feet of shoulder room plus a foot of margin on each side. Three people fit an 8 by 8 foot wall, four or five want a 10 foot width, and a step-off line at an awards night or a premiere is happier at 16 or 20 feet. Height is simpler: 8 feet covers almost everything, and 7.5 feet is the practical ceiling in hotel ballrooms with low soffits or in venues that hang pipe close to the deck.
How big should the logos be on a step-and-repeat?
Most walls land between 6 and 10 inches wide per mark, and the deciding factor is how many brands share the wall. One logo can run 10 inches and repeat on a 14 inch pitch. Two sponsors alternating in a checkerboard usually drop to 6 or 7 inches so both still repeat often enough to survive a tight crop. Match the marks optically rather than by measured width: a wide horizontal wordmark set to the same width as a square badge will read much larger in the photo.
Should I order fabric or vinyl for a step-and-repeat?
Fabric for anything shot with a flash, vinyl for anything that has to live outdoors or take abuse. Dye sublimated fabric is matte, so the flash scatters instead of bouncing back as a white blob, and it packs into a bag and hangs out its creases in an hour. Vinyl is tougher, cheaper to replace, and holds up to weather and rough handling, but a glossy face plus a direct flash gives photographers a hotspot they have to shoot around. Fabric Step-and-Repeat starts at $217.50, the same entry price as our vinyl Step-and-Repeat Banners.
Can a step-and-repeat wall go outside?
It can, with ballast and a plan for wind. A solid 8 by 8 foot face is 64 square feet of sail, and a telescoping frame with two sandbags will still walk or fold in a gust. Outdoors, weight every foot of the frame, tie the top corners off to something fixed if the venue allows it, and accept that above roughly 15 miles per hour you should take the wall down rather than repair it later.
Do I need a frame, or can I just hang the banner?
A frame is what makes it look like a wall instead of a banner. Telescoping tube frames adjust in both directions, take a top pole pocket, and keep the face flat under its own tension. If you are hanging from a truss, a wall or a fence instead, order the print hemmed with grommets every 24 inches and pull the bottom corners down so the face does not billow. Our Step-and-Repeat Banner Stands bundle the frame with the print from $192.22.
How far in front of the wall should people stand?
Two to three feet. Standing against the print puts a hard flash shadow on the logos right behind the subject and flattens everything into one plane. Backing up a couple of feet throws the shadow low and out of frame and lets the photographer separate the subject from the pattern. Mark the spot on the floor with a small piece of gaffer tape before guests arrive and the whole set of photos stays consistent.
Get Started
Order a step-and-repeat stand from $192.22
Pick the width, choose a matte fabric or vinyl face, and we print a step-and-repeat that holds its pattern in every crop the photographer takes.
Legal Disclaimer
Gold Standard guarantees apply to all standard orders placed through 4over4.com. Price match requires verifiable proof of a competitor's published price for an equivalent product with matching specifications and turnaround time. Satisfaction guarantee covers manufacturing defects and print quality issues. Contact support with order number and documentation.
