
How to Add a Photo to a Business Card So It Prints Sharp


The pixel count a card photo really needs, where to crop a headshot so the cutter cannot spoil it, and the finish that keeps skin tones looking like skin.
Place the photo at 300 ppi measured at the size it prints, which for a full bleed image on a 3.5 by 2 inch card means 1125 by 675 pixels covering the 3.75 by 2.25 inch bleed area. Convert it to CMYK before you send it, bleed the image 0.125 inch past every edge while keeping eyes and type 0.125 inch inside the trim, and print it on a coated stock, because uncoated paper absorbs ink and flattens a photograph.
Quick answer
Do the division, then pick the coating
Effective resolution is pixel width divided by printed width, and it needs to land near 300 ppi. A full bleed photo on a standard card covers 3.75 by 2.25 inches, so it wants 1125 by 675 pixels. A phone photo clears that four times over. An image saved off a website rarely does. Crop the portrait tight, hold the face inside the safety margin, convert to CMYK so the colors settle before the press does it for you, and choose gloss if you want the image to snap or soft touch if you want the card to feel expensive and can accept a softer photograph.
How Many Pixels the Photo Actually Needs
Resolution on a card is a division problem, not a setting. Divide the pixel width of your photo by the number of inches it will occupy on the card, and that is the resolution it prints at. Everything else is noise.
Work from the bleed size rather than the trim size. A standard card trims at 3.5 by 2 inches, and a photo running off the edges has to extend 0.125 inch past all four sides, so it covers 3.75 by 2.25 inches. At 300 ppi that is 1125 by 675 pixels of real image data, before any cropping.
| Where the photo sits | Printed size | Pixels needed at 300 ppi | The file that usually fails |
|---|---|---|---|
| Full bleed, whole side | 3.75 x 2.25 in | 1125 x 675 | A profile picture saved off social media, often 600 px wide. |
| Half card photo panel | 1.75 x 2.25 in | 525 x 675 | A screenshot of a website image, captured at screen resolution. |
| Corner headshot | 1 x 1.25 in | 300 x 375 | One face cropped out of a wide group photo. |
| Logo or mark over the photo | 0.75 in wide | Vector art, no pixel count | A PNG lifted from an email signature and enlarged. |
Two traps catch people who did the math correctly. Scaling a placed image up in InDesign or Illustrator divides its effective resolution by the same factor, so a photo dropped in at 100 percent and stretched to 200 percent halves its ppi even though the original file never changed. And upscaling in Photoshop adds pixels by guessing at them, which smooths noise and softens hair without adding detail. Our walkthrough on making an image less pixelated for print covers what upscaling can and cannot rescue, and image resolution for printing goes deeper into the ppi arithmetic.
Placing the Photo So the Cutter Cannot Ruin It
Cards are printed many to a sheet and cut in stacks, so the blade lands within about a sixteenth of an inch of where the file says. Your layout has to survive that on both sides of the line.
Push the photo 0.125 inch past every edge it touches. That overhang is the bleed, and it is the reason a full bleed photo never shows a white hairline after trimming. Then pull the content that matters 0.125 inch back inside the trim: eyes, chin, a hand, a product edge, and every line of type. A portrait cropped so the top of the head kisses the trim edge reads as a mistake once it is cut. Bleed and trim explained shows both margins drawn on a real layout.
Crop the portrait before you place it. Photo cards fail more often from bad cropping than from bad resolution. Put the eyes roughly a third of the way down the photo area, leave a little space in the direction the subject is facing, and crop to the shoulders rather than the waist, because at 1.75 inches wide a half length shot turns the face into a thumbnail. If type sits over the image, darken or lighten that region of the photo first instead of dropping a translucent box over it, and keep small text in solid black so it stays crisp instead of being built from four inks.
Set the file up at the right size from the start. The blank template library has the card layouts with bleed and safety already marked, and the business card size guide lists the measurements for square, slim and folded formats where the photo area changes shape.
Why the Printed Photo Looks Different From Your Screen
Every photo shifts a little between monitor and card, and knowing which way it shifts lets you correct for it before the job runs.
The first shift is the color space. Photos come out of a camera in RGB, which builds color from light, and press work is CMYK, which builds it from four inks. Colors that ink cannot reach get mapped to the nearest one it can, and the ones that move most are electric blue, vivid green and anything that was pushed hard in an edit. Convert the file yourself, look at the result, and adjust from there. Our note on converting files from RGB to CMYK walks through doing it without wrecking skin tones.
The second shift is the paper. Each ink dot spreads slightly as it meets the sheet, which thickens midtones and shadows. Coated stock holds the dot tight, so photos stay crisp. Uncoated and kraft stocks absorb ink and print a photo noticeably darker and flatter, which is why a moody portrait that looks rich on screen can close up on an uncoated card. If the photo has deep shadows, open them a little before you send the file, or choose a coated stock and leave the image alone. The business card stock guide covers how each surface handles ink.
One more thing worth knowing: a black and white photo printed in four color inks can drift warm or cool, because it is being built from cyan, magenta, yellow and black rather than black alone. If a neutral grayscale portrait is the whole design, say so when you order so it can be handled properly. Ordering free paper samples first is the cheapest way to see how a stock treats an image before you commit a run to it.
Choosing the Finish and Stock for a Photo Card
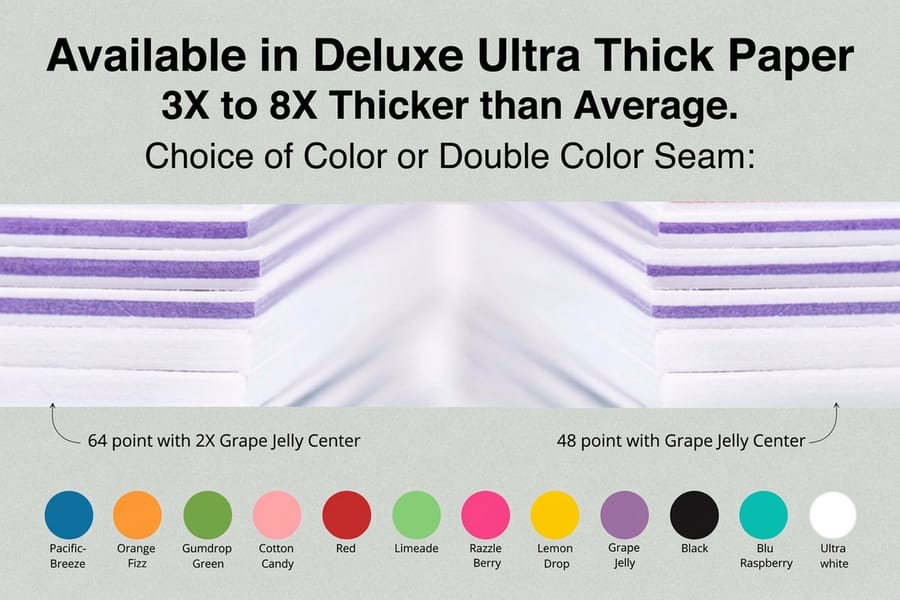
The finish changes the photo more than any edit you make in Photoshop. Coatings control how light leaves the surface, and that controls contrast.
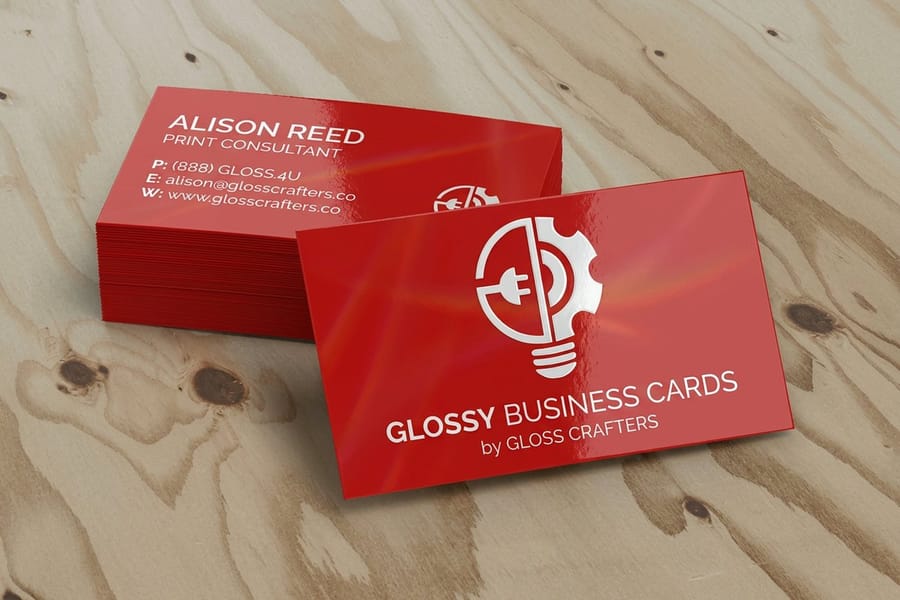
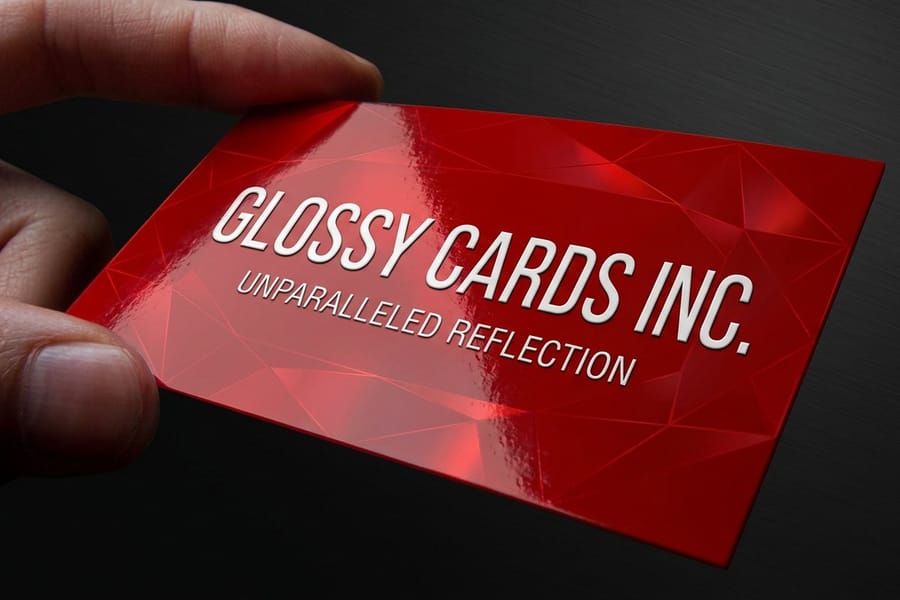
Gloss is the photographic choice. Glossy business cards start at $37.24 and hold saturation and contrast the way a photo print does, so faces look alive and product shots stay punchy. The cost is fingerprints, which sit visibly on a dark glossy surface after two or three handoffs. Gloss laminated business cards start at the same $37.24 and add a film layer that resists scuffing and moisture, which suits a card that will live in a wallet.
Soft touch runs the other way. Soft touch business cards start at $40.28 and feel remarkable in the hand, but the velvet coating scatters light and pulls a visible amount of contrast out of any image. Give it a bright, high key photo rather than a dark one. Plain matte does the same thing more gently. If you want the image to lead, that softening is a real cost, and the finish comparison guide shows what each coating does to the same artwork.
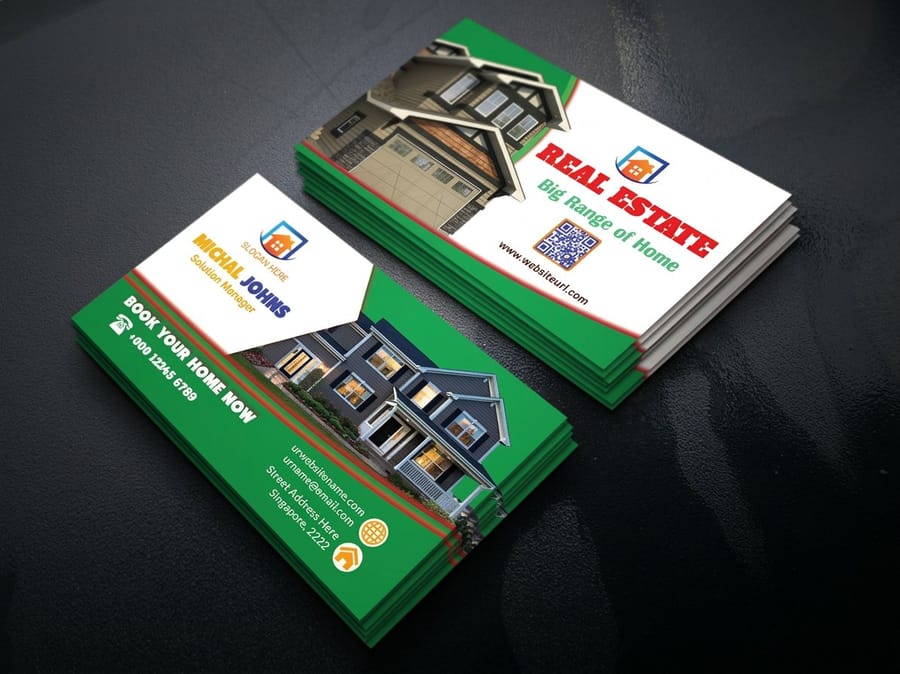
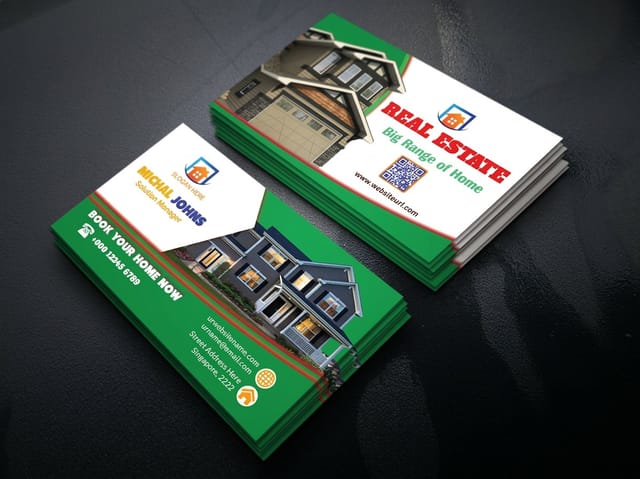
For value, a UV coated premium business card at $17.57 carries a headshot well and costs less than a third of a soft touch run. Real estate business cards start at the same $17.57 and are laid out for a portrait plus a brokerage logo, which is the most common photo card we print. Whatever you pick, avoid putting a raised or foil finish across the photo itself: those effects want solid shapes, and a face under raised gloss looks smeared rather than premium. Browse the full range of stocks and coatings in business card printing.
Wally explains photo cards
Enough pixels, room to trim, and a coating that suits a face
Wally holds the photo up against the card at its real size and does one sum: pixels across, divided by inches across. If the answer is near 300 he places it, runs it a little past every edge so the cutter has room, and keeps the eyes well inside the trim. Then he asks one question before printing. Should the picture snap, or should the card feel soft in the hand? Gloss gives him the first, soft touch gives him the second, and there is no coating that gives both.
Order glossy business cards →Specs and pricing
Card stocks that carry a photograph, priced live
Compare the coatings that suit an image, with sizes, quantities and starting prices straight from the 4OVER4.COM configurator.


Print it
Print the photo card people keep

Explore more
Where to go next

By the numbers
Photo cards printed to spec at 4OVER4
Common Questions
Your photo business card questions, answered
What resolution does a photo need on a business card?
300 ppi at the size it prints. For a photo that bleeds off all four edges of a 3.5 by 2 inch card, the live area is 3.75 by 2.25 inches, which works out to 1125 by 675 pixels. A half card photo panel needs about 525 by 675 pixels, and a small corner headshot around 300 by 375. The number that matters is effective resolution, which is pixel width divided by the width it prints at. Placing a 1200 pixel photo and scaling it to 200 percent in InDesign leaves you at 150 ppi, and the Links panel will say so.
Can I use a photo from my phone?
Yes, and it is usually the best source you have. A recent phone shoots roughly 4032 by 3024 pixels, which is more than four times what a full bleed card needs, so you can crop hard and still hold 300 ppi. Send the original from the camera roll rather than one you texted or posted, because messaging apps and social platforms recompress and shrink the file. The photo that fails is almost always the one saved from a website, a LinkedIn profile or an email signature.
Should the photo go on the front or the back?
Front if the photo is the point, back if the information is. Agents, stylists, coaches and anyone selling a personal relationship put the headshot on the front and keep the name beside it with plenty of clear space. If the photo is a product shot or a portfolio image, the cleaner layout is a full bleed photo on the back and a plain front with name, title and contact details. Trying to fit a photo, a logo and six lines of contact detail on one side is what makes photo cards look cluttered.
Why does my photo look darker on the card than on my monitor?
A monitor makes an image out of light, and a card makes it out of ink on paper that reflects part of that light back. Two things shift a photo in printing. The RGB to CMYK conversion drops the colors that ink cannot reach, mostly the vivid blues and greens. Then dot gain, the slight spread of each ink dot as it soaks into the sheet, thickens the midtones and shadows. Coated stock limits that spread, uncoated does not, which is why a photo on an uncoated or kraft card prints noticeably heavier. If your photo has deep shadows, lift them a little before you send the file.
Do I need to leave space around a headshot?
Yes, on both sides of the cut line. Extend the photo 0.125 inch beyond every trimmed edge so a slight shift in cutting never leaves a white sliver, and keep the important part of the face 0.125 inch inside the trim. Cropping a portrait so the top of the head touches the trim looks intentional on screen and looks like an accident on the finished card. Start from a correctly built layout in the blank template library and both margins are already drawn for you.
Which business card finish suits a photo best?
Gloss, for pure image quality. Glossy business cards start at $37.24 and hold contrast and saturation the way a photo print does, so skin tones and product shots stay lively. The trade off is fingerprints, which show on a dark glossy card the moment someone handles it. Soft touch business cards start at $40.28 and feel superb, but the coating diffuses light and a photo loses a visible amount of punch. A UV coated premium business card at $17.57 sits in between and is the value pick for a card carrying a headshot.
Get Started
Ready to print a card with your face on it?
Send the full size photo, pick a coated stock, and we print cards where the eyes stay sharp, the edges bleed clean, and the skin tones look like skin.
Legal Disclaimer
Gold Standard guarantees apply to all standard orders placed through 4over4.com. Price match requires verifiable proof of a competitor's published price for an equivalent product with matching specifications and turnaround time. Satisfaction guarantee covers manufacturing defects and print quality issues. Contact support with order number and documentation. On-time delivery rate based on tracked orders 1999 to 2026. Individual results may vary based on shipping carrier performance.
