
Hard Hat Sticker Placement, Sizing and Materials That Last


Three panels take a sticker, two areas never do, and the material choice comes down to whether the crew works after dark. Here is the placement, the sizing and the stock that lasts.
Put hard hat stickers on the front panel, on the sides above the brim line, and on the back, keeping every piece about three quarters of an inch clear of the brim edge and off the raised crown ridge where the suspension mounts. Print them on laminated vinyl or retroreflective vinyl, never on paper and never on foil for an electrical-rated helmet. Keep each piece under roughly two and a half inches across the curve, because a compound curve lifts wide corners. Nothing may cover the shell so completely that a crack cannot be seen.
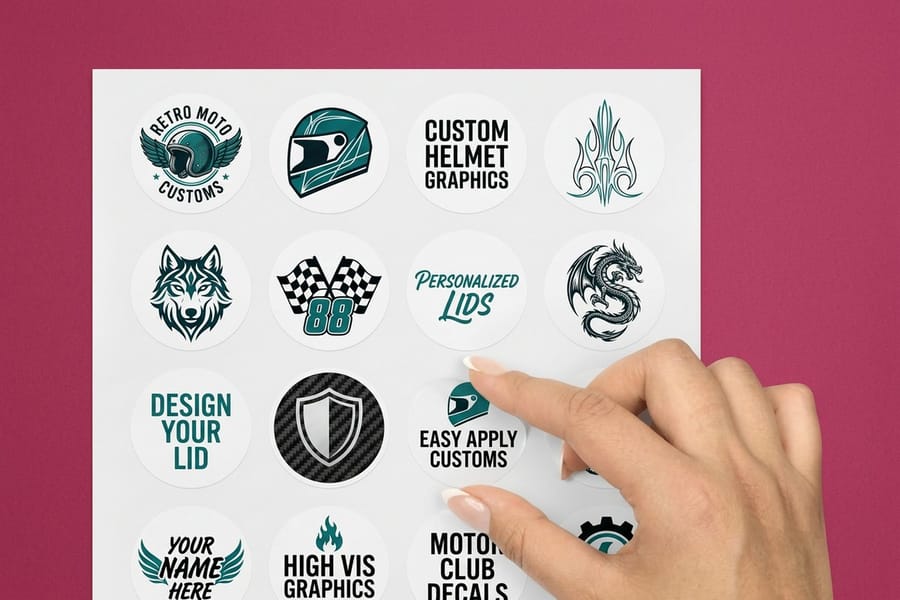
Quick answer
Three panels take a sticker, two areas stay bare
Front panel, sides above the brim, and the back are fair game. The brim edge and the crown ridge are not. Those two areas are where a shell cracks first, so leaving them clear keeps the hat inspectable. Size each piece to the curve rather than to the artwork, roughly two and a half inches across the front panel and one and a half inch badges on the sides. Print on laminated vinyl for detail, retroreflective vinyl for anything read in a headlight beam, and keep foil off any helmet rated for electrical contact.
Where a Sticker Can Go, and Where the Shell Must Stay Bare
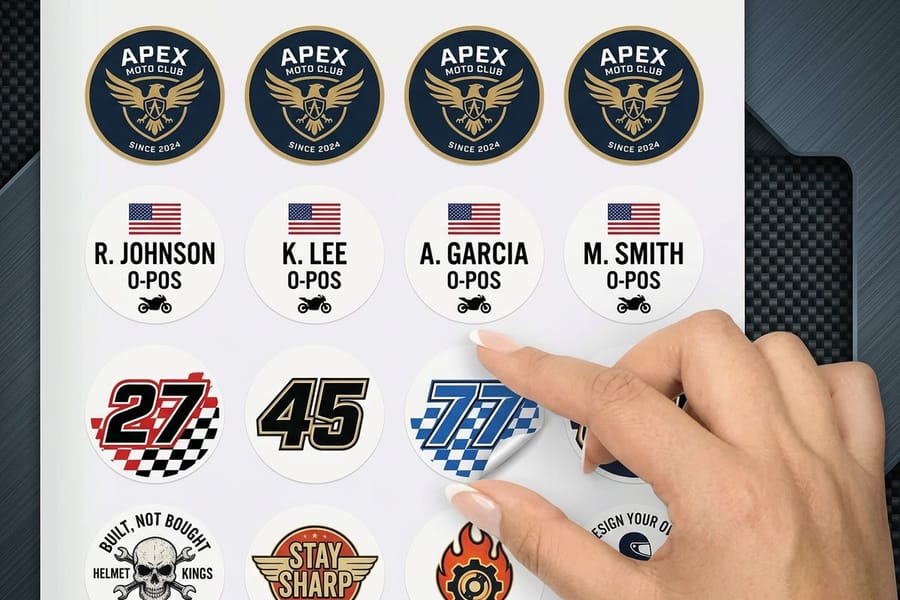
A hard hat shell is a single molded piece with three usable panels and two areas that have to stay clear. Learn the two keep-out zones and the rest of the placement question answers itself.
The front panel is the flattest area on the hat and the one that reads in a photo, so it goes to the company logo or the trade. The sides, above the brim line, take certification badges, union decals and equipment endorsements in a row. The back takes the name strip or employee number, because that is what a crew lead reads while walking behind someone.
The two zones you leave alone:
- The brim edge. Stay about three quarters of an inch back from it. The edge takes the impacts, the pries and the drops, and a hairline crack that starts there runs inward. A sticker sitting on the edge hides the start of that crack and also peels first, because the edge is what rubs against racks, truck beds and gang boxes.
- The crown ridge and the suspension points. The raised ribs along the top carry the impact energy, and the slots where the suspension clips in take the load. Both flex. A sticker there lifts, and worse, it covers the exact geometry an inspector checks for stress whitening.
Nothing goes inside the shell or on the underside of the brim. That is where the manufacturer label, the ANSI marking and the molded date live, and once those are covered nobody can tell how old the hat is. Whatever you print, the working rule is the one that gets a hat pulled from service: a sticker may sit on the shell, but it may never hide the shell. Our guide to OSHA safety colors and ANSI color codes covers the color language crews already read, which is worth matching if the decal has to signal a role rather than a brand.
Sizing Artwork for a Surface That Curves Two Ways

A hard hat is a compound curve. It bends front to back and side to side at the same time, and flat vinyl cannot follow both without something giving. That is the whole reason a decal that looked perfect on the proof lifts at the corners three weeks later.
The dimension that matters is the one running across the curve, not the one running along it. A 3 by 1 inch strip laid horizontally on the front panel behaves badly. The same 1 by 3 inch strip turned so the long axis follows the curve front to back sits down flat. When you have to go wide, break the artwork into two smaller pieces with a gap between them and the eye reads it as one graphic anyway.
| Spot on the hat | Size that fits | What goes there | What goes wrong |
|---|---|---|---|
| Front panel | 2 to 2.5 in wide, shield or square | Company logo, trade, primary mark | Anything past 2.5 in runs off the flat area and the top corners lift. |
| Sides, above brim | 1.5 in badges, two or three in a row | Certifications, first aid, union, equipment endorsements | A single wide rectangle instead of separate badges. It tents in the middle. |
| Back | 2 x 1 in strip | Name, employee number, crew | Type set too small to read from behind at ten feet. |
| Brim edge and crown ridge | Nothing | Nothing | Covering the two places the shell cracks first. |
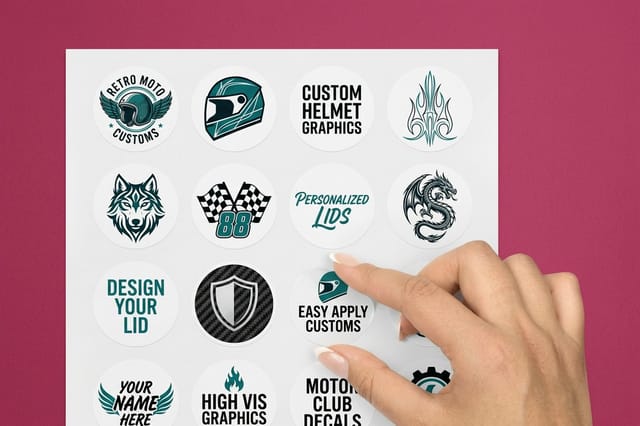
Shape helps as much as size. A die-cut shield, oval or hexagon has no square corner to catch a glove or a rack, and rounded geometry distributes the tension of the curve instead of concentrating it. That is why custom shaped stickers hold on a helmet longer than a rectangle of the same area, and why helmet decals are cut to shape by default. Set your file up at final size with a proper bleed and cut line; the blank template library has correctly sized layouts to start from, and the standard sticker size guide shows where custom cuts start affecting price.
Materials That Survive Sun, Sweat and a Hot Truck Cab
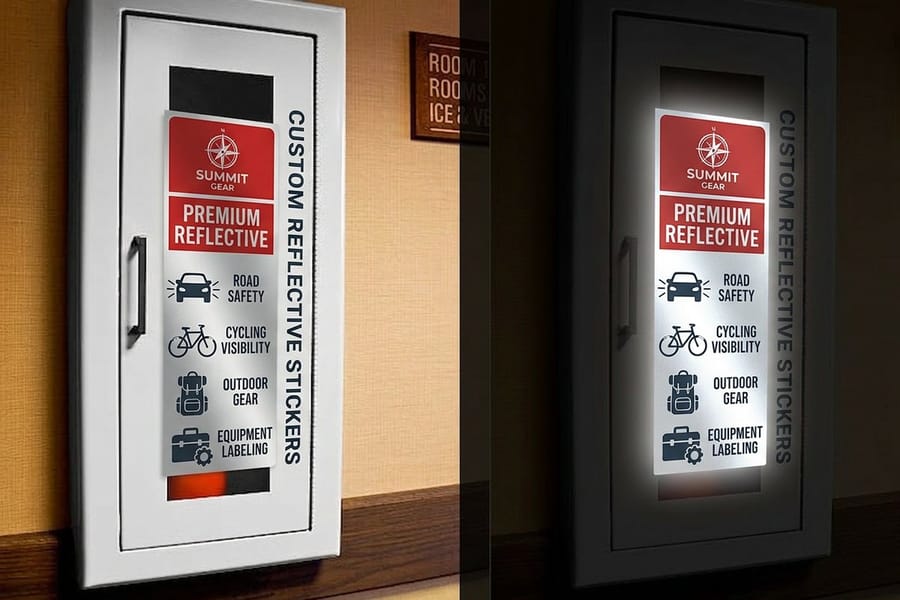
A hard hat gets a harder life than almost anything else a sticker lands on. It bakes on a dashboard, it goes from air conditioning to a July roof deck, sweat runs down the inside of the brim, and it gets thrown into a truck bed at the end of the day. Paper stock is out on the first of those alone.
| Material | How it handles the job | Best use on a hat | The catch |
|---|---|---|---|
| Laminated vinyl | Holds color outdoors for years and shrugs off water, sweat and abrasion. | Company logo, trade marks, anything with fine detail or full color. | Standard calendered vinyl is stiffer than cast, so keep pieces small on the curve. |
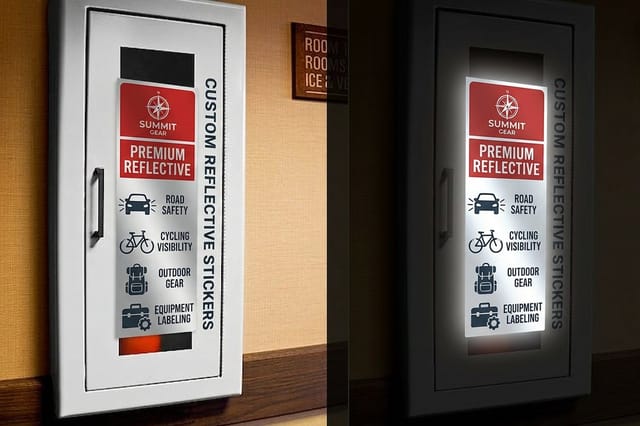
| Retroreflective vinyl | Returns light straight back at the source, so it reads in a headlamp or headlight. | Sides and back, night shifts, roadwork, tunnels, plant floors with moving equipment. | Stiffer stock and a bead layer that softens fine strokes. Use heavier type. |
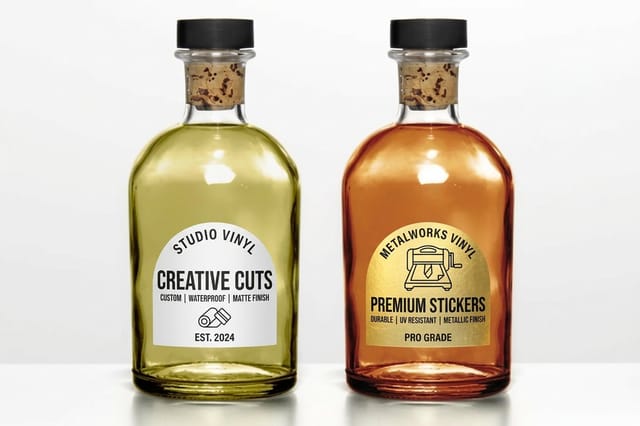
| Clear vinyl | Disappears into the shell so only the ink reads. | A logo that should look printed on rather than stuck on, on white or light hats. | Low contrast on a dark or dirty shell, and any air bubble shows. |
| Paper or foil | Neither belongs on a helmet. | Nothing. | Paper pulps in rain and wicks sweat. Foil is conductive and has no place on an electrical-rated hat. |
The foil point is the one that gets missed. Class E and Class G helmets are rated for electrical contact, and a metallic layer bonded to the shell undermines the property you paid for. If the crew works anywhere near live conductors, keep metallic stock and metal badges off the hat entirely and put the shine in the ink instead.
Adhesive is the other half of the material choice. Ordinary pressure-sensitive acrylic adhesive is safe on the polyethylene and ABS that shells are molded from. Solvents are not: adhesive removers, acetone and thinners can craze a thermoplastic shell and leave stress cracks that hide under the very sticker you were trying to remove. Warm the decal, peel slowly at a shallow angle, and take residue off with a thumb. For the wider material question across every outdoor application, the outdoor sticker material guide goes deeper on laminates and UV behavior, and applying a vinyl decal covers the surface prep that decides whether it stays put.
What to Order for a Crew, and What It Costs
Hard hat stickers are a small-format job, which means the quantity break matters far more than the size. Printing 40 shields costs close to what 200 costs, because the setup is the same either way. Order for the crew you will have next season rather than the one on site this week.
A typical helmet program is three pieces per hat: one logo on the front, one or two badges on the sides, one name strip on the back. Vinyl stickers start at $25 and cover the logo and badge work in full color. Reflective stickers start at $29 and are the ones to spend on for the sides and back if any of the work happens after dark. Helmet decals and shaped stickers both start at $93.37, and that is where you land when the artwork needs a true die-cut outline rather than a square or a circle.
Two things are worth adding to the same order. First, spares: decals get scraped off by a rack or a rollover bar, and a second set on the shelf keeps hats consistent without a reprint. Second, if the site needs hazard messaging rather than branding, that belongs on premium warning labels at $29.16 on equipment and enclosures rather than on someone's head, where nobody reads it. Browse everything in the range on our sticker printing pages, or the decals and warning label categories for the rest of a site package. Every job gets a free proof, so check the die line against a real hat before the run goes down.
Wally explains hard hat stickers
Front panel, sides, back. Brim edge and crown ridge stay bare
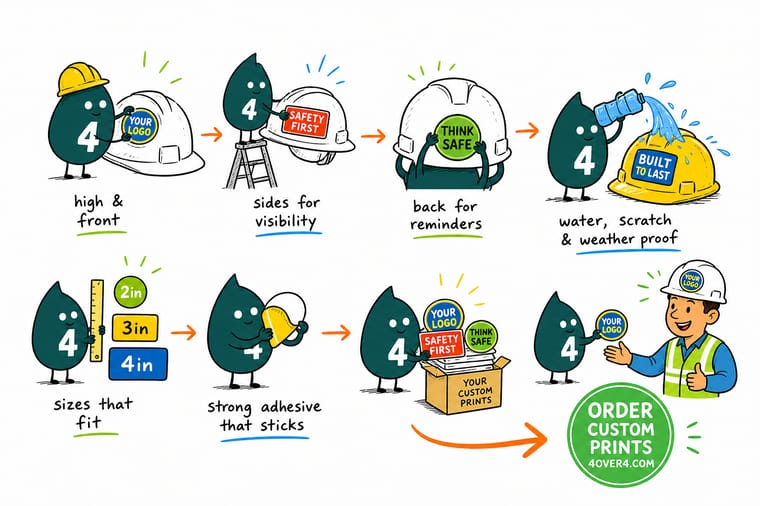
Wally sticks the logo on the front panel where the shell is flattest, puts the certification badges along the sides, and saves the back for the name strip. He stops three quarters of an inch short of the brim edge and keeps off the crown ridge, because those are the two places a shell cracks and a sticker would hide it. His decals are die-cut vinyl, and the ones on the sides are reflective so a machine operator picks him out in a headlight beam. No paper, no foil, and nothing at all over the date stamp inside the brim.
Order reflective stickers →Specs and pricing
Sticker stocks, sizes and starting prices
Compare the three stocks that suit a helmet side by side, with live configuration choices and starting prices straight from the 4OVER4.COM configurator.



Print it
Order decals built for a helmet shell
Explore more
Where to go next




By the numbers
Durable sticker printing you can count on at 4OVER4
Common Questions
Your hard hat sticker questions, answered
Does OSHA allow stickers on hard hats?
OSHA does not ban them. The rule it enforces is that a head protection device must be used the way its manufacturer says it can be used, so the real authority is the instruction sheet that came with the helmet, and most manufacturers permit pressure-sensitive stickers while ruling out anything that involves drilling, solvents or heat. The practical condition is inspection: a supervisor has to be able to look at the shell and see cracks, gouges and chalking. A hat plastered edge to edge in decals fails that test even though no single sticker broke a rule.
Where should the company logo go on a hard hat?
Front and center, on the flat-ish panel above the brim. It is the panel a person sees first, it is the least curved area on the shell, and it is the one spot that reads from the front on a site photo. Two to two and a half inches wide is the usable width on most caps before the shell starts to fall away. Certification badges and trade decals go on the sides above the brim line, and the wearer name strip goes on the back where a crew lead reads it while walking behind.
What size sticker fits a hard hat?
Three sizes cover almost every job. A 2 by 2 inch or 2.5 inch shield fits the front panel, 1.5 by 1.5 inch badges fit the sides in a row of two or three, and a 2 by 1 inch strip fits the back for a name or an employee number. Measure across the curve rather than along it, because the curve is what limits you. If the artwork has to be bigger than that, split it into two pieces rather than forcing one large rectangle onto a compound curve.
Will the adhesive damage the hard hat shell?
Standard pressure-sensitive acrylic adhesive, the kind on ordinary printed vinyl stickers, does not attack the high-density polyethylene or ABS that hard hat shells are molded from. What does cause trouble is solvent: adhesive removers, acetone, lacquer thinner and some aggressive citrus cleaners can craze a thermoplastic shell and leave stress cracks that are hard to spot. Peel old stickers off warm and slowly, and lift the residue with your thumb or a plastic scraper rather than reaching for a solvent bottle.
Are reflective hard hat stickers worth the extra cost?
They earn their money on night shifts, in tunnels, on roadwork and anywhere machine operators need to pick out a person in a headlight beam. Retroreflective vinyl throws light straight back at its source, so a small piece on the sides and back of a helmet reads from a long way off in a way that plain white vinyl never does. The trade-off is detail: reflective stock is stiffer and its bead layer softens fine strokes, so small type and thin logo lines come out muddy. Set anything on reflective vinyl in a heavier weight and give it more space than you would on plain vinyl.
Do stickers have to come off when the hard hat is replaced?
The stickers do not transfer, so budget for a fresh set with every shell replacement. Manufacturers put a service life on the shell, commonly a few years from the date stamped inside the brim, and shorter for hats that live in direct sun. That date stamp is also a reason to keep the inside of the shell and the underside of the brim completely clear: those are where the manufacturer label, the ANSI marking and the molding date live, and covering them makes it impossible to tell whether the hat has aged out.
Get Started
Ready to kit out the crew?
Send us the logo and the die line, pick vinyl or reflective, and we cut decals sized to sit flat on a helmet shell. Free proof on every job.
Legal Disclaimer
Gold Standard guarantees apply to all standard orders placed through 4over4.com. Price match requires verifiable proof of a competitor's published price for an equivalent product with matching specifications and turnaround time. Satisfaction guarantee covers manufacturing defects and print quality issues. Contact support with order number and documentation. On-time delivery rate based on tracked orders 1999 to 2026. Individual results may vary based on shipping carrier performance.
