
Display Banners That Make People Stop and Read


Retractable stands, X frames, pop up walls, fabric backdrops and hanging vinyl all promise the same thing and behave very differently in a real room. This guide compares the systems on setup time, size, durability and price, then shows you exactly what to send to press.
Display banners are portable printed graphics that stand on their own. Retractable stands roll into a weighted base and go up in two minutes, X frames are the lightest and cheapest, pop up and tension fabric systems build an eight to ten foot backdrop, and hanging vinyl covers everything outdoors. Choose the hardware first because it fixes your print size, then pick the material: blockout for double sided, mesh for wind, fabric for travel.
Start here
What each stand does in a real room
A display banner is a printed graphic plus the hardware that holds it upright. The hardware decides everything downstream: a retractable stand fixes your canvas at roughly 33 by 79 inches, a pop up frame gives you a ten foot wall, and a hanging vinyl banner can be almost any span you can rig. Material comes next, because opaque blockout stock is the only honest way to print two sides, and mesh is the only safe way to hang outdoors in wind. Get those two right and the design brief becomes simple.
Why the display banner system matters more than the design

Walk any trade show floor and you can spot the difference in ten seconds. Some booths have a graphic that stands straight, reads from the aisle and went up in two minutes. Others have a sagging panel clipped to a frame that fights gravity all weekend. The artwork on both may be equally good. The hardware is what separated them.
A display banner is a system, not a poster. The stand decides the safe print dimensions, the material decides whether light passes through, and the finishing decides how the graphic attaches to the world. Choose those three first and the design brief writes itself, because you already know the exact canvas, the viewing distance and the lighting the piece has to survive.
That order also protects your budget. A 2 Sided Blockout Banner starting at $108.75 costs more per square foot than a single sided print for a reason, and paying for it only makes sense when both faces are genuinely seen. Our guide to banner styles and costs maps the wider family, and hanging and displaying signage covers what happens after the box arrives.
What display banners are and how the main systems differ
Display banners are portable printed graphics that support themselves in a space. They arrive rolled or folded, go up without a ladder or a contractor, and come back down into a case at the end of the day. That single requirement, portability without permanence, is what shapes every design decision in the category.
Retractable stands hold the graphic in a weighted cassette and pull it up against a spring loaded pole. X frame stands stretch a lightweight panel across two crossing arms. Pop up and tension fabric systems build a wall from a collapsible frame with a stretched printed skin. Feather flags ride a flexible pole and move with the air. Tabletop units shrink the whole idea to counter height, and traditional hanging vinyl still handles everything the rigid systems cannot.
The right pick depends on where the audience stands, how much floor you get, and whether one person or three will be building it. Vinyl banner design examples show how the same message adapts across formats, and the banner printing collection lists what we produce in house.
Retractable banner stands, the default choice for solo setups

A retractable stand, also called a roll up banner, is the default of the category. The graphic lives inside an aluminum base, clips to a telescoping pole, and rolls back down when you are done. One person can build it in under two minutes with no tools, and the base protects the print from every scuff that ruins a loose panel.
Standard graphic widths cluster at 33 inches and 47 inches, with roughly 79 to 81 inches of visible height. Keep the important content in the top two thirds. The bottom eight to ten inches sit below waist level, get blocked by tables and passing people, and disappear into the base hardware, so that zone belongs to a repeated logo or a plain color, never your call to action.
Because a retractable graphic is rolled and unrolled hundreds of times, material choice matters. Ask for a curl resistant film or a polyester based stock rather than plain scrim, and avoid heavy solid black across the full panel, which shows every handling mark. If your event runs multiple days outdoors, a hemmed vinyl banner is the sturdier answer.
X frame stands and pop up displays, from light panel to full wall
X frame stands are the cheapest way to get a graphic upright. Two fiberglass or aluminum arms cross behind a lightweight panel and hook into grommets at the four corners. The whole rig weighs a few pounds and packs into a sleeve. The tradeoff is stability. An X stand belongs indoors, out of foot traffic, and works best for a short promotion or a satellite sign pointing people toward the main booth.
Pop up displays scale the same idea into a backdrop. A collapsible lattice frame springs open to eight or ten feet wide, then a printed skin attaches across the front. Tension fabric versions zip a stretched polyester graphic over a tube frame, which travels folded in a bag, resists wrinkles and can go through a wash cycle after a dusty show. Fabric also kills glare, which matters under the hard spotlights most exhibition halls use.
For a wall, plan the artwork around obstruction. A table, a monitor or a person standing at the counter will cover the lower center of the graphic all day, so anchor the brand and the headline high and let the busy detail live in the outer thirds.
Vinyl, blockout or fabric, choosing material before hardware
Material is the decision most buyers skip, and the one that shows in photos. Standard 13 ounce scrim vinyl is the general purpose choice: durable, weather tolerant, and stiff enough to hang flat with grommets. It is what most outdoor and general event banners should be printed on.
Blockout vinyl adds an opaque gray core between two printable faces. That core is the entire point of a double sided display. Without it, a bright light behind the banner projects a mirrored ghost of the back print through the front, and both messages read as mud. Our 2 Sided Blockout Banners exist for exactly that situation, which is why they start higher at $108.75 than a single sided print of the same size.
Mesh vinyl is perforated so wind passes through instead of turning the banner into a sail, which makes it the safe pick for fences and building faces. Polyester fabric is the travel option: it folds without permanent creases, has almost no glare, and looks softer and more premium on camera. If you are weighing stocks and finishes more broadly, the print stock and finish comparison and best paper for printing both cover how substrate changes the final look.
Sizing display banners for the sightline you actually have
Size the banner to the reading distance, not to the empty wall. A rough working rule is one inch of cap height for every ten feet of viewing distance. A headline read from thirty feet across an aisle needs roughly three inch letters, which on a 33 inch wide retractable means about six or seven words on the primary line and nothing more.
Indoors, a standard retractable at 33 by 79 inches suits a conversation range of six to fifteen feet. Fill a booth back wall with an eight to ten foot pop up or fabric frame. Counter and registration desks take a tabletop unit at roughly 24 by 36 inches. Outdoors, where people are moving and further away, go wide: a 3 by 6 foot or 4 by 8 foot hanging banner earns its space where a retractable would simply vanish.
Before you commit, tape the finished dimensions on a wall and stand back at the real distance. It takes five minutes and catches the two most common mistakes, type that is too small and a logo that is far too large.
Artwork setup that survives the press and the trim
Build the file at full size whenever the software allows it, and set the document to CMYK from the start. Colors picked on an RGB screen can shift noticeably once they are converted for ink, and a brand blue that turns purple on a nine foot backdrop is the kind of error nobody misses.
Resolution needs less than people assume at large scale. Roughly 100 to 150 dpi at final size is comfortable for a retractable read from a few feet, and large hanging banners viewed from across a room hold up at around 72 dpi at full size. Logos and headlines should stay as vectors so they render sharp at any dimension rather than softening into pixels.
Add the bleed the product page specifies, keep live text and critical detail at least two inches inside the trim, and remember the hidden zones: the bottom of a retractable disappears into the base, pole pockets swallow the top and bottom bands of a hanging banner, and grommets punch through the outer inch. For a wider view of how production method changes file prep, the different types of printing is a useful primer.
What display banners cost and where the money actually goes
Three inputs drive the number: printed square footage, material, and hardware. Square footage is linear, so a 4 by 8 foot banner costs roughly twice a 4 by 4 foot in ink and substrate. Material moves the base rate, with blockout and premium fabric sitting above standard scrim. Hardware is a fixed add on, which is why a stand you reuse across ten shows quietly becomes the cheapest line on the invoice.
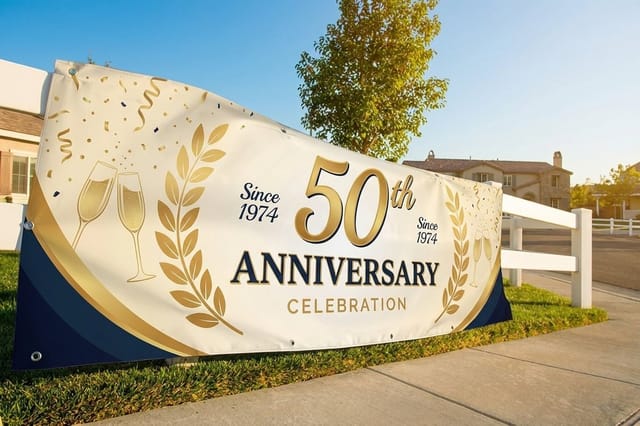
At 4OVER4, 2 Sided Blockout Banners start at $108.75 for the blockout core and the second print pass. Single sided seasonal designs such as 4th of July Banners and Anniversary Banners both start at $79. Finishing choices like hems, grommet spacing and pole pockets affect how the banner installs far more than they affect the total.
The real saving is planning. Order the graphics for a full season in one run rather than four separate rush jobs, keep dates and prices off the reusable panel, and let a small swappable sign carry the message that changes. That approach applies across formats, as our look at flyer types for businesses shows on the print side of the same campaign.
Setup, transport and getting a second season out of one banner
Setup order matters more than strength. Extend the pole first, hook the graphic at the top, then let the tension settle before you level the base. Forcing a retractable graphic while the pole is loose is how the top rail bends and how a permanent diagonal crease appears across an otherwise perfect print.
Transport in the case the stand shipped with, always. Roll the graphic in, do not fold it, and keep the cassette upright in the vehicle so the base does not press against the edge of the film. For fabric backdrops, fold along the same seams every time and steam the panel on low heat once it is stretched on the frame.
Outdoors, tension is the enemy of longevity. Use every grommet, not every second one, keep the banner taut but not stretched, and take it down before serious wind rather than trusting the hems. Practical mounting detail lives in our guide to hanging banners and displaying signage.
How to choose your display banner in five decisions
Work through it in order and the choice makes itself. First, where does the audience stand, and how far away? That sets the size and the type scale. Second, indoors or outdoors? That sets the material, and pushes you toward mesh or heavy scrim if wind is in play. Third, is the banner seen from both sides? If yes, you need a blockout build, not a thicker single sided print.
Fourth, who builds it and how often does it travel? One person and weekly travel means a retractable in a hard case. A crew building a booth once a quarter can justify a pop up or tension fabric wall. Fifth, how long does the message stay true? Evergreen brand content belongs on the expensive reusable piece, and anything with a date or a price belongs on the cheap panel you replace.
Once those five answers are on paper, the product page does the rest. Configure size, material and quantity on 2 Sided Blockout Banners, or browse the full banner printing collection if a seasonal or single sided build fits the job better. If the visual direction is still open, vinyl banner design ideas is the fastest place to steal a layout that already works.
Wally explains display banners
Buy the stand for the room, not for the picture in your head

Wally has seen a lot of beautiful artwork die on the wrong hardware. His routine is boring and it works: measure how far away people will be standing, decide whether anyone walks behind the banner, then pick the system that matches. Only after that does he open the design file. Keep the bottom ten inches empty, keep the headline under seven words, and print on blockout the moment a second face is involved.
Order display banners →Infographic
Seven display banner systems at a glance
One frame, seven systems. Save it, send it to whoever signs off on the booth, and settle the hardware argument before anyone opens a design file.
Most booths use two systems together: a backdrop that holds the brand story and a retractable stand at the aisle edge carrying the one offer you want people to walk in for.
Specs and pricing
Double sided blockout banner specs and live pricing
When the artwork is settled, the numbers decide the order. Here are the live specs and current price breaks for our double sided blockout build, the one to use whenever a banner is read from both directions.

| Quantity | Price Per Unit | Total |
|---|---|---|
| 1 | $108.75 | $108.75 |
| 2 | $108.74 | $217.47 |
| 3 | $108.74 | $326.22 |
| 4 | $97.76 | $391.02 |
| 5 | $97.76 | $488.78 |
| 6 | $97.76 | $586.53 |
| 7 | $89.28 | $624.98 |
| 8 | $86.77 | $694.18 |
Print it
Display banners we print in house
See it in use
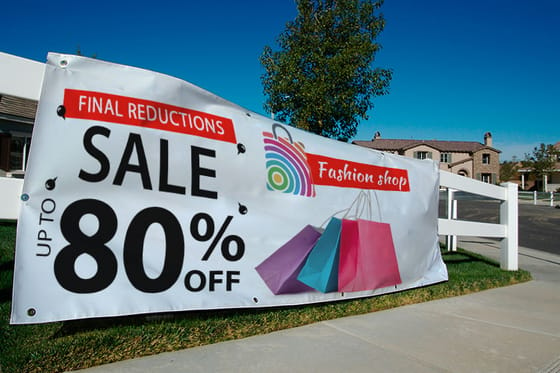
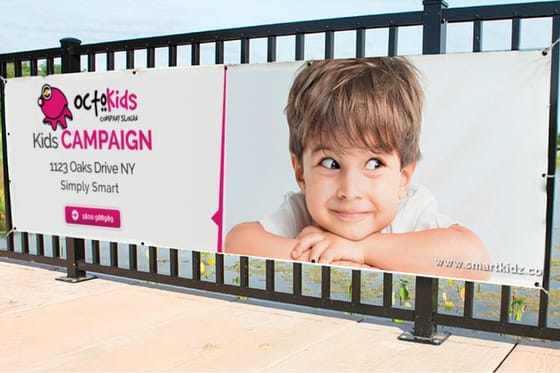
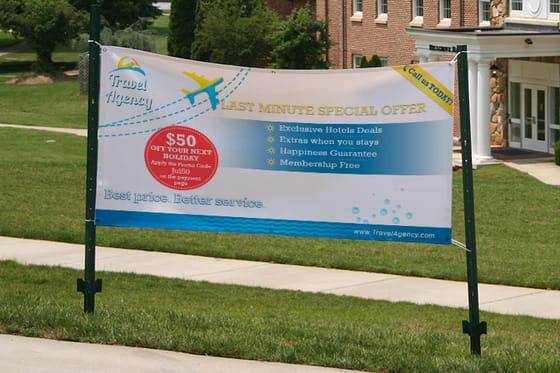
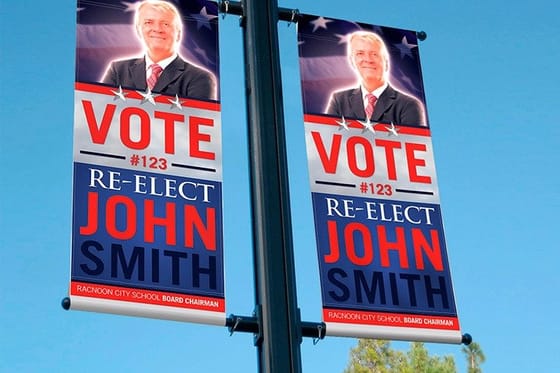
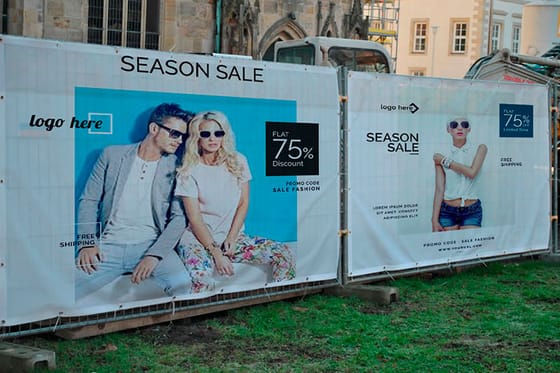
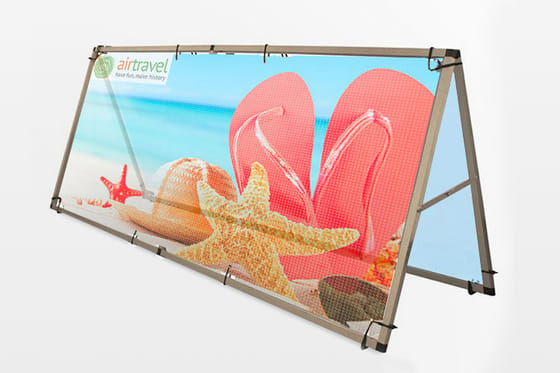
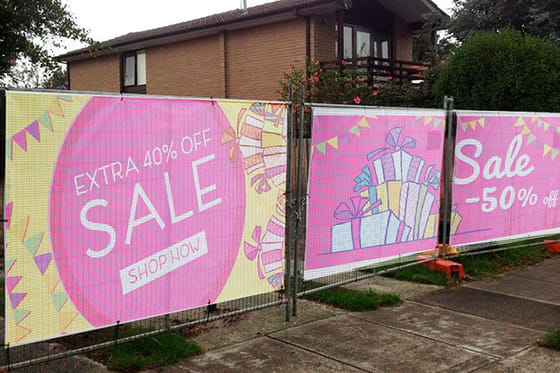
Stands and banners we built for events
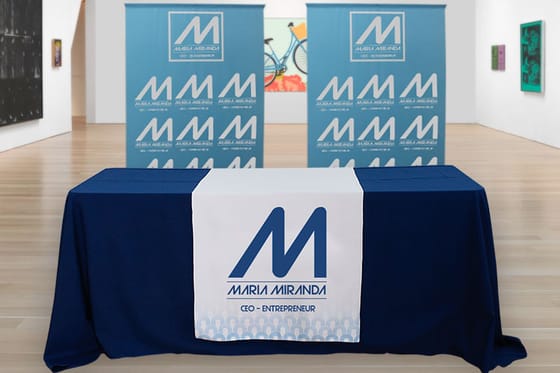
Explore more
Where to go next

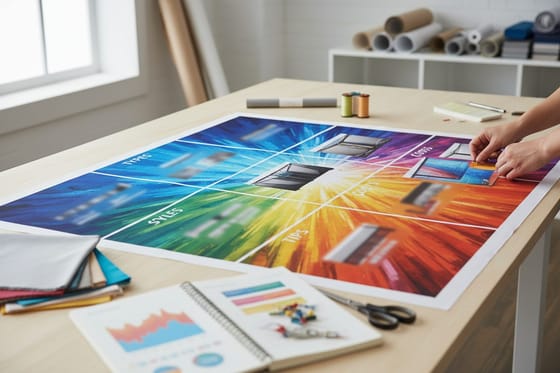
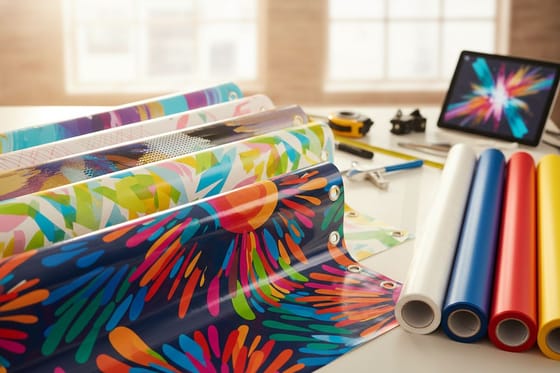

By the numbers
Display banners from a shop serving 150,000+ businesses
Common Questions
Common questions about display banners
What are display banners?
Display banners are printed graphics built to stand up on their own in a room rather than hang flat on a wall. The category covers retractable roll up stands, X frame stands, curved pop up walls, tension fabric backdrops, feather flags, tabletop units and free hanging vinyl banners on stands. What links them is portability. Each one travels folded or rolled, sets up without tools, and puts a full height message at eye level in a booth, lobby, store aisle or event tent.
Which display banner system should I choose?
Match the system to the space and the crew. A single person working a ten foot booth is best served by one or two retractable stands. A team building a backdrop wants a pop up or tension fabric frame that fills eight to ten feet behind the table. Outdoor sidewalks call for feather flags or a hemmed and grommeted vinyl banner rated for wind. If the display is read from both sides, choose a double sided blockout build so neither face shows the other through the material.
What do display banners cost and how is the price set?
Price comes from three things: the printed square footage, the material, and whether hardware is included. At 4OVER4 a 2 Sided Blockout Banner starts at $108.75 because the blockout core and the second print pass both add material and press time. Single sided seasonal banners such as 4th of July Banners start at $79. Larger sizes, heavier scrim, extra finishing and rush turnaround each add to the base, while repeat quantities of the same file bring the unit cost down.
What sizes, materials and finishes can I get?
Retractable graphics cluster around 33 by 79 inches and 47 by 79 inches. Hanging and backdrop banners run from 2 by 4 feet up to large wide format spans. Materials include 13 ounce scrim vinyl for general use, blockout vinyl for double sided work, mesh for windy outdoor sites and polyester fabric for wrinkle resistant travel. Finishing options are hemmed edges, welded seams, grommets on any spacing you specify, pole pockets for hanging bars and reinforced corners for tension mounts.
How long does display banner printing and shipping take?
Most banner products print on a standard production window measured in business days once your file passes preflight, then ship on the method you select at checkout. Upload a print ready PDF with correct bleed and the job moves straight to press. Files that need a resolution fix, a color mode change or a resized canvas wait until you approve the correction, so a clean file is the single biggest factor in hitting an event date.
Are display banners reusable for more than one event?
Yes, and that is where the value sits. A retractable graphic rolled back into its cassette after every show is protected from creases and dust, and a fabric backdrop can be folded, washed and steamed. Keep dated language off the main panel so the same graphic survives multiple seasons, then use a cheap swappable panel or a second stand for the campaign specific message.
What resolution should display banner artwork be?
Build the file at full size when you can and target roughly 100 to 150 dpi at final dimensions for graphics viewed from a few feet, or as low as 72 dpi at full size for large banners read from across a room. Vector logos and live type stay crisp at any scale, so keep them as vectors rather than flattening them into a raster image. Always set the document to CMYK and add the bleed the product page requests.
Get Started
A 2 sided blockout banner costs $108.75 in 4 business days
Send us the artwork and we print it on the material the room actually needs, from double sided blockout to seasonal single sided, with the finishing that makes install painless.
Legal Disclaimer
Gold Standard guarantees apply to all standard orders placed through 4over4.com. Price match requires verifiable proof of a competitor's published price for an equivalent product with matching specifications and turnaround time. Satisfaction guarantee covers manufacturing defects and print quality issues. Contact support with order number and documentation. On-time delivery rate based on tracked orders 1999 to 2026. Individual results may vary based on shipping carrier performance.
