
The Anatomy of a Postcard, Front, Back, and Mailing Panel


Every part of a postcard has a job, and half of them are postal requirements. Here is the full anatomy, front, back, address block, and mailing panel, plus a USPS-safe checklist so your card mails clean the first time.
A postcard has a display front and a working back. The back splits into a message on the left and the recipient address on the right, with the stamp in the top right, a return address in the top left, and a clear barcode zone along the bottom. Use a standard size for the lowest postage and start from a template so every mailing zone lands in the right place.

Start here
A postcard, from front to mailing panel
The front sells with one image and a headline; the back carries the message, the address, and the postal marks. On the back, the message goes left, the address block goes right, the stamp sits top right, the return address top left, and the bottom stays clear for the barcode. The annotated diagram below maps every zone on the address side.
Watch it printed
See standard postcards on the press, in 154 seconds
The key features of a postcard

A postcard is a two-sided tool, and each side has a distinct job. The front is the display side: one strong image, a headline, and ideally a single call to action. It has about a second to earn a flip, so restraint wins. The back does the heavier lifting, carrying the message, the recipient address, the stamp area, a return address, and the postal marks that let it travel.
Because the two sides work together, the design has to respect both. A gorgeous front with a cluttered, non-compliant back gets surcharged or rejected, and a perfectly laid-out back with a weak front gets tossed unread. The anatomy that follows, front, back split, address block, and mailing panel, is what turns a rectangle of card stock into a piece that both grabs attention and mails clean.
Every postcard you order at 4OVER4 is built on a layout that honors this anatomy, and if you plan to send it, our direct mail postcards add the addressing and postage flow so the piece goes from press to mailbox in one step.
Front versus back, and what each side does
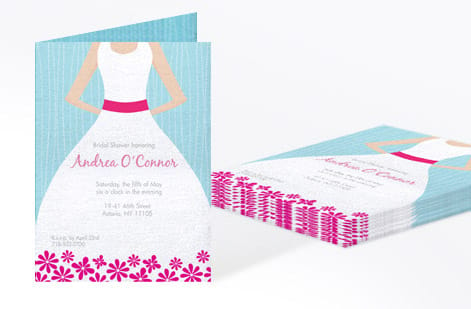
Think of the front as the billboard and the back as the letter. The front should carry a single dominant image and a headline that states the offer or the reason to care. Keep type large, keep the message to one idea, and let the image do the work. This is where a good photo or a bold graphic pays off, because it decides whether the card gets flipped at all.
The back is a working document. It splits down the middle: the left half is yours for a message, an offer, or a short note, and the right half is reserved for the recipient address. The stamp or postage indicia lives in the top right corner, and your return address goes in the top left. Treat the two halves as separate zones and the card reads cleanly to both a human and a postal scanner.
This division is why standard postcards feel so predictable to design: once you know the left is for you and the right is for the address, the layout almost writes itself. The next piece, the mailing panel, is the part people most often get wrong.
The address side and the mailing panel
The mailing panel is the part of the back that USPS actually reads, and it has firm rules. The recipient address block sits on the right half, printed clearly on a light, low-clutter background so scanning equipment can read it. Above it, in the top right corner, goes the stamp or the printed indicia. Your return address belongs in the top left. And along the bottom of this side runs a clear zone that must stay empty so the postal barcode can print and scan.
Get any of that wrong, art bleeding into the barcode strip, an address on a busy background, a card that is undersized or oversized, and the piece can be surcharged, delayed, or returned. That is real money on a large mailing, which is why the mailing panel is not decorative space to fill but reserved infrastructure to protect.
The good news is that our direct mail postcards and standard postcards come with these zones already positioned, and the annotated diagram above shows exactly where each element sits. Design around the reserved areas and your card mails at the rate you expect.
Writing the back of a postcard by hand, at home or from abroad
The printed layout above is the same one you follow with a pen. Turn the card so the long edge runs left to right. The left half is yours: the date at the top, a greeting, three or four short lines, and your name. Write the message first, before the address, so a slip of the pen does not land in the scanner's half.
The right half is the address, one line per part: the recipient's name, the street or box number, then the city, state and ZIP on the last line. Write in capitals if you can, and leave the bottom 0.625 inch of the card empty across its whole width for the barcode. If the card has no printed lines, draw a faint pencil line down the middle so the two halves stay separate.
From outside the United States, add the country name in capitals as the final line of the address and put the stamp in the top right corner as usual. A return address is optional on a personal card but useful, and it goes in the top left in smaller writing. For the addressing rules on a printed run, our guide on postcard mailing dimensions and USPS requirements has every measurement.
A USPS-safe design checklist

A mailable postcard comes down to a short, repeatable checklist. Use a standard size for the lowest postage. Put the address block on the right of the back and the return address in the top left. Reserve the top right for the stamp and keep the bottom barcode zone clear. Add 0.125 inches of bleed and keep text inside the safe margin. Print on a coated card stock that survives the mail stream.
Two of these deserve extra care. Size drives postage: a standard 6 by 4 inch card earns the cheapest First-Class postcard rate, while anything larger jumps to letter or oversize pricing, so the dimension is a budget choice. And the barcode clear zone is non-negotiable, because a barcode that cannot print is a piece that cannot be automated, which means a surcharge or a rejection.
The full table below turns this into a quick reference you can check against before you export. Follow it and your postcards clear the postal requirements without a second pass.
Order a postcard with a template that mails clean
The fastest way to get every zone right is to start from a real postcard template. Our free online Designer and downloadable templates put the bleed, safe margin, address block, stamp area, and barcode clear zone exactly where they belong, so you design into a layout that is already compliant instead of measuring it yourself.
From there, set the size, stock, finish, and quantity in the configurator, and the price updates live. If you want the piece mailed as well as printed, direct mail postcards add addressing and postage so it goes from press to mailbox in one flow. For a deeper mailing playbook, pair this with our guide on what direct mail is and how to use it.
Use the live specs and pricing panel below to pick your size and stock, then start from a template and order a postcard that looks sharp on the front and mails clean on the back.
Wally labels every part before you mail it
Message left, address right, barcode zone clear
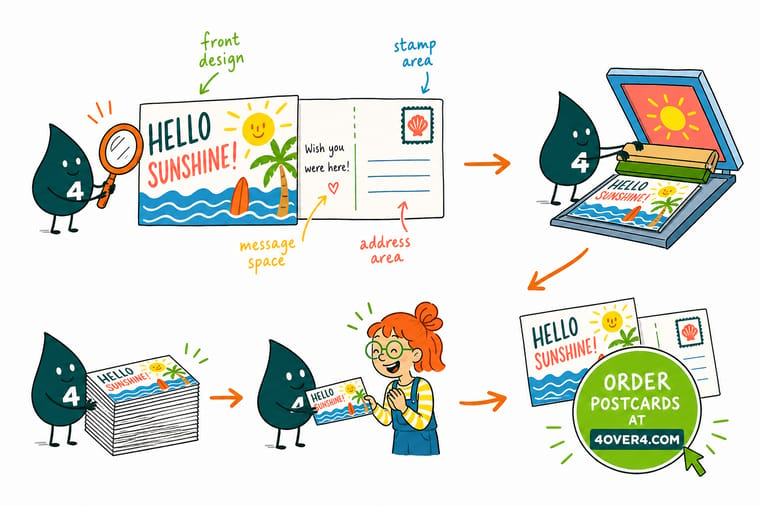
Wally treats a postcard like a two-sided machine. The front stops the scroll with one image and a headline; the back does the work, message on the left, address block on the right, stamp in the corner, return address top left, and the bottom kept clear for the postal barcode. Start from a template and every zone is already in place. 4OVER4 prints it mail-ready.
Design your postcard →USPS-safe checklist
The postcard design checklist, at a glance
Six checks make a postcard both attractive and mailable. Run down this list before you export and your card clears the postal requirements without a second pass.
| Element | Get it to | Why it matters |
|---|---|---|
| Size | 6 x 4 in for lowest rate | Standard sizes qualify for the cheapest First-Class postcard postage. Larger cards move up to letter or oversize rates. |
| Address block | Right half of the back | USPS scanners expect the recipient address on the right, printed clearly on a light, uncluttered background. |
| Barcode clear zone | Bottom, kept empty | Leave the lower area of the address side free of art so the postal barcode can print and scan. |
| Return address | Top left of the back | A return address in the upper left keeps undeliverable mail coming back to you instead of vanishing. |
| Bleed and safe margin | 0.125 in each | Run background art past the trim and keep text inside the safe margin so nothing important is cut off. |
| Stock | Coated card stock | A sturdy coated stock survives the mail stream and makes the front image pop. |
Step by step
Design a mailable postcard in 6 steps
- Design the front to stop the scroll One strong image and a short headline. The front has a second to earn a flip, so keep it clean and let a single message lead.
- Split the back into message and address Put your copy and offer on the left half and reserve the right half for the recipient address block, following the standard postcard layout.
- Reserve the stamp and barcode zones Leave the top right corner for postage and keep the bottom strip of the address side clear so the USPS barcode can print and scan.
- Add your return address Place a return address in the top left of the back so undeliverable pieces come back to you rather than getting lost.
- Set bleed, safe margin, and size Use a standard size for the lowest postage, add 0.125 in of bleed, and keep text inside the safe margin so nothing gets trimmed.
- Start from a postcard template Build on a real 4OVER4 postcard template so the mailing panel, bleed, and safe zones are already positioned, then upload and order.
Specs and pricing
Postcard specs and live pricing
Once the layout is right, the print decisions are size, stock, and finish. Here are the live specs and pricing for postcards at 4OVER4.COM, straight from the configurator.

| Quantity | Price Per Unit | Total |
|---|---|---|
| 50 | 33.0¢ | $16.48 |
| 100 | 24.2¢ | $24.16 |
| 200 | 15.9¢ | $31.86 |
| 300 | 12.8¢ | $38.45 |
| 400 | 11.3¢ | $45.04 |
| 500 | 10.3¢ | $51.62 |
| 600 | 9.89¢ | $59.31 |
| 700 | 9.57¢ | $67.00 |
Print it
Print your postcards at 4OVER4
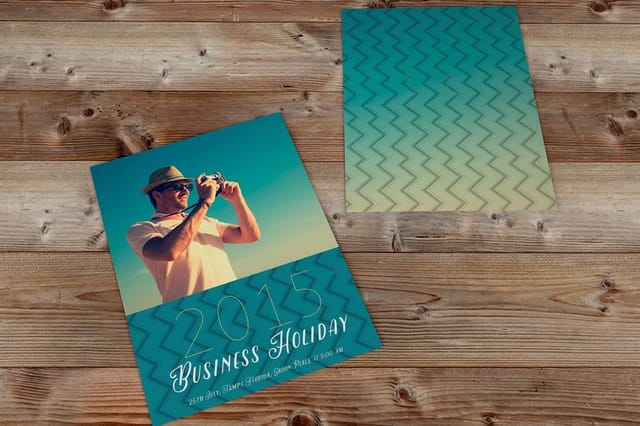
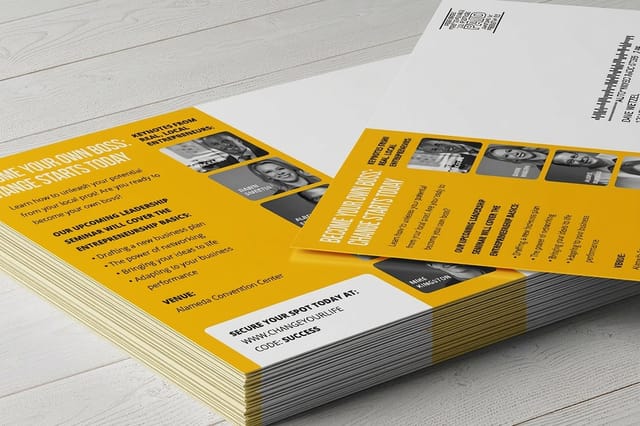
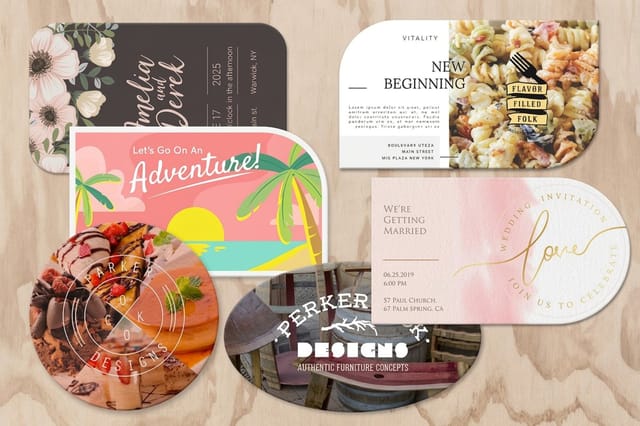
See it in use
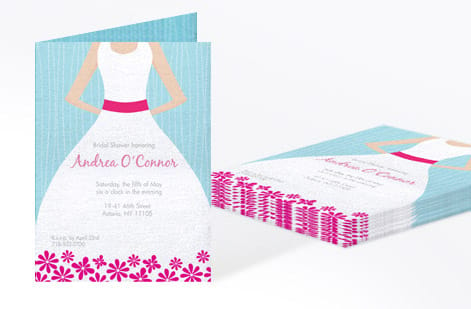
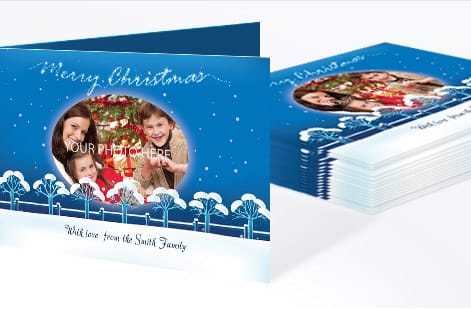
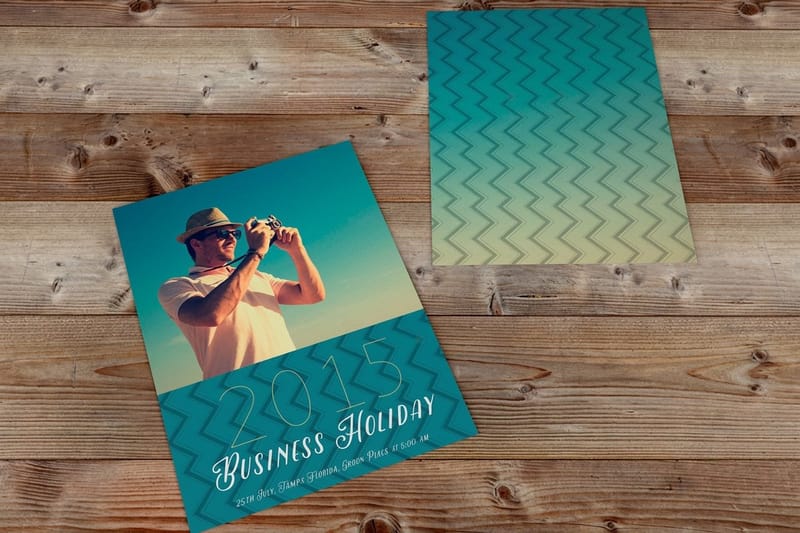
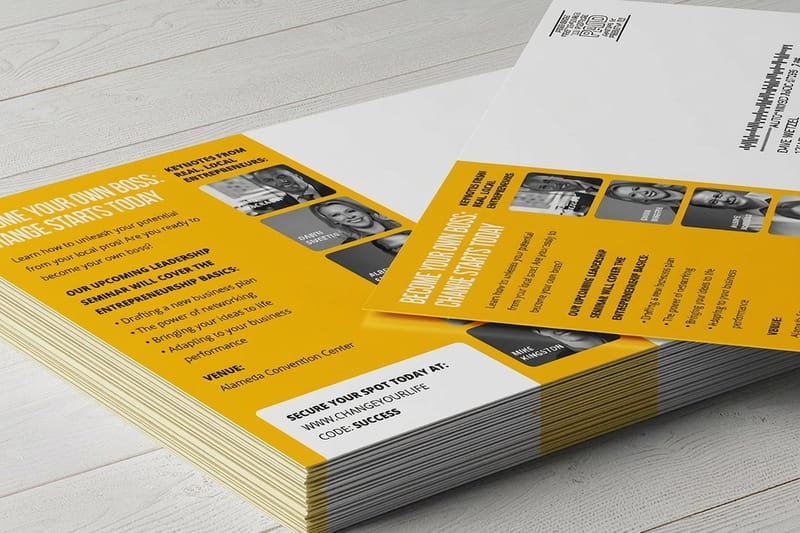
Printed postcards with the front, back, and address panel in place






Explore more
Where to go next
By the numbers
How many stocks a postcard can take, and how often it ships on time
Common Questions
Common questions about postcards
How do I fill the back of a postcard?
Write the message on the left half: the date, a greeting, a few short lines and your name. Put the recipient's address on the right half, one line per part, with the city, state and ZIP on the last line. The stamp goes in the top right corner, a return address in the top left if you want one, and the bottom strip stays empty for the postal barcode.
What are USPS rules for postcards?
To mail at the postcard rate a card must be rectangular, between 3.5 x 5 and 4.25 x 6 inches, and between 0.007 and 0.016 inch thick. The address sits on the right half of the back on a light background, the postage in the top right, and the bottom 0.625 inch stays clear for the barcode. A larger or thicker card still mails, but at the letter or flat rate.
What are the parts of a postcard?
A postcard has a front and a back. The front is the display side: one main image, a headline, and a clear call to action. The back is split into a message area on the left, an address block on the right, a stamp or indicia area in the top right corner, and a return address in the top left. The bottom of the address side is a clear zone reserved for the USPS barcode. Every part has a job, and the mailing marks are as important as the design.
Which side of a postcard do you write on?
You write on the back, and specifically on the left half of the back. The standard layout divides the back down the middle: the left side holds your message or marketing copy, while the right side is reserved for the recipient address. The front is the picture or display side and usually carries only a headline and image. Keeping the message on the left and the address on the right is what lets postal scanners read the card correctly.
What side of a postcard does the address go on?
The recipient address goes on the right half of the back of the postcard, printed clearly on a light, uncluttered background so USPS equipment can scan it. The stamp or postage indicia sits in the top right corner above the address, and your own return address goes in the top left. The lower portion of that side must stay clear for the postal barcode. This arrangement is a mailing requirement, not just a convention.
What does the back of a postcard look like?
The back is divided in half. On the left is the message panel, often lined or left open for a note or marketing copy. On the right is the address block for the recipient, with the stamp area in the top right corner and a return address in the top left. Along the bottom of the address side is an empty strip reserved for the USPS barcode. Our postcards follow this layout so your card is mail-ready as designed.
How do I choose the right postcard setup for my project?
Start with size, because it sets your postage. A standard 6 by 4 inch card qualifies for the lowest First-Class postcard rate, while larger cards move to letter or oversize postage. Then pick a sturdy coated stock so the piece survives the mail and the image looks sharp. Finally, use a template so the address block, stamp area, barcode clear zone, bleed, and safe margin are all in the right place. Set size, stock, and quantity in the configurator to match your campaign.
What do postcards cost and how are prices set?
Postcard pricing scales with quantity, size, stock, and finish, and mailing services add postage and handling if you send them through direct mail. Larger runs lower the unit price, standard sizes keep postage lowest, and premium stocks or finishes cost a little more. You set each option in the configurator and the price updates live, so you can see exactly what a bigger run or a heavier stock does before you order.
How much room does the USPS barcode need on the back?
Keep the bottom 0.625 in of the address side completely clear: no art, no background tint, no rules, no type. The barcode is applied there during processing, and anything sitting under it can throw the scan. Pair that clear strip with 0.125 in of bleed on any art that runs off the trim and 0.125 in of safe margin on anything you need to keep, and the card leaves the press mail-ready.
How do I address a postcard so it mails clean?
Four moves. Print the recipient name and full address in the right half of the back, parallel to the long edge. Put your return address in the top left corner of that same side. Place the stamp, or a printed indicia on a bulk run, in the top right corner. Leave the bottom 0.625 in empty for the postal barcode. Do those four and the piece runs through the mail stream without a surcharge or a return.
Get Started
Ready to print a postcard that mails clean?
Start from a 4OVER4.COM postcard template so every mailing zone lands in the right place, then pick your size, stock, and finish and watch the price update live.
Legal Disclaimer
Gold Standard guarantees apply to all standard orders placed through 4over4.com. Price match requires verifiable proof of a competitor's published price for an equivalent product with matching specifications and turnaround time. Satisfaction guarantee covers manufacturing defects and print quality issues. Contact support with order number and documentation. On-time delivery rate based on tracked orders 1999 to 2026. Individual results may vary based on shipping carrier performance.
