
Vendor Booth Ideas for a Successful Craft Fair Display


Tobias is our voice for cutting, binding and large format, built from the knowledge of our production team, with over 20 years in printing.
How to Lay Out a Craft Fair Booth That Pulls People In
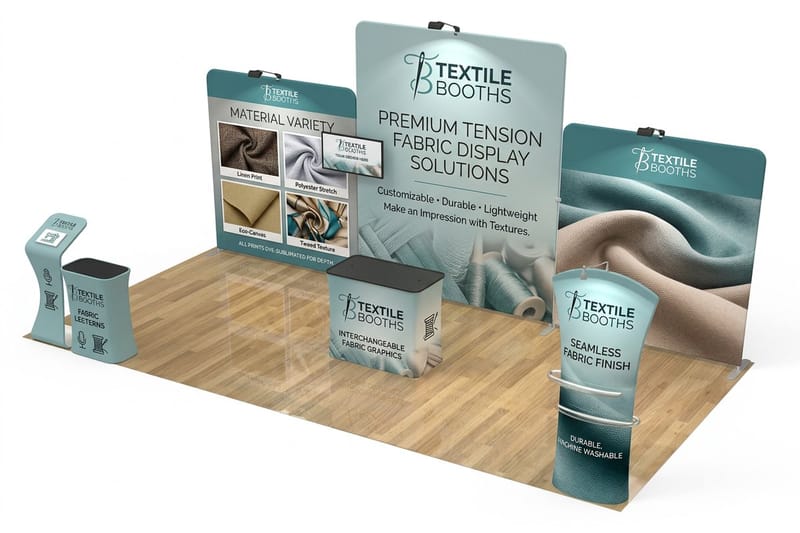
Craft fair booth layout is a traffic problem before it is a decorating problem. You get a 10 by 10 foot square, a folding table and roughly three seconds of a shopper's attention as they walk the aisle. The booths that do well are the ones that make the decision easy from the aisle: what you sell, what it costs, and where to stand while looking at it.
Most of that decision rides on a few printed pieces you order before the fair. A Straight Tube Display gives you the back wall in 8, 10 or 20 foot widths. A table throw in 9oz polyester covers a 6 or 8 foot table with your name on the front drop. A retractable banner stand, 33 by 79 inches, stands at the aisle corner, and custom hang tags from 2 by 2 inches put a price on every piece.
The single biggest change most makers can make is to stop treating the table as the front wall. A table pushed flat against the aisle turns your booth into a counter, and shoppers stay outside it. Pull the table back, or turn it sideways, and you create a pocket of space that invites people to step in and browse without blocking the walkway.
4OVER4.COM has printed display graphics for makers and small brands since 1999, and the same pattern shows up at every show. Booths built in three layers outperform booths built on one flat surface. The back layer carries your name at height, the middle layer holds product at chest level, and the front layer is a low, uncluttered edge that shows price and lets people reach in.
Layer one: the backdrop that names you
Your back wall is the only part of the booth visible from far down the aisle. Put your business name and a one line description of what you make up there, large, high contrast, above head height so bodies do not block it.
Layer two: product at eye and chest level
Risers, crates, shelving and tiered stands lift your best sellers off the tablecloth. Shoppers scan across the booth at eye level, so a piece lying flat on the table stays invisible until someone has already stopped.
Layer three: an open front edge
Leave the front third of the table nearly empty. It becomes the wrapping and payment zone, and an open edge reads as welcoming instead of walled off. Keep your card reader, bags and business cards there.
Where you stand matters
Stand to the side, never dead center behind the table. Sitting behind a full table signals that you would rather not be interrupted, and shoppers respect that signal more than makers expect.
Shop the booth
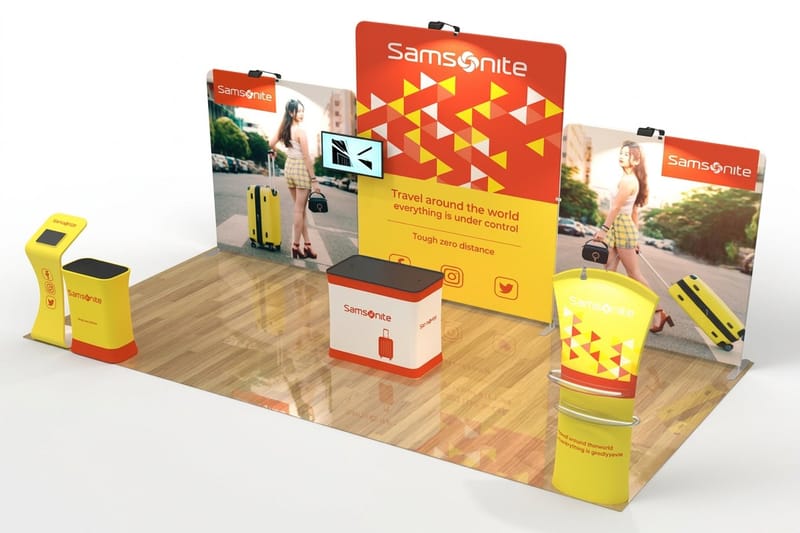
Fabric booth kits for fair season
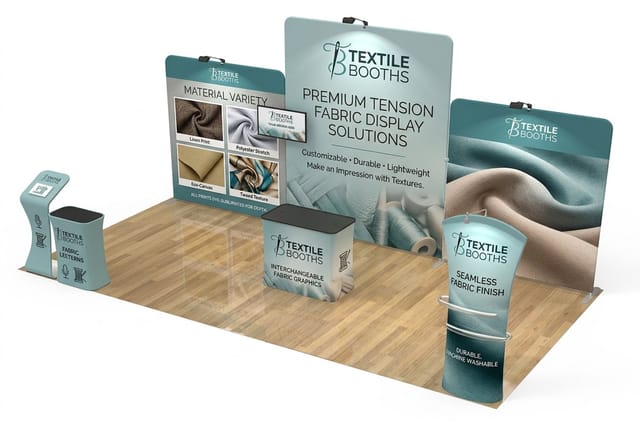
Frame, printed graphics and case in one system, sized for a standard 10 by 10 booth.

Signage and Display Ideas That Do the Selling for You
Signage is the part makers underinvest in most, and it is the part that runs the booth while you are busy wrapping someone else's order. Good booth signage answers three questions without you saying a word: who you are, what this thing is, and what it costs. A shopper who has to ask for a price on every item usually asks about none of them. In print, that means a name on something tall, such as a 33 by 79 inch retractable banner stand from $139 or an 8 foot feather flag from $108.75 for an outdoor lot, and a price on every piece, which a pack of 50 hang tags at 2 by 2 inches covers for $25.27. Production runs 3 business days on banner stands, 4 on flags and 5 on hang tags, so order the set together with a week of buffer before load in.
Scale is the rule that matters. Your business name wants to read from across the aisle, product names from a few feet, and prices from arm's length. If you can read your own sign from the far side of your living room, it is close to right for a fair aisle.
- One name sign, up high. Business name plus a plain description like "hand thrown stoneware" beats a clever tagline nobody can decode in three seconds.
- Price everything. Small tent cards or hanging tags on every product line. Unpriced work reads as expensive and shoppers self select out.
- A story panel. One short panel about how the work is made, with a photo of you at the bench, does more than a paragraph of process notes.
- A payment sign. Card, tap and cash accepted, stated visibly, removes the most common silent objection at a craft fair.
- A follow sign. Your handle and a QR code at eye level near the payment zone captures the browsers who are not buying today.
Keep the palette tight. Two colors plus a neutral, one display typeface and one plain text face, repeated across every sign, makes a booth of handmade goods look like a brand rather than a table sale. If your product photography is strong, one large printed image often sells the craft better than the products alone, because it shows the piece in a home instead of on a tablecloth.
Print picks
Three display formats makers actually use
Live prices, ready to customize with your own booth artwork.
Indoor Craft Fair Setups and What Changes Under a Roof
Indoor shows in school gyms, community halls and convention centers remove the weather problem and replace it with a lighting problem. Overhead fluorescents flatten color, wash out fiber and glass, and make jewelry look gray. Almost every indoor booth benefits from bringing its own light.
Two clip on lights with warm white bulbs, aimed down at your product from the frame of your backdrop or a shelf, will change how your work photographs and how it sells. Bring a power strip and gaffer tape for the cord run, and confirm with the organizer whether your table has access to power before you rely on it.
- Check the wall behind you. Cinderblock, curtains and stacked chairs all read as clutter. An 8 foot fabric backdrop hides all of it.
- Bring a floor covering if you can. A small rug defines the booth and makes standing for eight hours survivable.
- Watch your height limit. Indoor venues often cap display height at eight feet, and some cap it at six. Ask before you buy hardware.
- Plan for a corner or an inline spot. A corner booth is open on two sides, so keep the back wall on the shared side and open the rest.
Indoor aisles are usually narrower than outdoor ones, so a booth that spills into the walkway will get flagged by the organizer. Keep your stock bins under the table with a cloth to the floor, and keep the aisle line clean.
Outdoor Craft Fair Booth Setup Ideas for Wind and Weather
At an outdoor market you set up on grass or gravel with no wall behind you and the weather in charge. A ten by ten canopy is the standard, and the first rule is that a canopy is a sail. Weight every leg, every time, even on a still morning, because a gust across an open field will lift an unweighted tent and take your neighbor's booth with it.
Most markets require between twenty four and forty pounds per leg and will check. Sandbags, water weights or PVC pipe filled with concrete all work. Tie the weights to the leg with a short strap rather than resting them on the foot, so the strap catches the leg the moment it lifts.
- Bring at least one side wall. It blocks afternoon sun, cuts wind and doubles as a hanging surface for signage.
- Weight your signage too. Anything light and flat becomes a kite. Fabric graphics move with the wind instead of fighting it.
- Plan for rain in ten minutes. Clear bins with lids, a tarp and a plan for the cash box beats scrambling when the sky turns.
- Level the ground. Grass and gravel are rarely flat. Shims or adjustable legs stop a wobbling table from dumping your work.
- Protect from UV. Paper, textiles and dyed goods fade in direct sun over a full weekend. Keep sensitive stock shaded.
Fabric display graphics handle outdoor conditions better than rigid boards. They flex in a gust, they do not crease permanently in transit, and a printed fabric backdrop washes and packs down small enough to travel in the same tote as your tablecloths. That combination is why so many touring makers move to fabric after their first windy season.
Booth Ideas Matched to What You Actually Make
A jewelry booth and a pottery booth have almost nothing in common structurally. Small, high value items need close viewing, security and light, which on a 6 foot table means one shallow front row inside arm's reach and prices on hang tags as small as 2 by 2 inches. Large, heavy items need floor space, stable surfaces and room for a customer to carry a piece to the light, so a potter in a 10 by 10 booth often keeps one table and gives the back half of the square to shelving under an 8 foot backdrop. Copying a booth photo from a maker in a different craft is how most awkward layouts start.
- Jewelry and small goods. Vertical busts, mirrors, focused light and a shallow depth so nothing is out of reach. Price by collection, not per piece, to avoid a wall of tags.
- Ceramics and glass. Sturdy risers, non slip liner, and generous spacing. Crowded shelves make shoppers afraid to touch, and untouched pottery does not sell.
- Textiles and apparel. Hanging space is everything. A garment rack along one side wall outsells a folded stack every time, and one styled example beats six flat samples.
- Paper goods and prints. Browsable bins at hip height, sleeved and priced, plus a few framed pieces at eye level to set the value anchor.
- Candles, soap and food. Testers up front, stock behind, and clear labeling of scents or flavors so shoppers can self serve while you talk to someone else.
- Woodwork and furniture. Fewer pieces, more space. One finished piece staged properly reads as a workshop, six crammed together read as a garage sale.
Whatever you make, keep your best seller at the front corner of the booth nearest the direction of foot traffic. That corner is the highest value real estate you own, and most makers fill it with a sign instead of product.
Quantity and price
Fabric booth kit pricing and specs
Real configurator numbers, so you can budget the booth before you book the fair.
| Quantity | Price Per Unit | Total |
|---|---|---|
| 1 | $2,599.00 | $2,599.00 |
| 2 | $2,599.00 | $5,198.00 |
| 3 | $2,499.00 | $7,497.00 |
| 4 | $2,499.00 | $9,996.00 |
| 5 | $2,499.00 | $12,495.00 |
Backdrops and Vertical Display, the Fastest Upgrade
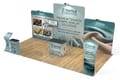
If you change one thing before your next fair, make it the back wall. A printed backdrop does three jobs at once: it hides whatever ugly surface the venue gave you, it puts your name above the crowd, and it gives every product photo you take at the show a clean, branded background.
A tube style fabric display sets up in a couple of minutes without tools, packs into a wheeled case you can move alone, and washes when the season is over. That matters more than it sounds when you are loading in at six in the morning by yourself.
- Go tall before you go wide. Height gets you seen from the aisle. Width just fills space you could be selling from.
- Keep the top third simple. Name and craft only. Detail up there is wasted because it is read from a distance.
- Leave the middle usable. Do not print artwork where shelving, hooks or garments will cover it.
- Match your table drape. A backdrop and a drape in the same palette reads as one deliberate booth instead of two purchases.
Fastest upgrade
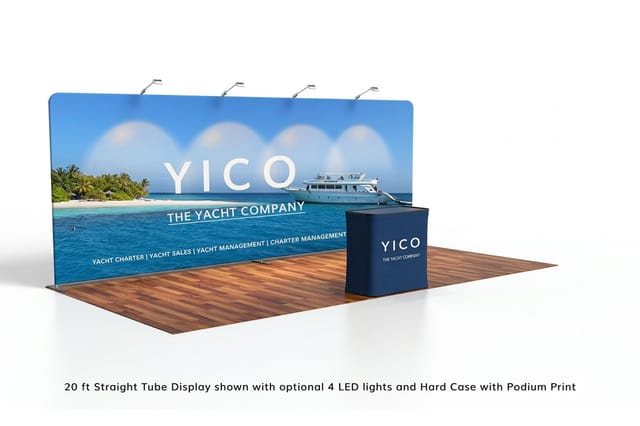
Straight tube display
A full height fabric backdrop that goes up in minutes and travels in one wheeled case.
The Maker Budget Booth Kit, Built in Three Stages
Stage three
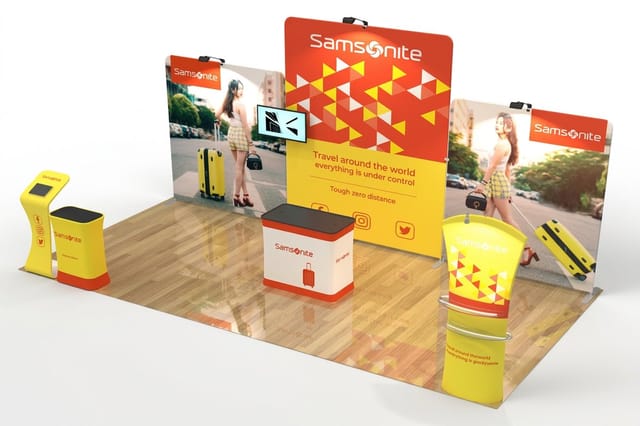
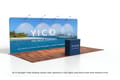
The full trade show booth kit
When the shows get bigger, a matched counter, backdrop and graphics set stops you assembling a booth from spare parts.
Very few makers can outfit a full booth before their first show pays for it, and they should not try. Build it in stages, funded by sales, and each stage should visibly earn the next one. Here is the order that gets the most return per dollar for someone selling at weekend fairs.
Stage one, the first two or three fairs. Table, floor length drape in a solid color, one large hand made or printed name sign, printed price cards, risers built from crates or boxes under fabric, and a card reader. This is the minimum that looks intentional rather than temporary.
Stage two, once you are booking regularly. A printed fabric backdrop, clip on lighting, a garment rack or proper shelving for your category, and a second sign carrying your story and social handle. This is the stage where your booth starts photographing well, and the photos you post bring in customers who never walked past it.
Stage three, once you are doing larger shows. A complete booth kit with a matched counter, backdrop and coordinated graphics, plus a hard case that survives repeated travel. At that point setup means unpacking one case and fitting the printed fabric onto a frame you already own.
- Buy hardware once. Frames outlast graphics. Choose a system whose graphics you can reprint when your branding changes.
- Print two of your smallest signs. Price cards and name cards get bent, spilled on and lost. Spares cost almost nothing.
- Weigh everything before you buy it. If you load in alone, a display you cannot carry in two trips is the wrong display.
Booth Display Materials Compared
The material you print your booth on decides how it travels, how it survives and how often you replace it. Fabric, vinyl and rigid board each solve a different problem, and the right answer depends on how many shows you do a year and whether any of them are outdoors. Each one has a stock you order by name: 8.8oz tension fabric on tube displays and booth kits, 13oz outdoor vinyl on banners, 13oz smooth blockout vinyl on retractable stands, and 4mm corrugated plastic, PVC or 3/16 inch foam core for rigid signs.
Fabric is the default for touring makers because it folds without permanent creases, resists wind by flexing, and can be washed. Vinyl banners are cheaper per square foot and take abuse well, which suits fences, tables and anything that lives outdoors. Rigid boards look sharpest for a fixed indoor display but their corners dent on the way in and out of the car.
- Fabric. Best for backdrops and repeated travel. Matte surface, no glare under venue lighting, packs to the size of a jacket. A 10 by 10 fabric booth kit ships its frame and graphics together on an 8 business day turnaround.
- Vinyl. Best for outdoor banners and anything grommeted to a rail. Weatherproof and inexpensive to replace each season. A 2 by 4 foot banner in 13oz outdoor vinyl starts at $79, with grommets at the corners or every 2 feet.
- Rigid board. Best for a counter face or a permanent sign. Crisp and flat, but plan how it will be carried and stored. An 11 by 17 inch corrugated plastic or PVC sign starts at $25.
- Retractable stands. Best for a narrow footprint or an aisle facing sign. Fast to deploy, easy to reposition mid show. Widths run from 24 to 48 inches at 79 to 92 inches tall.
Compare displays
Popular booth displays, side by side
Material, size, quantity, turnaround and price for the formats makers reach for most.
 Event Badges | 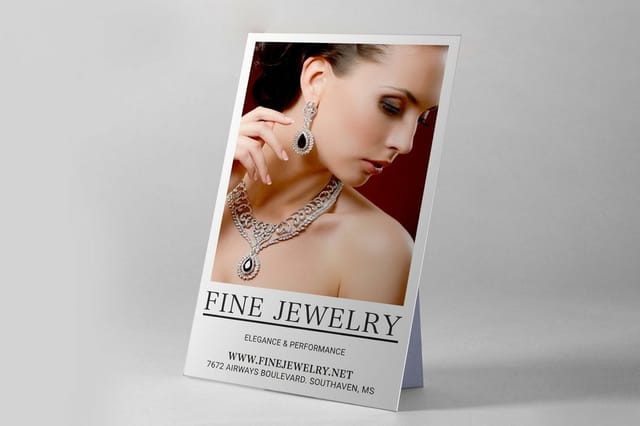 Counter Cards | 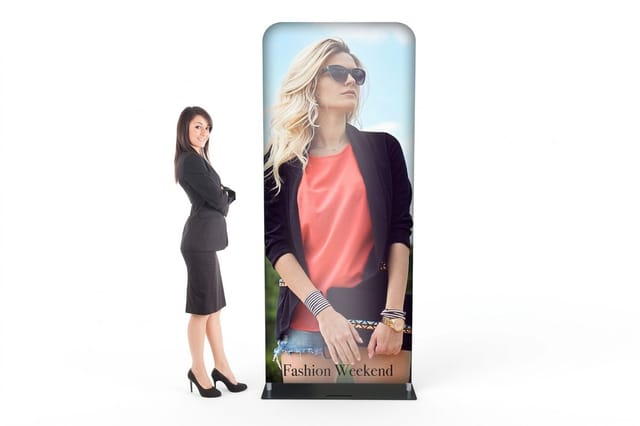 Fabric Tube Displays | 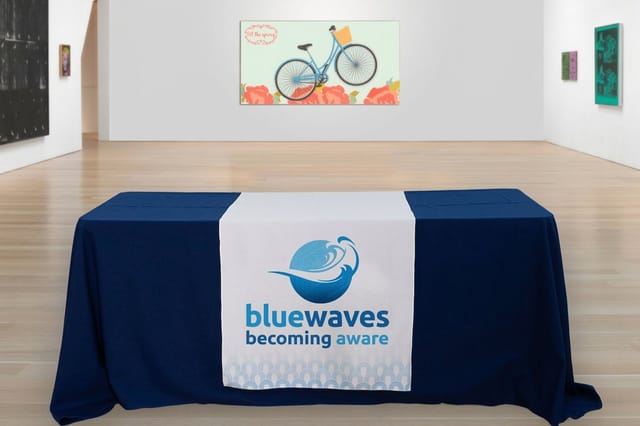 Table Runners | |
|---|---|---|---|---|
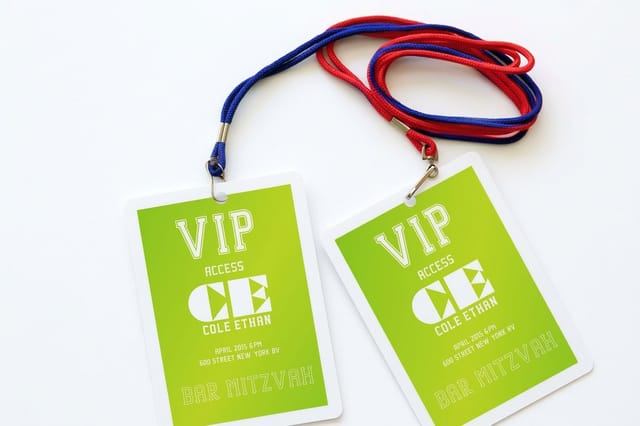
| Min price | $49.88 | $21.97 | $163.67 | $97.76 |
| Paper / stock | 30pt Gloss Laminated | 56pt. SBS Board | 8.8oz. Tension Fabric | 9oz Premium Polyester |
| Finish | - | Standard Finish | - | - |
| Size | 2" x 3" | 8.5" x 11" | 36" x 90" | 24" x 72" |
| Default qty | 25 | 1 | 1 | 1 |
| Turnaround | 5 business days | 2 business days | 4 business days | 4 business days |
| Rating | ||||
| View & customize | View & customize | View & customize | View & customize |
Printing Your Booth in Time for the Fair
Booth graphics have a longer lead time than the flyers and cards most makers are used to ordering, and the fair date does not move. Work backward from load in: give yourself a week of buffer after the estimated arrival date so a delayed shipment does not become an empty back wall.
Set your files up at the finished display size, keep critical text well inside the safe area, and remember that hardware wraps the edges of a fabric graphic. Anything within a couple of inches of the trim can disappear around a frame. Export at the resolution your file needs at full size rather than upscaling a web image, because a soft logo at eight feet tall is the first thing a shopper notices.
A simple pre fair checklist
- Confirm the booth size and height limit with the organizer in writing before ordering hardware.
- Proof every price on your signage against your current price list, not last season's.
- Do a full setup at home and time it. If it takes longer than your load in window, simplify.
- Pack a repair kit. Zip ties, gaffer tape, clamps, scissors and spare hooks solve most on site failures.
- Photograph the finished booth before the doors open, while it is still perfect. That photo is your application image for the next show.
Start fast
Booth templates and print-ready blanks
Free layouts plus exact-size blanks so your artwork lands inside the safe area on the first proof.
By the numbers
Why makers print their booth with 4OVER4.COM
Two decades of production behind the graphics that go up in your booth.
- 10B+ Print products delivered, since 1999.
- 150,000+ Businesses and makers served, across every industry.
- 99.8% On-time delivery, tracked orders.
- 10x10 Standard booth footprint, at most craft fairs.
Wally helps you plan the booth before you pack the car
Layout first, signage second, hardware last
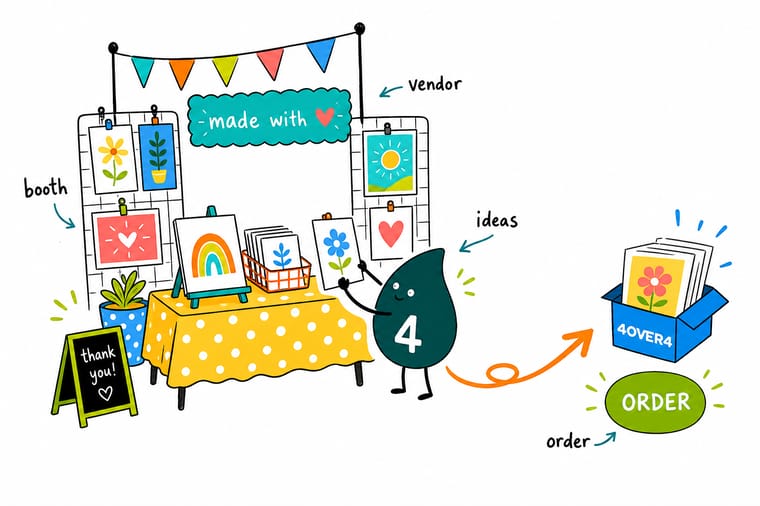
Sketch your 10 by 10 on paper before you buy anything. Mark where the aisle is, put your backdrop on the back wall, lift your best sellers to eye level, and leave the front edge open for paying and wrapping. Once the layout is settled, you know exactly which graphics you need and at what size, which is the point where printing gets cheap instead of guesswork. Start with the backdrop, add signage, then grow into a full kit.
Order a fabric booth kit →Building a Booth That Works Every Weekend
Guides
Read next before your first load in
Sign sizes and mounting for the back wall, a packing list for load in, riser and drape ideas for the 6 foot table, and window tricks that work in a 10 by 10.
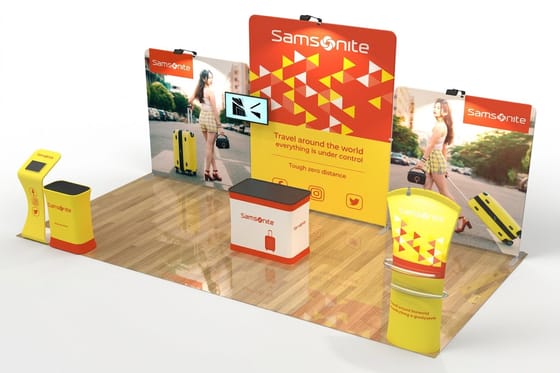 Guide Trade Show Signs and Setup Sign types, sizes and how they go up on site.
  Guide Booth Ideas and Materials Checklist What to pack and what to print before a show.
 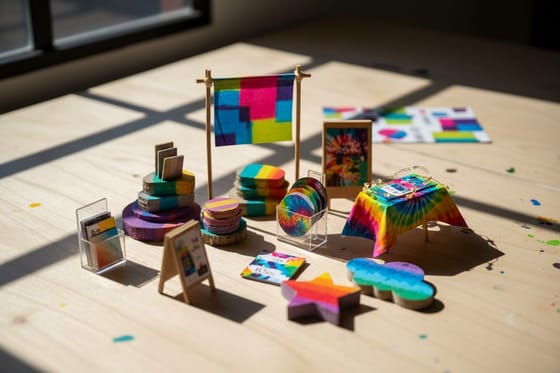 Guide Vendor Table Display Ideas Table level styling, risers and drape ideas.
 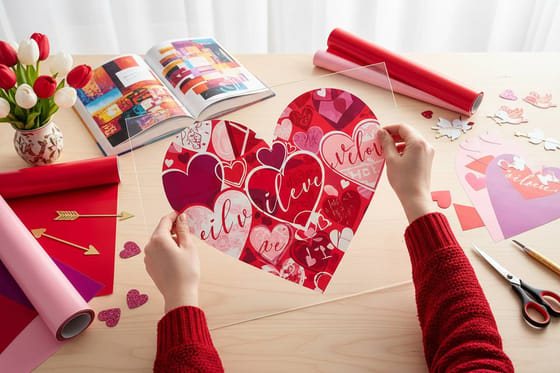 Guide Window Display Techniques Merchandising tricks that transfer straight to a booth.
 Explore more
More ways to build a booth that sells
Table styling, a name for the banner, add on products for the table and the three booth displays, from a single tube backdrop to a full 10 by 10 kit.
Article Vendor Table Display Ideas Styling the table itself, riser by riser. Article Booth Ideas and Materials A full checklist of what to print and pack. Guide Trade Show Signs Guide Every sign type and how it is installed. Guide Window Display Ideas Visual merchandising that works in a booth too. Articles DIY Crafts Articles Project ideas and maker guides in one place.  Article Craft Business Name Ideas Name the brand before you print the banner.
  Article Easy DIY Bookmark Ideas A low cost add on product for your table.
  Article Brochure Ideas Worth Stealing Takeaway print that keeps selling after the fair. Product Fabric Booth Kits A complete printed booth in a single case.
 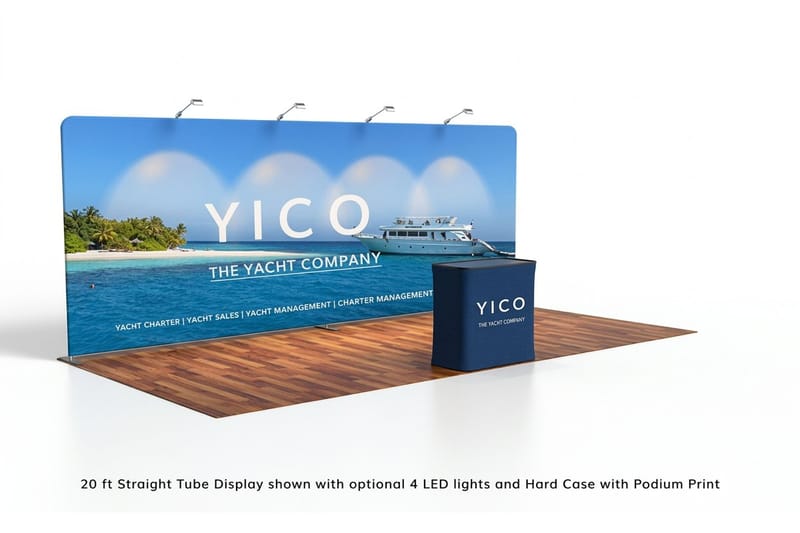 Product Straight Tube Display Tool free fabric backdrop for any booth. Product Trade Show Booth Kits Counter, backdrop and graphics as one set.
 Put your name on the back wall before the next fair
Print the backdrop, the signage and the counter as one coordinated set, and spend the morning selling instead of taping paper signs to a folding table.
Craft Fair Booth Questions, Answered
What is the best craft fair booth layout?
The layout that works most reliably in a 10 by 10 booth is built in three layers. A tall backdrop across the back wall carries your business name above head height, a middle layer of risers and shelving holds product at eye and chest level, and the front table edge stays mostly open so shoppers can step in, set a piece down and pay. Pull the table back from the aisle rather than sealing the front with it, and stand to the side instead of behind it. For table level detail, see these vendor table display ideas.
What signage and display ideas work best at a craft fair?
Scale your signage to reading distance. Your business name goes high and large enough to read across the aisle, product names read from a few feet, and every item carries a price readable at arm’s length. Add one short story panel with a photo of you making the work, a visible payment sign, and a social handle with a QR code near the payment zone. Keep the whole booth to two colors plus a neutral so a table of handmade goods still reads as one brand. Our trade show signs guide covers each sign type and how it mounts, and our guide to booth signs that get a vendor booth seen from across the aisle gives the sizes and starting prices for each one.
What are the best vendor booth setup ideas for a first fair?
Keep the first booth simple and finished rather than ambitious and half done. A floor length table drape in a solid color, one large name sign, printed price cards, risers made from crates hidden under fabric, and a card reader will already put you ahead of most first time tables. Add a printed backdrop for your second season once sales justify it. Do a full setup at home and time it before the show, and pack a repair kit with zip ties, tape and clamps. The booth materials checklist is a good packing list to work from.
How do I choose the right vendor booth setup for what I make?
Match the structure to the product. Jewelry and small goods need height, focused light and a shallow reach so nothing sits out of range. Ceramics and glass need sturdy risers and generous spacing, because crowded shelves stop people touching. Apparel and textiles need hanging space more than table space. Paper goods sell best from browsable priced bins with a few framed pieces above them as a value anchor. Copying a booth photo from a different craft is where most awkward layouts begin, so borrow the principles and not the shelf plan.
How much does a vendor booth setup cost and how is pricing set?
Booth display pricing is driven by size, hardware system and quantity rather than by a flat per item price. At 4OVER4.COM a Straight Tube Display starts at $635.96 and gives you a full height fabric backdrop in a single case, while Fabric Booth Kits and Trade Show Booth Kits start at $2,599.00 and include the frame, the printed graphics and a matched counter or wall configuration. Because the frame outlasts the graphics, most makers buy the hardware once and reprint the fabric when their branding changes, which spreads the cost across several seasons.
