
Split Canvas Prints: 9 Easy Ways to Use Multi-Piece Canvas Art


Tobias is our voice for cutting, binding and large format, built from the knowledge of our production team, with over 20 years in printing.
What a Split Canvas Print Actually Is

To convert a photo into a multi panel canvas print, pick the panel count, take the wall width you want to fill minus the gaps, divide it by that count, and order that many panels of the nearest size, such as three 16 x 20 inch canvases. A split canvas print takes a single image and divides it across two or more separate stretched panels that hang side by side. Nothing is cropped away. The picture keeps going behind the gaps, so your eye stitches the panels back together and reads them as one large artwork that happens to breathe. People also call it multi panel canvas art, a diptych, a triptych, or simply a canvas set. You can see every size for split canvas prints in our canvas collection.
The appeal for a beginner is that a split set is far more forgiving than one enormous canvas. Small panels are lighter, cheaper to ship, easier to carry up a staircase, and much easier to level on the wall. If one panel ever gets damaged, you replace that panel instead of the whole piece.
It is also a format that flatters ordinary photos. A wide landscape shot that looks cramped as a single 24 by 16 print suddenly feels cinematic when it runs across three panels and covers five feet of wall. The same is true for a painting you made yourself, a city skyline, a beach horizon, or a close up of a face. Splitting the image adds scale and rhythm without asking you to shoot anything new.
One image, several stretched frames
Each panel is its own canvas, stretched over a wooden bar and wrapped at the edges. Your file gets sliced so that panel one ends exactly where panel two begins, with a small allowance for the wrap on the outside edges.
The gaps are part of the design
The negative space between panels is not a flaw to hide. Consistent gaps give the set its architecture, and they are the single biggest reason a split canvas looks deliberate rather than accidental.
Panel count sets the mood
Two panels feel calm and symmetrical. Three feel classic. Five feel panoramic and a little dramatic. You are choosing a rhythm as much as a layout, so pick the count before you pick the size.
Hanging is genuinely easier
A 60 inch single canvas needs two people and a lot of nerve. Three 20 inch panels need a pencil, a level, and about twenty minutes, and small alignment errors are much easier to correct.
Shop the wall
Canvas printing collection
Every canvas size and shape you can split into a two, three, or five panel set.

Converting a Photo Into Panels and Picking the Size
Five steps take you from one photo to a finished set. Premium Canvas Prints come in twelve sizes from 11 x 14 to 36 x 36 inches on 1.5 inch deep frames, starting at $59 a panel, and every panel in a set is one piece of the same order.
- 1. Pick the count. Two panels for a narrow wall, three for a sofa wall, five for a long hallway.
- 2. Measure the wall. Aim for two thirds to three quarters of the furniture width, so a 90 inch sofa takes a set about 60 to 68 inches wide.
- 3. Divide. Subtract the gaps, 1 to 2 inches each, and divide what is left by the panel count.
- 4. Round to a real size. Pick the nearest size on the list, such as 16 x 20 or 18 x 24, rather than a custom number.
- 5. Slice the photo. Cut the image into equal slices at the panel size, with a small allowance for the wrap on the outside edges, and keep faces away from the gaps.
9 Split Canvas Layout Ideas That Work in Any Room
These nine layouts cover the situations most beginners run into, from a bare wall above a sofa to an awkward hallway that never seems to fit anything. Each one tells you the panel count, the shape to look for, and the kind of image that suits it, so you can go straight from idea to a file you can upload.
Read them as starting points, not rules. The layouts mix freely, and the only thing that stays constant is even spacing between panels.
- 1. The sofa triptych. Three equal landscape panels centered above a couch, total width about two thirds of the sofa. The safest first project and the layout that flatters a horizon shot the most.
- 2. The vertical pair. Two tall panels in a narrow hallway or beside a doorway. A portrait, a tree line, or a waterfall split down the middle turns dead corridor wall into something worth slowing down for.
- 3. The staircase stagger. Three or four panels stepped down to follow the slope of a stairwell, each panel dropping the same distance as the last. Use a single image or a sequence, but keep the drop consistent.
- 4. The five panel panorama. A wide shot cut into five, often with a taller center panel and shorter outer panels. This is the arrangement that turns a phone panorama into wall art with real presence.
- 5. The square grid of four. Four square panels in a tight two by two block. Perfect above a bed or a dining table when the wall is roughly as tall as it is wide.
- 6. The split portrait. One face or figure divided across two panels, with the gap falling deliberately off center so it does not cut through the eyes. Bold, graphic, and cheap to try at small sizes.
- 7. The corner wrap. Two or three panels that continue around an inside corner, one wall to the next. It sounds risky and looks fantastic with abstract or texture images that have no obvious horizon to break.
- 8. The color block set. Panels that are not one photo at all, but coordinated blocks of color, pattern, or paint. This is the friendliest option if you are painting your own set at home.
- 9. The photo timeline. Separate images tied together by the same treatment, black and white or a single filter, running left to right in date order. Wedding, first year, road trip, product line, it all works.
If you want to test a layout before you spend anything, cut newspaper or kraft paper to the panel sizes and tape them up. Ten minutes of paper mockup saves you from ordering a five panel set that turns out three inches too wide for the wall.
Print picks
Three formats built for split canvas layouts
Live prices, ready to configure panel by panel.
 Premium Canvas Prints $59 each Gallery wrapped panels on solid wood bars, the default choice for a split set.
 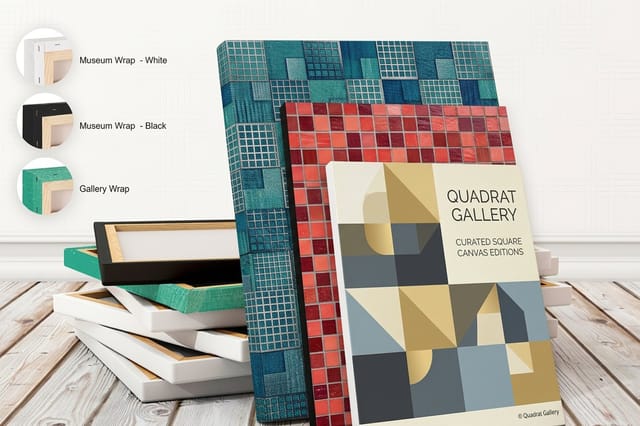 Square Canvas Prints $59 each Equal sided panels that grid up cleanly into two, four, or nine piece walls.
 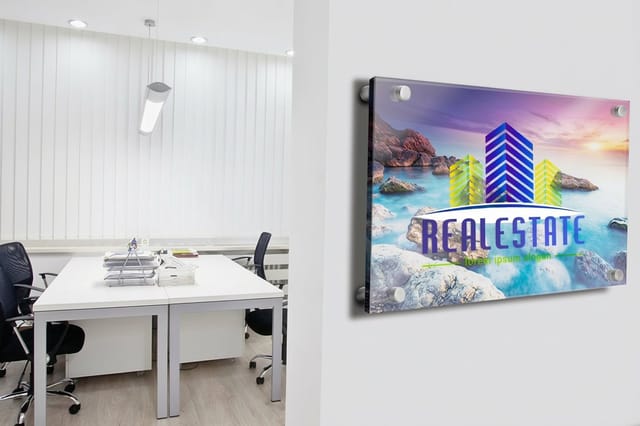 Acrylic Prints $152.72 each Glossy, edge lit panels for a split set that reads modern instead of soft.
 How Many Panels You Should Use, From 2 to 5
Panel count is the first real decision, and it is driven by the shape of the wall more than by taste. Wide walls want more panels. Tall or narrow walls want fewer, taller ones. This is how the common counts behave once they are actually hanging.
- 2 panels. The quiet option. Symmetrical, easy to center, and forgiving because there is only one gap to get right. Best for portraits, vertical subjects, and walls under four feet wide.
- 3 panels. The usual choice. A center of gravity plus two wings, which is why triptychs read as finished art in almost any room. This is the count to choose if you are unsure.
- 4 panels. Best as a grid rather than a row. In a straight line, four panels can feel like a repeating pattern with no anchor, but stacked two by two they feel intentional.
- 5 panels. The statement. Great over long sofas, sideboards, and conference tables, and the count that suits panoramas and skylines. Needs at least six feet of clear wall to breathe.
Odd numbers give the composition a center panel to anchor on, which is why three and five feel calmer than four in a row. Even numbers work when the image itself is symmetrical, or when you arrange them as a block instead of a line.
Cost scales with total printed area rather than with panel count, so a three panel set and a five panel set covering the same wall land in a similar range. Configure the exact quantity and size below to see live numbers before you commit.
Quantity and price
Premium canvas pricing and specs
Real configurator numbers. Each panel counts as one piece, so the set is your quantity.
| Quantity | Price Per Unit | Total |
|---|---|---|
| 1 | $59.00 | $59.00 |
Sizing and Spacing a Multi Panel Canvas Set

Start from the furniture, not from the wall. The set should span roughly two thirds to three quarters of whatever sits beneath it, so a 90 inch sofa wants a finished set around 60 to 68 inches wide including the gaps. Hang the vertical center of the set about 57 to 60 inches from the floor, which is standard gallery eye level.
Then work backwards to panel size. Take your target total width, subtract the gaps, and divide by the panel count. For a 66 inch target across three panels with two 2 inch gaps, that is 62 divided by 3, so three 20 inch wide panels get you within an inch. Round to a size the printer actually offers rather than forcing an exact number.
- Gap width. Use 1 to 2 inches for panels under 24 inches and 2 to 3 inches for larger panels. Whatever you choose, keep it identical between every pair.
- Clearance above furniture. Leave 6 to 10 inches between the top of the sofa and the bottom of the panels so the set does not look like it is resting on the cushions.
- Depth. Thicker stretcher bars throw a stronger shadow and make a split set feel more substantial, which matters more as panel size grows.
- Total footprint. Measure the finished set including gaps before you order, then mark that rectangle on the wall with painter tape.
A cheap trick for planning: use sticky notes as scale stand ins on the wall while you decide, moving them around until the proportions look right. If you enjoy that kind of hands on planning, there are more creative ways to use custom sticky notes once the canvas is up.
Glossy alternative
Acrylic prints
A high gloss face that deepens color and makes the gaps between panels read sharper.
Splitting the Image Without Ruining the Subject
The most common beginner mistake is letting a gap land somewhere important. A split running through a face, a logo, or the one boat on the lake fights the image instead of framing it. Before you slice anything, look at your photo and decide where the gaps are allowed to fall.
Work at full resolution and export each panel separately rather than uploading one wide file and hoping it gets divided correctly. Give every panel the same pixel height, add the wrap allowance the product asks for on the outer edges, and name the files in order so nothing arrives shuffled.
- Protect the subject. Position gaps in open sky, water, foliage, or shadow, never across eyes, hands, or text.
- Check the wrap. Anything within the wrap allowance folds around the side of the frame, so keep meaningful detail well inside the face of each panel.
- Mind resolution. A file that looks sharp at 12 inches can soften at 40. Aim for at least 150 dpi at the finished panel size.
- Keep color consistent. Edit the full image first, then split. Adjusting panels individually is how one panel ends up warmer than its neighbors.
Square panels are the easiest starting point because the math is trivial and every gap falls in a predictable place. Order one small square set first, see how the split behaves on your actual image, then scale up with confidence.
Easiest place to start
Square canvas panels
Equal sides make the split math trivial and every gap fall exactly where you expect it to.
Canvas or Acrylic for a Split Set
Canvas and acrylic split very differently. Canvas has a woven texture that softens contrast and hides small imperfections, and its wrapped edges mean each panel already looks finished from the side. Our premium canvas is semi gloss canvas on 1.5 inch deep frames in twelve sizes from $59, while acrylic is a 1/4 inch panel in 16 x 24, 20 x 30 or 24 x 36 inches from $152.72. It suits paintings, portraits, warm interiors, and anything you want to feel handmade.
Acrylic is the opposite temperament. The image sits behind a glossy panel that deepens blacks and makes color look lit from within, which is why it reads as modern and gallery like. In a split set the shine repeats across every panel, so the gaps feel sharper and more graphic. The full trade off is broken down in this acrylic prints versus canvas prints guide. If the material is new to you, read more about canvas prints and how they are built.
- Choose canvas for soft light, textured art, family photos, and rooms with a lot of fabric and wood.
- Choose acrylic for high contrast photography, product and brand imagery, and rooms with glass, metal, or bold paint.
- Watch the glare. Acrylic reflects, so check where your windows and lamps sit before committing a five panel wall to it.
- Mixing is possible but rarely works. Pick one material for the whole set so the panels read as siblings.
If you are comparing print shops as well as materials, the MOO prints alternative comparison lays out how ordering, turnaround, and material range differ once you need more than one panel at a time.
Compare materials
Popular wall art formats, side by side
Material, size, quantity, turnaround, and starting price in one view.
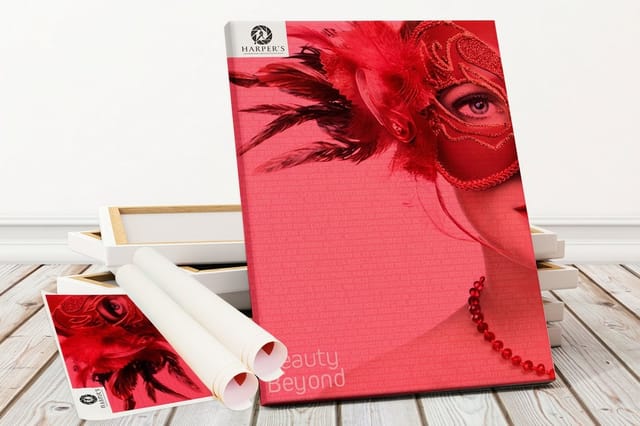 Rolled Canvas | 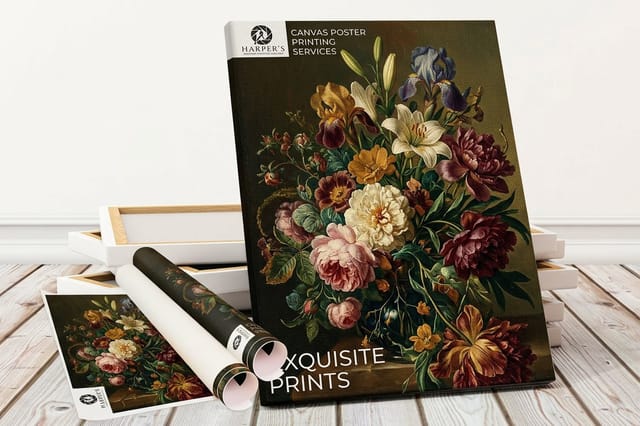 Canvas Posters | Premium Canvas Prints | Square Canvas Prints | |
|---|---|---|---|---|
| Min price | $25.00 | $25.00 | $59.00 | $59.00 |
| Paper / stock | Semi Gloss Canvas | Semi Gloss Canvas | - | - |
| Size | 11" x 14" | 11" x 14" | 11" x 14" | 11" x 14" |
| Default qty | 1 | 1 | 1 | 1 |
| Turnaround | 2 business days | 2 business days | 3 business days | 3 business days |
| Rating | ||||
| View & customize | View & customize | View & customize | View & customize |
Painting Your Own Split Canvas at Home
If you would rather paint than print, split canvas is one of the friendliest formats for a beginner. You are not trying to render a scene on one intimidating rectangle. You are making a handful of smaller, simpler panels that only have to agree with each other, which is a much easier promise to keep.
Lay all the panels flat on the floor in their final arrangement and tape them together at the back before you start. Paint across the whole surface as if it were one canvas, let it dry, then separate. Any line, gradient, or brushstroke you make will line up perfectly once the set is on the wall.
- Color blocks. Three flat colors from the same family, one per panel, in an ascending or descending order. Nearly impossible to get wrong.
- Single sweep. One continuous brush or roller stroke dragged across all panels at once, letting the gaps interrupt it.
- Silhouette. Paint the panels a solid color, then add one simple black shape that crosses two of them.
- Tape geometry. Painter tape gives you clean diagonals and triangles that carry from panel to panel with no drawing skill required.
Once the set is finished, photograph it flat in even daylight. That photo becomes a printable file, which is exactly how a lot of small art businesses get started. If you are heading that direction, browse these art and craft business name ideas, and for looser everyday experiments there is real inspiration in art made on dry erase boards and in easy DIY paper craft bookmarks.
Hanging a Split Canvas Set Straight
Hanging is where a good set is won or lost, and it takes patience rather than skill. Mark the finished rectangle on the wall with painter tape first, including the gaps, so you can see the footprint before a single nail goes in. Then hang from the center outward, not left to right, because errors accumulate in one direction and cancel out in the other.
Measure the drop from the top of each panel to its hanging hardware and transfer that same measurement to the wall for every panel. A cheap laser level or a long straight edge across the top edges will catch the panel that sits a quarter inch low, which is the difference nobody can name but everybody notices.
- Use a spacer. Cut a strip of cardboard to your exact gap width and hold it between panels while you mark. Faster and more accurate than measuring each time.
- Check level per panel. Canvas panels are light enough to shift, so level each one after it is on the hook.
- Add bumpers. Small felt or rubber dots at the bottom corners stop panels drifting crooked and protect the paint.
- Respect the light. Side lighting exaggerates any panel that sits proud of the others, so step back and look from an angle before you finish.
Lighter rigid boards behave differently on the wall, and the same center out method applies. The mounting options in this guide to the best ways to hang foamboard prints transfer directly to canvas panels in rentals where you cannot drill.
Ordering Your Split Canvas Set
Ordering is straightforward once the layout is settled. Decide the panel count, the panel size, and the material, then upload one file per panel in order. Because every panel is priced individually, a split set is simply a small quantity order of the same product, and quantity breaks apply the same way they do on anything else.
Use the layout templates and blank sizes below to build files at the exact finished dimensions, with the wrap allowance already accounted for. Starting from a correctly sized blank removes the most common cause of a reprint, which is artwork that stops a fraction short of the edge.
A quick pre order checklist
- Wall measured and the finished footprint including gaps taped out.
- Panels exported individually, same height, same color treatment, named in order.
- Resolution checked at the final printed size, not on screen.
- Material chosen for the light in the room, canvas for warmth or acrylic for gloss.
Clear, specific descriptions help here too. If you are selling the set or presenting it to a client, the same discipline that sharpens print copy applies, and there are practical pointers in these ways to improve your brochure copy.
Start fast
Layout templates and print-ready blanks
Free layouts plus exact-size blanks so every panel lines up with the one beside it.
By the numbers
Why people print their canvas sets with us
Wally helps you split the image the right way
Pick the panel count, then the size, then the gaps
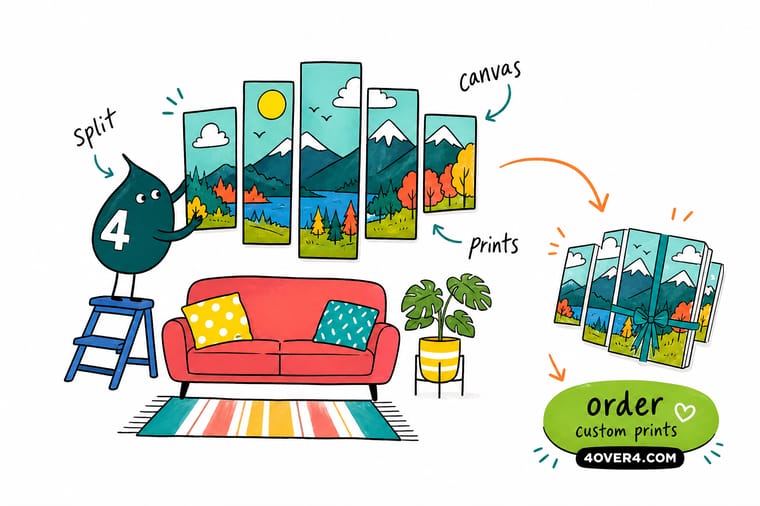
Not sure how many panels you need? Measure the furniture below the wall and aim for a set that spans about two thirds of it. Subtract your gaps, divide by the panel count, and you have your panel size. Then place the splits somewhere harmless in the picture, sky or water rather than a face, and upload one file per panel.
Design your canvas set →Keep Reading Before You Order
Related reading
Guides that pair with a split canvas project
Acrylic against canvas for a split set, hanging rigid prints without drilling, and low stakes practice before you paint your own panels.
Explore more
More ways to put your art on the wall
Canvas posters from 11 x 14 to 40 x 60 inches and rolled canvas print in 2 business days, premium and square canvas from 11 x 14 to 36 x 36 inches in 3.
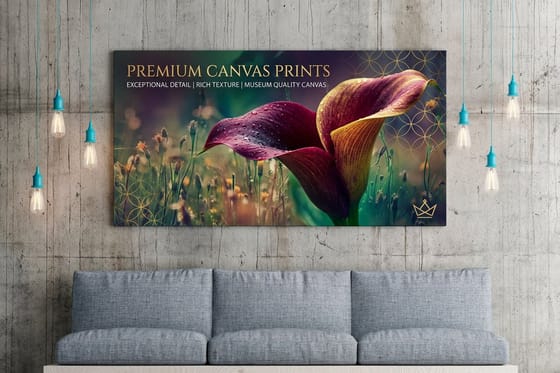 Guide Canvas Print Ideas for Offices, Lobbies and Storefronts Size canvas for every wall in the building, choose a gallery or museum wrap, and hang it clear of glare.
  Article Best Canvas Prints for Museum Worthy Wall Art at Home Which canvas prints actually look museum worthy? Compare canvas texture, ink longevity, frame depth, and photo
 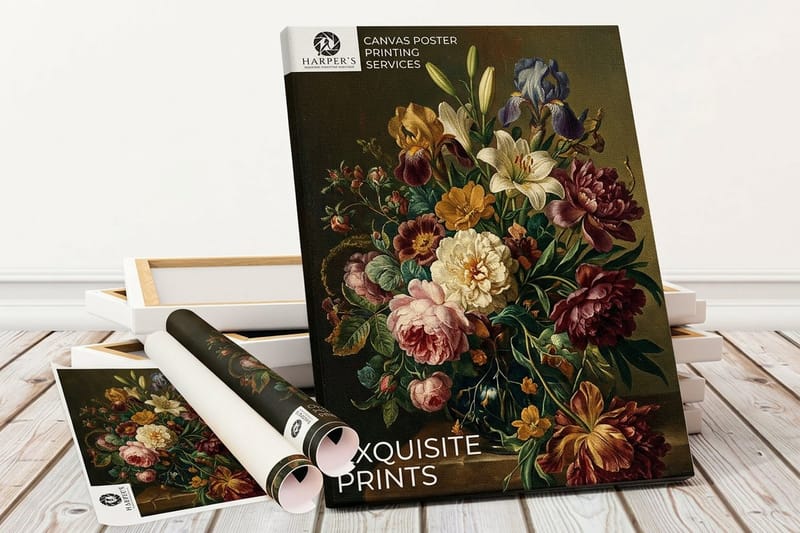 Collection Canvas Printing Collection Every canvas format and size, ready to split into a set. Product Premium Canvas Prints Gallery wrapped panels, stretched and ready to hang. Product Square Canvas Prints Equal sided panels that grid up cleanly on any wall.
  Product Acrylic Prints Glossy panels for a split set with real depth.
 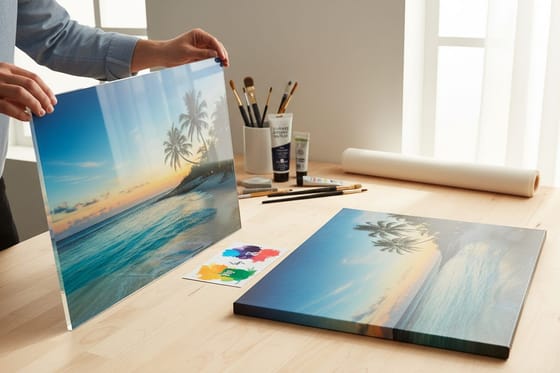 Guide Acrylic vs Canvas Prints The full material comparison for wall art. Article Hanging Foamboard Prints Four mounting methods that protect the wall.
  Article Art and Craft Business Names 100 name ideas for your art or print shop.
  Article Art on Dry Erase Boards Practice compositions before you commit to canvas.
  Article Easy DIY Paper Crafts Simple craft projects for the same creative afternoon.
 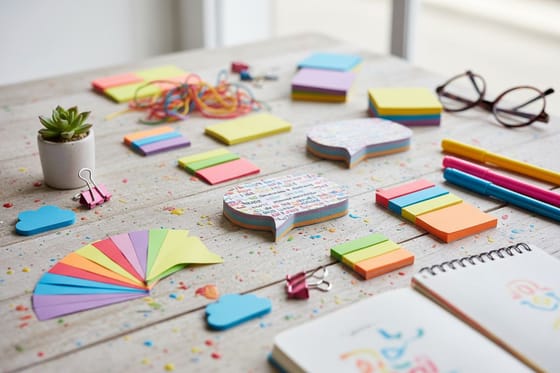 Article Custom Sticky Note Ideas The planning tool that maps your wall layout first.
 Ready to turn one image into a wall you actually notice?
Pick your panel count, size each panel from the wall, and upload the slices. Your set arrives stretched and ready to hang.
Split Canvas Print Questions, Answered
What is a split canvas print?
A split canvas print is one image divided across two or more separate stretched canvas panels that hang together as a set. Nothing is cropped out. The picture continues behind the gaps between panels, so from a normal viewing distance your eye reassembles it into a single large artwork. It is also called multi panel canvas art, a diptych for two panels, or a triptych for three. For a comparison of the materials you can split this way, see the acrylic versus canvas guide.
How do I choose the right split canvas layout for a beginner?
Start with the wall and the furniture below it, not with the image. Wide walls over sofas suit three or five panels in a row. Narrow hallways and spaces beside doorways suit two tall panels. Square walls suit a grid of four. If you are unsure, choose three equal landscape panels, because a triptych reads as finished art in almost any room and it is the most forgiving layout to hang straight.
How much does a split canvas set cost?
Each panel is priced as its own print, so a split set is simply a small quantity order of the same product. Premium Canvas Prints and Square Canvas Prints both start at $59, and Acrylic Prints start at $152.72 for a glossier finish. Cost tracks total printed area more than panel count, so a three panel set and a five panel set covering the same wall land in a similar range. Configure your exact size and quantity to see live pricing.
What sizes and materials are available for multi panel canvas art?
Canvas panels come in landscape, portrait, and square proportions across many sizes, stretched over solid wood bars and wrapped at the edges so every side looks finished. Square Canvas Prints are the easiest to grid into four or nine piece walls. Acrylic Prints offer the same split treatment with a glossy face that deepens color and contrast. Choose one material for the whole set so the panels read as siblings rather than as separate purchases.
What are the best websites for buying canvas wall art?
Buy from a printer that shows the panel sizes, frame depth and price before you upload. At 4OVER4.COM, Premium Canvas Prints start at $59 a panel on 1.5 inch deep frames, in twelve sizes from 11 x 14 to 36 x 36 inches, with a free online proof, and Acrylic Prints start at $152.72 in three sizes up to 24 x 36 inches.
What kind of wall art is trending right now?
Large, personal pieces lead: your own photo split across three canvas panels, a grid of four or nine square canvases, or a glossy acrylic set for a modern room. A split set covers five feet of wall with panels small enough to carry and level alone. Premium Canvas Prints start at $59 a panel and Acrylic Prints at $152.72.
How long does it take to print and ship a canvas set?
Turnaround depends on the material, the panel size, and the shipping method you pick at checkout, and the live estimate appears on the product page as soon as you configure the set. Canvas needs printing, stretching, and drying time before it ships, so build in a few extra days compared with flat paper products. If the set is a gift or a client delivery, order with a little lead time and confirm the arrival estimate before you place it.
