
Photo Tile Wall Ideas You Can Rearrange Any Season


Tobias is our voice for cutting, binding and large format, built from the knowledge of our production team, with over 20 years in printing.
What Makes a Photo Tile Different From a Print
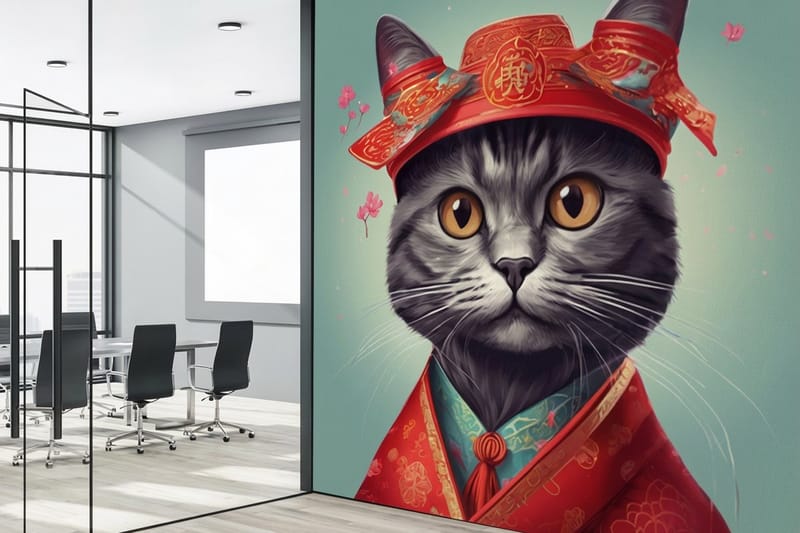
Photo tiling means printing your pictures as square or rectangular tiles with an adhesive back, sized so several of them read as one composition on the wall. There is no frame, no glass and no mat. You print the image edge to edge, peel the liner, press the tile flat and move on to the next one. The whole install is a five minute job with a level and a tape measure.
Photo tiling, step by step
- Plan the grid. Nine identical tiles in a three by three block with a two inch gap is the layout that works on almost any wall.
- Check each photo. 150 pixels per inch at final size, so a twelve inch tile wants at least 1,800 pixels on that side.
- Pick the material. 7mil low tack wall fabric from $25 for tiles you will move, or 8mil smooth aluminum foil vinyl from $29 for kitchens and baths.
- Order the set in one job. Both print at any size you set; fabric tiles take 3 business days and aluminum 4.
- Install with a level and a tape measure. Peel the liner, press each tile flat from the center out, and the wall is up in minutes.
That sounds like a small change from a framed print, but it changes what you hang. Frames make you commit. A tile costs a fraction of framing, goes up in seconds and comes down just as fast, so people print in sets: nine tiles from one trip, twelve from a wedding, a rotating strip of the kids that gets replaced every school year.
The format also solves the renter problem. Most leases forbid nail holes, and most command strips fail on textured paint. A fabric based photo tile grips with a low tack adhesive that holds on drywall, primed plaster and smooth painted surfaces, then releases in one clean pull. 4OVER4.COM prints these on Adhesive Wall Fabric starting at $25, so a full gallery wall costs less than one custom frame.
The anatomy of a single tile
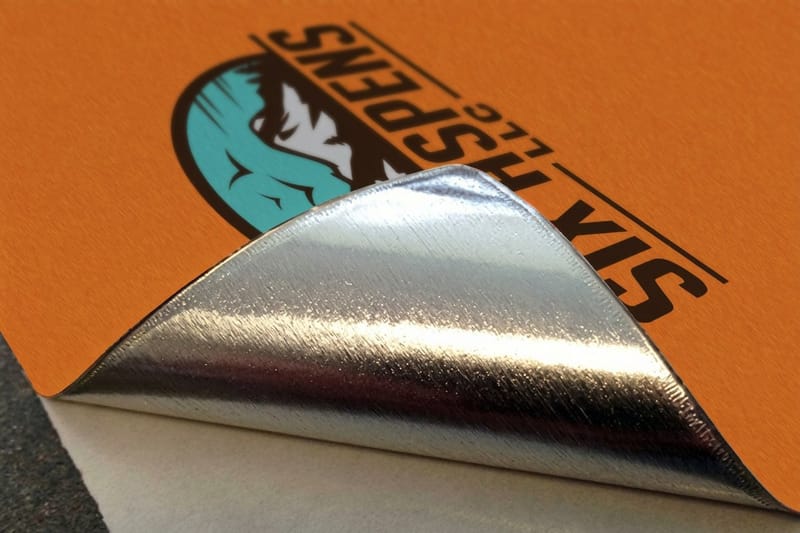
Face stock carries the image, the adhesive layer carries the hold and the liner protects it until install day. On fabric tiles the face is a woven polyester that hides small wall imperfections. On metal tiles the face is a coated aluminum sheet that stays rigid enough to sit proud of the wall.
Why sets beat single pieces
One large print forces one decision. A set of tiles lets you edit the wall over time, add a photo after a trip, swap a portrait when the haircut changes, or reflow the grid when you move the couch. Print a few spares in the same size and the wall stays alive.
What tiles are not good at
Skip adhesive tiles on raw brick, unpainted concrete, heavy orange peel texture and freshly painted walls that have not cured for two weeks. Those surfaces either refuse the bond or hand the paint over when you remove the tile.
Start here
The removable photo tile
Matte fabric tiles that reposition while you settle the layout and peel off without a mark.

The Three Materials Worth Printing Tiles On
Material decides everything downstream: how the tile hangs, how the light hits it and whether it survives a move. Fabric is the forgiving choice for renters and for anyone still deciding on a layout. Aluminum is the choice when you want the piece to look permanent and expensive. Seasonal vinyl sits in between, built to go up once a year and store flat the rest of the time.
Prices below are live starting prices from the configurator, and all three formats accept full bleed artwork, so the photo runs to the trim with no white border unless you design one in.
- Adhesive fabric. Matte, no glare, repositionable several times before the tack drops off. Best for gallery walls in rentals and kids rooms.
- Coated aluminum. Rigid, dimensional and unbothered by humidity. Best for entryways, kitchens, bathrooms and anywhere a fabric edge would eventually lift.
- Seasonal vinyl graphics. Bright color, short term adhesive, made to be pulled after the holidays without a scrap of residue.
- All three print from the same source file, so one prepped photo can become three different physical objects.
Print picks
Three ways to print a photo tile
Live starting prices, each one ready to size and upload to.
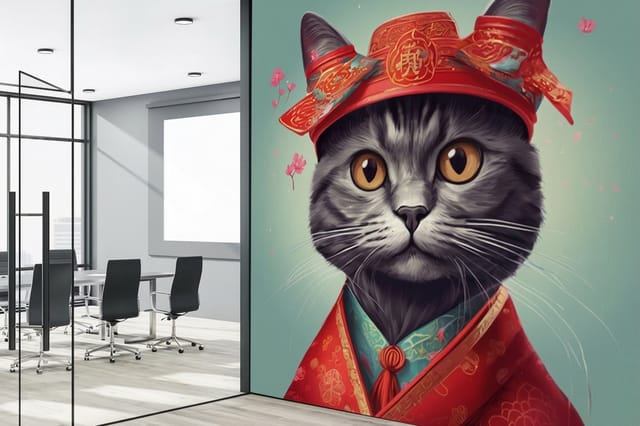 Adhesive Wall Fabric $25 each The classic photo tile. Peels off clean and repositions while you find the layout.
 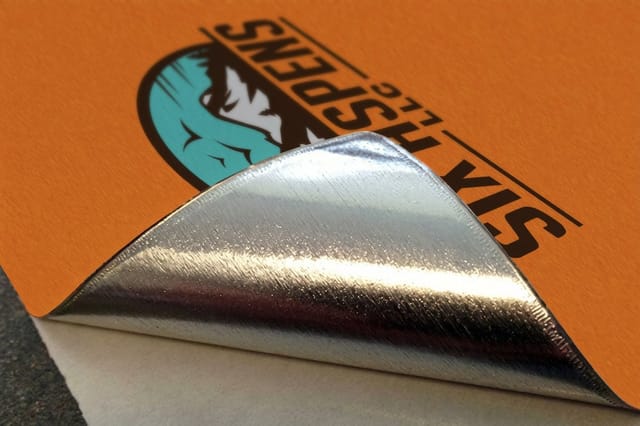 Aluminum Wall Graphics $29 each Rigid metal tiles that stay perfectly flat and read as framed art without a frame.
 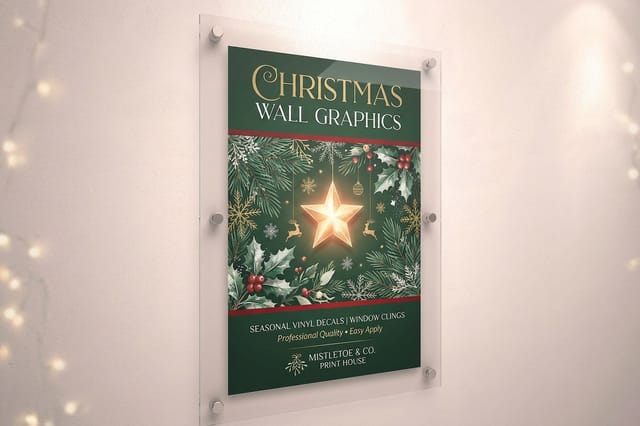 Christmas Wall Graphics $25 each Seasonal tiles that go up for the holidays and come down without a mark.
 How the Adhesive Actually Behaves on Your Wall
The adhesive on a wall tile is deliberately weaker than packing tape. It has to hold a few ounces of printed material against gravity for years, then let go faster than the paint underneath. That balance is why surface prep matters more than the adhesive itself.
Wipe the wall with a dry microfiber cloth and let it sit ten minutes if you used anything damp. Dust is the number one cause of a corner that curls in month three. Skip household sprays entirely, because the silicone in most of them is exactly what an adhesive cannot grab.
- Press from the center out. Start in the middle of the tile and sweep to the edges so no air pocket gets trapped under the face.
- Give it an hour. Most low tack adhesives reach full grip after sixty minutes, so do not judge a lifted corner in the first five.
- Remove at a low angle. Pull slowly at roughly fifteen degrees to the wall rather than straight out, which is what tears paint.
- Store on the liner. Keep the original backing sheet and press the tile back onto it if you plan to reuse the same piece next season.
- Watch the bathroom. Steam does not kill a fabric tile, but a tile mounted an inch from a shower will eventually lose its edges. Use aluminum there instead.
If your walls are textured beyond a light knockdown, print the aluminum version and hang it on a single small hook. You keep the frameless look and stop fighting a surface that was never going to hold adhesive.
Four Room Layouts That Work Every Time
Layout is where most photo tile projects go sideways. People print beautiful images and then scatter them at eye level with uneven gaps. Four arrangements cover almost every room, and each one has a rule that keeps it from drifting.
The tight grid for a living room
Nine identical tiles in a three by three block with a consistent two inch gap. Center the block over the sofa and align the bottom row about ten inches above the back cushions. Mixed subjects work here as long as the color treatment stays consistent, so pick one edit and apply it to all nine.
The horizontal run for a hallway
Five to seven tiles in a single line at fifty seven inches to center, which is standard gallery height. A hallway is walked, not studied, so use images with one clear subject and plenty of contrast. Chronological order gives the run a reason to exist.
The stair stack for a stairwell
Follow the rake of the stairs with tiles stepping up at the same angle. Measure from each tread nose rather than from the floor, keep the vertical distance identical between tiles and the whole climb reads as one line even though nothing is level with anything else.
The asymmetric cluster for an office
Two large tiles anchoring one corner, three smaller ones stepping away. Draw an invisible rectangle first and keep every tile inside it. The cluster looks casual and holds together because the outer boundary is disciplined even when the spacing is not.
What a Full Photo Tile Wall Costs to Print
Photo tile pricing runs on area and quantity rather than on the image, so a nine tile grid of family portraits costs the same as nine abstract shots at the same trim size. The configurator prices your exact dimensions, which is what makes odd sizes affordable here and expensive at a framer.
Adhesive Wall Fabric starts at $25, and the per square foot rate drops as the order grows, so printing the whole wall in one job beats printing three tiles now and six later. Set your final sizes before you order and the savings show up immediately in the table below.
Quantity and price
Adhesive wall fabric pricing and specs
Real configurator numbers. The rate per square foot drops as the tile count climbs.
| Quantity | Price Per Unit | Total |
|---|---|---|
| 1 | $25.00 | $25.00 |

When Aluminum Tiles Are the Better Call
Aluminum changes the object. A metal tile sits a few millimeters off the wall, catches a soft shadow along its edge and reads as a finished piece of art rather than a sticker. That dimensionality is why it holds up in an entryway or a client facing office where fabric would look casual.
It also solves the surfaces adhesive cannot. Kitchens, bathrooms, sunrooms and any wall that swings twenty degrees between morning and afternoon will eventually curl a fabric edge. Aluminum Wall Graphics start at $29, hold their shape indefinitely and wipe clean with a damp cloth, which matters more than it sounds when a tile lives near a stove.
Rigid option
Aluminum wall graphics
A frameless metal tile that stays flat, shrugs off humidity and wipes clean.
Swapping Tiles for the Seasons
The strongest argument for printed tiles is that you are allowed to change your mind. A wall built from removable pieces can carry a different mood in December than it does in July without a single new nail hole.
The practical version is simple. Leave two or three positions in your grid as swap slots, print seasonal tiles at exactly the same trim size, and rotate only those. The permanent tiles hold the composition while the swap slots do the work. Christmas Wall Graphics start at $25 and go up and down in the same afternoon, and the same trick works for birthdays, graduations and a new baby announcement. Flip through the Christmas wall graphics story for seasonal layouts.
Swap slot
Seasonal wall graphics
Print holiday tiles at the same trim size as your permanent grid, then rotate only those positions each year.
Photo Tiles Next to the Other Wall Formats
Tiles are one option among several, and the honest comparison helps. Fabric tiles start at $25 at any size and print in 3 business days. Canvas gives you depth and a soft texture, from $59 in preset sizes such as 12 by 12 or 16 by 20 inches on a 1.5 inch gallery wrap, but needs hardware and cannot be repositioned. Framed prints give you the most formal result at the highest price and the slowest turnaround. Large single graphics cover more wall for less money but commit you to one image.
Tiles win on flexibility, cost per piece and install speed. They lose when you want museum glass, archival matting or a piece large enough to fill a wall on its own. Compare the specs side by side before you commit a whole room to one format.
Compare formats
Popular wall graphics, side by side
Material, size range, quantity, turnaround and starting price in one table.
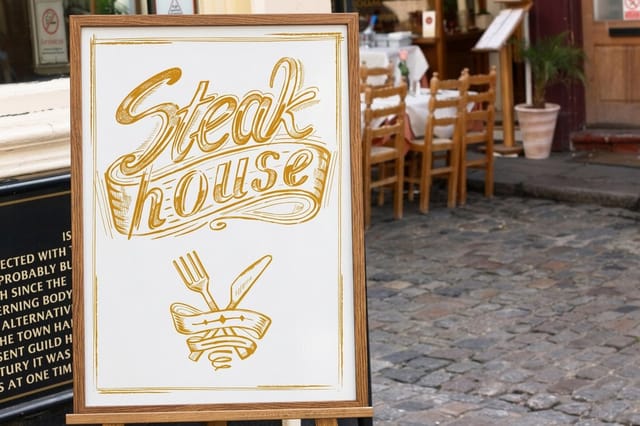 Dry Erase Graphics | 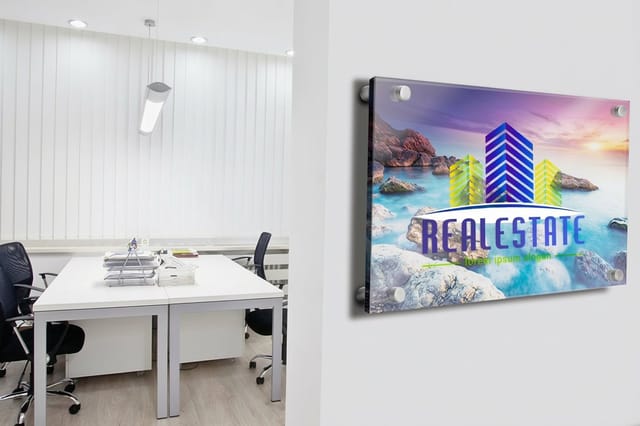 Acrylic Prints | 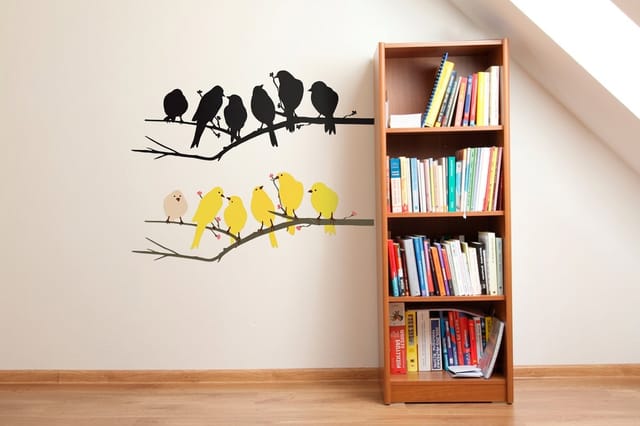 Decals | 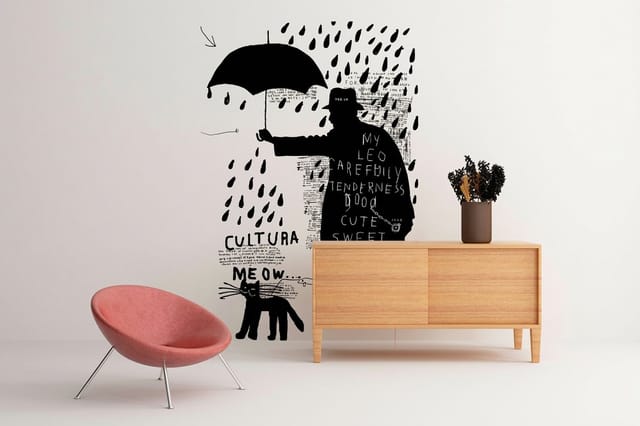 Wall Graphic | |
|---|---|---|---|---|
| Min price | $29.00 | $152.72 | $39.61 | $25.00 |
| Paper / stock | Dry Erase Face/ Adhesive Vinyl Backer | 1/4" Plexiglass | Low-Tack Vinyl (Re-positional) | Adhesive Back Vinyl (permanent) |
| Finish | - | Clear Gloss Vinyl Print | - | - |
| Size | 12" x 18" | 16" x 24" | 18" x 24" | 11" x 17" |
| Default qty | 1 | 1 | 1 | 1 |
| Turnaround | 4 business days | 4 business days | 4 business days | 2 business days |
| Rating | ||||
| View & customize | View & customize | View & customize | View & customize |
Prepping Files and Placing the Order
The print is only as good as the file. Phone photos from the last few years hold up fine at tile sizes, but anything screenshotted, downloaded from social media or cropped hard from a wide shot will show it. Check the pixel dimensions before you fall in love with a layout.
Aim for 150 pixels per inch at final size, which means a twelve inch tile wants an image at least 1800 pixels on that side. Add an eighth of an inch of bleed on every edge, keep faces and text at least a quarter inch inside the trim, and export as a flattened PDF, TIFF or high quality JPEG. Start from a print ready layout if you would rather not measure anything, then upload and order in one pass.
Quick file checklist
- Resolution. 150 ppi minimum at final trim size, 300 ppi if the image has fine detail or small type.
- Color. Convert to CMYK if your software allows it, or send sRGB and let the press profile handle the conversion.
- Crop. Square tiles need square crops. Cropping in the browser after upload is how heads lose their tops.
- Consistency. Run every image in a set through the same edit so the grid does not look like nine different cameras.
Start fast
Tile templates and print ready blanks
Free layouts plus exact size blanks so your bleed, trim and safe area are right the first time.
Wally explains the photo tile wall
Pick the material, plan the grid, then print the whole wall at once
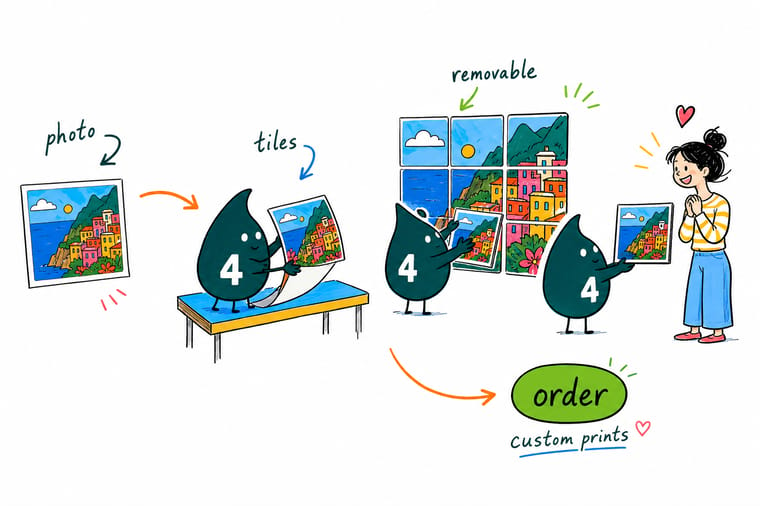
Photo tiles are just prints with a peel and stick back, so the wall becomes editable instead of permanent. Choose adhesive fabric for rentals and bedrooms, aluminum for kitchens and entryways, and seasonal vinyl for the tiles you plan to pull. Sketch the grid before you pick sizes, check that every photo hits 150 pixels per inch at final size, then order the full set in one job so the quantity pricing works in your favor.
Design your photo tiles →Building a Wall You Can Keep Changing
By the numbers
Printing your tiles at 4OVER4.COM
- 10B+ Print products delivered, printed since 1999.
- 150,000+ Businesses served, across every industry.
- $25 Fabric photo tiles, any size, 7mil low tack fabric, 3 business days.
- $29 Aluminum tiles, any size, 8mil smooth aluminum foil vinyl, 4 business days.
- Free Print ready templates, for every wall format.
- 99.8% On-time delivery, tracked orders.
Guides
Read next before you print
Deeper walkthroughs on wall art, photo sources and portable printed displays.
How to Make Custom Wall Art From Photos The full walkthrough from file prep to a finished wall. Art on Dry Erase Boards Another removable surface worth putting art on. Retractable Photo Backdrops Portable large format displays for events and shoots. Best Photo Booth Props Get better source photos before you print them. Explore more
More ways to put photos on your walls
Related pages across 4OVER4.COM, one card per direction you might take this.
Article Best Canvas Prints for Museum Worthy Wall Art at Home Which canvas prints actually look museum worthy? Compare canvas texture, ink longevity, frame depth, and photo Product Adhesive Wall Fabric The repositionable photo tile, from $25. Product Aluminum Wall Graphics Rigid frameless metal tiles, from $29. 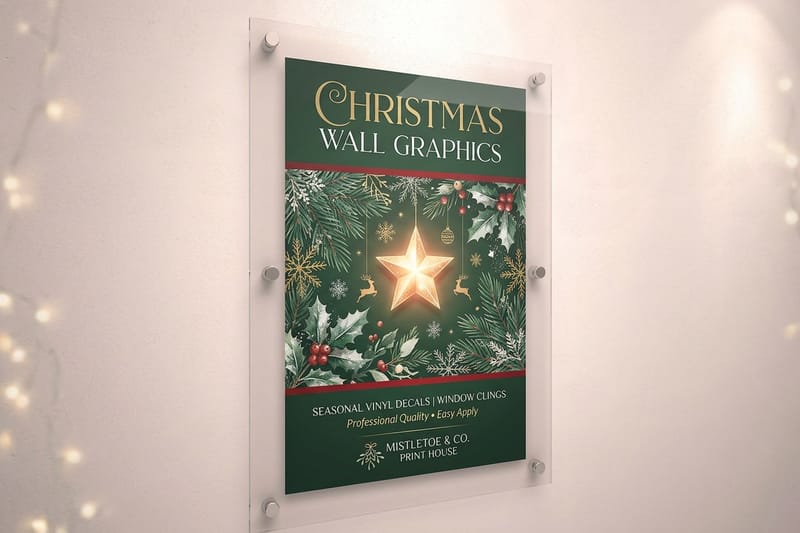 Product Christmas Wall Graphics Seasonal tiles that peel off clean, from $25.
 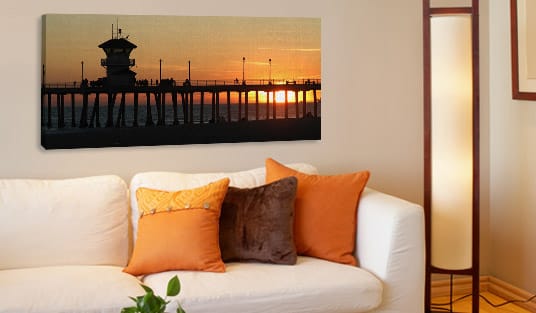 Guide Custom Wall Art From Photos File prep, sizing and install, step by step. Alternative Custom Photo Wall Calendars Another way to keep photos on the wall all year.
 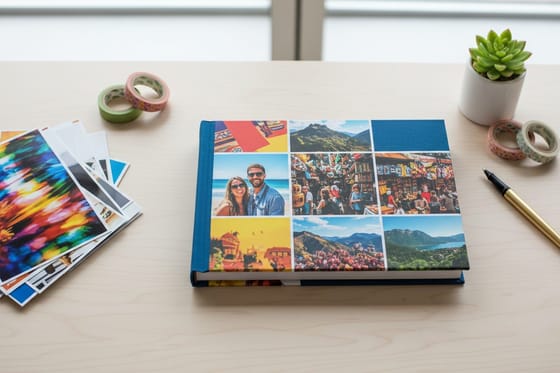 Alternative Custom Photo Album Printing For the photos that belong in hand, not on a wall.
  Alternative 4OVER4 vs MOO Prints How the two compare on stocks, sizes and price.
  Article Art and Craft Business Names For makers turning printed art into a business.
  Article Art on Dry Erase Boards Removable art ideas beyond the photo tile.
  Article Retractable Photo Backdrops Portable displays for events, booths and shoots.
  Article Best Photo Booth Props Better party photos to print as tiles later.
 Ready to turn your photos into a wall you can rearrange?
Pick the material, set your trim sizes, upload the images and print the whole grid in one order. No frames, no nail holes and no commitment you cannot undo.
Photo Tile Questions, Answered
What are photo tiles and how do print tiles work?
Photo tiles are printed panels with an adhesive back, sized so a set of them forms one composition on your wall. You upload a photo, choose a trim size, and the tile arrives ready to install with no frame, glass or hanging hardware. Peel the liner, press the tile flat from the center outward, and it holds on painted drywall for years before lifting off in one clean pull. Because there are no nail holes, tiles suit rentals, dorms and any wall you expect to rearrange. For the full file to wall walkthrough, see our guide on making custom wall art from photos.
How do I choose the right photo tile material?
Start with the room, not the image. Bedrooms, living rooms and rentals are ideal for Adhesive Wall Fabric, which repositions while you settle a layout and removes without touching the paint. Kitchens, bathrooms, entryways and any wall with swinging temperature or humidity call for Aluminum Wall Graphics, which stay rigid and wipe clean. If the piece only needs to survive one season, seasonal vinyl graphics are built for exactly that cycle. Textured or unpainted walls should skip adhesive entirely and take a rigid tile on a small hook instead.
What do printed photo tiles cost?
Pricing runs on trim size and quantity rather than on the artwork, so nine family portraits cost the same as nine landscapes at identical dimensions. Adhesive Wall Fabric starts at $25 and Aluminum Wall Graphics start at $29, with the per square foot rate falling as the order grows. That means ordering an entire gallery wall in a single job costs less than splitting it into two or three smaller orders. The configurator prices your exact sizes and quantity before checkout, so there is nothing to estimate.
What sizes, stocks and finishes can photo tiles be printed in?
Tiles print in custom width and height rather than a short list of fixed sizes, which is why square grids and long hallway runs are both affordable. Adhesive Wall Fabric uses a matte woven polyester face that kills glare and forgives minor wall imperfections. Aluminum Wall Graphics use a coated metal sheet with a smooth low sheen surface that reads as framed art without a frame. Every format prints full bleed, so the photo runs edge to edge unless you build a border into the design. Full stock and finish options appear in the specs on each product page.
How long does it take to print and ship photo tiles?
Production time depends on the material and the quantity, and the configurator shows the available turnaround options with your order before you pay. Adhesive fabric and vinyl tiles move through production faster than rigid aluminum, which needs additional handling and cure time. Upload a correctly sized, print ready file and nothing stalls in prepress, which is where most delays actually happen. If you are printing for a holiday or a specific event, order at least a week ahead of the date you want the wall finished so shipping transit is never the tight part.
