
What Makes a Sticker Look Professional Instead of Homemade


Four decisions separate a sticker people keep from one they peel off and bin. Here is what each one does, where it costs more, and where a cheaper choice is the right call.
A sticker looks professional when the face material suits the surface, a laminate protects the ink, the cut line lands where the file said it would, and every piece in the run matches. Homemade stickers usually fail on the last two: unprotected ink scuffs and blooms, and a desktop cutter drifts about 1/16 inch, which leaves a white sliver along one edge. Artwork that bleeds 1/8 inch past the cut, with a 1/8 inch safety margin inside it, absorbs that drift.
Quick answer
Material, laminate, cut line, and a run that matches itself
Nothing about a professional sticker is one expensive ingredient. It is a vinyl or coated paper face chosen for the surface it will live on, a gloss or matte laminate that stops the ink scuffing and deepens the color, a cut file with 1/8 inch of bleed and 1/8 inch of safety so a 1/16 inch drift never shows, and a press run where the five hundredth piece matches the first. Miss the laminate and the sticker wears at the corners. Miss the bleed and a white hairline appears down one side.
The Face Material Decides Everything That Follows
Pick the face first, because it sets the ceiling on how good the sticker can look and how long it stays that way. Ink behaves differently on paper than on vinyl, laminate bonds differently, and the failure mode is different too.
Coated paper takes ink cleanly and costs the least. It also drinks water. Put a paper sticker on a cold glass and the moisture that condenses on the outside works into the edge, the corner lifts within a day, and the color goes cloudy. Paper belongs on packaging, on sealed boxes, on anything indoors that nobody touches twice.
White vinyl is the default for a sticker somebody carries around. It flexes over a curved bottle without creasing, survives a dishwasher, and holds its color through a summer on a car window. Clear vinyl looks the most expensive of the lot because the design appears to sit directly on the glass, with one catch worth understanding before you commit to it.
| Face material | Where it lives | How it fails | Worth knowing |
|---|---|---|---|
| Coated paper | Packaging, seals, indoor promo | Edges lift and color clouds once it gets damp | Cheapest per unit and the easiest to write on with a pen |
| White vinyl | Bottles, laptops, cars, outdoor signage | Adhesive slowly hardens after a few years of UV | Conforms to curves without creasing; the safe default |
| Clear vinyl | Glass, windows, dark packaging | Pale artwork vanishes into the surface behind it | Needs a white underprint under anything white or light |
| Holographic or metallic | Merch, band and event stickers | The pattern fights busy artwork for attention | Works best behind simple shapes and knocked-out type |
That third row catches people out constantly. Clear vinyl has no opacity, so a white logo printed on it takes the color of whatever it is stuck to. On a dark bottle it disappears. Order clear stickers with a white underprint under the elements that need it, or reach for vinyl stickers on a white face and stop worrying about it. Our sticker material guide walks through the rest of the substrates, and vinyl against paper covers the durability difference in more detail.
Where the Blade Lands, and Why Amateur Cuts Show
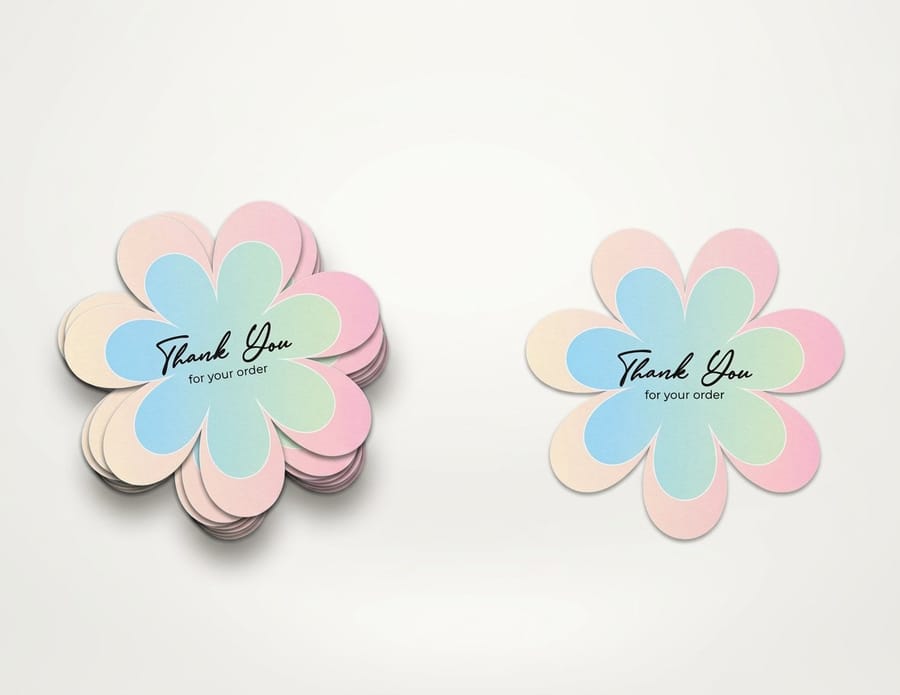
Look at any sticker that reads as homemade and check the edge. There will be a hairline of bare white along one side, or a border that runs thick at the top and thin at the bottom. The cutter drifted, and the file gave it nothing to drift into.
Cutting is mechanical, so it has a tolerance. On a plotter, roughly 1/16 inch of movement over a run is normal. Three rectangles in your file absorb it. Artwork extends 1/8 inch past the cut line, which is the bleed. The cut line itself is one closed vector path, drawn deliberately, not traced from a raster edge. Then a 1/8 inch safety margin sits inside the cut, and nothing that matters crosses into it.
Two design habits do most of the work. Avoid a thin border that follows the sticker outline, because a small drift makes it visibly uneven and there is no way to hide that. And keep the silhouette simple: a narrow neck between two lobes of a shape lifts under a fingernail and tears when someone peels it, so round the corners and give every connection some width. The bleed, cut line and safety checklist covers the setup step by step, and die cutting explained shows what happens to the sheet after the ink dries.
Start from a correctly sized layout rather than a blank canvas. The blank template library carries the standard sticker sizes with the three rectangles already in place, and what die-cut stickers are explains how the cut path travels through production. When the shape genuinely earns its cost, die-cut stickers follow your outline exactly.
Laminate Is the Cheapest Upgrade on This Page
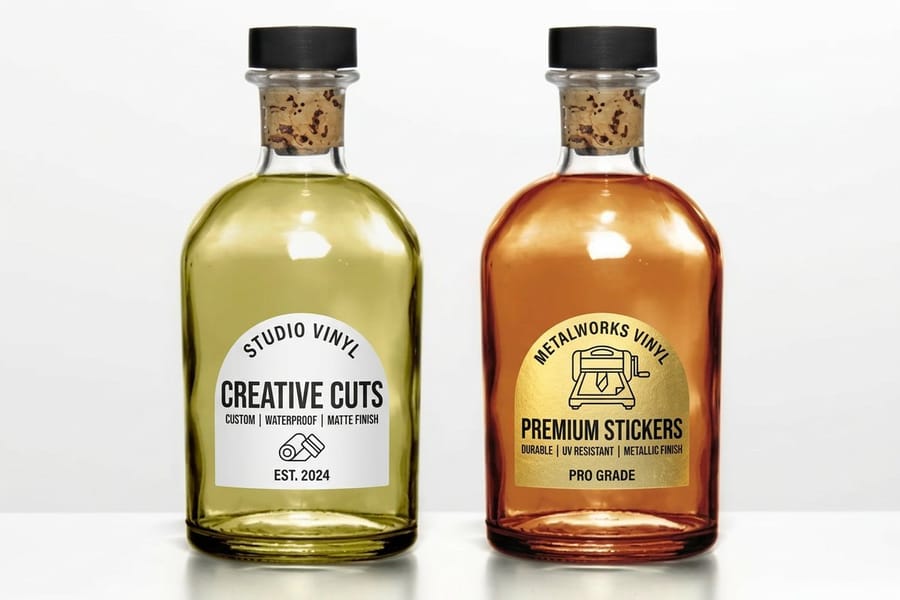
A laminate is a thin clear film bonded over the printed face after the ink cures. It buys four things at once: scuff resistance, water resistance, UV protection, and a real jump in how saturated the color looks. That last one surprises people who expect a protective layer to dull the print.
Gloss laminate refracts light back through the ink, so reds go deeper and blacks go blacker. Matte laminate scatters it, which kills reflections, hides fingerprints, and photographs far better for product shots. The trade-off is honest and worth stating: matte lifts a deep black toward charcoal and takes some of the punch out of a bright red. When a logo depends on that black, order gloss and accept the reflections.
There are two smaller costs. The film adds a little thickness, so the very finest cut detail softens slightly, which matters only on shapes with tiny protruding elements. And you cannot write on a gloss laminate with a ballpoint, which rules it out for name badges and anything staff has to fill in by hand. For those, leave the sticker unlaminated on a paper face.
Everything else benefits. Premium stickers carry the laminated build and start at $29.16, against $23.88 for standard stickers, so the protective layer costs less than most people assume. If you are weighing the two finishes on a specific design, matte against gloss and glossy sticker paper explained both go deeper on how each one handles ink.
Home Printed Against Trade Printed, Point by Point
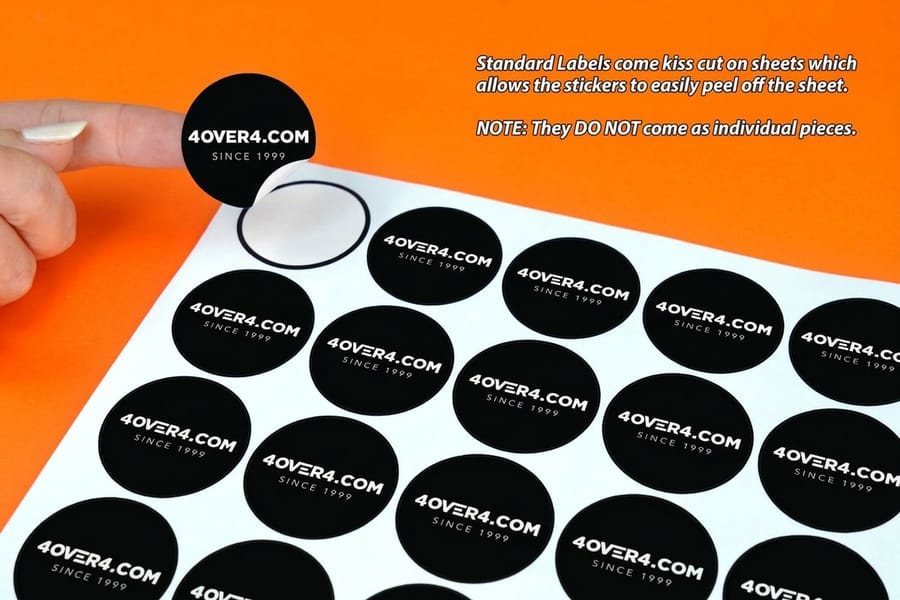
Home printing wins on one axis, and it is a real one: you can have twelve stickers in your hand in half an hour. Below about fifty pieces, or when the artwork changes every week, a desktop cutter earns its keep. Past that point the economics and the finish both flip.
| What you notice | Home printed | Trade printed |
|---|---|---|
| Face | Inkjet sticker paper, occasionally vinyl sheets | Coated paper, white or clear vinyl, BOPP, holographic |
| Ink | Dye inks that bloom on contact with water | Cured press inks locked under a laminate |
| Protection | None, unless you apply film sheets by hand | Gloss or matte laminate applied on the line |
| Cut edge | Camera registration that drifts across the sheet | One registered cut path, consistent across the run |
| Consistency | Sheet twenty rarely matches sheet one | The last sticker matches the first |
| Cost at 500 | Paper, ink and cutter wear, plus your afternoon | From $23.88 for standard, $29.16 laminated |
Consistency is the row people underestimate. A desktop cutter re-reads its registration marks on every sheet, and the small error is different each time, so a batch of 500 handed out at a trade show contains a visible spread of cut quality. Nobody examines one sticker closely. Everybody notices when two of them sitting side by side on a laptop do not match.
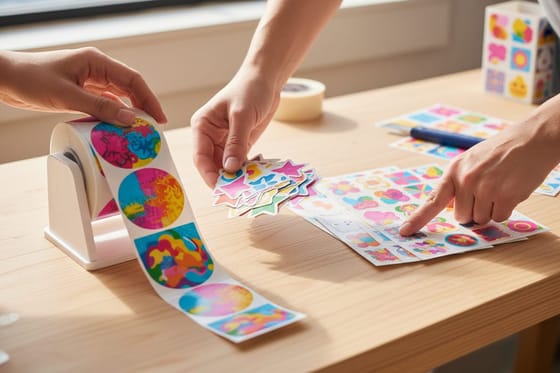
If the run is small and the design is settled, the honest move is often to skip the custom shape entirely and put a laminate on a circle. Browse the full range on the sticker printing category, work out the quantity break with what custom stickers cost, and read how to make stickers if you want the home route done properly. For anything you hand to a customer, sticker sheets keep a set of designs together and applied in seconds.
Wally explains the professional sticker
Laminate on top, bleed under the blade
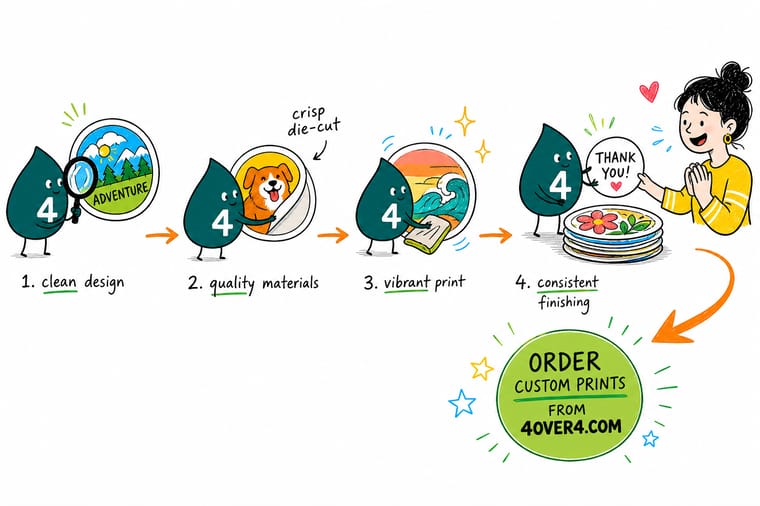
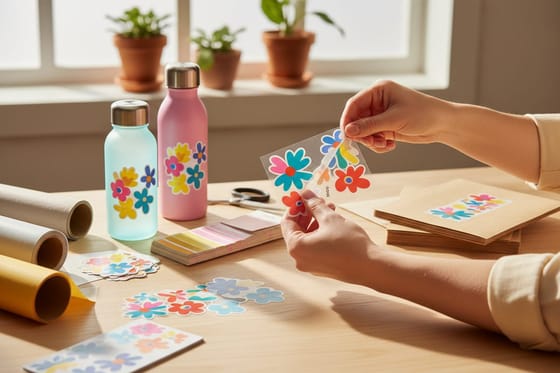
Wally holds two stickers with the same artwork. His has a vinyl face, a laminate over the ink, and artwork that runs past the cut line so the blade never exposes bare white. The other one is inkjet ink on paper, no film, cut by eye, and the corner has already lifted. Same design, two very different objects. Pick the face for the surface, add the laminate, give the cutter something to drift into.
Order premium stickers →Specs and pricing
Sticker builds, sizes, and starting prices
Compare the laminated, die-cut and vinyl builds side by side, with live configuration choices and starting prices straight from the 4OVER4.COM configurator.


Print it
Order stickers that survive being carried around
Explore more
Where to go next


By the numbers
Sticker printing you can count on at 4OVER4
Common Questions
Your professional sticker questions, answered
Why do my home-printed stickers look homemade?
Three things usually give them away at once. The ink sits unprotected on the surface, so a fingernail scuffs it and a drop of water blooms it. The face is paper rather than vinyl, so the edges curl within a day on anything cold or damp. And the cut wanders, because a desktop cutter reads a camera mark and drifts a fraction on every pass, which leaves a sliver of white paper along one side of the artwork. Fix the laminate and the cut and most people stop being able to tell.
Do I really need a laminate on an indoor sticker?
On a laptop lid, a water bottle or a phone case, yes. Those surfaces get handled dozens of times a day and unlaminated ink wears through at the corners first. On a sticker that goes onto a sealed box in a warehouse and is never touched again, you can skip it and spend the money on quantity instead. Premium Stickers at 4OVER4.COM start at $29.16 against $23.88 for Standard Stickers, which is the practical size of the upgrade.
What bleed and safety margin does a custom shape need?
Extend the artwork 1/8 inch past the cut line on every edge, and keep type, logos and thin borders at least 1/8 inch inside it. The cut file itself is a single closed vector path, not a raster outline. A thin border that traces the shape is the riskiest element you can design, because a 1/16 inch drift makes it thick on one side and thin on the other, and the eye catches that instantly.
Gloss or matte laminate?
Gloss keeps color where you designed it, so use it for saturated brand colors, photographs and anything that has to read from across a room. Matte kills reflections, hides fingerprints and looks more expensive in the hand, but it raises a deep black toward charcoal and takes about a quarter of the punch out of a bright red. Order free samples and look at both under the light the sticker will actually live in.
Will white artwork show up on a clear sticker?
Only with a white underprint behind it. Clear vinyl has no opacity of its own, so any white or pale element becomes whatever surface it sits on, and a white logo on a dark bottle simply disappears. Ask for the white layer under the elements that need it, or design for the surface instead and let the clear areas do the work.
How much more does a die-cut shape cost than a rectangle?
Enough that it should be a deliberate choice. Die-Cut Stickers at 4OVER4.COM start at $93.37 while Standard Stickers start at $23.88, because the shape needs its own cut path and a separate finishing pass. A rectangle or a circle with a good laminate beats a badly drawn custom shape every time, so spend on the outline only when the silhouette is part of the brand.
Get Started
Ready to print a sticker people keep?
Choose your face material, add a gloss or matte laminate, upload a cut file with proper bleed, and we print a run where the last piece matches the first.
Legal Disclaimer
Gold Standard guarantees apply to all standard orders placed through 4over4.com. Price match requires verifiable proof of a competitor's published price for an equivalent product with matching specifications and turnaround time. Satisfaction guarantee covers manufacturing defects and print quality issues. Contact support with order number and documentation. On-time delivery rate based on tracked orders 1999 to 2026. Individual results may vary based on shipping carrier performance.
