
How to Remove Old Stickers Without Residue


Jordan is our labels, packaging and sustainability voice, built from the knowledge of our production team, with over 20 years in printing.
Peeling an old sticker without shredding it or scratching the surface underneath is mostly about softening the glue first. The job is survey, remove, then clean up, and the last section covers reprinting stickers that come off cleanly: die-cut stickers on repositionable vinyl, clear stickers on clear cling label for windows, and bumper stickers on permanent vinyl for the ones that should stay.
The cleanest way to remove an old sticker is to soften the adhesive before you lift it. Survey the surface first, then warm the sticker with a hair dryer, soak it in warm soapy water, or dab it with oil so the glue lets go instead of tearing. Peel slowly from one corner at a low angle, clear any leftover residue with alcohol or oil, and dry the surface. Match the gentlest method to the surface and almost anything lifts without a scratch.
Start here
Three moves, in order
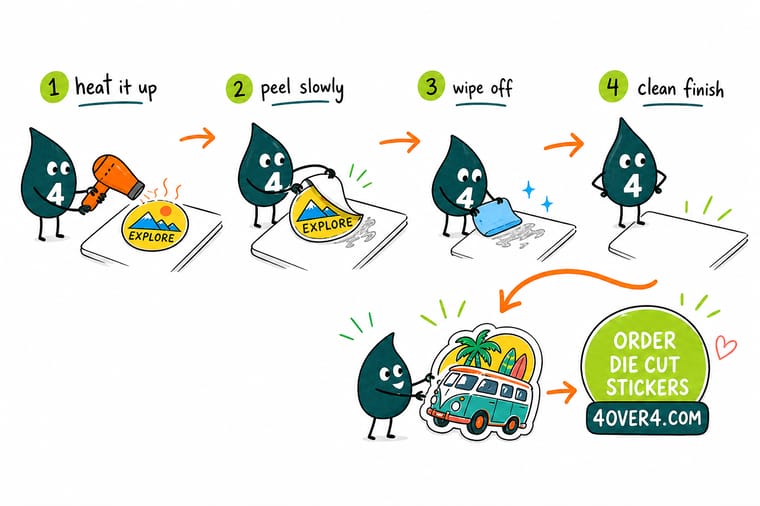
Warm the sticker for thirty to sixty seconds, lift one corner at a shallow angle, peel it slowly back over itself, then clear the leftover glue and dry the surface. That order works on almost everything, because the whole job is softening the adhesive before you lift it. Survey the surface first, then use the gentlest method that suits it: heat from a hair dryer, a warm soapy soak, a dab of oil, or an adhesive remover for the stubborn ones. Peel slowly from one corner at a low angle, clear any leftover glue, and dry the surface. Allow about five minutes for a small paper label and closer to twenty for a bumper sticker that has baked on for years. The infographic further down sums up the whole sequence at a glance.
Verdict
Best sticker removal method by surface
The surface decides the method, not the sticker. Here is what wins on each of the six surfaces people ask about most, and the one move that does the damage when the job gets rushed.
| Surface | Method that wins | The one thing to avoid |
|---|---|---|
| Glass: windows, jars, glassware | Hot soapy soak for ten to fifteen minutes on anything you can submerge, or a hair dryer for thirty to sixty seconds on a fixed pane, then rubbing alcohol for the last of the tack. Five approaches are laid out in our guide to removing stickers from glass. | A metal blade dragged at an angle. Hold a plastic scraper almost flat instead: it clears the same glue without the fine scratches you only notice in direct sunlight. |
| Car paint and clear coat | Low heat from a hair dryer held four to six inches away, peeled at a low angle, then cooking oil or a dedicated adhesive remover left to dwell two to three minutes before you wipe. | Acetone, nail polish remover, and blades of any kind. All of them cut through clear coat, and no bumper sticker is worth a respray. |
| Painted metal: signs, lockers, appliances, tool boxes | Heat first, warm soapy water second, rubbing alcohol on a cloth for the residue, tested on a hidden spot before you commit to the visible face. | Long solvent soaks. Given time the solvent creeps under the paint edge and lifts it, so wipe and dry rather than letting it sit. |
| Hard plastic: bins, bottles, helmets, cases | A warm soapy soak, or gentle heat kept moving across the whole label, then oil on a cloth for the glue that stays behind. | Holding the dryer in one spot. Thin plastic warps and goes cloudy well before the adhesive lets go, so keep the nozzle sweeping. |
| Laptop lids and electronics | The least aggressive route: the coolest setting on the dryer, a slow peel back over itself, then oil or a barely damp alcohol wipe applied to the cloth and never poured on the device. | Liquid on the surface and anything acetone based near screens, keycaps, or vents. Power down and let it cool first. |
| Wood and fabric | Low heat and patience on sealed wood, then oil buffed along the grain. On fabric, work warm soapy water in from the back of the cloth and wash it straight after. | Soaking bare or waxed wood, which raises the grain and dries to a pale patch. On fabric, skip the oil: it sets into a stain that outlasts the sticker. |
One rule covers all six: test any solvent on a hidden spot first, and never fight a sticker cold. If you are peeling because the print faded, curled, or never stuck, the material was wrong for the job rather than the technique. Vinyl versus paper is the choice that decides whether the next one lifts in one piece, and custom die-cut stickers stay put until you decide it is time for them to go.
Why a clean sticker removal is worth slowing down for
Old stickers rarely come off the way you hope. You pick at a corner, it splits, the paper layer peels away and leaves the glue behind, and ten minutes later you are scraping at a gray smear with a fingernail. The surface underneath (a laptop lid, a car bumper, a shop window, a water bottle) is the part you actually care about, and that is exactly what gets scratched when you rush.
Removing an old sticker cleanly is mostly about softening the adhesive before you lift, not about brute force. Get the method right for the surface and most stickers come away in one piece with no residue at all. This guide walks through how to survey the sticker first, the removal methods that actually work, how to clear the leftover tack, and how to replace a worn sticker with a custom die-cut sticker that lasts.
If you are peeling because a sticker faded, curled, or never stuck properly in the first place, the material usually caused it. Our guide to choosing the right sticker material covers why the stock matters, and the stickers collection shows the finishes that hold up outdoors.
Start by surveying the surface and the sticker

Before you reach for heat or solvent, spend ten seconds reading the situation. Two things decide your approach: what the sticker is made of, and what it is stuck to. A thin paper label lifts differently from a thick vinyl decal, and a painted car panel is far less forgiving than a pane of glass.
Press a fingernail under one corner and see how it behaves. If it peels cleanly, you may not need anything else. If it tears or the glue stays behind, the adhesive has cured hard and you will want to soften it first. Note the surface too: glass and glazed ceramic can take an aggressive approach, while painted metal, laptop lids, and screens need the gentlest method you can get away with. For glass specifically, our five easy ways to remove stickers from glass goes deeper.
If the sticker you are removing is a proof or a placeholder and you are planning fresh ones, this is a good moment to line up the replacement. Drop your artwork into our online designer, start from a ready layout in design templates, or order free paper samples so you can feel the stock before you commit.
The methods that actually remove old stickers
There is no single trick that works on every sticker, but there is a reliable order of operations: soften the adhesive, lift slowly from one corner, then clean up whatever glue stays behind. The four methods below cover almost every situation, from a sticker on your car bumper to a label on a jar. Start with the gentlest one that suits your surface and only step up if you need to.
Work slowly and keep the peel angle low, close to the surface rather than straight up, so the sticker releases instead of tearing. If you plan to replace it, the same care that gets the old one off cleanly is worth applying to the new one going on. Our walkthrough on applying vinyl stickers perfectly and the design templates library make the reprint the easy part.
Method 1: the hair dryer (heat) method
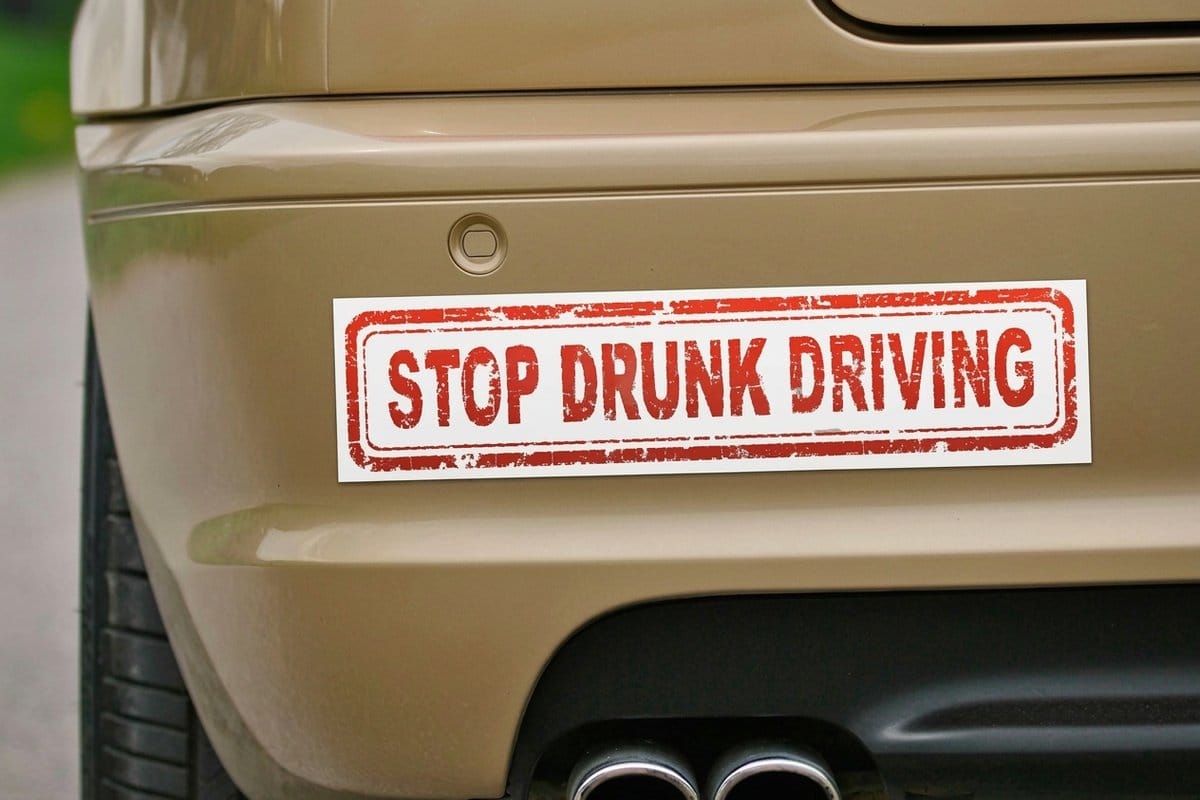
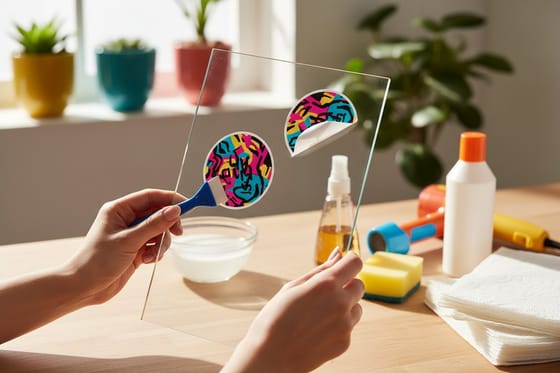
Heat is the safest first move on almost any surface, which is why it is the method most pros reach for. Set a hair dryer to medium and hold it a few inches from the sticker, moving it in slow circles for thirty to sixty seconds. The warmth softens the adhesive so it lets go instead of holding on.
Once the sticker feels warm, lift a corner with your fingernail or a plastic card and peel slowly at a low angle, reheating any spot that resists. A heat gun works faster but runs much hotter, so keep it moving and use it only on heat-tolerant surfaces like glass or bare metal, never on a laptop screen or delicate paint. This is the go-to for a bumper sticker baked onto a car for years.
Method 2: soap and warm water
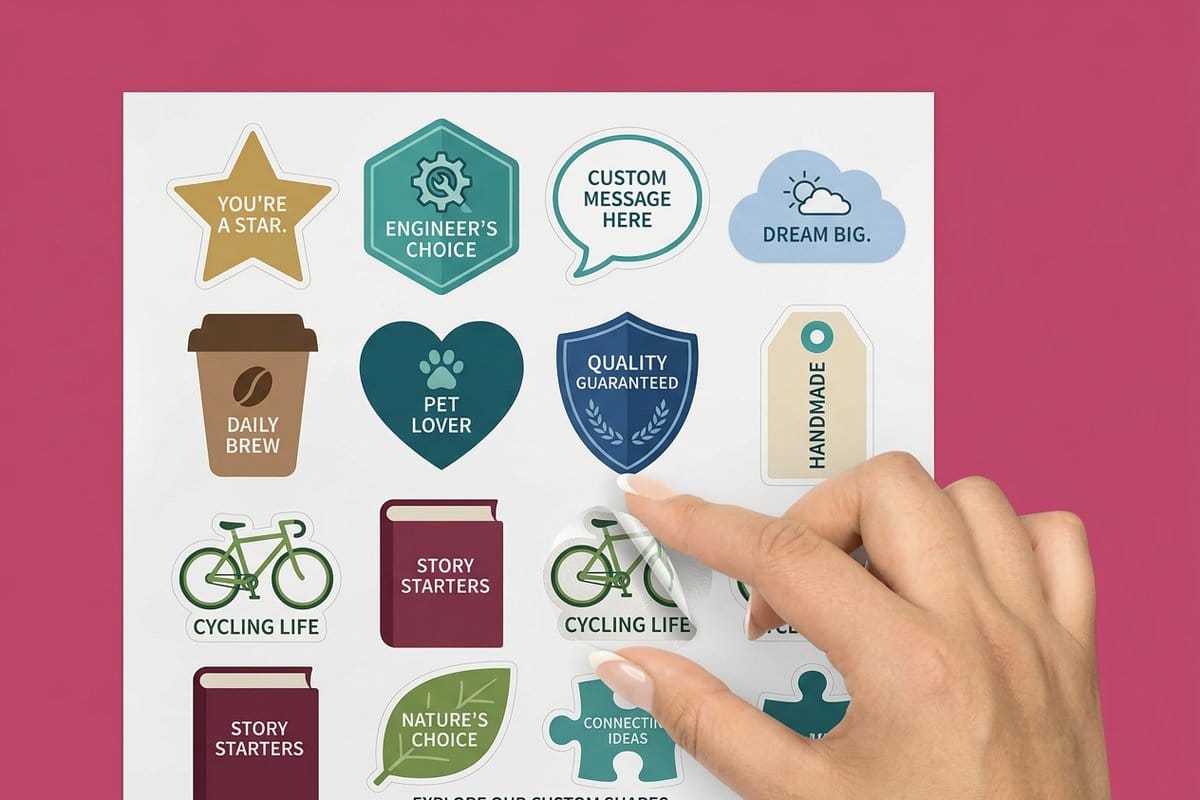
For paper labels and stickers on washable items, warm soapy water is often all you need. Soak a cloth in hot water with a few drops of dish soap and hold it against the sticker for several minutes so the water works through the paper and reaches the glue. Jars, bottles, and glassware can go straight into a sink of hot soapy water for a longer soak.
Once the paper is saturated it usually slides or rubs away, and the softened adhesive comes with it. This is the gentlest method of all, which makes it the right first try on anything you would rather not expose to heat or solvent. It works best on non-laminated paper stickers. A fully waterproof vinyl will shrug the water off, so move to heat or oil instead.
Method 3: oil-based removal
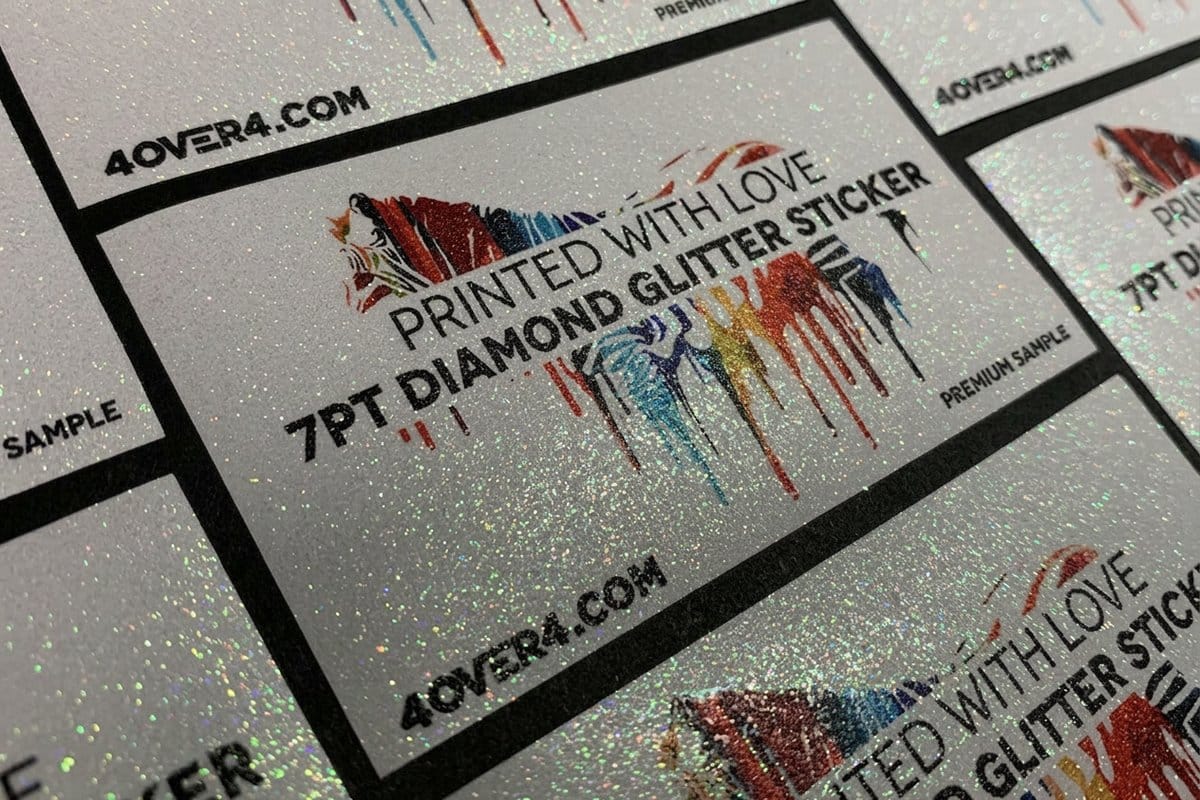
Cooking oil, coconut oil, peanut butter, and eucalyptus oil all do the same job: they break down the tackiness of the adhesive so it wipes away. Spread a thin layer over the sticker (or over the residue it left behind), let it sit for ten to fifteen minutes, then rub with a cloth. It is messier than the other methods but gentle, and it rarely harms the surface underneath.
Oil is especially good on the sticky ghost a label leaves behind, and on delicate items where you do not want to scrape. Follow up with a little soap and water to cut the grease. If you are removing a decorative or specialty sticker like a glitter or holographic design, oil lifts the film without dulling the surface below it.
Method 4: adhesive removers and professional solvents
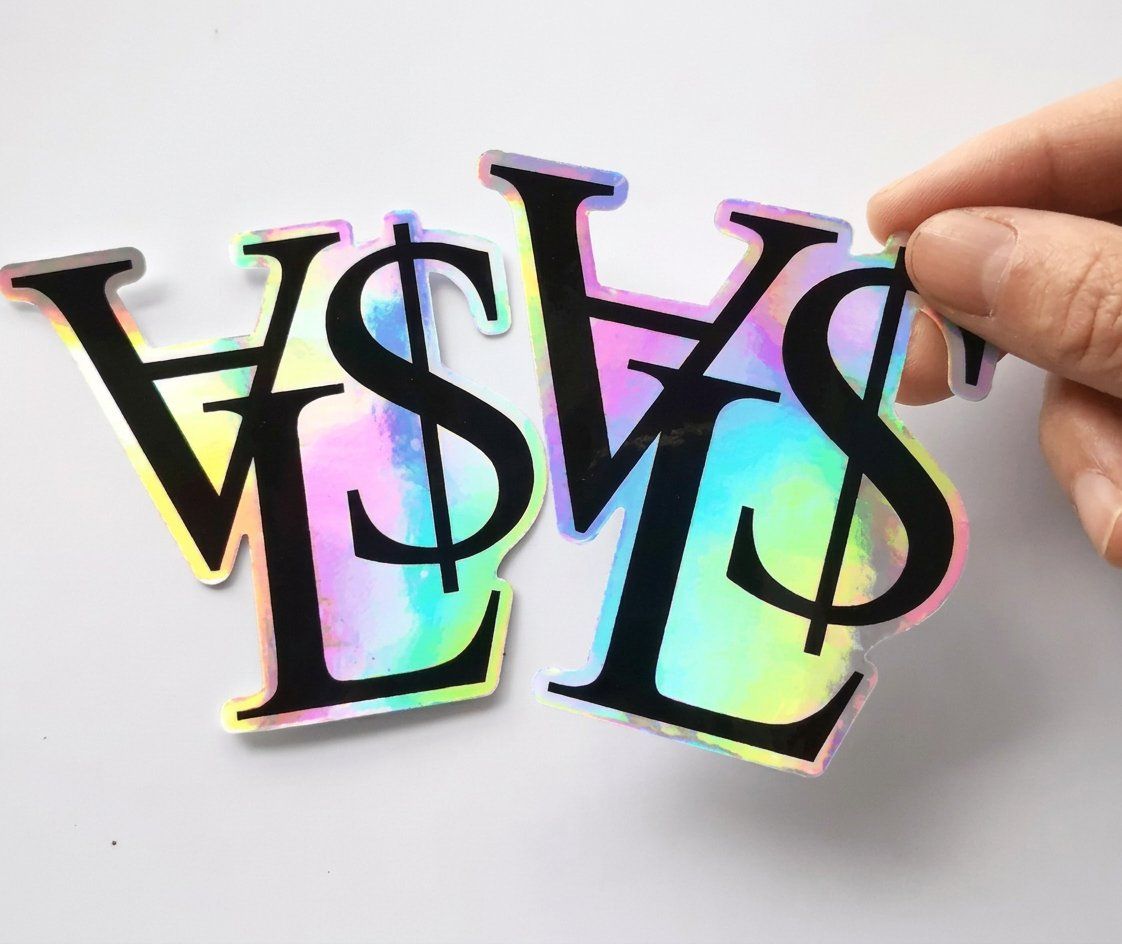
When heat, water, and oil all fall short, a dedicated adhesive remover is the next step. Products like citrus-based removers, isopropyl alcohol, or a commercial de-bonding spray dissolve stubborn glue quickly. Apply a small amount to a cloth rather than soaking the surface, work it into the edge of the sticker, and give it a minute to bite before you lift.
Always test any solvent on a hidden patch first, because some can dull paint, cloud plastic, or strip a finish. Keep the area ventilated and wear gloves for the harsher products. On painted car panels and laptop lids, favor the gentler options like alcohol or citrus over acetone, which can lift automotive clear coat. When a sticker was printed on the right material to begin with, it almost never needs this level of effort to remove, which is a good argument for quality die-cut stickers over cheap labels.
Clearing the leftover residue
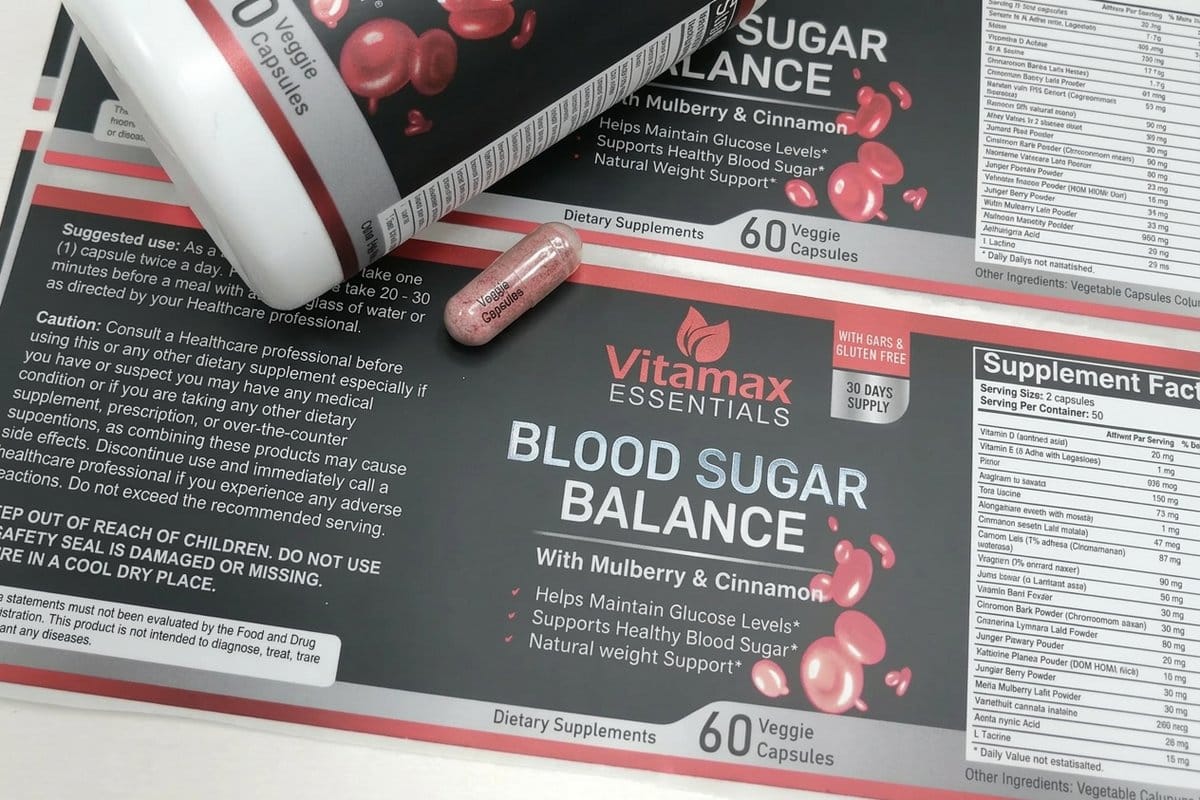
Peeling the sticker is only half the job. The glue it leaves behind is the part people give up on. Whatever method you used to lift the sticker will usually clear the residue too, applied a second time. A ball of the sticker itself, dabbed against the leftover glue, lifts a surprising amount by grabbing its own adhesive.
For the last stubborn film, rubbing alcohol or an oil-based product on a cloth wipes it clean, then a quick wash with soap and water removes any oily trace. Finish by drying the surface fully, especially if a new sticker is going on next, because fresh adhesive needs a clean, dry, grease-free surface to bond properly.
Peel, clean, and print something better
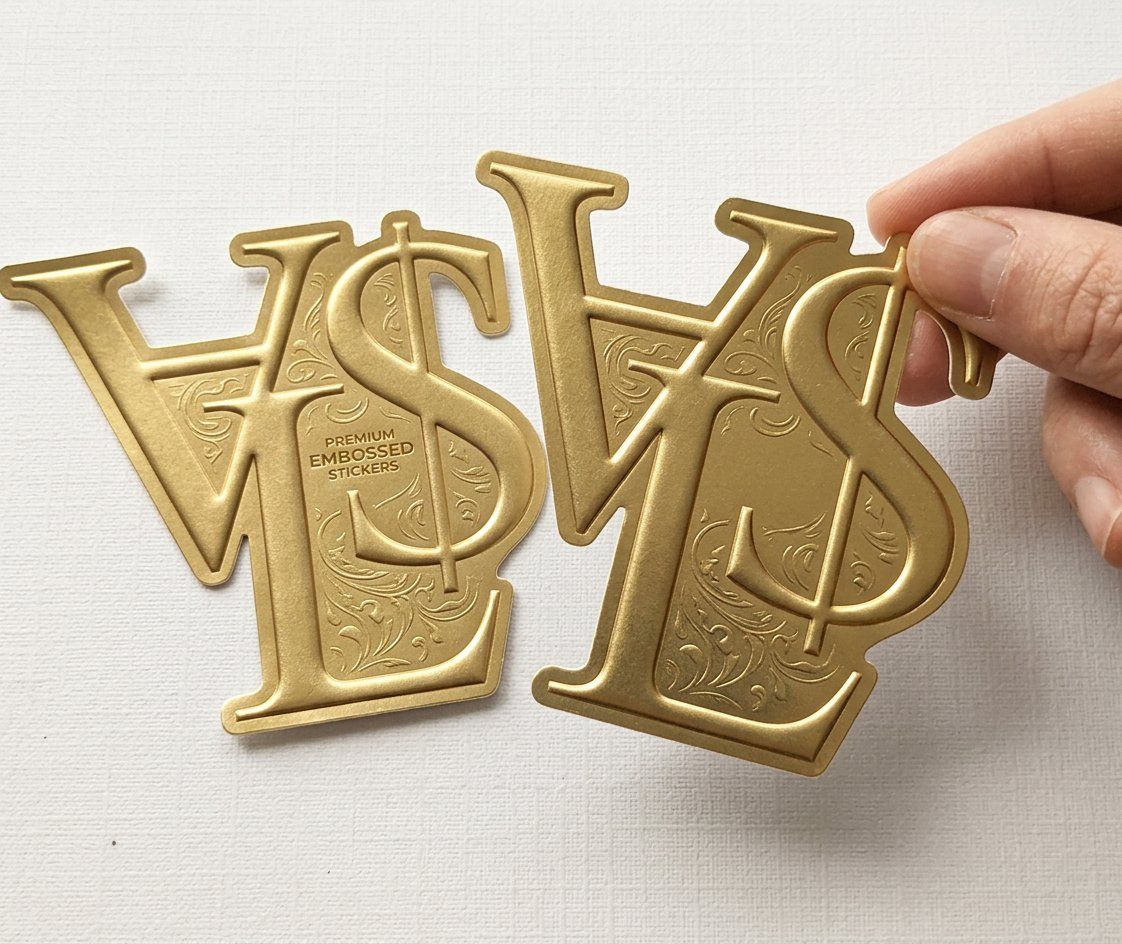
Removing an old sticker cleanly takes three moves: survey the surface, soften the adhesive with the gentlest method that suits it, then clear the residue and dry the area. Take those in order and you will lift almost anything without a scratch. Rush any of them and you trade five minutes saved for an afternoon of scraping.
If you are peeling because a sticker faded, curled, or lost its grip, the real fix is a better print. A custom die-cut sticker on weatherproof vinyl holds its color and its stick for years outdoors, and comes off cleanly when you actually want it to. See how the price scales with size and quantity below, compare finishes in vinyl versus paper stickers, and order free samples to feel the difference before you print. For larger graphics, our story on front adhesive vinyl covers a vinyl stock beyond stickers.
Pick the replacement stock by how long it should stay on.
| You want the sticker to | Stock to choose | Order it on |
|---|---|---|
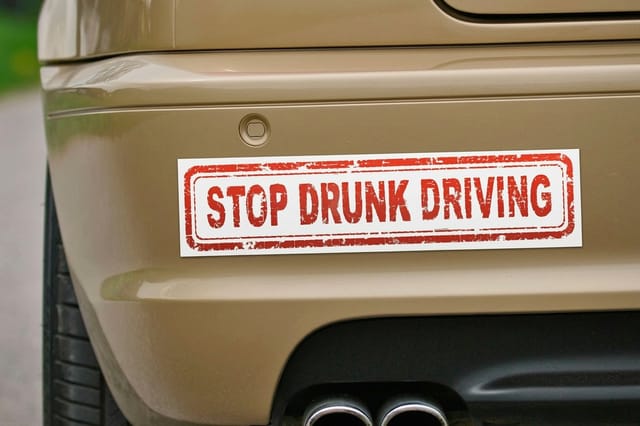
| Stay on outdoors for years | White vinyl permanent, with a UV coating on bumper stickers | Bumper stickers from $38.44 for 25, or die-cut stickers |
| Come off a laptop or jar later without residue | White or clear vinyl repositionable | Die-cut stickers from $93.37 for 25, 2 by 2 up to 11 by 11 inches |
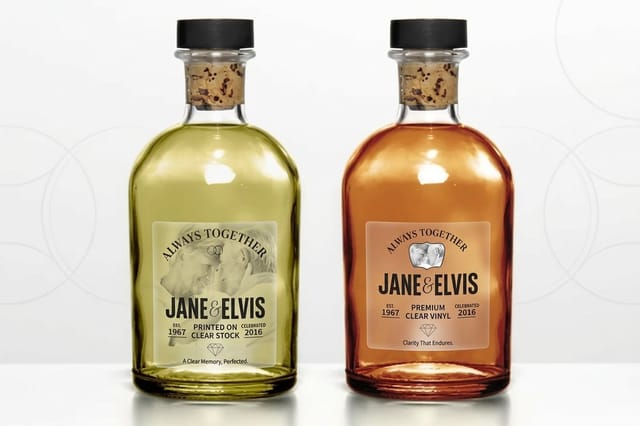
| Lift off a window with no adhesive at all | Clear cling label | Clear stickers from $25 for 25 |
Wally explains sticker removal
Soften the glue and the sticker does the rest
Wally's rule is simple: never fight a sticker cold. A little heat, a soak, or a dab of oil loosens the adhesive so it lets go in one piece instead of tearing and leaving a gluey ghost. Match the method to the surface, clear any residue, then dry it fully. And when the old sticker is off, print the next one on vinyl that stays put until you decide it is time for it to go.
Print stickers that last →
Infographic
How to remove an old sticker, step by step
One frame, the whole sequence: survey the surface, heat the sticker for thirty to sixty seconds, soak paper labels in warm soapy water, let oil sit ten to fifteen minutes on the glue, then clear the residue with alcohol or oil and dry the area. Save it and use it as a checklist the next time a sticker will not budge.
The methods rarely work in isolation. Survey the surface, pick the gentlest way to soften the glue, then clear the residue and dry the area before a fresh sticker goes on.
Specs and pricing
Die-cut sticker specs and live pricing
When the old sticker is off and you are ready to replace it, here are the live specs and price-per-unit for die-cut stickers at 4OVER4.COM, straight from the configurator.
| Quantity | Price Per Unit | Total |
|---|---|---|
| 25 | $3.73 | $93.37 |
| 50 | $1.91 | $95.56 |
| 100 | 100.0¢ | $99.95 |
| 200 | 56.3¢ | $112.59 |
| 300 | 41.4¢ | $124.13 |
| 400 | 33.9¢ | $135.65 |
| 500 | 29.2¢ | $146.10 |
| 600 | 26.4¢ | $158.17 |
Reprint it
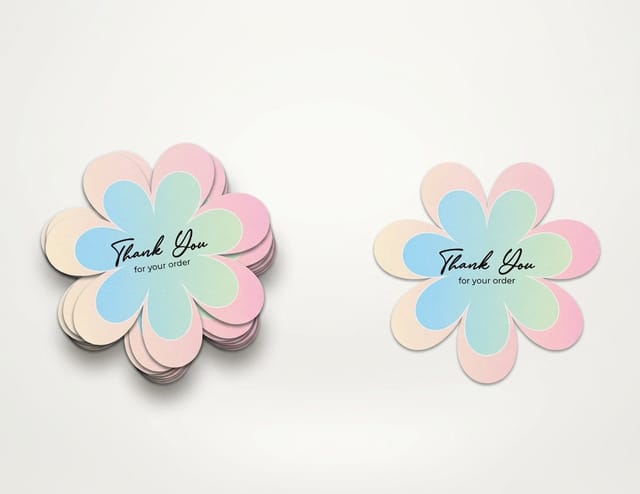
Replace worn stickers with ones that last
Explore more
Where to go next

By the numbers
Paper and vinyl stocks a sticker can print on
Common Questions
Common questions about removing old stickers
What is the easiest way to remove an old sticker?
Heat is the safest and easiest first method for almost any surface. Set a hair dryer to medium, hold the nozzle four to six inches away, and sweep it across the whole label for thirty to sixty seconds, until the sticker is warm to the touch rather than hot. Slide a fingernail or a plastic card under one corner, lift at roughly fifteen degrees, and peel slowly back over itself instead of straight up. If it resists, stop pulling and give it another twenty seconds of heat. For paper labels on washable items, a soak in warm soapy water works just as well and is even gentler.
How do I remove a sticker without leaving residue?
Soften the adhesive before you lift, so the glue comes away with the sticker instead of staying behind. If residue does remain, dab it with a ball of the sticker itself, then wipe with rubbing alcohol or a little cooking oil on a cloth and finish with soap and water. Drying the surface afterward matters if a new sticker is going on next.
Will removing a sticker damage the surface underneath?
Not if you match the method to the surface. Glass and bare metal tolerate heat and solvents, while painted car panels, laptop lids, and screens need the gentlest approach, usually warm soapy water or oil, and never harsh acetone. Always test any solvent on a hidden spot first.
Can I reuse a sticker after peeling it off?
Rarely. Most stickers lose their adhesive strength and often tear during removal, so they are not built to be repositioned more than once. If you need stickers you can move, choose a low-tack or removable material when you print them rather than trying to salvage an old one.
How much do new custom stickers cost at 4OVER4?
Sticker pricing scales with size, quantity, material, and finish, and the configurator updates the price live as you choose. Die-cut stickers start affordably and the per-unit cost drops as the quantity climbs, so ordering a larger run lowers what you pay per sticker.
What sticker material is easiest to remove and replace?
Non-laminated paper stickers lift most easily with warm water, while premium vinyl is built to stay put outdoors and needs heat or a remover to come off. If easy removal matters, ask for a removable or low-tack adhesive when you order. If longevity matters more, weatherproof vinyl is the better call.
How do you remove sticker residue?
Residue is a separate job from the sticker. Start with no tools at all: press a ball of the peeled sticker onto the glue and lift, and the tack pulls its own kind away. What is left comes off with rubbing alcohol on a cloth for glass, bare metal, and hard plastic, or with a little cooking oil left to sit two to three minutes on painted panels, laptop lids, and anything you would rather not strip. Finish with soap and water and dry the surface fully, which matters most if a new sticker is going on next. Keep acetone away from paint, plastic, and screens.
What is the fastest way to remove a sticker from glass?
Glass is the most forgiving surface, so you can use the strongest of the gentle methods. Submerge jars and glassware in hot soapy water for ten to fifteen minutes and most paper labels slide off in one piece. On a fixed window you cannot soak, warm the sticker with a hair dryer for thirty to sixty seconds, lift a corner at a low angle, peel slowly, then take the last of the glue off with rubbing alcohol and a plastic scraper held almost flat so it never scratches.
Get Started
Print 50 diamond glitter stickers from $31.84
Print fresh custom stickers at 4OVER4.COM on weatherproof vinyl that holds its color and comes off clean when you want it to. Set your size, shape, and finish, then allow 5 business days for production.
Legal Disclaimer
Gold Standard guarantees apply to all standard orders placed through 4over4.com. Price match requires verifiable proof of a competitor's published price for an equivalent product with matching specifications and turnaround time. Satisfaction guarantee covers manufacturing defects and print quality issues. Contact support with order number and documentation.
