
How to Plan a Wedding with a Free 2026 Checklist


A wedding is a hundred small tasks spread across many months. This free 2026 checklist puts them in order, working backward from the date, and ties each stage to the printed pieces you will need along the way.
To plan a wedding, work backward from the date and handle each task in its window. Set the budget and guest count, book the date and venue, then send save-the-dates about eight months out, book vendors and mail invitations eight to ten weeks before, print day-of menus and programs in the final weeks, and send thank-you cards after. Keep one design across every printed piece and the whole day feels considered.
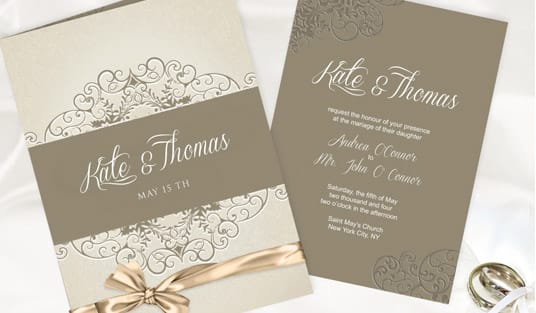
Start here
What to send, and when
Work backward from the date and give every task its window. Set the budget and guest count, book the date and venue, send save-the-dates around eight months out, book vendors and mail invitations eight to ten weeks before, print day-of stationery in the final weeks, and send thank-you cards after. The timeline below maps each stage to the printed pieces you will need.
Why a checklist keeps a wedding calm instead of chaotic

Planning a wedding is not one big task, it is a hundred small ones spread across many months. The couples who enjoy the process are rarely the ones with the biggest budgets. They are the ones who broke the work into a timeline and handled each piece when it was due. That is exactly what a checklist gives you: a calm, month-by-month order instead of a last-minute scramble.
The secret is to work backward from the date. Every decision and every printed piece has a natural window, save-the-dates about eight months out, invitations eight to ten weeks before, day-of stationery in the final weeks. When you slot each task into its month, the whole wedding stops feeling overwhelming and starts feeling like a series of manageable steps.
This guide is that timeline, and it ties each stage to the printed pieces you will need along the way. When you are ready to order, the wedding printing collection holds the full paper suite so every piece shares one look, from the first save-the-date to the last thank-you note.
The big picture and your first steps
Before any dresses, flowers, or playlists, a wedding rests on two numbers: your budget and your guest count. The budget sets the ceiling on everything, and the guest count sets the scale, how large a venue you need, how much catering costs, and how many invitations to print. Lock those two first and every later decision has a frame to work within.
With budget and headcount roughly set, the first concrete steps are choosing your date and booking the ceremony and reception venues. Venues are the hardest thing to change once other plans depend on them and the item most likely to fill up far in advance, so they come early. Everything downstream, vendors, stationery, seating, follows from the where and when.
Once the date is secure, you can send save-the-dates to claim your guests calendars, and that first printed piece quietly sets the visual tone for the whole wedding. Keep its color and style in mind, because the strongest suites carry that same look all the way through to the day.
Twelve months out: date, venue, and save-the-dates
The earliest stage is about locking the foundations. Confirm your budget and guest list, choose the date, and book the ceremony and reception venues. If you are planning a destination wedding or a popular holiday-season date, guests need extra notice, which is why the save-the-date belongs here rather than later.
Send save-the-date cards about eight months ahead, or earlier for a destination event. A 5 x 7 in card with your names, the date, and the city is all it needs to say, and it is the first chance to introduce the color and style that will run through the rest of your stationery. Some couples use a magnet or a photo card so it lingers on a fridge as a reminder.
Treat this piece as the opening note of one continuous design. Choosing your palette and typeface now, and reusing them on the invitation and day-of pieces, is what makes a wedding feel considered rather than assembled. Our guide on when to send wedding invitations maps the full mailing calendar.
Six to eight months out: theme, vendors, and invitations
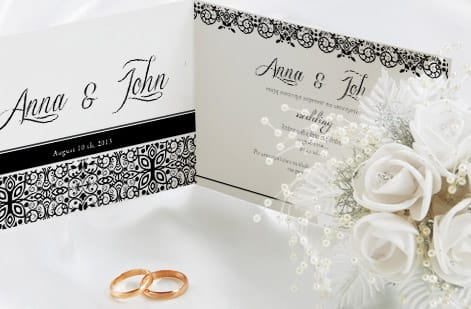
This is the middle stretch where the wedding takes on its personality. Settle your theme, colors, and overall style, then book the vendors who bring it to life: caterer, photographer, florist, and music. Your theme now becomes the design brief for every printed piece, so keep swatches and fonts handy as you move into invitations.
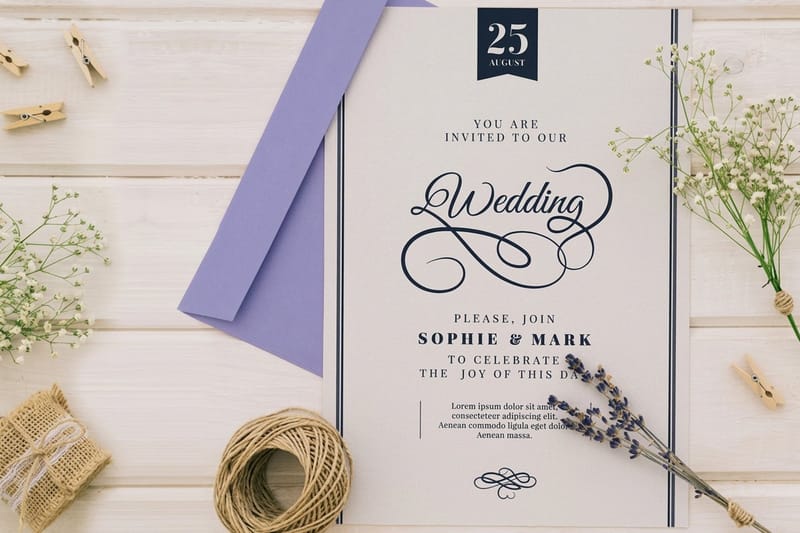
The invitation is the centerpiece of your stationery. Design and mail your wedding invitations at 5 x 7 in about eight to ten weeks before the day, tucked with a 3.5 x 5 in RSVP card and a stamped return envelope. Set the reply deadline three to four weeks before the wedding so you have clean counts for seating and catering. For layout and wording help, see our guide on how to design wedding invitations.
Match the invitation stock and finish to the formality you want. A flat printed invitation suits most weddings beautifully, while foil or a heavier cotton stock signals a more formal celebration. Whatever you choose, order free samples first so you can feel the paper before committing to your full guest count.
The final weeks: RSVPs, seating, and day-of stationery
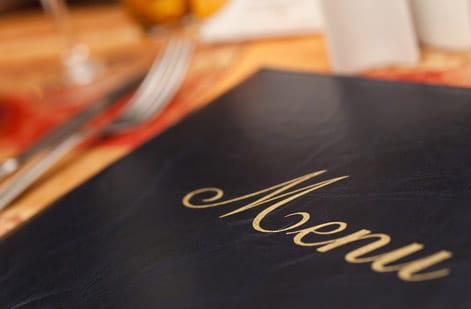
As replies come in, the wedding shifts from planning to production. Finalize your guest count from the RSVPs, build the seating chart, and confirm the menu with your caterer. Only when those are set should you print the day-of pieces, because every one of them depends on final numbers and choices.
The day-of suite usually includes menu cards at 4 x 9 in for each place setting or table, ceremony programs at 5 x 7 in that walk guests through the order of service, and place or escort cards at 2 x 3.5 in that guide everyone to their seats. Table numbers and a welcome sign round out the set. Print these about two weeks out so there is room for production and shipping.
Because these pieces are seen up close and photographed all day, keep them in the same design language as your invitation. A menu, a program, and a place card that all share one look are what make a reception feel polished in every photo.
Your complete wedding paper suite
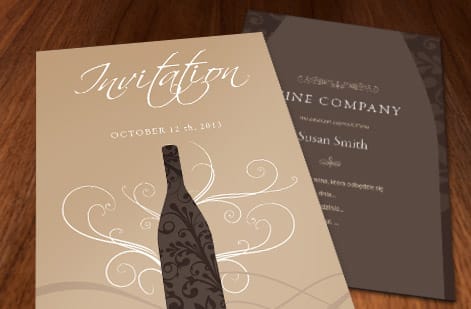
Step back and the whole wedding tells a visual story on paper, from the first announcement to the last note home. Pulling that suite together in one coordinated design is one of the highest-impact, lowest-cost things you can do, and it is far easier when you plan the pieces together rather than one panic at a time.
A full suite typically runs: save-the-dates, invitations with RSVP cards, day-of menus and programs, place cards and table numbers, and finally thank-you cards. Keeping one palette, one typeface, and one stock across all of them is what makes a wedding feel designed, and it photographs beautifully. Browse the full set in the wedding printing collection.
Planning the suite as a whole also saves money and stress, because you order each piece in the right quantity at the right time instead of reprinting to match. Pick your look once, and let every printed piece carry it through the day.
After the wedding: thank-you cards
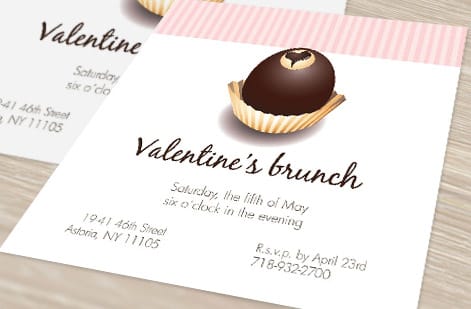
The celebration is not quite finished until the thank-you cards are written. Within a few weeks of the wedding, send a handwritten thank-you card at 5 x 7 in to every guest and gift-giver. It is the warm final note that closes the whole event and the piece your loved ones are most likely to keep.
Order these alongside your invitations so they are ready to write the moment gifts start arriving, and keep them in the same design as the rest of your suite so the last piece feels like part of one wedding. A photo from the day printed on the card makes it doubly memorable.
Practical tip: keep a running list of gifts as they come in, matched to who gave them, so writing the cards is quick and nothing gets missed. A prompt, personal thank-you is the graceful bookend to months of planning.
What the wedding paper suite costs to print
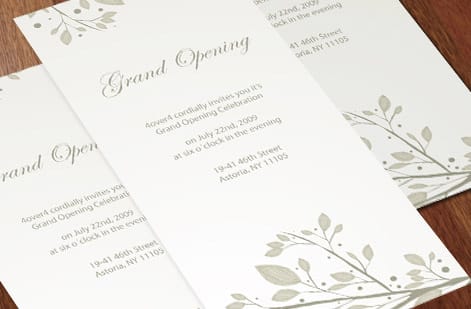
Wedding stationery is one of the more affordable parts of a wedding, and the cost is easy to plan. It scales with quantity, size, stock, and finish: a larger guest count lowers the per-invitation price, while premium touches like foil, embossing, or a thick cotton stock add to it. Because the suite has several coordinated pieces, planning them together lets you order each in the right quantity without waste.
In the 4OVER4.COM configurator every option updates the price live, so you can build the full suite to your budget and see exactly how a heavier stock or a foil finish changes the total before you commit. Ordering the pieces as one project also keeps the design and paper consistent, which is the whole point of a suite.
Use the live specs and pricing panel below to start with your invitations, or order free samples first to feel a couple of stocks in hand. When you are ready, the wedding printing collection has every piece your day will need.
Wally runs the wedding timeline backward
Every task and every printed piece has its own month
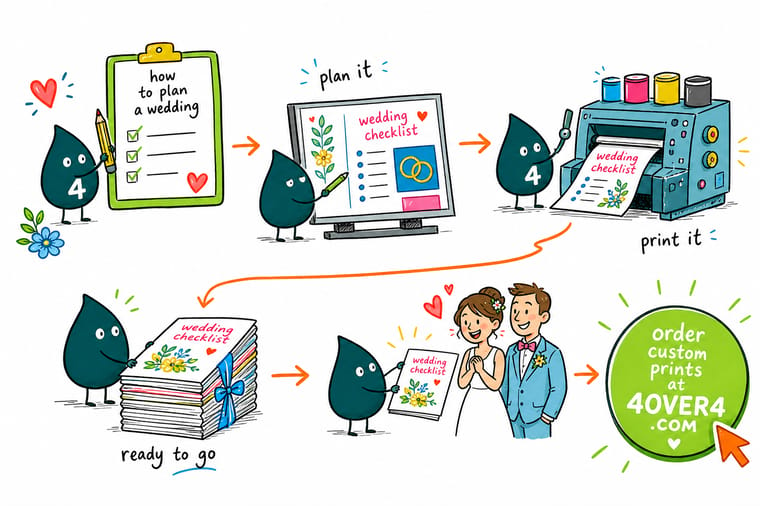
Wally plans a wedding the calm way: anchor the date, then slot each task and each printed piece into its window. Save-the-dates around eight months out, invitations eight to ten weeks before, menus and programs in the final weeks, thank-you cards after. Keep one design across the whole suite and the day feels considered from the first card to the last note.
Order your wedding stationery →Quick reference
Wedding stationery sizes and timing
Each printed piece has a standard size and a natural moment to send it, and the full suite sits below.
| Piece | Standard size | When and why |
|---|---|---|
| Save-the-date | 5 x 7 in | Sent about 8 months out to claim the date on your guests calendars. |
| Invitation | 5 x 7 in | The formal centerpiece, mailed 8 to 10 weeks before the wedding. |
| RSVP card | 3.5 x 5 in | Tucks inside the invitation with a stamped return envelope for replies. |
| Menu card | 4 x 9 in | One per place setting or table, printed about 2 weeks before. |
| Ceremony program | 5 x 7 in | Walks guests through the order of service and names the wedding party. |
| Place and escort cards | 2 x 3.5 in | Guides guests to their assigned seats and adds a personal touch. |
| Thank-you card | 5 x 7 in | Sent within a few weeks after the wedding to every guest and gift-giver. |
Step by step
The wedding planning checklist in 7 steps
- Set the budget and rough guest count Decide what you can spend and how many people you want there. These two numbers shape every later choice, from venue size to how many invitations to print.
- Choose the date and book the venue Lock a wedding date, then secure the ceremony and reception venues, which are the hardest items to change once other plans depend on them.
- Send save-the-dates about eight months out Mail a save-the-date so guests can hold the day, especially for destination or holiday weddings. This is your first printed piece and sets the visual tone.
- Settle the theme, then book vendors Pick colors and a style, then book the caterer, photographer, florist, and music. Your theme now guides the design of every printed piece to come.
- Design and mail invitations eight to ten weeks before Send the formal invitation with an RSVP card and set a reply deadline three to four weeks before the wedding so you can finalize counts.
- Print the day-of stationery about two weeks out Once seating and the menu are final, print menus, programs, place cards, and table numbers so everything matches on the day.
- Send thank-you cards after the wedding Within a few weeks, mail a handwritten thank-you card to every guest and gift-giver to close the celebration on a warm note.
Specs and pricing
Wedding invitation specs and live pricing
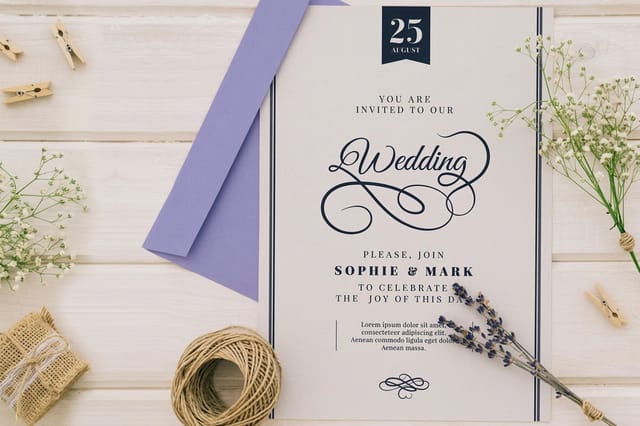
The invitation anchors your whole suite, at 25 for $19.77, which is $0.79 each.
| Quantity | Price Per Unit | Total |
|---|---|---|
| 25 | 79.1¢ | $19.77 |
| 50 | 50.5¢ | $25.27 |
| 100 | 42.8¢ | $42.84 |
| 200 | 25.8¢ | $51.62 |
| 300 | 20.1¢ | $60.42 |
| 400 | 17.3¢ | $69.20 |
| 500 | 15.6¢ | $77.99 |
| 600 | 15.4¢ | $92.26 |
Print it
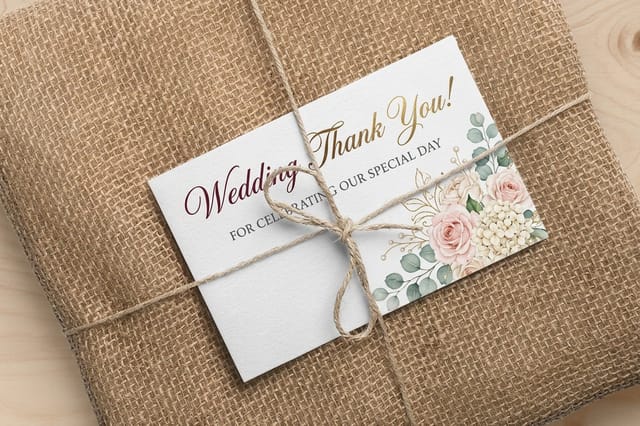
Print your wedding paper suite

See it in use
Wedding stationery customers printed for their day
Explore more
Where to go next
By the numbers
Wedding stock choices and the record behind an invitation order
Common Questions
Common questions about planning a wedding
What do you need to know to plan a wedding?
Planning a wedding comes down to sequencing a lot of decisions in the right order, and the simplest way to keep it manageable is to work backward from the date. Start with the two anchors that shape everything else: your budget, which sets the ceiling, and your rough guest count, which sets the scale. From there the order is natural. Book the venue and date first because they are hardest to change, then send save-the-dates about eight months out, settle your theme and book vendors, mail invitations eight to ten weeks before, print the day-of stationery once seating and the menu are final, and send thank-you cards after. A checklist tied to that timeline turns a hundred small tasks into a calm month-by-month rhythm.
What are the first steps to planning a wedding?
The very first steps are the ones everything else depends on. Begin by setting a realistic budget and a rough guest count, since those two numbers determine the size of venue you need, how much catering will cost, and how many invitations to print. Next, choose your wedding date and book the ceremony and reception venues, because popular venues fill up far in advance and most other plans hang on the location and day. With those locked, you can send save-the-dates to claim your guests calendars and then move on to the theme, vendors, and stationery. Do these first steps carefully and the rest of the planning has a solid frame to hang on.
What is a free wedding planning checklist and how do I use it?
A wedding planning checklist is a timeline of every task organized by how far out it falls from the wedding day, so nothing gets forgotten in the rush. Use it as a running to-do list: at twelve months out you are setting the budget, date, and venue and sending save-the-dates, around six to eight months you settle the theme, book vendors, and design invitations, in the final weeks you gather RSVPs and print the day-of stationery, and after the wedding you send thank-you cards. The checklist in this guide maps each stage to the printed pieces you will need, so you can order your save-the-dates, invitations, menus, and thank-you cards at the right moment and keep one consistent look across the whole celebration.
Which pieces do I actually have to print?
Choose stationery that matches your theme, your formality, and your timeline. Pick one design direction early, a color palette, a typeface, and a paper stock, then carry it across every piece from the save-the-date to the thank-you card so the whole suite feels like one wedding. For formality, a flat printed invitation suits most weddings, while foil, embossing, or a heavier stock signals a more formal or luxe event. Practically, match sizes to standards so pieces fit standard envelopes and place settings: 5 x 7 in invitations and save-the-dates, 3.5 x 5 in RSVP cards, and 4 x 9 in menus. Order free samples to feel the stock before you commit to the full run.
What does wedding stationery cost and how are prices set?
Wedding stationery price scales with quantity, size, paper stock, and finish. Larger guest counts lower the per-invitation price, while premium touches such as foil, embossing, or a thick cotton stock add to it. Because a wedding uses several coordinated pieces, save-the-dates, invitations, RSVP cards, menus, programs, and thank-you cards, the smart move is to plan the full suite at once so the design and stock stay consistent and you order each piece in the right quantity. At 4OVER4.COM every option updates the price live in the configurator, so you can build the whole paper suite to your budget and see exactly how a heavier stock or a foil finish changes the total before you order.
When should I order each piece of wedding stationery?
Follow the mailing calendar and order a little ahead of each send date. Save-the-dates go out about eight months before the wedding, so order them around nine to ten months out. Invitations mail eight to ten weeks before the day, which means designing and ordering them roughly three to four months ahead so you have time to proof and address them. Day-of pieces like menus, programs, and place cards are printed once seating and the menu are final, usually about two to three weeks before, so order them a few weeks earlier to leave room for production and shipping. Thank-you cards can be ordered alongside the invitations so they are ready to write the moment gifts arrive.
Get Started
Order 25 wedding RSVP cards at $0.79 each
Order your save-the-dates, invitations, menus, and thank-you cards at 4OVER4.COM in one coordinated design. Wedding menus run 50 for $57.11, which is $1.14 each.
Legal Disclaimer
Gold Standard guarantees apply to all standard orders placed through 4over4.com. Price match requires verifiable proof of a competitor's published price for an equivalent product with matching specifications and turnaround time. Satisfaction guarantee covers manufacturing defects and print quality issues. Contact support with order number and documentation. On-time delivery rate based on tracked orders 1999 to 2026. Individual results may vary based on shipping carrier performance.
