
How to Make a Custom Mug From First Sketch to Finished Gift


Jordan is our labels, packaging and sustainability voice, built from the knowledge of our production team, with over 20 years in printing.
Pick the blank, build the artwork inside the wrap template, choose a print method that matches your quantity, and proof one mug before the batch. This guide walks the full job, then shows you the printed cards, labels, and boxes that turn a single mug into a gift set worth opening.
To make a custom mug, choose a coated blank, download the wrap template for that exact body, and build your artwork at three hundred dots per inch in CMYK with bleed on every edge. Keep the message centered away from the handle gap, pick sublimation for photographic color or screen printing for volume brand marks, then press or cure one sample mug and wash it before releasing the full run.
Start here
From blank to pressed and packed
Making a custom mug is four decisions and one test. You decide the blank, because its shape sets the printable area. You decide the decoration method, because sublimation, screen printing, vinyl, and engraving each suit a different quantity and a different kind of artwork. You build the file to the wrap template at print resolution in CMYK. You choose how the mug will be packed and what goes in the box with it. Then you proof one physical sample, wash it, and only release the batch once that mug looks right in your hand.
Print a photo on a mug
How to print a photo on a mug
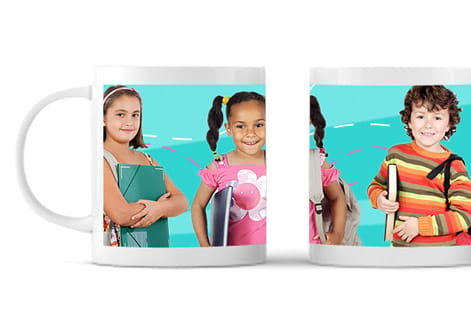
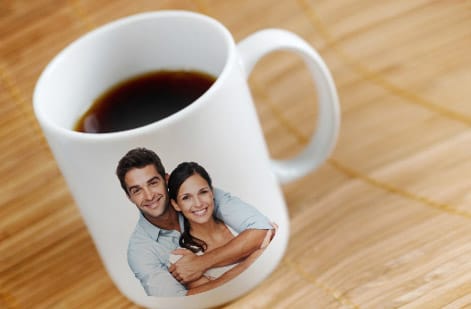
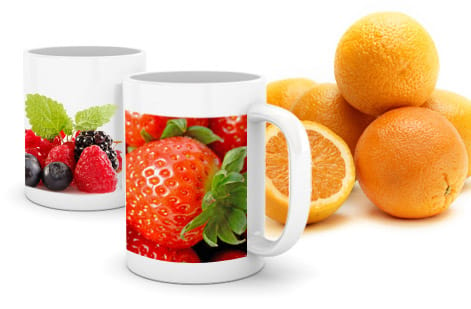
To print a photo on a mug, size the photo to the wrap area, export it in full color, and order a single mug first. Our white mugs print a 4 color wraparound image: 8.5 x 3 inches on the 11 oz mug or 9 x 4 inches on the 15 oz. Crop the photo to that shape, keep faces away from the handle side, and build the file at 300 DPI at the full print area size. One mug starts at $17.73 with 5 business days of standard production, so you can check the color on a single proof mug before you order the gift batch.
Why a custom mug outlasts almost everything else you print

Most promotional items get one look and then a drawer. A mug gets used, washed, refilled, and used again, which means the artwork on it is seen hundreds of times by the same person. On an 11 oz mug that artwork is an 8.5 x 3 inch band, and on a 15 oz mug a 9 x 4 inch band, so every inch of it gets read at arm length over coffee. That single fact changes how you should design it. Nothing on a mug can be a throwaway detail, because there is no rushed glance to hide behind.
It also changes the tone. A flyer can shout. A mug lives in someone's kitchen, so it earns its place by being pleasant rather than loud. The brands that do this well print something a person would actually choose: a clean mark, a joke that stays funny, a photograph that means something. Then they surround it with matching print, which is where a branded card or a printed tag turns a single object into a gift someone remembers receiving.
This guide walks the whole job in order, from picking the blank through artwork setup, color, proofing, and packing. If you want the pure layout side in more depth, the companion guide on how to design your own mug goes deeper on composition.
What you need before you open a design file

Three things decide whether this goes smoothly: the mug body you are printing on, the decoration method it supports, and a piece of artwork built at the right size for both. Choose those first and the design work becomes straightforward. Choose them last and you will rebuild the file twice.
Pick the blank by use. Eleven ounce ceramic is the default office and gift size, fifteen ounce reads as generous, a latte shape flatters wide horizontal artwork, and an enamel or stainless body suits travel and outdoor branding at the cost of a smaller print window. Order a single unprinted sample if you can. Weight in the hand tells you more about perceived value than any product photo will.
Then gather the assets: a vector logo, any photography at full resolution, and the exact hex or Pantone values for your brand colors. If you are producing a whole branded package rather than one item, the same asset pack feeds your printed product tags and every other piece in the set, so it is worth assembling once and properly.
The wrap area, the handle gap, and the template that controls both

A mug looks round, but the file you send is flat. The printable surface unrolls into a rectangle, and on a standard eleven ounce ceramic that rectangle runs roughly eight and a half inches wide by three and a quarter inches tall, minus the space the handle occupies. Ask for the exact template rather than assuming, because it shifts with every body shape.
Inside that rectangle there are three zones worth naming. The center is the money zone, the part facing a viewer sitting across the table. The two flanks curve away and are read at an angle, so they suit pattern, texture, or a repeated mark rather than words. The handle gap is a dead zone where nothing prints at all, and artwork that ignores it comes back with a logo sliced in half.
Two practical rules follow. Keep at least a quarter inch of clear space away from the top rim and the base, since both edges are where transfers bruise and ink thins. And if you want full coverage, extend the background past every edge of the template exactly as you would bleed a printed cover, so a millimeter of drift does not leave a white line down the seam.
Building the artwork file so it prints the way you see it

Set the document to the template dimensions plus bleed, at three hundred dots per inch, in CMYK. Those three settings prevent most of the problems that come back from production. A screen mockup at seventy two dots per inch looks perfect and prints like a photocopy, and RGB artwork gets converted somewhere in the chain whether you supervise it or not.
Keep type generous. Anything under ten points fights both the curve and the slight spread of ink into the coating, and thin hairline strokes are the first thing to disappear. Outline your fonts or embed them before you export. Place logos as vector art wherever possible so edges stay crisp at any size, and reserve raster images for actual photography.
Export a flattened, high quality file with bleed included and no crop marks unless production asks for them. It also pays to check the design as a photograph rather than a flat rectangle: wrap it around a cylinder mockup so you can see how the center reads before you commit. The same discipline that keeps small formats like custom baseball cards sharp is exactly what a mug wrap needs.
Sublimation, screen print, vinyl, or engraving: picking the method

Dye sublimation is the standard for personalized mugs. Artwork is printed onto a transfer, wrapped around a coated blank, and pressed at high heat until the ink turns to gas and bonds inside the coating. The result is photographic, full color, and effectively permanent, since there is no layer sitting on top of the surface to scratch off.
Screen printing is the volume answer for flat brand marks. Each color needs its own screen and setup, which makes short runs expensive and long runs very economical, and it gives you true spot color matching that sublimation approximates. Vinyl transfer suits one off names and dates but is the least durable under dishwashing. Laser engraving on coated stainless produces a permanent tonal mark with no color at all.
Choose by three questions: how many are you making, how many colors does the art need, and how hard will the mug be washed. Photographic art in small quantities means sublimation. A two color logo across five hundred pieces means screen printing. A single anniversary gift can be vinyl, provided you tell the recipient to wash it by hand.
Why the color on your screen is not the color on the mug

Every printing process compresses the color you see on a backlit display into pigment on a surface, and mugs compress harder than paper does. The glaze adds a slight warm cast, the coating slightly darkens midtones as ink cures into it, and highly saturated blues and oranges shift more than neutrals do. None of this is a defect. It is simply what happens when light emitted becomes light reflected.
Design around it instead of fighting it. Convert to CMYK early so you are working in the space that will actually print. Give brand colors a Pantone reference and ask whether the process can match it, because a corporate blue that shifts purple is the single most common complaint. Add roughly five percent brightness to photographic images before submission to offset the cure, and avoid designs whose entire meaning depends on separating two pale tints.
Contrast is your safety net. Dark artwork on white ceramic or reversed white on a solid dark ground survives every variable in the process. The riskiest choices are mid gray on mid beige, or fine colored type at small sizes, both of which look elegant on screen and muddy on glaze.
Proof a single mug before you commit to the batch
A digital mockup answers whether the layout works. It cannot answer whether the logo sits too close to the handle, whether the seam falls in an awkward place, or whether your teal reads green under kitchen light. One physical sample answers all three in under a minute of looking, and it costs a fraction of a spoiled run.
When the sample lands, hold it the way a user will. Rotate it slowly and watch where the artwork disappears around the curve. Check the alignment at the handle on both sides. Compare the color against your reference in daylight rather than under a desk lamp. Then wash it, ideally through a dishwasher cycle, and look again, because durability problems show up in the first wash or not at all.
Write down the changes you want, make them all at once, and only then release the batch. Approving artwork in one careful pass is the same habit that keeps every other custom item consistent, from custom sticky notes to a full branded set.
Finish the mug with labels, seals, and printed extras
The mug is the object. What surrounds it decides how the gift feels when it is opened. A care label on the base, a sealed box, and a small printed note read as a considered product rather than a loose item wrapped in tissue, and none of it adds meaningful cost per unit.
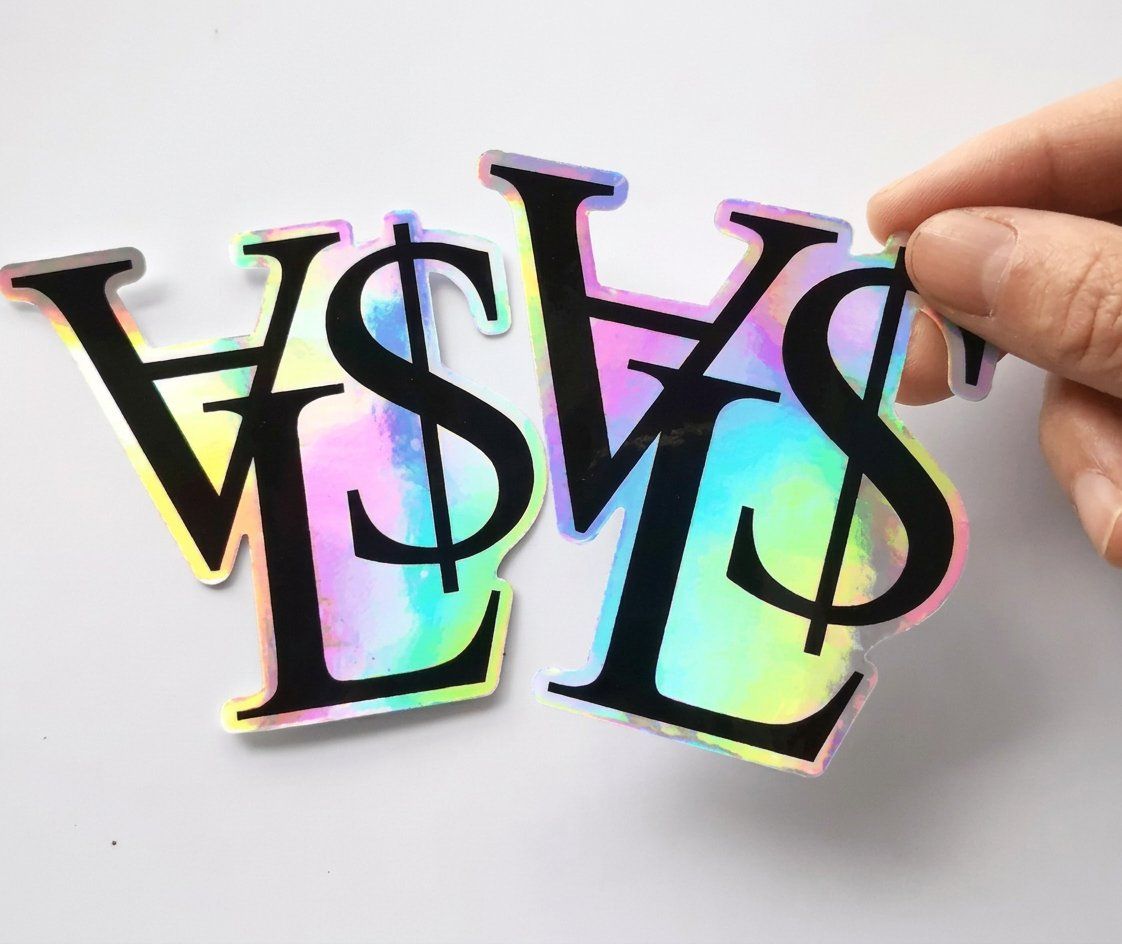
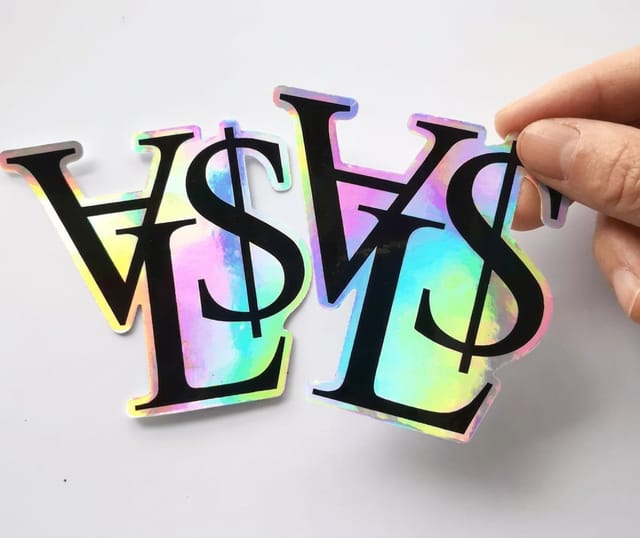
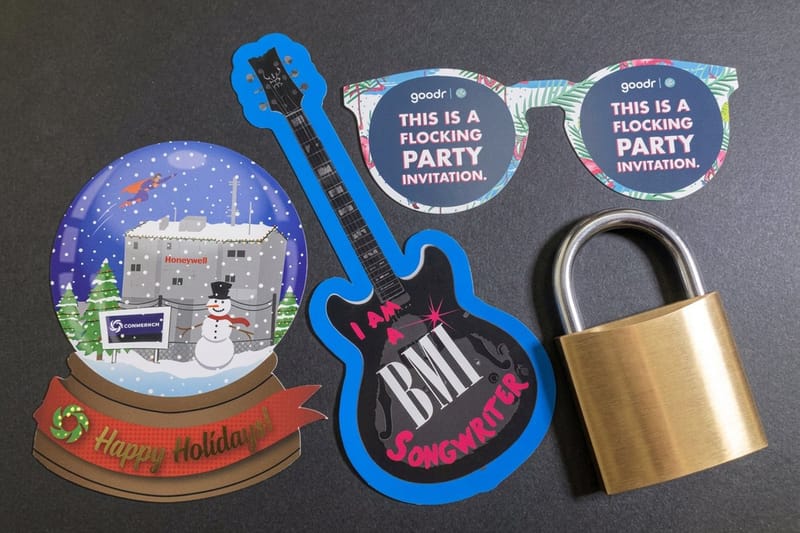
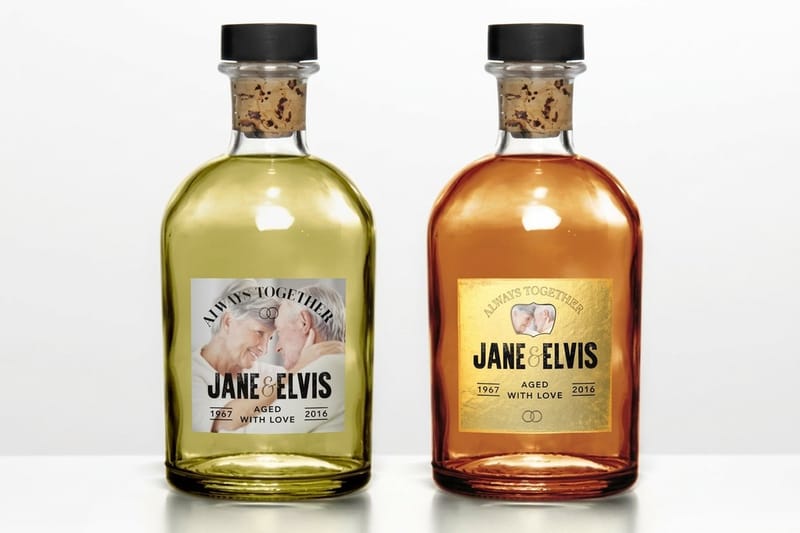
Stickers do most of the work. A base label carries the wash instruction and your mark where it never competes with the artwork. A seal across the box flap makes opening feel deliberate. Custom Holographic Stickers start at $322.98 and bring a shifting metallic finish that photographs extremely well, which matters if the recipient is likely to post the unboxing.
Keep the sticker artwork in the same family as the wrap: same typeface, same palette, same amount of breathing room. If you are building a wider merchandise line, the approach carries straight across to custom branding tags and every other label in the set.
Turn one mug into a gift set

A single mug is a nice gesture. A mug with a printed card, a coaster, and a box is a package, and packages get photographed, kept, and mentioned. The upgrade is mostly a matter of deciding what goes in the box before you order the mug, rather than scrambling for filler afterwards.
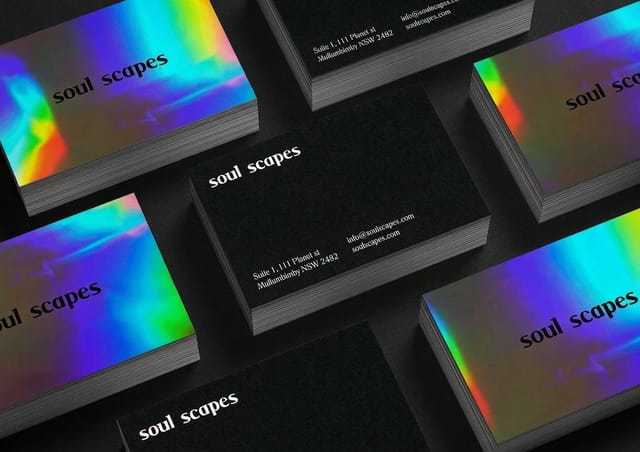
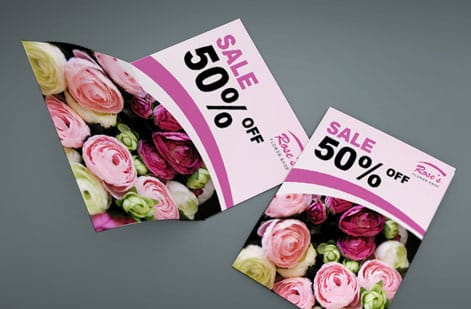
The card is the piece people underestimate. Custom Business Cards start at $17.57 and give you a small, cheap, high quality surface for a thank you line, a discount code, or a name so the recipient knows exactly who this came from. Print two versions if the same set goes to clients and to staff.
Add a matching coaster and the set feels designed rather than assembled. The build is straightforward, and the guide on how to make custom coasters covers the stock and finish choices that hold up under a hot mug.
Pack it properly, then order with the right lead time

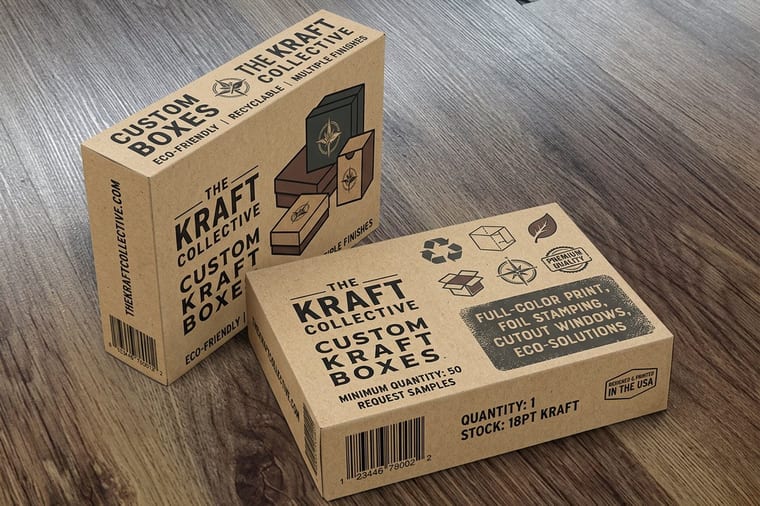
Mugs break. That is the whole risk of shipping them, and the fix is a box sized to the mug with enough rigidity to survive a courier. A printed box also does double duty as the outer packaging and the presentation, which removes a step and looks far better than a plain carton with a label slapped on.
Plan the calendar backwards from the date the mugs need to be in hand. Artwork approval, one physical proof, production, and transit each take real days, and the proof is the step people cut when they are late. If the mugs are for an event, build in a buffer week so a color correction does not become a crisis.
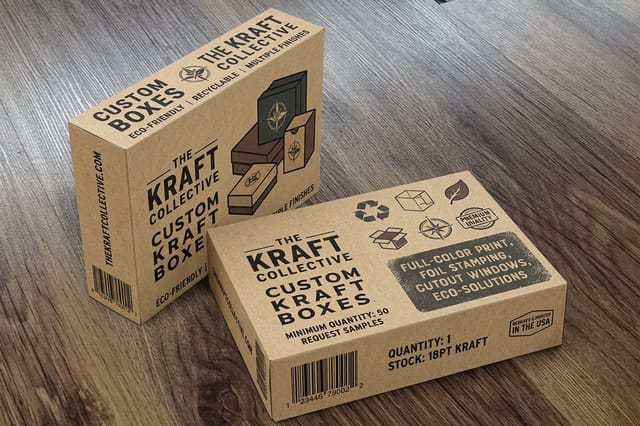
For the packaging itself, Custom Kraft Boxes start at $711.78 for a printed run and give you a sturdy, natural finish that suits ceramic well. Browse the full custom printing collection to line up the rest of the set, and request free paper samples before you lock the box stock.
Wally explains the mug wrap
A mug is a flat rectangle that happens to curve
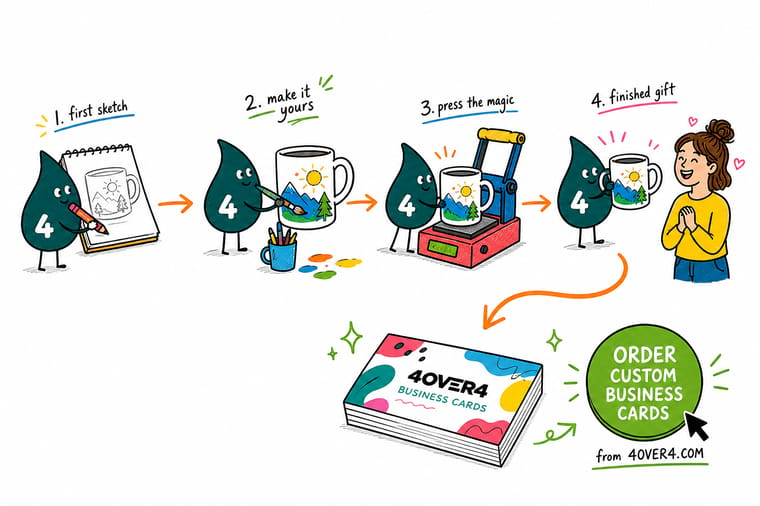
Wally's trick is to stop thinking about a cylinder. Print the template at actual size, tape it around a plain mug, and look at it from across the table. Whatever you can read from there belongs in the center. Whatever disappears around the sides should be pattern, not words. Two minutes with paper and tape saves a whole box of mugs with a sliced logo.
Print the matching cards →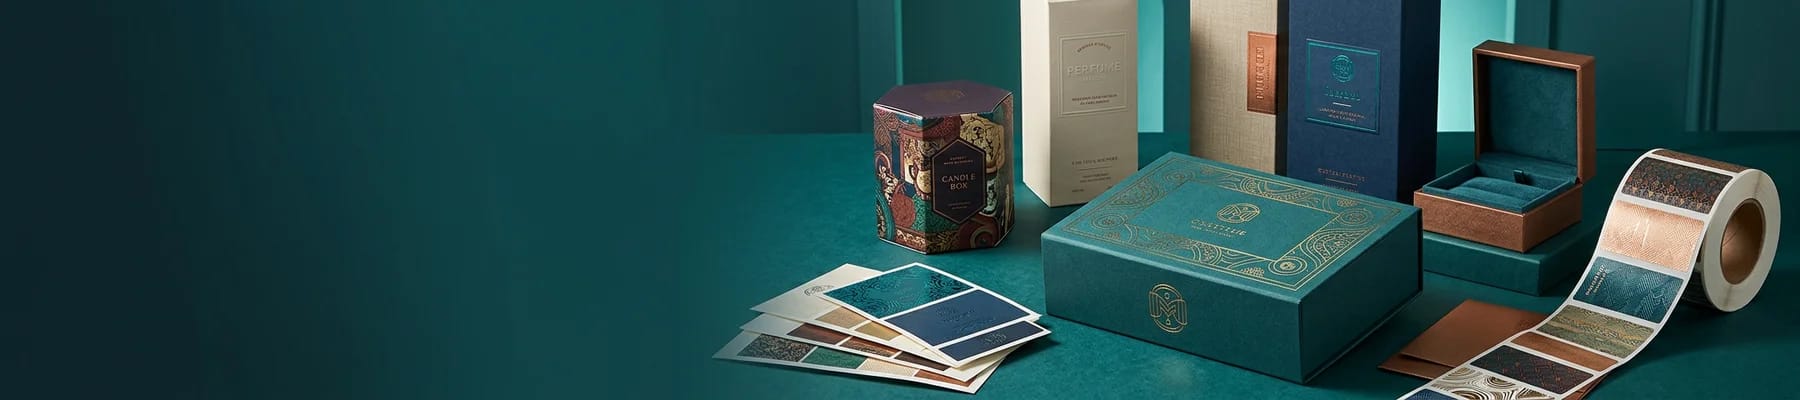
Infographic
Seven steps from artwork to finished mug
One frame, seven steps, from choosing the 11 oz or 15 oz blank to packing the finished set. Keep it open while you build the file, and work through it in order so nothing gets discovered after the batch is already pressed.
The steps are sequential for a reason. Every one of them is cheap to change before the batch is pressed and expensive to fix afterwards, and step six is the one people skip when they run late.
Specs and pricing
Card specs and live pricing for the gift set
The printed card that ships beside the mug carries the thank you, the name, and the reorder link. Here are the stock, size, and finish options with live pricing by quantity.
| Quantity | Price Per Unit | Total |
|---|---|---|
| 100 | 17.6¢ | $17.57 |
| 200 | 11.5¢ | $23.07 |
| 300 | 9.15¢ | $27.46 |
| 400 | 7.96¢ | $31.86 |
| 500 | 7.25¢ | $36.26 |
| 600 | 6.77¢ | $40.64 |
| 700 | 6.43¢ | $45.04 |
| 800 | 6.18¢ | $49.43 |
Print it
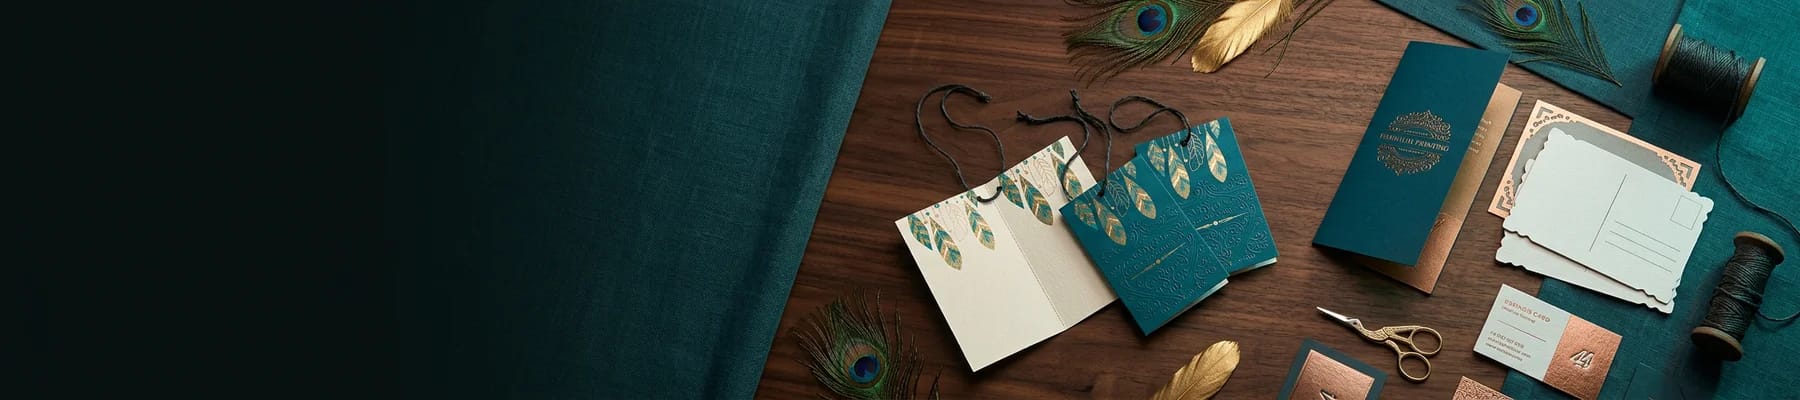
Everything else the mug set needs, printed at 4OVER4
See it in use
Real custom print work, produced in-house

Explore more
Where to go next

By the numbers
Products, paper types, and the record behind a custom gift order
Common Questions
Common questions about making a custom mug
What is a custom mug?
A custom mug is a standard ceramic, enamel, or stainless drinkware body decorated with your own artwork instead of a stock pattern. The blank itself is mass produced, and the personalization happens afterwards, usually by sublimating a printed transfer into the mug coating or by screen printing ink onto the surface and curing it. That means the shape, capacity, and handle are fixed, while the wrap graphic, the color, and any name or message are entirely yours.
Ceramic, enamel or tumbler, and what decides it?
Work backwards from how it will be used. A thick eleven ounce ceramic body suits an office giveaway because it stacks, ships cheaply, and takes a full color wrap. Enamel and travel tumblers suit outdoor and vehicle use but restrict the print area and often the color range. If the mug is a retail item or a client gift, weight and glaze quality matter more than price per piece, and it is worth ordering one of each candidate before committing to a run.
What does a custom mug cost and how are prices set?
Price is driven by the blank, the decoration method, the number of print positions, and the quantity. A one off photo mug carries almost no economy of scale, while a batch of a hundred spreads setup across every piece. Full wrap coverage costs more than a small single side logo, and premium finishes such as color changing or inner glaze coating add to the blank cost before any printing happens.
What sizes, finishes, and print methods are available for custom mugs?
Eleven and fifteen ounce ceramic are the common sizes, with twelve ounce latte shapes, enamel camp styles, and insulated tumblers as alternatives. Finishes range from standard gloss to matte, two tone rim and handle, and color changing coatings. Decoration is usually dye sublimation for photographic full color, screen printing for flat spot color at volume, or laser engraving on coated stainless.
How long does a custom mug take to print and ship?
Sublimation is fast once artwork is approved, since each mug is pressed individually in a matter of minutes. Most of the calendar time goes to file checks, a proof, and packing, so a small order typically moves in a few business days while a large branded run needs longer for screens, curing, and quality checks. Always add transit time, and add more if the mugs are landing on a fixed event date.
Can I put a photo on a mug?
Yes, and sublimation is the method that handles it best because it lays down continuous tone rather than dots of spot ink. Supply the photo at three hundred dots per inch at the final wrap size, avoid upscaling a small phone screenshot, and keep faces away from the handle cutouts. Slightly brightening the image before you submit it compensates for the small darkening that happens when ink cures into the glaze.
Are custom mugs dishwasher safe?
Sublimated ceramic mugs are the most durable option because the color lives inside the coating rather than on top of it, and they generally survive normal dishwasher cycles for years. Vinyl transfer and some screen printed inks are the ones that fade, lift, or crack under repeated heat, so hand washing is the safer instruction to print on the packaging when you are not certain which method was used.
Get Started
Order 250 kraft gift boxes from $711.78
Bring your artwork to 4OVER4.COM and print the cards, labels, and boxes that turn a single custom mug into a gift someone keeps on the desk.
Legal Disclaimer
Gold Standard guarantees apply to all standard orders placed through 4over4.com. Price match requires verifiable proof of a competitor's published price for an equivalent product with matching specifications and turnaround time. Satisfaction guarantee covers manufacturing defects and print quality issues. Contact support with order number and documentation.
