
Golf Cart Graphics and Decal Ideas That Make Your Cart Stand Out


Jordan is our labels, packaging and sustainability voice, built from the knowledge of our production team, with over 20 years in printing.
Make Your Cart Stand Out Without Making It Loud
The golf cart decal ideas that work start from where vinyl can sit: a hero graphic on the hood, a name or number on the lower side panels, and a stripe along the roof edge. A golf cart is a small canvas with a very specific problem, since almost none of it is flat, and between the hood curve, the cowl, the seat back and the roof struts you get six usable zones and a lot of tempting space that vinyl will never sit on cleanly. The carts that look expensive are the ones that treat those six zones as a set instead of six separate stickers.
Start with a single dominant element and let everything else support it. A large hood graphic with small matching side panels reads as a designed cart. A hood graphic, a different side graphic, a name in a third typeface and a bumper strip in a fourth color reads as a cart that has been decorated three times by three people.
The same discipline applies whether you are wrapping one personal cart or twenty course carts. Pick two colors and one accent, decide where the logo lives, and keep that placement identical on every panel. When the fleet lines up at the first tee, consistency is what people photograph.
The six zones worth designing
- Hood. The largest single surface and the one everyone sees head on. Give it the hero graphic.
- Cowl and dash face. Curved, so it needs conformable material or a small badge instead of a full panel.
- Lower side panels. The natural home for a name, number, or sponsor lockup at eye level from the path.
- Seat back. The panel the group behind you stares at all day, and the most wasted space on most carts.
- Roof edge. A thin stripe here ties the top and bottom of the cart together for very little cost.
- Rear bumper strip. Ideal for a short tagline, a course name, or a tournament year.
Print it rigid
Aluminum graphics for the cart barn
The same artwork, printed on rigid panels built to live outdoors.

Golf Cart Decal Ideas Sized for Each Zone
Each zone of the cart suits one kind of decal, and matching the idea to a real size keeps the set looking planned. Custom car decals print from 2 x 2 up to 11 x 11 inches on permanent or repositionable white vinyl, cut to your shape, and 25 cost $93.37 in 5 business days.
- Number roundel on both side panels. A 4 x 4 or 5 x 5 inch circle cut to shape, the same size and height on each side.
- Name or nickname on the cowl. A 4 x 6 inch decal keeps script lettering above the two inch height where it stops reading.
- Crest or monogram on the hood. An 11 x 11 inch custom shape gives the hero graphic room without covering the whole curve.
- Tagline or tournament year on the rear. Bumper stickers at 3 x 11 or 2.75 x 15 inches print on permanent white vinyl with a UV coating.
- Sponsor logo on the seat back. An 8.5 x 11 inch decal on repositionable vinyl lets you lift and adjust it while you line it up.
- Fleet unit numbers. One order holds up to 20 sets, so each cart number or each sponsor gets its own design in a single run.
Custom Golf Cart Design Ideas Worth Stealing
The strongest cart designs fall into a handful of families, and each one solves a different goal. Pick the family first, then the artwork. Trying to combine a racing stripe, a camo fill and a script monogram on the same cart is how good ideas cancel each other out.
Racing livery is the safest crowd pleaser. Two stripes running hood to seat back, a number roundel on the side panel, and a small sponsor block near the rear. It works because the shapes follow the length of the cart instead of fighting it.
Team and school colors are the second family. Keep the body color as the dominant field, use the school mark once at a large size, and repeat only the accent color elsewhere. A mascot on every panel looks cluttered within a week.
The third family is the clean monogram cart: matte body, a single oversized initial or crest on the hood, and nothing else but a thin roof stripe. It photographs beautifully and it ages well, which matters if you keep the cart for a decade.
- Course and resort livery. Logo on the hood, hole map or course name on the seat back, unit number on both sides for staff tracking.
- Beach and coastal. Faded gradient panels, palm silhouettes at low contrast, and a hand-lettered name along the lower rocker line.
- Camo and outdoors. A single camo pattern on the lower half only, with the upper body left solid so the cart does not disappear into itself.
- Tailgate and team spirit. Big number on the seat back, team wordmark on the hood, and a flag stripe wrapping the rear bumper.
- Business and sponsor carts. Logo, one line of service copy, phone or QR code on the side panels where riders can read it while parked.
Whatever you choose, sketch it on a straight-on photo of your own cart before you buy anything. Print the photo, draw the shapes on it, and you will catch the hinge line or handle that would have cut your logo in half.
Print picks
Three formats that finish the look off the cart
Live prices, ready to size and configure for your course or shop.
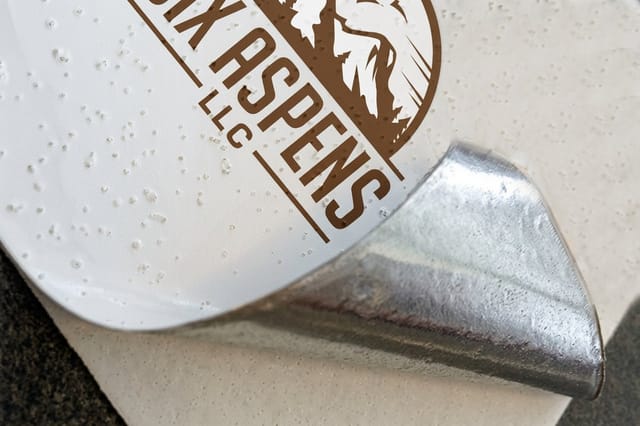 Aluminum Floor Graphics $29 each Mark cart staging lanes and pro shop entries with a rigid graphic that takes foot traffic.
 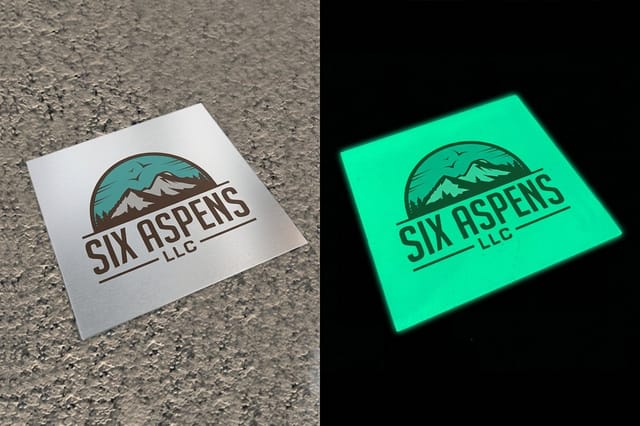 Aluminum Glow Floor Graphics $49 each Glow finish that keeps cart paths and charging bays readable once the lights go down.
  Aluminum Wall Graphics $29 each Rigid panels for the cart barn, bag drop, and sponsor walls that live outdoors.
 Vinyl Decal Ideas for Every Panel of the Cart
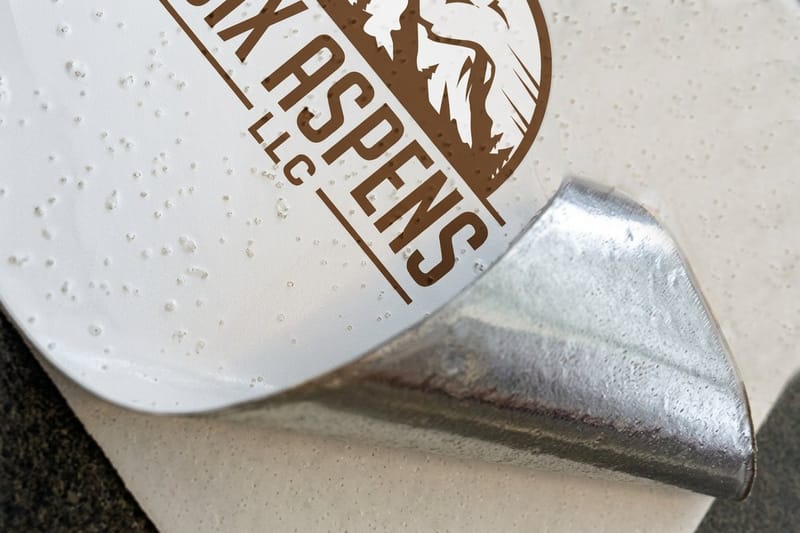
Once the overall direction is set, the individual decals do the work. Think in pieces that can be replaced independently, because the panel that gets scuffed on a cart path is rarely the panel carrying the main artwork.
Number decals are the most useful and the most abused. Keep them at least four inches tall so they read from a cart length away, use a single weight, and place them in the same spot on both sides. Outline numbers in the body color rather than black if you want them to feel integrated.
Name and nickname decals belong on the lower side panel or the cowl, never across the hood where they fight the hero graphic. Script faces look good at speed but lose legibility below two inches, so size up or switch to a condensed sans.
Decal formats that work on carts
- Die cut letters and shapes. No background, so the cart color stays visible. Best for names, numbers, and simple logos.
- Full panel graphics. One printed sheet per panel, edge to edge. Highest impact and the most demanding to apply.
- Stripe kits. Long, thin, repeatable, and forgiving. A stripe kit is the cheapest way to change how a cart reads.
- Windshield and roof decals. Small marks only, placed where they will not sit in the driver line of sight.
- Reflective accents. A thin reflective band on the rear is a safety feature first and a design feature second.
If the cart is part of a business, the same artwork should show up off the cart too. Sticker sheets, counter signs and window marks all reuse the file you already paid to design, which is exactly the logic behind these logo sticker promotion ideas.
Start fast
Templates and print-ready blanks
Free layouts plus exact-size blanks so your artwork lands on the right dimensions the first time.
How to Apply Golf Cart Decals Without Bubbles
Application is where most cart projects go wrong, and almost every failure traces back to a dirty surface or a dry application on a panel that was too large to handle dry. Give yourself an hour, a shaded spot, and a helper for anything wider than a foot.
Step 1: clean, then clean again
Wash the panel with soap and water, dry it, then wipe it with isopropyl alcohol. Wax and detail spray are the enemy of adhesive. If the cart was recently polished, expect to wipe the panel three times before the cloth comes away clean.
Step 2: hinge and position
Tape the decal in place with the backing still on, step back, and check it against the panel edges from ten feet away. Then run a strip of masking tape down the middle to create a hinge, so each half can be applied while the other stays put.
Step 3: wet or dry, then squeegee from the center
For anything larger than a hand, mist the panel with water carrying a few drops of dish soap. Peel the backing from one half, lay the vinyl down, and squeegee from the hinge outward in overlapping strokes. The soapy layer lets you lift and reposition before the adhesive grabs.
Step 4: heat, seal, and wait
Warm curved areas gently with a heat gun or hair dryer and press the edges down as the vinyl relaxes. Remove the transfer tape at a sharp angle, low and slow. Leave the cart out of the rain and out of the wash bay for twenty four hours so the adhesive can cure.
Small bubbles that appear a day later usually contain water, not air, and they disappear on their own in warm weather. A bubble that is still there after a week gets a pinprick at its lowest edge and a thumb pushed toward the hole.
Mark the ground
Aluminum floor graphics
Stage the carts where you want them with a rigid graphic that survives foot traffic and wash downs.
Materials and Finishes That Survive Sun, Rain, and Wash Downs
A cart lives outdoors in direct sun, gets sprayed down regularly, and vibrates all day. Material choice decides whether your graphics look sharp in year three or peel at the corners by the second summer.
Cast vinyl is thinner and dimensionally stable, so it conforms to compound curves like the cowl and stays put. Calendared vinyl is cheaper and stiffer, which is fine on the flat lower panels and poor on anything that curves in two directions. A laminate over the print is not optional outdoors, it is the layer that takes the UV hit instead of your ink.
Finish changes the personality more than most people expect. Gloss reads sporty and hides small surface flaws. Matte reads premium and shows every fingerprint. Satin sits between the two and is the safest choice for a cart that will be photographed a lot.
For anything that has to live on a wall, a post, or the ground rather than on the cart itself, rigid aluminum beats vinyl outright. It does not lift, it does not need a substrate, and it carries the same artwork at the same color.
Built for outdoors
Aluminum glow floor graphics
A glow finish that keeps cart paths and charging bays readable after dark.
Fleet, Resort, and Sponsor Graphics That Pay for Themselves
Course operators have a second reason to care about cart graphics: a fleet is a rolling advertising network that already goes everywhere your customers go. Hole sponsors, local restaurants, and equipment brands all pay for placement that a bag drop sign cannot match.
Build the fleet system around slots, not one-off designs. Reserve the seat back for the course identity, the lower side panel for the rotating sponsor, and a small corner for the unit number. When a sponsor changes, you replace one panel across twenty carts in an afternoon instead of redesigning anything.
Keep every sponsor decal to the same footprint so the fleet stays visually even, and hold a spare set of unit numbers. Carts get swapped, panels get replaced, and the number is the piece maintenance needs first.
The signage around the fleet should match it. Bag drop, cart barn, charging bays and the pro shop entry all carry the same marks, which is where rigid printed panels earn their keep. Course operators running tournaments handle it the same way businesses handle storefront visibility, and the thinking overlaps with these signage ideas for attracting walk ins.
Compare options
Popular rigid graphics, side by side
Material, size, quantity, turnaround, and price in one view.
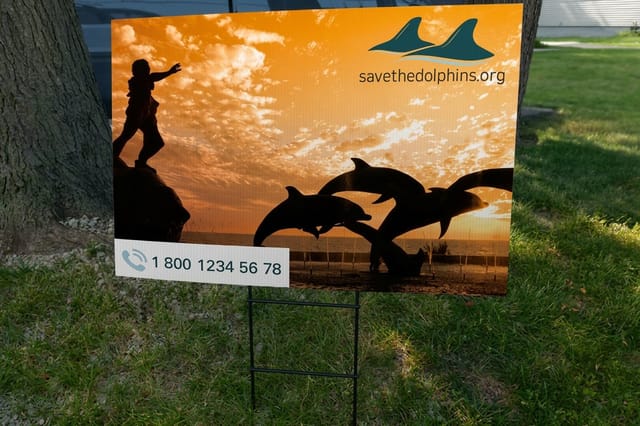 Coroplast | 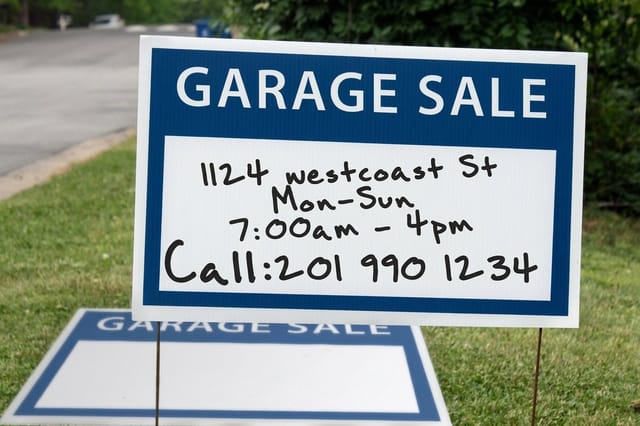 Dry Erase Coroplast | 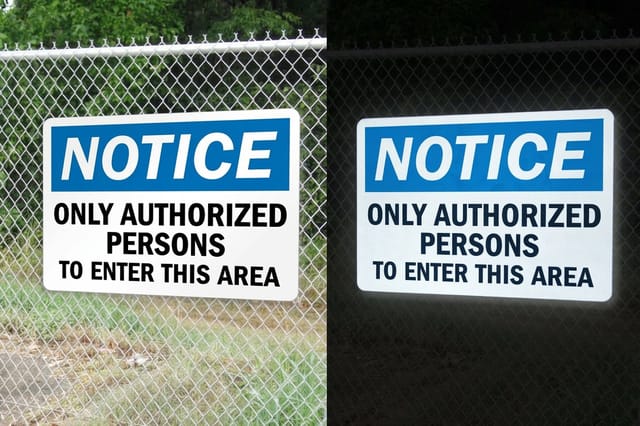 Reflective Coroplast | 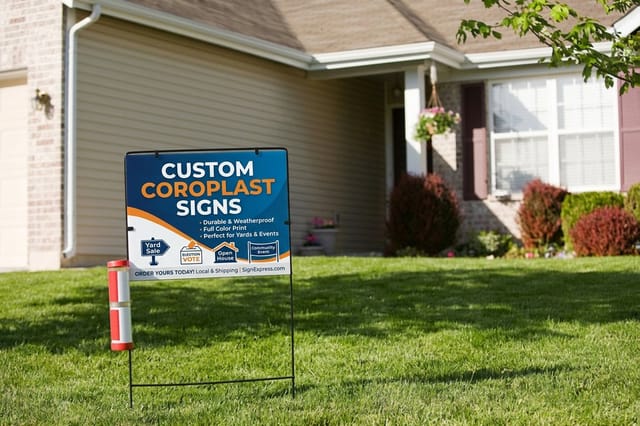 Plastic Coroplast Signs | |
|---|---|---|---|---|
| Min price | $25.00 | $31.99 | $29.00 | $25.00 |
| Paper / stock | 4mm White Coroplast | 4mm White Coroplast | 4mm White Coroplast | 4mm White Coroplast |
| Finish | - | Dry Erase Lamination | Reflective Film | - |
| Size | 11" x 17" | Any Size | Any Size | 12" x 18" |
| Default qty | 1 | 1 | 1 | 1 |
| Turnaround | 3 business days | 4 business days | 4 business days | 5 business days |
| Rating | ||||
| View & customize | View & customize | View & customize | View & customize |
What Golf Cart Graphics Cost and How Pricing Is Set
Print pricing rests on three things: how much material the job uses, how many pieces you order, and what happens to the piece after it prints. Custom car decals show the curve, with 25 at $93.37 and 100 at $99.95, so the extra 75 decals add less than seven dollars. Cutting, laminating, and finishing each add a step, and each step adds cost per unit until quantity spreads it out.
That is why a single die cut number costs a few dollars and a full set of panel graphics costs meaningfully more. It is also why ordering the whole fleet at once is dramatically cheaper per cart than ordering carts one at a time as sponsors sign.
Rigid printed panels follow the same curve. Aluminum Wall Graphics and Aluminum Floor Graphics from 4OVER4.COM start at $29, and Aluminum Glow Floor Graphics start at $49, with the per piece price dropping as the count rises. Configure the size and quantity you actually need and the table below updates with real numbers.
Budget a little extra for spares. Ordering ten percent more of the small pieces, numbers and sponsor decals especially, costs very little at print time and saves a rush order the week of a tournament.
Quantity and price
Aluminum wall graphics pricing and specs
Real configurator numbers. Per piece cost falls as the count rises.
| Quantity | Price Per Unit | Total |
|---|---|---|
| 1 | $29.00 | $29.00 |
Getting the Artwork Right Before You Order
Good files make good graphics. Send vector artwork whenever the design is type or logo based, because vector scales to a hood panel without softening. Photographic elements need to be at least 150 dpi at final print size, which is a much larger file than most people assume for a panel two feet wide.
Build in a bleed on anything that runs to a panel edge, and keep critical elements away from the trim by a quarter inch or more. Cart panels have rounded corners and hardware cutouts, so a logo sitting right at the boundary is a logo that gets clipped.
A short pre-flight checklist
- Measure the real panel. Tape measure on your own cart, not a spec sheet from a different model year.
- Convert type to outlines. Fonts that are not embedded reflow, and reflowed type on a cut file is a wasted print.
- Set colors in CMYK. Bright RGB greens and blues shift on press, so check them before you approve.
- Add bleed and a safe margin. Quarter inch each way is enough for almost every panel.
- Print a paper mockup. Tape it to the cart at full size and look at it from a cart length away.
Do that much and the file is ready for whatever you order next, whether that is a cut vinyl set for the cart or rigid panels for the barn and the bag drop.
Wally helps you plan the cart before you print it
Measure the panels first, then pick the material and the finish
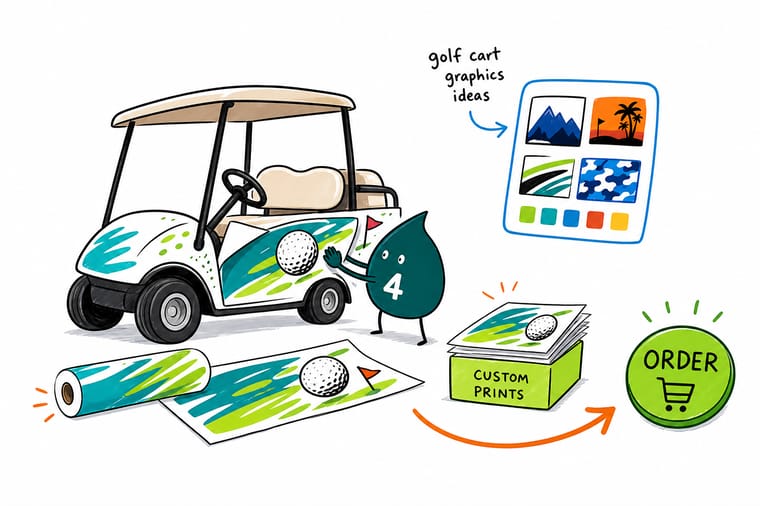
Photograph your cart straight on, mark the six design zones on the picture, and measure each panel with a tape measure rather than trusting a spec sheet. Choose cast vinyl for the curved hood and cowl and calendared vinyl for the flat lower panels, then add a UV laminate on anything that lives outside. For signage around the cart, rigid aluminum panels hold color and never lift at the edges.
Order aluminum graphics →Golf cart graphics by the numbers
By the numbers
Cart graphics in figures, from panel zones to our delivery record
Each cart gives you six design zones, number decals need at least 4 inches of height, and the adhesive needs 24 hours before rain. The volume and on-time figures are 4OVER4.COM company numbers across all print work, not cart counts.
Cart graphics takeaways
Read next before you order
Keep going
Guides that pair with a cart graphics project
Four articles that put your cart file to work on logo stickers, storefront signs, tournament brochures and event posters.
 Guide Logo Sticker Promotion Ideas Ten ways to put the same cart artwork to work off the cart.
  Guide Signage Ideas That Attract Walk Ins Placement and sizing lessons that transfer straight to a course.
  Guide 10 Brochure Ideas You Have Not Tried Print pieces to hand out alongside a sponsored fleet.
  Guide Poster and Flyer Design Ideas Event artwork that pairs with tournament cart graphics.
 Explore more
More print ideas from 4OVER4.COM
For the cart barn and the paths, aluminum glow floor graphics start at $49 and aluminum wall graphics at $29, both out in 4 business days, with floor graphics in sizes from 9 x 18 to 24 x 36 inches.
Product Aluminum Wall Graphics Rigid outdoor panels for the cart barn, bag drop, and sponsor walls. Product Aluminum Floor Graphics Mark cart staging lanes and pro shop entries underfoot. 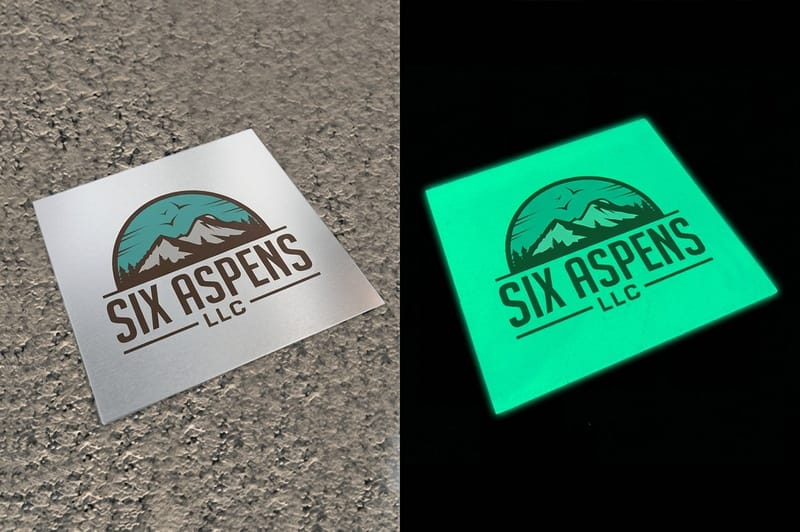 Product Aluminum Glow Floor Graphics Glow finish for cart paths and charging bays after dark. Article 10 Fun Ways to Use Logo Stickers Put your cart artwork to work on more than the cart. Article 10 Signage Ideas to Attract Walk Ins Sizing and placement rules that apply to any property. Article 10 Brochure Ideas You Have Not Tried Handouts for tournaments, leagues, and sponsor packets. Article Poster and Flyer Design Ideas Seasonal event artwork that matches your cart livery.
  Article 100 Art and Craft Business Names Naming inspiration before you letter the side panel.
  Article 100 Cleaning Business Names Name ideas for the service cart that doubles as a billboard.
  Article 100 Crochet Business Names A naming exercise that works for any small brand. Article 100 Food Truck Name Ideas Vehicle branding lessons that carry over to carts.
 Ready to print the graphics that go with your cart?
Size the panels, upload your artwork, and we print rigid aluminum graphics for the cart barn, the bag drop, the charging bays, and the pro shop floor.
Golf cart graphics questions, answered
How do I make a golf cart read as one design instead of stickers?
Treat the cart as one design instead of a collection of stickers. Choose a single hero graphic for the hood, repeat one accent color on the side panels and roof edge, and keep the logo or number in the same position on both sides. Two colors and one accent is plenty. The carts that look custom rather than decorated are the ones where every panel clearly belongs to the same set.
What are the best golf cart graphics ideas for a personal cart?
Racing livery with two stripes and a number roundel is the most reliable crowd pleaser. A clean monogram cart, meaning a solid body with one oversized initial or crest on the hood, ages the best and photographs beautifully. Team colors work when the mascot appears once at a large size rather than on every panel. Coastal fades and lower-half camo suit carts that live near a beach or a hunting property.
How do I choose the right golf cart graphics for my cart?
Start with where the cart lives and who sees it. A personal cart can carry a bold hood graphic and a name on the cowl. A course fleet needs slots instead: course identity on the seat back, rotating sponsor on the lower side panel, unit number in a fixed corner. Then match material to shape, cast vinyl for the curved cowl and hood, calendared vinyl for flat lower panels, and rigid aluminum for anything mounted off the cart.
What do golf cart graphics cost and how is the price set?
Price follows material area, quantity, and finishing steps. A single die cut number is a few dollars, a full panel set costs considerably more, and cutting or laminating each add a step that shows up in the per piece price. Quantity is the biggest lever, so ordering a whole fleet in one run costs far less per cart than ordering as sponsors sign. At 4OVER4.COM, Aluminum Wall Graphics and Aluminum Floor Graphics start at $29 and Aluminum Glow Floor Graphics start at $49.
What sizes, materials, and finishes are available for cart graphics?
Cut vinyl decals run from small two inch badges to full panel graphics two feet wide or more, with gloss, matte, satin, and reflective finishes. The Reflective Vinyl Graphics video shows those cut shapes lit after dark. Outdoor work should always carry a UV laminate over the print. For signage that lives around the cart rather than on it, rigid aluminum panels are configurable by size and quantity, hold color outdoors without lifting, and mount to walls, posts, or floors. Use the specs and price tables on this page to see the exact options.
