
What Is a Transfer Sticker and How Do You Apply One Cleanly


Transfer stickers carry lettering, logos and multi piece artwork onto glass, metal, plastic and fabric in a single aligned move, leaving no border behind. This guide covers the layers, the materials, the application method and what the printing actually costs.
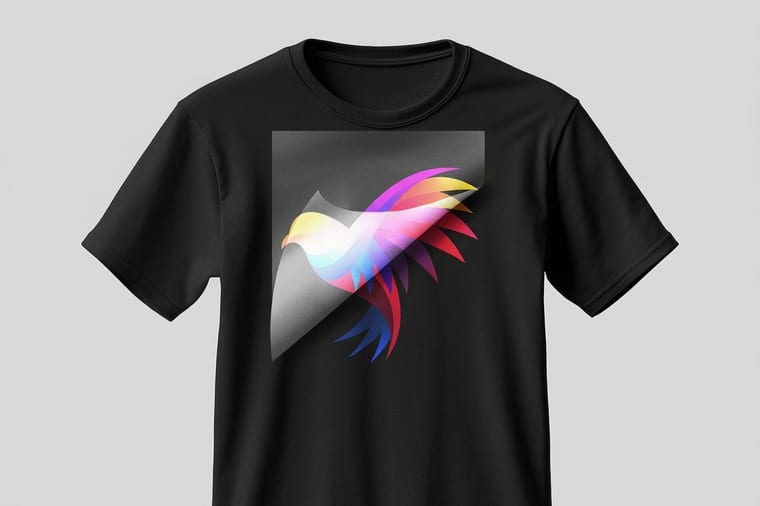
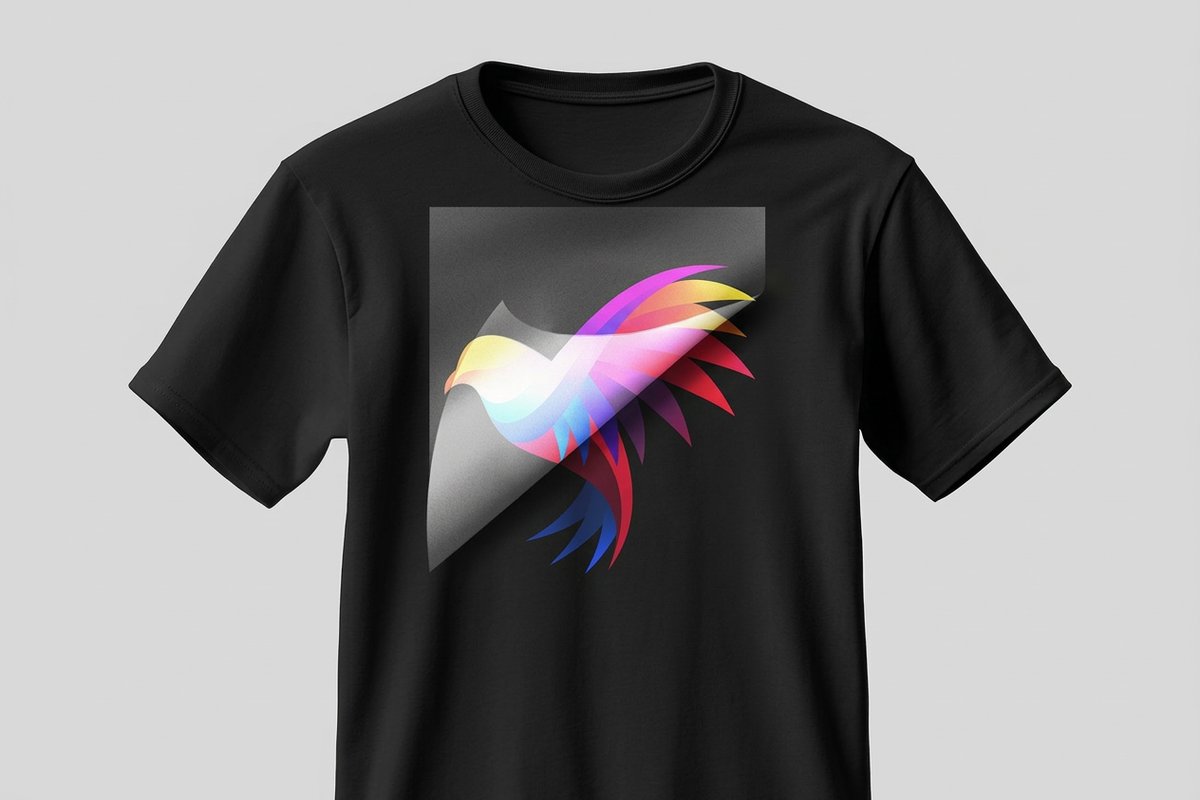
A transfer sticker is a decal built in three layers: a release liner underneath, adhesive artwork in the middle, and a tacky transfer tape on top. You peel the liner, press the artwork onto the surface with the tape, then pull the tape away at a low angle so only the design stays. That structure is what lets separate letters and detached logo elements land in perfect alignment, with no visible sticker border around the finished graphic.
Start here
Transfer stickers in one paragraph
A transfer sticker moves a whole design onto a surface at once instead of one shape at a time. The artwork is cut or printed on adhesive film, held in position by a layer of transfer tape, and protected underneath by a release liner. You clean the surface, position the sheet, peel the liner, squeegee from the centre outward and remove the tape. What remains is only the design itself, which is why window lettering, vehicle graphics and pressed apparel prints all rely on this format.
Why transfer stickers exist at all
Try placing a fourteen letter business name on a shop window one letter at a time. The first three land straight, the fourth drifts a millimetre high, and by the end the baseline wanders and the letter spacing you spent an afternoon setting is gone. There is no way to fix it without lifting everything and starting again.
The transfer sticker was invented to remove that problem entirely. Instead of handing you loose shapes, the printer locks every element to a sheet of tacky tape in exactly the position your artwork specified. You align one rectangle rather than fourteen letters, press, and pull the tape away. Kerning, spacing and rotation all survive the trip from the shop to the surface.
That is why the format dominates window lettering, vehicle graphics, equipment decals, helmet numbers and apparel prints. Anywhere artwork has multiple detached pieces or needs to sit on a surface without a visible sticker border, a transfer is the honest answer. For a broader look at how this fits alongside other production methods, our overview of different types of printing puts sticker work in context.
What is a transfer sticker?
A transfer sticker is a decal made of three layers: a backing liner underneath, the adhesive artwork in the middle, and a transfer tape on top that carries the artwork onto the surface and is then peeled away. Nothing of the tape or liner stays behind. Only ink and adhesive film remain, which is why a well applied transfer looks painted rather than stuck on.
The backing liner is a silicone coated release paper or film. Its only job is to protect the adhesive until the moment of application and then let go cleanly. The middle layer is where the design lives, either printed on a vinyl or film face stock and then contour cut, or cut directly from a solid colour vinyl with the unwanted areas weeded out by hand.
The transfer tape on top is the clever part. It is deliberately tackier than the release liner but less aggressive than the artwork adhesive, so the design lifts off the liner with the tape and then chooses the wall, glass or panel over the tape when you press it down. Tack levels are matched to the job, because fine detail needs more grip and large solid areas need less.
The four kinds of transfer stickers and when each one wins
Cut vinyl transfers are single colour shapes cut from coloured vinyl, weeded, and taped. There is no printing involved, so the colour is the material itself and cannot fade unevenly. This is the standard for window hours, phone numbers, boat lettering and door graphics.
Printed transfers start as a full colour digital print on white or clear vinyl, get a protective laminate, then a contour cut and transfer tape. Use these when the artwork has gradients, photography or more than two or three colours. They are the closest thing to a painted graphic that you can order and apply yourself.
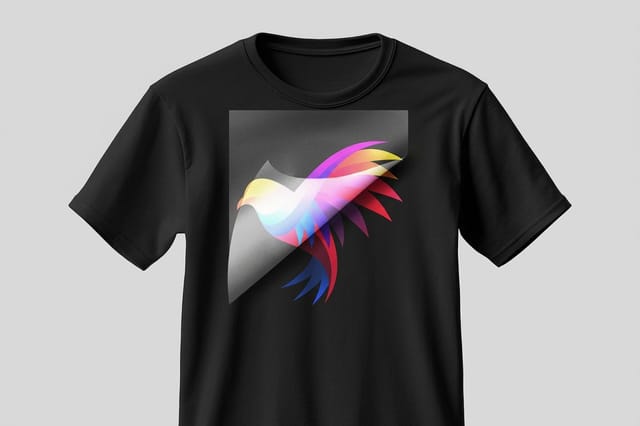
Heat activated transfer film swaps adhesive for heat. The design is printed on a polyester carrier, an adhesive powder is bonded to the ink, and a heat press drives the whole thing into the fibres of a garment or bag. Our Heat Activated Transfer Film starts at $19 and is the option to reach for whenever the target is fabric rather than a hard surface.
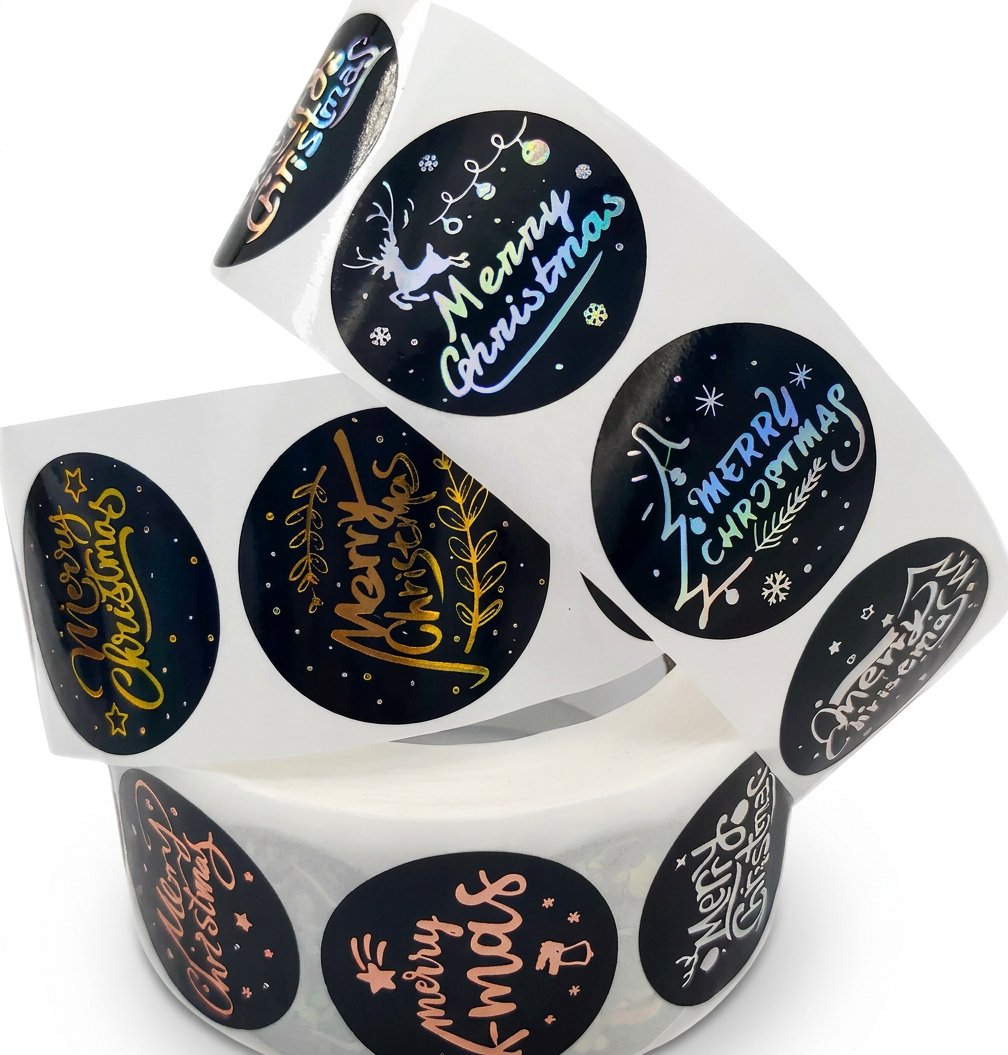
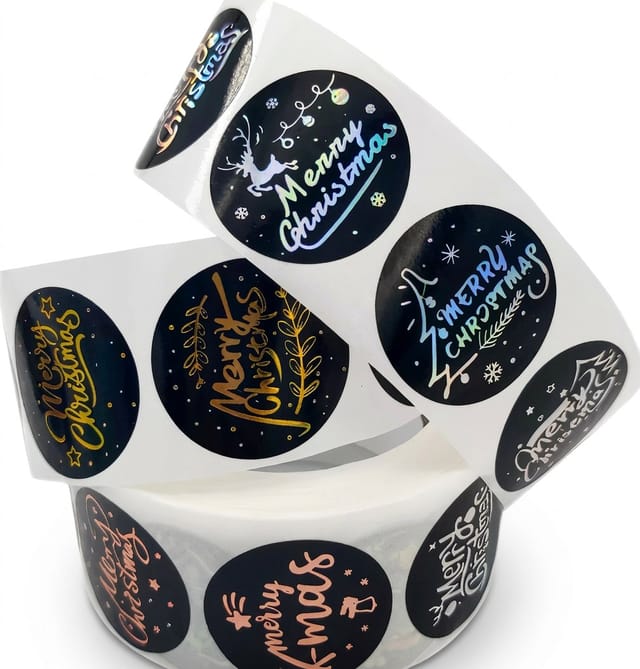
Specialty film transfers cover hologram, metallic and clear substrates where the material carries the effect. A Hologram Sticker Roll from $322.98 gives security and shelf presence that flat printing cannot fake, which is why it shows up on authenticity seals and limited product runs. If you want to see specialty stock used at scale, custom sticker bombing is a good visual primer.
Materials, adhesives and laminates that decide how long it lasts
Two graphics can look identical on day one and be six years apart in real life, and the difference is almost always the film. Calendared vinyl is the economical choice, dimensionally happy on flat surfaces and well suited to indoor signage and short seasonal promotions. Cast vinyl is thinner, more stable and conforms to curves and rivets without shrinking back, which is what vehicle and equipment work demands.
Adhesive is the second decision and the one people forget until removal day. Permanent acrylic adhesives keep building bond strength for the first day or two and are meant to stay. Removable adhesives are engineered to release within their rated life without tearing paint or leaving a grey ghost on glass. Neither is better in the abstract, so choose by how long the graphic has to live there.
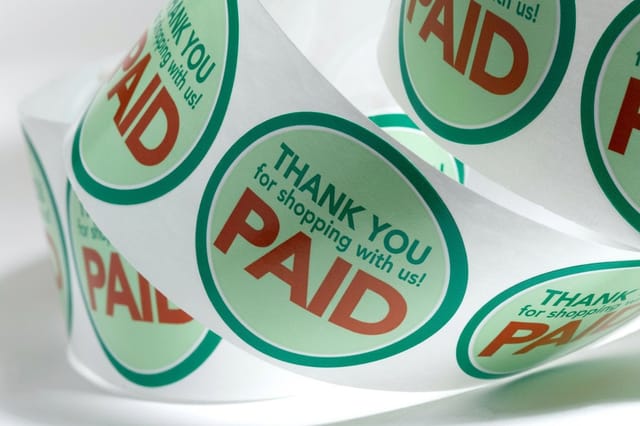
Laminate is the third layer and the cheapest insurance you can buy. A gloss or matte overlaminate blocks ultraviolet light, resists scuffing from brushes and sleeves, and keeps the ink from chalking. Skip it on an indoor label if you like. Never skip it on anything that sees sun, weather or a car wash. Rolls are worth considering here too, since Roll Sticker printing from $322.98 keeps a long run clean, sequential and easy to dispense.
How to apply a transfer sticker step by step
Work in a shaded spot between roughly 50 and 90 degrees Fahrenheit. Cold makes adhesive sluggish, heat makes it grab before you are ready, and direct sun does both at once on different parts of the same panel.
- Clean the surface. Wash off dirt and grease, dry it fully, then wipe with isopropyl alcohol on a lint free cloth. Glass cleaners with ammonia or added shine agents leave a film that adhesive will not bond through.
- Position and hinge. Tape the graphic in place while it is still fully assembled, step back and check it against a level or a window edge, then run a strip of masking tape down the middle as a hinge.
- Squeegee the first half. Fold one side back, peel the liner away from that half only, cut off the loose liner, and squeegee from the hinge outward at about a 45 degree angle with firm overlapping strokes.
- Repeat on the second half. Remove the hinge tape, peel the remaining liner and squeegee the same way. Working from the centre out is what pushes air to the edges instead of trapping it.
- Burnish everything. Go over the whole graphic again with real pressure, paying attention to small letters, thin strokes and corners, which are the first pieces to lift.
- Remove the transfer tape. Pull it back on itself at a low angle, close to 180 degrees, slowly. If any piece starts to lift with the tape, lay it back down, burnish that area again and continue.
- Let it cure. Leave it dry for a day or two before washing, pressure spraying or exposing it to heavy weather so the adhesive can reach full strength.
Two rescue techniques are worth knowing. Small bubbles can be pricked with a pin at one edge and pressed flat, and large flat graphics can be applied wet with a light soapy water mist that buys you sliding time before you squeegee the solution out. For fun placement ideas once you are confident, see 10 fun ways to use logo stickers.
Heat transfer film, the fabric version of the same idea
Fabric has no smooth face to grip, so adhesive alone fails. Heat activated film solves it with the same three layer logic in a different order. Your artwork is printed onto a polyester carrier sheet, an adhesive layer is bonded to the back of the ink, and a heat press melts that adhesive into the fibres. When the carrier comes off, the design is part of the garment rather than sitting on top of it.
Press settings vary by film, and the spec sheet that ships with your order is the authority, but most films land around 300 to 320 degrees Fahrenheit for ten to fifteen seconds under medium pressure. The one setting people get wrong is the peel. Hot peel films release immediately, cold peel films need to reach room temperature first, and pulling a cold peel film early is the fastest way to tear a design in half.
Pre press the garment for a few seconds first to drive out moisture and flatten seams, and place a cover sheet over the design for a short second press to lock the finish. Done properly, the result survives normal washing when the garment is turned inside out and dried on low.
Transfer stickers vs standard die cut stickers
A standard die cut sticker is one self contained shape on its own liner, usually with a small margin of material around the artwork. You peel it, you stick it, you are done. It is the right format for handouts, packaging seals, laptop stickers and anything people will apply themselves without instruction.
A transfer sticker is the right format when the artwork is not one shape, or when a visible border would ruin the effect. Window lettering with independent characters, a logo with a detached mark and wordmark, an outlined graphic where the surface should show through the gaps: none of those work as a single peel and stick unit.
Cost and effort follow that split. Standard stickers are faster to make and require nothing of the recipient, so they scale beautifully for giveaways and product labelling. Transfers involve weeding, taping and a careful application, which is why they carry a slightly higher expectation on both ends and deliver a far more finished result. If you are weighing where each format belongs in a campaign, the case for bumper stickers is a useful counterpoint on reach versus polish.
What transfer stickers cost and how printers set the price
Five variables move the number. Quantity sets the baseline because setup is spread across the run, so the unit price drops sharply between ten pieces and a thousand. Finished size follows, since the press and cutter are charged by the area of material consumed. Material is third, with specialty and cast films costing more than standard calendared vinyl.
Laminate is fourth and is priced as an extra pass, which is exactly what it is. Turnaround is fifth, because a faster production option means your job moves ahead of others already in the queue rather than being made any differently.
In practice that means Heat Activated Transfer Film opens at $19 for apparel work, while roll formats such as Roll Sticker and Hologram Sticker Roll start at $322.98 because they are built as continuous volume runs. Configure the exact size, material and quantity on the product page to see live pricing rather than an estimate. If you are comparing suppliers first, our reads on a Sticker Mule alternative, a Kinkos sticker printing alternative, UPrinting vs Sticker Mule and Vistaprint vs Sticker Mule lay out the differences plainly.
Wally explains the transfer
The tape is the trick, the surface prep is the work
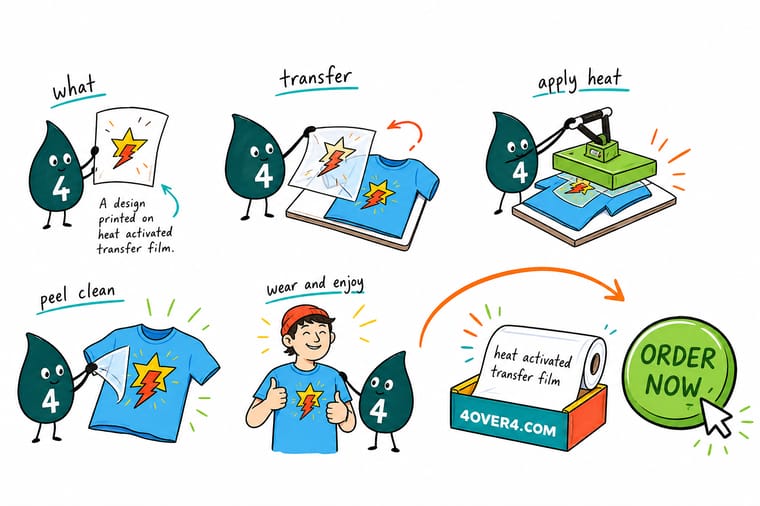
Wally's rule is simple. Whatever goes wrong with a transfer sticker almost always happened before the sticker touched anything. Clean the surface, dry it, wipe it with alcohol, and work somewhere shaded and mild. Then squeegee from the middle outward, burnish twice, and pull the tape back on itself slowly. Do that and the graphic looks painted on instead of stuck on.
Order transfer film →Infographic
Applying a transfer sticker in seven steps
One frame, seven steps, in the order that actually keeps air out and edges down. Save it or print it and keep it next to the roll.
Steps three through six are where finished quality is decided. Firm pressure from the centre outward, then a second pass over every thin stroke, is the difference between a graphic that lasts and one that lifts at the corners.
Specs and pricing
Heat activated transfer film specs and live pricing
When the artwork is ready, the numbers decide the rest. Here are the exact specifications and current pricing for transfer film, straight from the configurator.

| Quantity | Price Per Unit | Total |
|---|---|---|
| 1 | $19.00 | $19.00 |
Print it
Transfer and sticker products at 4OVER4
See it in use
Real transfer work, printed in-house

Explore more
Where to go next
By the numbers
Sticker printing you can count on at 4OVER4
Common Questions
Common questions about transfer stickers
What is a transfer sticker?
A transfer sticker is a decal built in three layers. The bottom layer is a silicone coated backing liner, the middle layer is your printed or cut adhesive artwork, and the top layer is a low tack transfer tape. You peel the liner away, place the artwork on the surface using the tape, press it down and then pull the tape off at a low angle. Only the artwork stays behind, with no visible border or square edge around it.
How is a transfer sticker different from a normal sticker?
A normal die cut sticker arrives as one shape on its own backing, and you peel it and stick it. A transfer sticker carries separate elements, such as individual letters or a logo with detached counters, as one aligned unit. It also finishes without the clear or white margin most standard stickers keep around the artwork, so the surface shows through wherever there is no ink.
How do I choose the right transfer sticker?
Start with the surface and the lifespan. Smooth glass, painted metal and sealed plastic take vinyl transfers well. Fabric needs heat activated film pressed with heat rather than adhesive. Rough brick, raw wood and textured plastic rarely hold any decal for long. Then decide how long it must last, because outdoor exposure calls for a laminated film while a window promotion running for one season does not.
What does a transfer sticker cost and how are prices set?
Price is driven by quantity, finished size, material, laminate and turnaround. Heat Activated Transfer Film starts at $19, and both Hologram Sticker Roll and Roll Sticker start at $322.98 because roll formats are produced in higher volumes with dispensing in mind. Unit cost falls steeply as the run grows, so ordering one larger batch almost always beats several small reorders.
What sizes, materials and finishes are available?
Sheet and roll formats cover small logo marks through full window and vehicle graphics. Materials include white and clear vinyl, hologram film, and polyester heat transfer film for apparel. Finishes run from gloss and matte laminates to specialty holographic surfaces, and the configurator on each product page shows the exact size, material and finish combinations available with live pricing before you add anything to the cart.
How long does printing and shipping take?
Production time is a choice you make in the configurator rather than a fixed number. Faster options move your job ahead in the queue, with 1 business day available on many sticker products, while standard options cost less and take longer. Shipping time is added on top of production and depends on the method you select and the distance from our production facility to your delivery address.
Do transfer stickers come off cleanly later?
That depends on the adhesive you order. Removable adhesives are designed to release from glass and painted metal within their rated life with little or no residue. Permanent adhesives bond harder over time and usually need heat, a plastic razor and an adhesive remover to take off. Tell your printer where the graphic is going and how long it needs to stay before the adhesive is chosen.
Can I apply a transfer sticker to a car or an outdoor window?
Yes, and those are two of the most common uses. Work between roughly 50 and 90 degrees Fahrenheit, out of direct sun, on paint or glass that has been washed and then wiped with isopropyl alcohol. Avoid washing the vehicle or pressure spraying the graphic for the first few days so the adhesive can reach full bond strength.
Get Started
Ready to put your artwork on the surface?
Send us the design and we will print it on the right film for where it is going, laminated when it needs to be, taped and ready to apply.
Legal Disclaimer
Gold Standard guarantees apply to all standard orders placed through 4over4.com. Price match requires verifiable proof of a competitor's published price for an equivalent product with matching specifications and turnaround time. Satisfaction guarantee covers manufacturing defects and print quality issues. Contact support with order number and documentation. On-time delivery rate based on tracked orders 1999 to 2026. Individual results may vary based on shipping carrier performance.
