
How to Print Labels at Home That Line Up Every Time


A working at-home label routine, the settings that stop a sheet from smearing or skewing, and an honest account of where the paper sheet gives up.
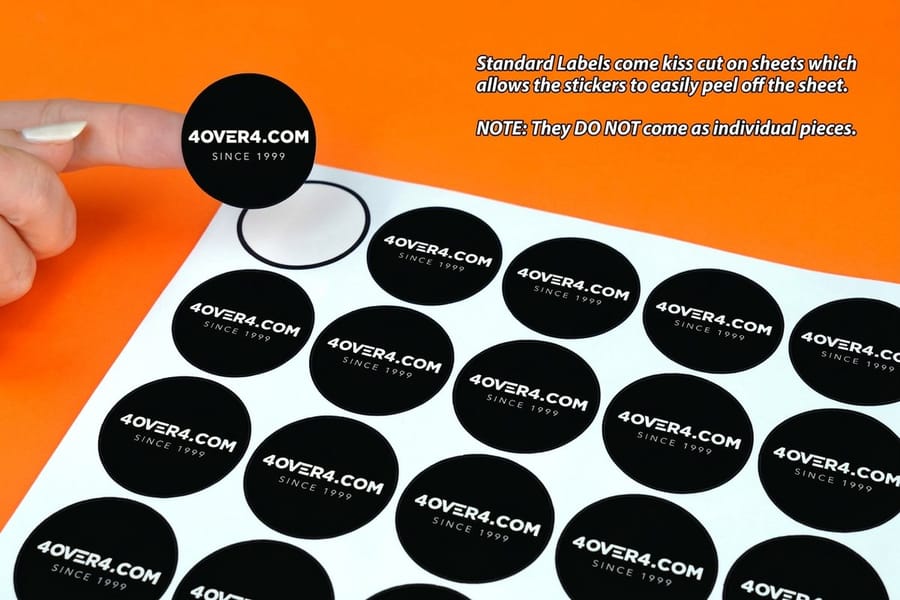
To print labels at home: download the template that matches the product code on your label pack, build the artwork with everything held 1/8 inch inside the die line, export a PDF, set the printer to a label or heavy paper type at 100 percent scaling, then print one plain-paper proof and hold it over a blank sheet against a window before you commit. A pre-cut sheet cannot bleed, so that inset is what absorbs the one or two millimeters of feed drift every home printer introduces. The limits are material rather than technique: paper faces wick water, inkjet dye smears, and hand-cutting past a couple of hundred labels stops being worth the evening.
Quick answer
The template sets the positions, the inset absorbs the drift
Home label printing is an alignment problem, not a print-quality problem. The die cut on a label sheet happened before the sheet reached you, so the artwork has to be built on that exact template and held back from the cut. Every home printer feeds with a millimeter or two of slip, and it compounds toward the bottom of the page, which is why the last row is the one that looks wrong. Give the design an eighth of an inch of breathing room, print a plain-paper proof, and the sheet comes out straight.
The Home Label Workflow, Start to Finish
Six steps, and the first two decide almost everything.
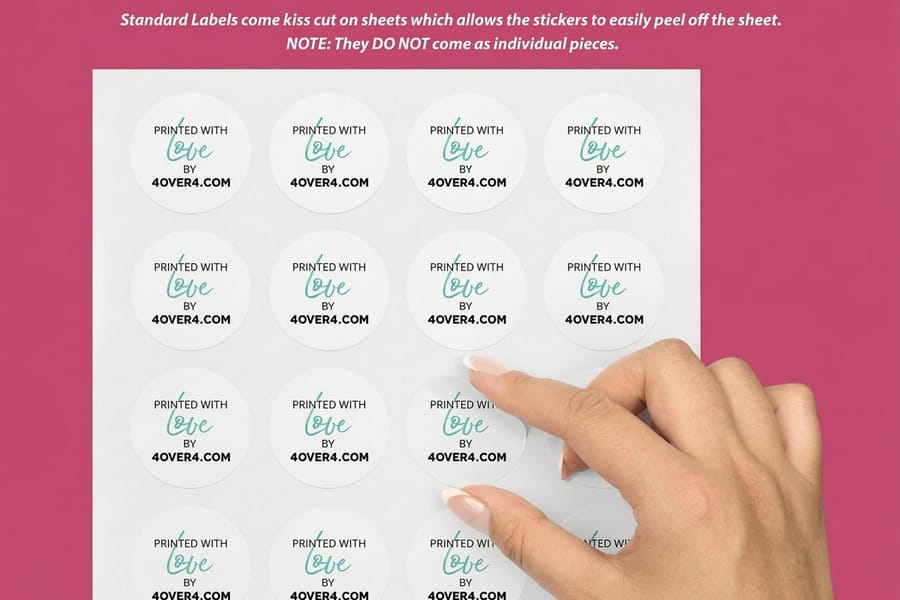
- Get the template that matches the pack. Label sheets carry a product code on the box, and every maker publishes a template for that code. Word, Pages and Google Docs list the common codes directly in their label picker. Download the code, do not measure the sheet.
- Set the artwork 1/8 inch inside the die line. Text, logos and background color all stop short of the cut. This is the single habit that separates a sheet that looks printed from one that looks homemade.
- Keep the type big enough to survive the size. A 2 by 4 inch address label reads fine at 10 point. An ingredient line on a 1.5 inch round label at 5 point does not, and shrinking it further to fit is a decision to make it unreadable. Cut words instead.
- Export to PDF before printing. Printing straight from a word processor lets it re-flow the layout at the last second. A PDF freezes the positions, which is exactly what you want when the positions are the whole job.
- Proof on plain paper. One copy, held over a blank label sheet against a window. You are checking that each block sits inside its die outline with room on all four sides.
- Feed one sheet at a time. Fan the stack, load a single sheet in the manual tray or the top of the cassette, and let it come out flat rather than stacking on top of the previous one.
If the proof shows everything sitting consistently low or left, move the whole layout in the file by that amount. Adjusting printer margins instead tends to be undone the next time the driver updates. For a deeper look at how bleed and trim work when a printer cuts after printing, our bleed and trim guide covers the setup that a pre-cut sheet can never do.
Printer Settings That Decide Whether It Smears
A label sheet is thicker than paper, its face is coated differently, and it has adhesive under it. Drivers assume none of that unless you tell them.
Media type first. If the driver lists Labels, use it. If not, pick the heaviest cardstock or heavy plain setting. That slows the sheet through the path, which gives inkjet ink time to dry and toner a proper fuse. Left on the default plain setting, an inkjet lays down more ink than the coating can absorb and it smudges the moment you stack sheets.
Scaling to 100 percent, always. Fit to page shaves one or two percent off, which moves the bottom row several millimeters even though the top row still looks correct. This is the misalignment people blame on the template.
Duplex off, borderless off. Running a label sheet through a duplexer bends it back on itself and lifts the label edges, which is how a sheet gums the rollers. Borderless mode does nothing useful here because the die line, not the paper edge, is your boundary.
Laser and inkjet fail differently. A laser fuser runs hot, and cheap label sheets can soften their adhesive enough to lift a corner inside the machine. Look for sheets rated for laser, and never feed a sheet with a label already peeled off it. An inkjet has no heat problem but its ink sits on the surface, so it needs drying time and stays vulnerable to moisture forever. Neither of these is a defect to fix; it is the ceiling of the tool. Our DPI and print resolution guide explains how much detail is worth sending in the first place on a piece this small.
Alignment, and Why the Bottom Row Is Always the Wrong One
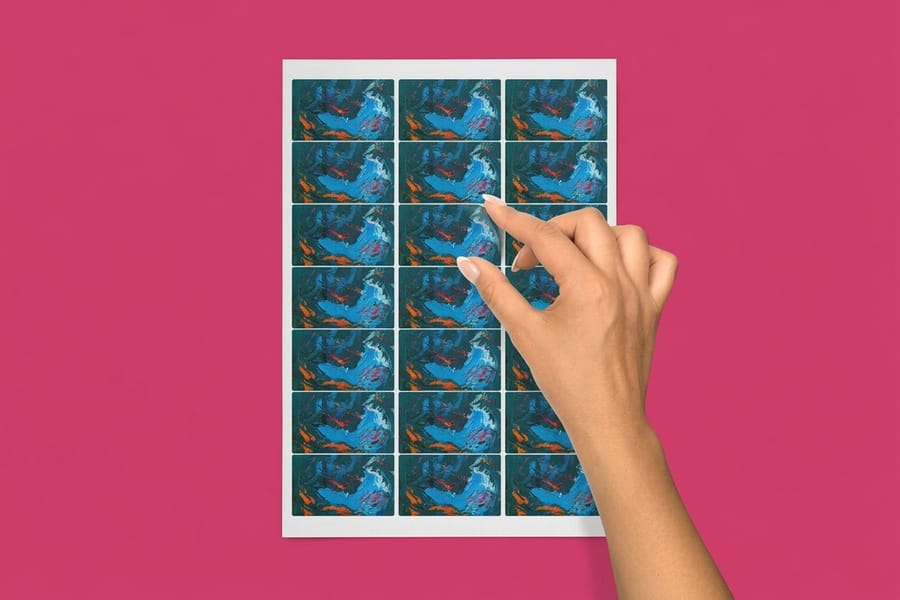
The top row prints correctly and the bottom row sits low. That pattern is mechanical, not a template error: the printer grips the sheet at the leading edge, and the small amount of slip in the paper path accumulates as the sheet travels. By the last row it is visible.
Three things reduce it. Feed one sheet at a time so the pickup rollers grab a flat, uncurled edge. Store label sheets flat in their bag, because a curled sheet enters the path at an angle before anything else happens. Clean the rollers with a damp lint-free cloth when a printer starts skewing, since glazed rollers slip more.
None of that eliminates it, which is why the design-side answer matters more. Give the artwork a 1/8 inch margin inside the die and a one or two millimeter drift never touches an edge. Center a background color block rather than running it to the die line, or leave the background white and let the label shape do the framing.
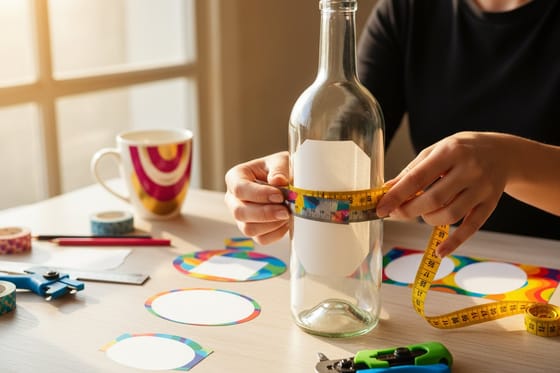
Round and oval sheets are less forgiving than rectangles because the eye reads a curved edge instantly. On a round label, treat the safe area as a circle roughly a quarter inch smaller than the die and keep text off the arc entirely. Bottle labels are the hardest case of all, since the label wraps and the visible face is narrower than the flat artwork. Our wine bottle label dimensions guide gives the real usable widths before you design one.
Where Home Printing Stops and Printed Labels Take Over
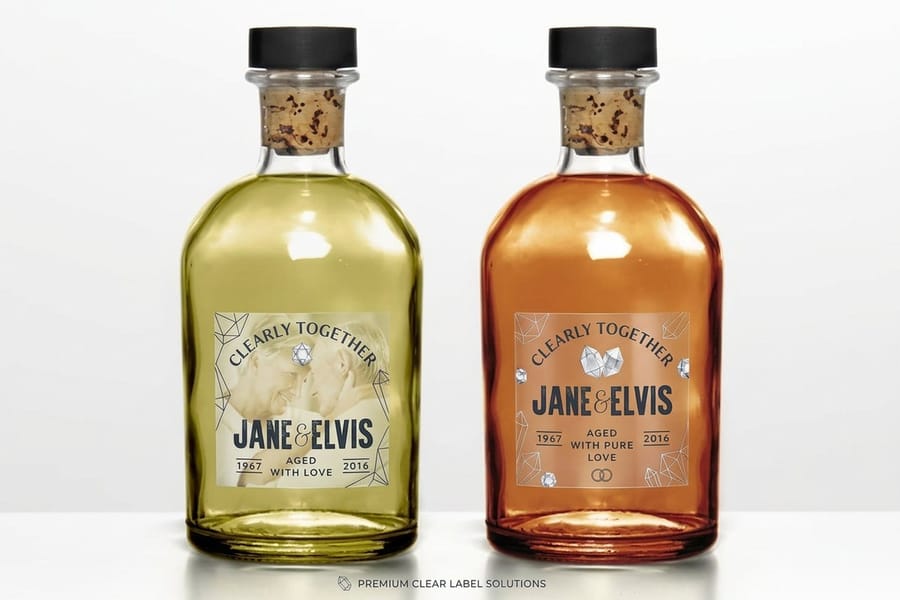
Home printing is genuinely good for one thing: small counts of labels that live indoors and stay dry. Organizing bins, filing, a first batch of jars for a farmers market, addresses on a hundred holiday cards. Push past dry and indoors and the material, not the printer, is what gives way.
| Method | What the image sits on | Water and oil | Color to the edge | Practical batch |
|---|---|---|---|---|
| Home inkjet | Dye or pigment ink on an uncoated paper face. | Dye smears with a damp thumb; pigment survives a wipe, not a soak. | Impossible on a pre-cut sheet. | A few dozen sheets before cost and jams add up. |
| Home laser | Toner fused onto the same paper face. | Toner resists water; the paper under it still swells and wicks from the cut edge. | Impossible on a pre-cut sheet. | Higher, but the fuser heat can lift adhesive on non-laser sheets. |
| Desktop thermal printer | Heat-sensitive coating, no ink or toner at all. | Handles moisture; fades with heat, sunlight and rubbing. | One color only. | Excellent for shipping and barcodes, useless for brand color. |
| Press-printed labels | Coated paper or synthetic film with an adhesive matched to the surface. | Film stocks handle condensation, fridge damp and hand oil. | Yes, because the sheet is die-cut after it prints. | Hundreds to hundreds of thousands, cut for you. |
Read the last two columns together. Color running clean to the edge and a face stock that shrugs off condensation are both consequences of the same thing: printing first and cutting second, on a material chosen for the surface. That is the part a home printer cannot reach at any settings.
For everyday indoor work on paper stock, standard labels start at $23.88 and arrive already cut. Custom labels from $25.00 open up sizes and shapes a pre-cut pack does not sell. When the label goes on glass or a squeeze bottle, clear labels from $25.00 let the container show through instead of framing your artwork in a white rectangle, and wine labels are built for the condensation a chilled bottle produces. If your problem is the shipping bench rather than the shelf, shipping labels hold barcode contrast better than a home inkjet ever will. Browse the full range under label printing, or start from a correctly sized layout in the blank template library.
Wally checks the sheet before he wastes it
One proof, one window, no ruined pack of labels
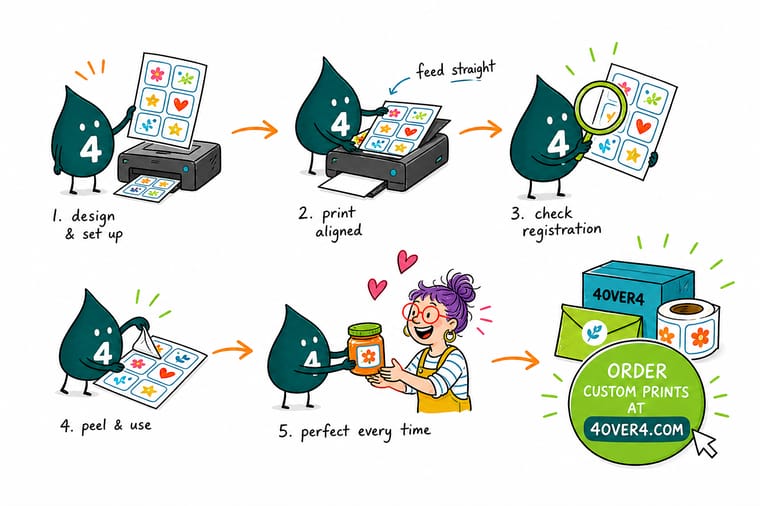
Wally never trusts the first sheet. He prints a copy on ordinary paper, holds it against the glass with a blank label sheet behind it, and looks at whether each block sits inside its die outline with room on every side. If the bottom row is creeping low, he moves the whole layout up in the file instead of arguing with the printer. And when the label has to survive a fridge, a cooler or a sweaty bottle, he stops printing at home and orders film stock that was cut after it was printed.
Order labels printed and cut for you →Specs and pricing
Label stocks, sizes, and starting prices
Compare the label stocks side by side, with live size and finish choices and starting prices straight from the 4OVER4.COM configurator.


Print it
Skip the alignment fight and order them cut


Explore more
Where to go next



By the numbers
Label printing you can count on at 4OVER4
Common Questions
Your home label printing questions, answered
How do I print labels at home step by step?
Find the product code on the label pack and download that manufacturer template, or use the template your word processor lists under the same code. Build the artwork on the template with everything held about 1/8 inch inside the die outline. Load one sheet at a time in the tray, set the driver to a heavy or label paper type, and print a single copy on plain paper first. Hold that proof over a blank label sheet against a window: if the print sits centered inside the die outlines, run the real sheet. If it is low or off to one side, nudge the whole layout in the file rather than fighting the printer margins.
Why does the printing drift lower on the bottom rows?
Because a home printer grips the sheet at the leading edge and every millimeter of slip accumulates as the sheet travels. The top row is usually fine and the bottom row is the one that looks wrong. Single-sheet feeding, a clean set of pickup rollers and a fresh sheet that has not curled all help, but the reliable fix is design side: leave enough inset that one or two millimeters of travel never reaches the die line.
What printer settings should I use for label sheets?
Set the media type to labels if your driver lists it, otherwise pick the heaviest plain or cardstock setting available. That single change slows the paper path and lets the ink dry or the toner fuse properly. Turn duplex off, turn borderless off, and set scaling to 100 percent or actual size. Scale to fit is the second most common cause of misalignment after the wrong template, because it shrinks the layout a percent or two and everything creeps inward.
Are home-printed labels waterproof?
No, and neither the ink nor the face stock is the whole story. Dye-based inkjet ink smears with a damp thumb, pigment ink survives a wipe but not a soak, and laser toner is water resistant while the uncoated paper it sits on still swells and wicks from the cut edge. Laminating pouches over a paper label help on a flat surface and peel on a curved one. For anything that goes in a cooler, a fridge, a bathroom or outdoors, a synthetic face stock printed and coated on press is the honest answer, which is what our clear and vinyl label stocks are for.
Can I print labels with color running to the edge at home?
Not on a pre-cut sheet. The die cut already happened, so there is no trim to cut through and any overprint lands on the backing liner instead. You can get close by printing on a full-sheet label and cutting your own shapes, but hand cutting a straight edge across a hundred labels is slower and less accurate than it sounds. Full bleed is a property of printing first and cutting second, which is how press-printed labels are made.
At what quantity does printing labels at home stop making sense?
Watch three things rather than a single number: how long the cutting or peeling takes, how many sheets you waste on alignment, and how many cartridges the run eats. Most people hit the wall somewhere in the low hundreds, and the tell is that you have started printing in batches across several evenings. Standard labels start at $23.88 at 4OVER4.COM and custom shapes and stocks start at $25.00, so the comparison is usually less lopsided than it feels while you are standing at the printer.
Get Started
Ready to stop feeding sheets one at a time?
Pick your size and stock, upload the artwork, and we print and die-cut your labels so the color runs to the edge and every one comes off the liner the same.
Legal Disclaimer
Gold Standard guarantees apply to all standard orders placed through 4over4.com. Price match requires verifiable proof of a competitor's published price for an equivalent product with matching specifications and turnaround time. Satisfaction guarantee covers manufacturing defects and print quality issues. Contact support with order number and documentation. On-time delivery rate based on tracked orders 1999 to 2026. Individual results may vary based on shipping carrier performance.
