Table of Contents
- Home
- content hub
- Your Guide to Printing on Packaging That Captivates Customers
Your Guide to Printing on Packaging That Captivates Customers
Jan 23, 2026376 views
Jan 23, 2026376 views
Printing on packaging takes a simple container and turns it into one of your most powerful marketing tools. It’s the very first physical interaction a customer has with your brand, and it’s where you apply your branding, graphics, and essential information directly onto boxes, bags, and labels. This single step is what gives your product its shelf appeal and starts shaping what a customer thinks before they even see what’s inside.
Your Brand's First Handshake: Why Packaging Matters
Think of your packaging as the cover of a book. Long before a reader decides to dive into the story, they’re pulled in by the cover art, the title, and the way the book feels in their hands. Professional printing on packaging does the exact same thing. It tells your brand’s story in a single glance and can influence a buying decision in a fraction of a second. It's your silent salesperson on a crowded shelf and the undisputed star of countless unboxing videos.
This role is about so much more than just protection. High-quality printing signals professionalism, builds trust, and creates a memorable experience that can transform a first-time buyer into a loyal fan. The richness of the colors, the feel of the textures, and the crispness of your printed design all contribute to how valuable your product seems.
Setting the Stage for Success
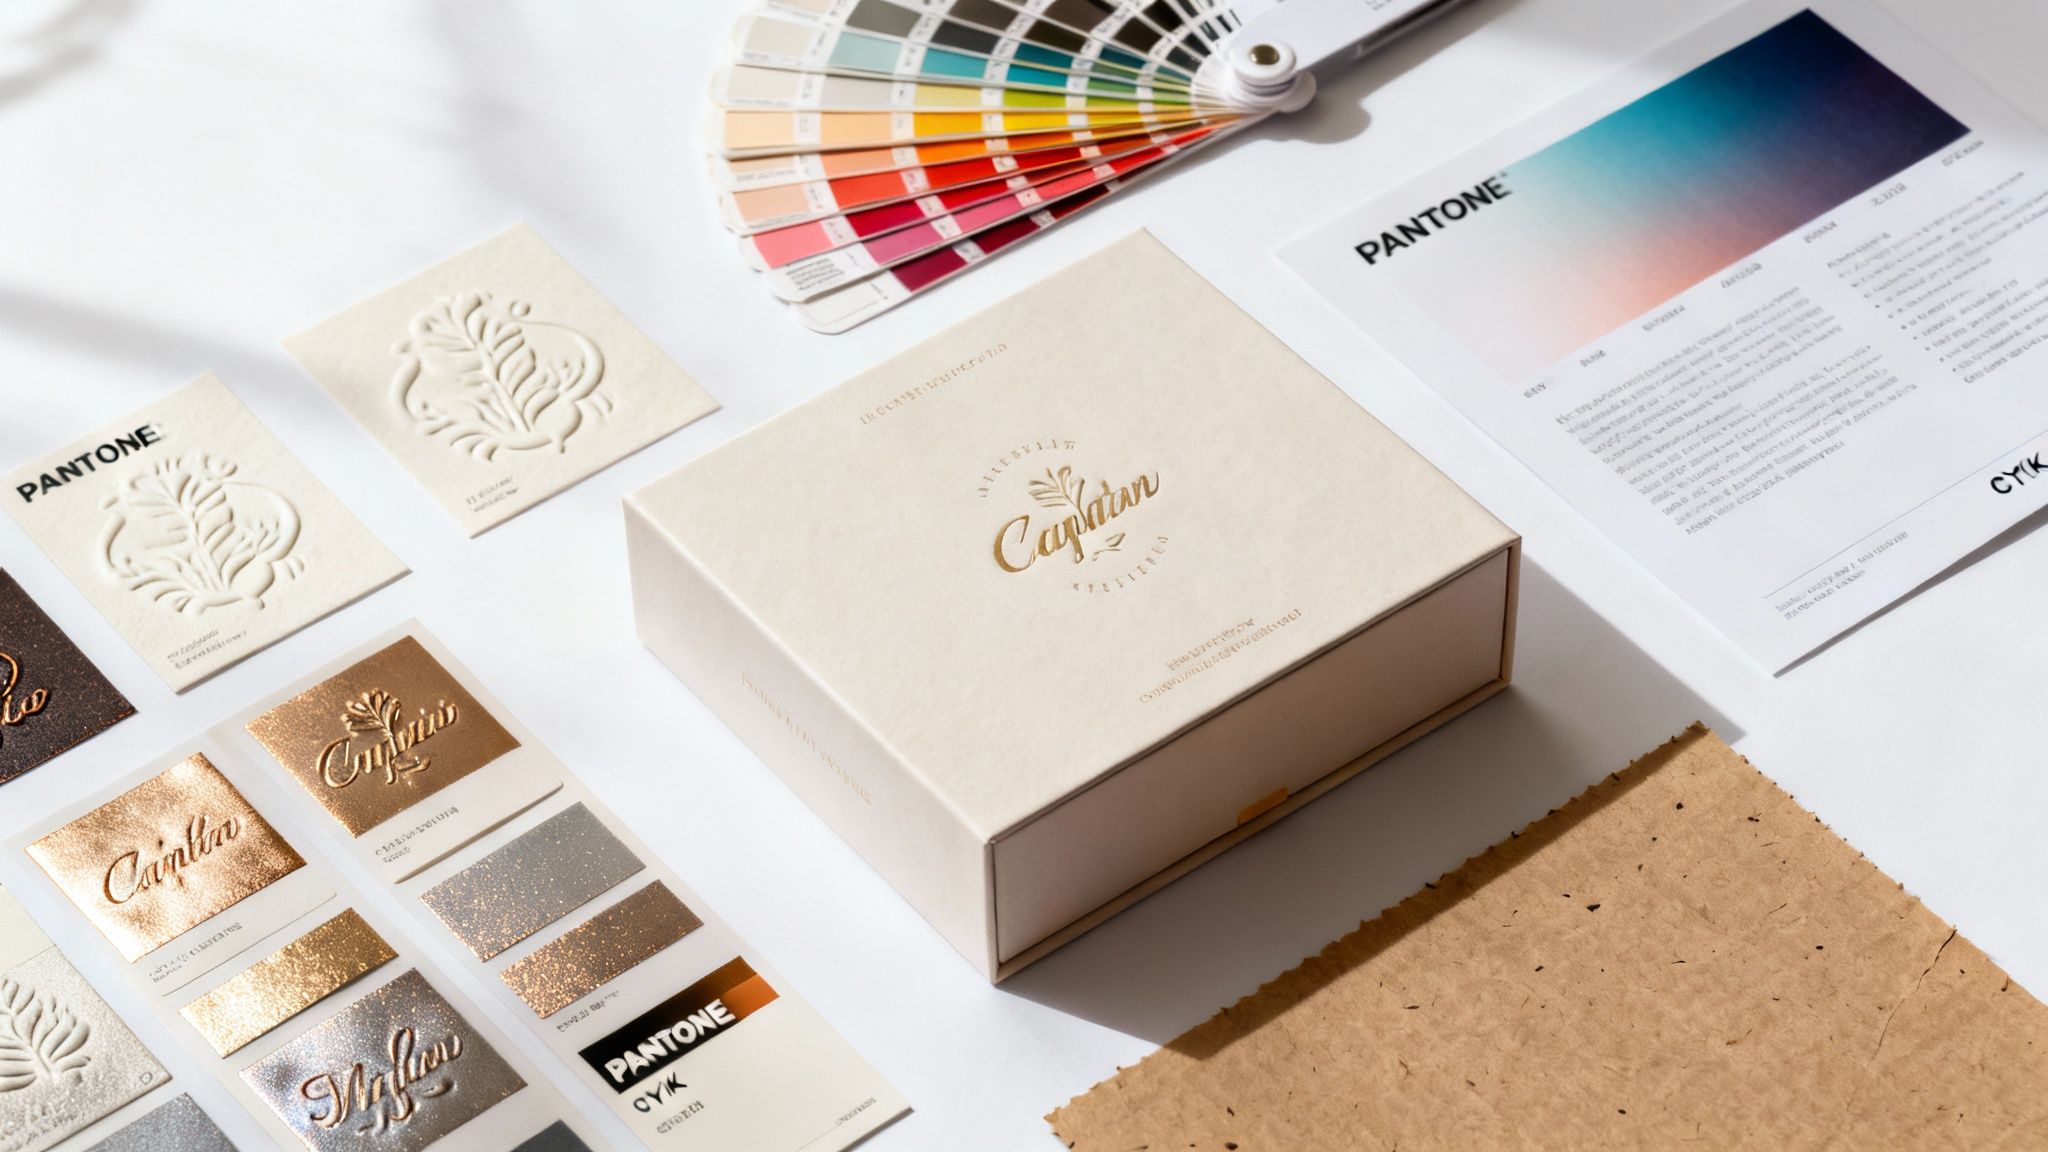
To get this right, you’ll need to make a few key decisions that fit your brand’s identity and, of course, your budget. The choices you make here will directly shape the final look, feel, and cost of your packaging. You'll need to think about:
- Printing Techniques: Are you doing a small, vibrant run that’s perfect for digital printing, or do you need a large-scale, high-quality order better suited for offset?
- Material Selection: Should you go with sturdy corrugated cardboard for shipping boxes or an elegant paperboard for a luxury item?
- Finishing Options: Could a pop of metallic foil or a subtly raised embossed logo completely elevate the customer's experience?
The sheer scale of the global packaging printing market highlights just how crucial this is. The market grew from USD 388.1 billion to around USD 404.52 billion in just one recent year. It’s projected to hit a staggering USD 640.33 billion by 2035, which just goes to show that businesses are investing more than ever in making that first impression a great one. You can find more details on the packaging printing market's growth over on towardspackaging.com.
Your packaging is an opportunity to forge a real, tangible connection with your customer. A well-thought-out design, brought to life with quality printing, is what makes a brand unforgettable.
This guide will walk you through each of these critical elements. Once you understand your options and how they align with your goals, you can create packaging that not only protects your product but also powerfully tells your brand’s story. For a deeper look at building a cohesive brand image, check out our guide on establishing brand guidelines.
Choosing the Right Printing Technique for Your Project
Picking the right printing technique for your packaging is a bit like choosing the right tool for a job. You wouldn't use a tiny paintbrush to paint a whole house, and you wouldn't grab a massive paint roller for the fine details. Every method has its strengths, and figuring them out is the key to balancing your budget, volume, and brand vision.
Let's demystify the core methods so you can confidently decide which approach makes the most sense for your business.
This decision tree helps visualize how the purpose of your packaging—whether it's for protection, marketing, or brand identity—points you toward certain printing and material choices.
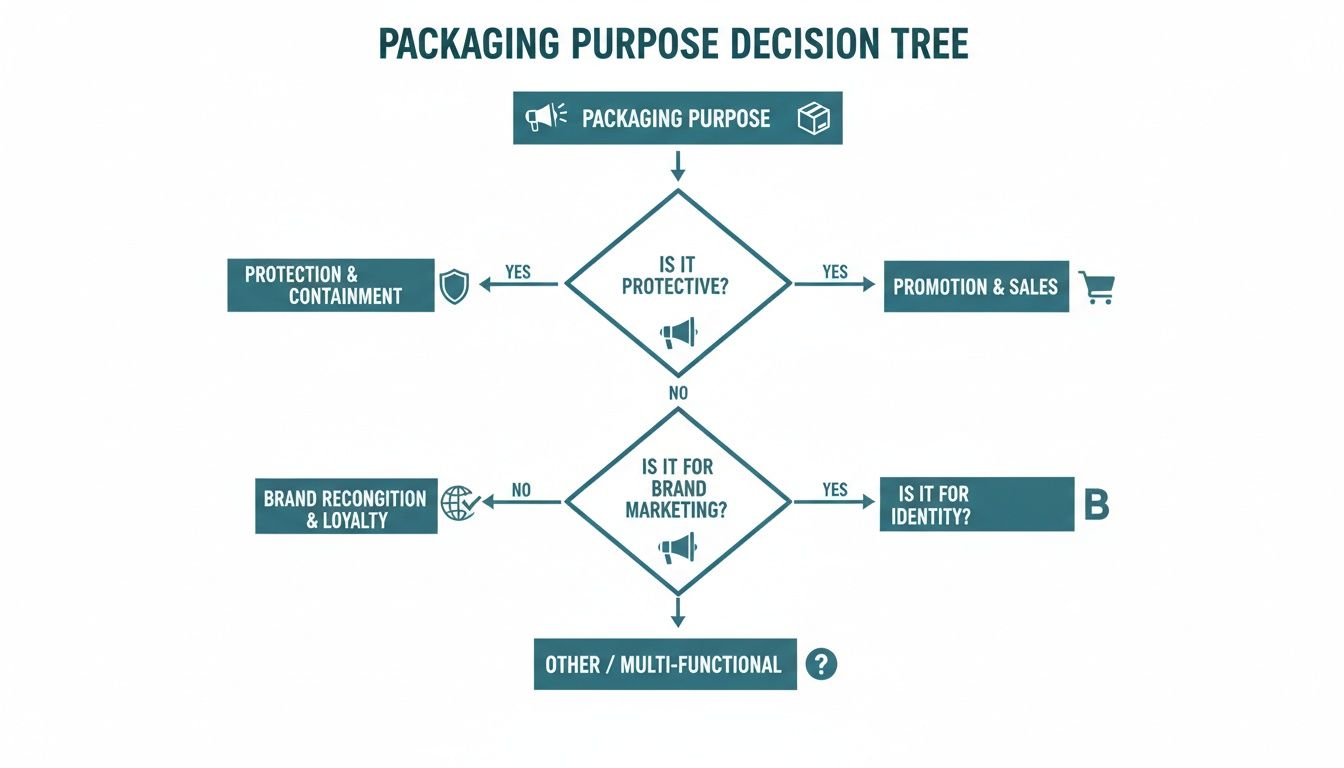
As you can see, a primary function like shipping protection leads to different considerations than packaging designed for in-store marketing.
Digital Printing: The Versatile Option
Think of digital printing like your high-end office printer, but supercharged for professional packaging. It works by transferring a digital file directly onto the packaging material, which means there’s almost no setup involved. This makes it incredibly flexible and budget-friendly for smaller runs.
- Best For: Startups, limited edition products, or market testing new designs.
- Key Advantage: No setup fees for printing plates, which allows for full-color, high-quality prints on small quantities—even just one!
- Consideration: The cost per unit can be higher than other methods on very large orders.
With the explosion of e-commerce, this method has become more popular than ever. As online shopping continues to boom, businesses see packaging as a critical brand touchpoint. This trend has fueled demand for compelling packaging, helping the US packaging printing industry grow by 5% in a recent year.
Offset Lithography: The Quality Standard
Offset lithography is the seasoned pro of the printing world, the equivalent of a traditional printing press. It uses custom-made plates to transfer ink onto a rubber blanket, which then rolls the image onto the packaging material. While the setup is more involved, the results are impeccable.
For large-volume projects where color accuracy and premium quality are non-negotiable, offset lithography is often the undisputed champion. It delivers crisp, consistent results every single time.
This method is perfect for high-volume orders where hitting a specific brand color, like Tiffany Blue or Coca-Cola Red, is absolutely critical. The high initial setup cost gets spread out across thousands of units, making the per-item price very attractive.
Flexography and Screen Printing
Two other important methods come into play for more specific needs.
Flexography is basically a high-speed rubber stamping process. It uses flexible relief plates and fast-drying inks, making it perfect for printing simpler designs on non-porous materials like plastic bags, labels, and food packaging. It's all about speed and efficiency.
Screen printing, on the other hand, is like using a very detailed stencil. Ink is pushed through a mesh screen onto the substrate, creating a thick, durable, and vibrant layer of color. This technique is fantastic for printing bold graphics on unconventional surfaces like fabric totes or glass.
Packaging Printing Methods at a Glance
With these core techniques in mind, it can be helpful to see them side-by-side. This table gives you a quick rundown to help match your project needs to the right method.
| Printing Method | Best For | Key Advantage | Consideration |
|---|---|---|---|
| Digital Printing | Small batches, prototypes, variable data | Fast turnarounds, no plate costs | Higher cost per unit on large runs |
| Offset Lithography | High-volume runs, premium quality | Unmatched color consistency, low cost at scale | High initial setup cost and longer lead times |
| Flexography | Labels, flexible packaging, large quantities | Very fast for simple designs, works on many surfaces | Lower print quality for complex images |
| Screen Printing | Totes, apparel, glass, promotional items | Bold, vibrant colors; highly durable prints | Slower process, not ideal for intricate, multi-color designs |
Ultimately, understanding these fundamental different types of printing will empower you to make an informed decision. The right choice ensures your final product not only looks fantastic but also fits your budget perfectly.
Selecting Materials and Finishes That Elevate Your Brand
The right material and finish can turn your packaging from a simple container into a memorable experience. Think about it: the satisfying heft of a high-quality invitation sets the tone before you even read it. Your packaging works the same way, shaping a customer’s perception of what’s inside long before they get to the unboxing.
What you're aiming for is a physical interaction that feels special. This all starts with the core material, the substrate. It’s the foundation of your entire packaging design, and it pulls double duty, affecting both how your package looks and how well it protects your product.
Choosing the Right Foundation Material
Every material brings its own unique mix of strength, printability, and vibe. Your choice here really needs to click with both your product’s practical needs and your brand’s personality.
- Corrugated Board: This is your go-to for shipping boxes, and for good reason. It’s tough. That wavy inner layer—the flute—is a built-in cushion that protects products on their journey.
- Rigid Paperboard: If you want your packaging to whisper "luxury," this is your material. It’s dense, solid, and often used for high-end electronics or beautiful gift sets that need to feel premium from the moment they’re held.
- Folding Cartons: You’ve seen this lightweight paperboard everywhere, from cosmetic boxes to food packaging. It’s incredibly versatile and gives you a smooth, clean surface that’s perfect for showing off vibrant, full-color printing.
Getting these material choices right is a huge part of the packaging printing market, especially in North America. The region is a major player, with the United States market alone expected to hit an incredible USD 161.88 billion by 2032. This isn't surprising when you consider the powerhouse industrial base and the absolute explosion of e-commerce, which relies on effective packaging to get products into customers' hands.
Adding the Finishing Touches That Dazzle
Once you’ve got your foundation, the finishes are where the magic really happens. These are the details that create that "wow" moment—the little things that catch the light, invite a customer to touch the box, and make your packaging feel truly one-of-a-kind. Think of them like the perfect accessories that pull an entire outfit together.
A special finish isn't just about looking good. It’s a direct invitation for the customer to engage with your packaging on a deeper, tactile level. It encourages them to touch, feel, and remember your brand.
Some of the most popular and impactful options include:
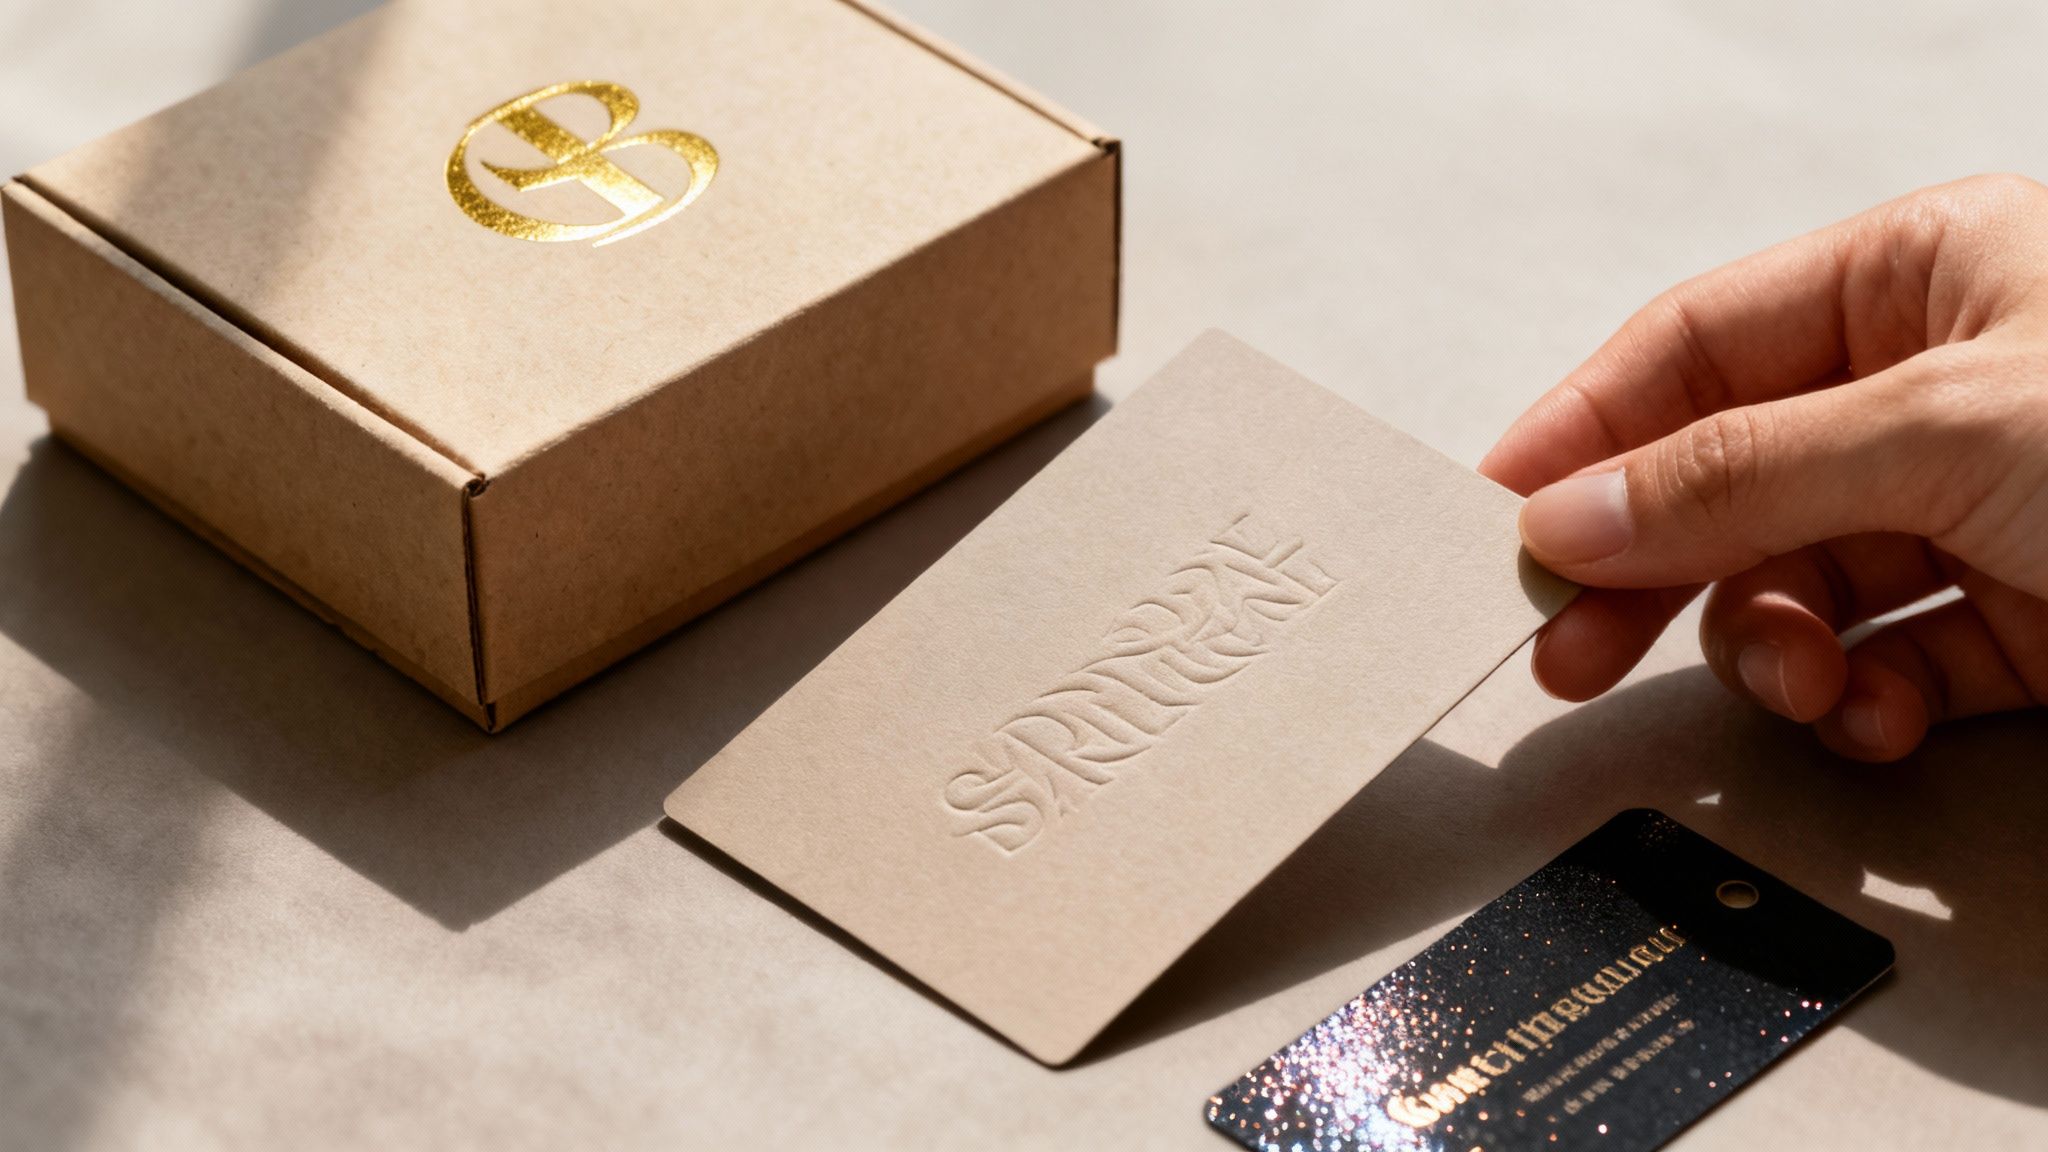
- Embossing & Debossing: Embossing pushes a design up from the surface, creating a raised, three-dimensional texture you can run your fingers over. Debossing is the opposite, pressing a design into the material for a recessed impression. Both add a touch of class that’s all about feel.
- Foil Stamping: This is how you get that brilliant, metallic shine. A thin layer of foil is applied to the surface, making it a fantastic way to highlight a logo, brand name, or specific design element with a pop of luxury.
- Spot UV: Imagine painting a high-gloss finish onto just one part of your design. That’s Spot UV. It creates a stunning contrast against a matte background, making logos or images practically jump off the surface with a wet, polished look.
Finishes like these can completely change the game. A simple black box with a touch of gold foil instantly feels more valuable. Taking the time to understand the subtle differences, like the vibe you get from a glossy vs. matte coating, is what separates good packaging from great packaging.
Preparing Your Design Files for Flawless Printing
Think of your design file as the blueprint for your finished packaging. Just like a builder needs a precise architectural plan to build a house, your printer needs a perfectly prepared file to get you flawless results. Nailing this prepress stage is probably the single most important thing you can do to avoid costly mistakes and see your vision come to life exactly as you imagined.
This isn’t about being a design wizard; it’s about following a simple recipe. You know how when you miss a step in a recipe, the final dish can be a total disaster? It's the same here. Tiny errors in your design file can lead to blurry images, wonky colors, or text that gets chopped off—ruining an entire batch of your beautiful packaging.
Key Ingredients for a Print-Ready File
Before you even think about sending that file over, you need to run through a quick technical checklist. These elements are the absolute foundation of professional printing on packaging and will save you a ton of headaches (and money).
First up, let's talk color. Your computer screen shows you colors using the RGB (Red, Green, Blue) model, which is made with light. Printers, on the other hand, mix physical inks using the CMYK (Cyan, Magenta, Yellow, Key/Black) model. If you design in RGB and print in CMYK, you're going to see a noticeable color shift. Your vibrant brand colors might come out looking dull and flat. The pro move? Set your design software to CMYK from the very start.
Next is image quality. That gorgeous photo on your website might look terrible in print if it’s low-resolution. For anything printed, your images need to be at least 300 DPI (dots per inch). This is non-negotiable if you want your graphics to look sharp and crisp, not like a pixelated mess.
Setting up your files correctly isn’t just a best practice; it’s the difference between packaging that looks professional and packaging that looks like a mistake. A clean file is the best insurance for a great print run.
Understanding Bleed and Dielines
Two other terms you absolutely have to know are bleed and dielines. Imagine trying to color a shape right to the very edge without going over the lines. It’s almost impossible. That’s why printers need what’s called a "bleed."
Bleed is just a little extra sliver of your design that extends past the final trim line. Commercial printers print on huge sheets and then cut them down to size. That little bit of extra design ensures that even if the cut is a micro-millimeter off, you won't get any ugly white edges on your finished box.
A dieline is the template that tells the printer exactly where to cut, crease, and fold your packaging. For any custom-shaped box, this is the map your printer follows to build the final structure.
To make sure your files are set up perfectly, a great resource is our guide on how to create a print-ready PDF. It walks you through the entire process, step-by-step. Handing over a properly formatted file gives your printer everything they need for a successful run, and it makes you look like you've been doing this for years.
Understanding Costs and Planning Your Timeline
Let's get right to the two questions at the heart of any packaging project: "How much is this going to cost?" and "When will I have it in my hands?" The honest answer to both is, "It depends." Think of it like planning a road trip—the total cost and travel time are completely shaped by where you're going, the car you're driving, and how many detours you take.
The single biggest lever on your cost is the printing method you choose. Offset printing, for instance, has a hefty upfront cost because it requires custom plates to be made. It’s not the best fit for a small test run. But once you scale up, the cost per box plummets, making it a fantastic value for large quantities. Digital printing is the mirror opposite. With almost no setup, it's perfect for small batches and quick turnarounds, but it won't give you the same economies of scale on a massive order.
Breaking Down the Budget
Beyond the core printing technique, a few other key choices will directly influence your final invoice. Each one adds another layer to the total cost, so it pays to know what they are.
- Order Quantity: This is where economies of scale really kick in. A run of 5,000 boxes will have a dramatically lower per-unit cost than an order of just 500. The more you print, the cheaper each individual piece becomes.
- Material Choice: There's a world of difference between a simple folding carton made from standard paperboard and a high-end, rigid box built for a luxury product. Your material selection is a major cost driver.
- Special Finishes: Every little touch of "wow"—from shiny metallic foil stamping to an elegant embossed logo—adds to the production cost. These finishes absolutely elevate the customer experience, but they need to be factored into the budget from day one.
And don't forget, the choices you make here have a ripple effect. Smart packaging design can also help you reduce shipping costs for small businesses, which is a huge piece of the overall financial picture.
Mapping Out Your Production Timeline
One of the most common rookie mistakes is underestimating how long this whole process actually takes. Giving yourself plenty of runway is the best way to avoid stressful delays, rush fees, and costly mistakes. A typical production schedule for printing on packaging has several distinct phases.
Planning your timeline isn't just about avoiding a last-minute scramble. It's about giving each stage—from proofing to finishing—the time it needs to ensure a high-quality outcome that perfectly represents your brand.
Here’s a simplified look at the steps involved and what to expect:
- File Review and Proofing (1-3 days): Once you submit your artwork, your printer will comb through it to spot any technical issues. They’ll then send you a proof—either digital or physical—for you to sign off on.
- Printing Production (5-10 business days): This is the main event where your design comes to life on the press. The exact time depends on the printing method, your order size, and how complex the job is.
- Finishing and Assembly (2-5 days): After printing, any special finishes like foiling or embossing are applied. Then, the boxes are die-cut, folded, and glued.
- Shipping and Delivery (Varies): The final leg of the journey. The time here just depends on the shipping method you choose and where you're located.
My best advice? Always, always build a buffer into your timeline. A few extra days can be a lifesaver. By planning ahead, you can hit your launch dates with confidence and without compromising on the quality of your packaging.
Exploring Eco-Friendly Printing on Packaging
Let’s be honest, “sustainability” isn’t just some buzzword anymore. It’s a real factor that drives how people shop. For any brand, embracing eco-friendly printing on packaging is a fantastic way to show you’re serious about the planet and connect with customers who care. This goes way beyond just the box itself—it's about thinking through the entire lifecycle of your packaging.
And the best part? Going green doesn’t mean you have to compromise on a killer design. Even small, intentional shifts can make a huge difference.
Sustainable Materials and Inks
The heart of green packaging is the material you start with. Picking a substrate with a lighter environmental footprint is your most direct path to reducing your impact.
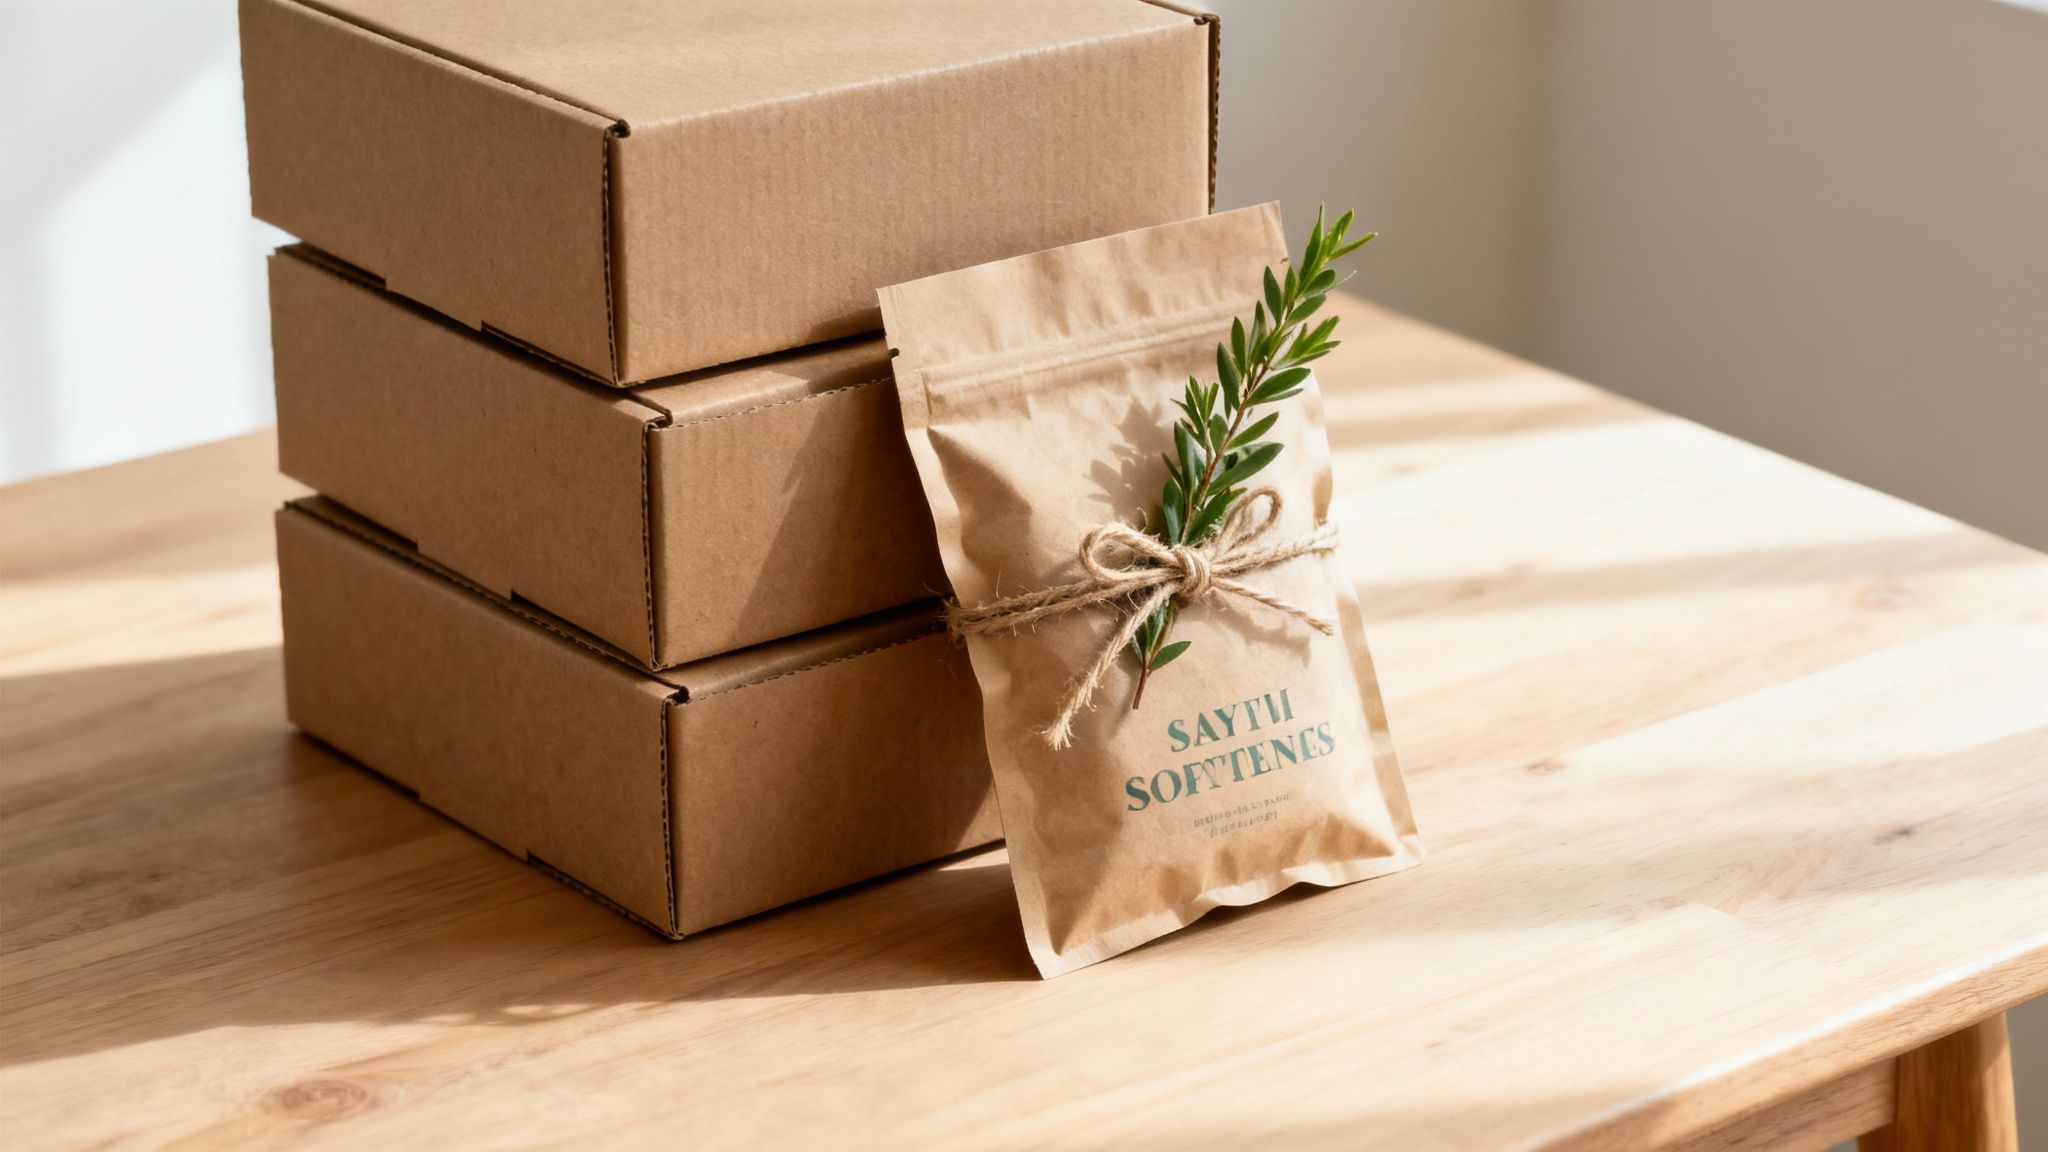
- Recycled Paperboard: Made from post-consumer waste, this choice cuts down on the need for virgin pulp, which saves trees and a ton of energy. It’s a go-to for folding cartons and product boxes.
- FSC-Certified Papers: When you see that Forest Stewardship Council (FSC) label, it’s a guarantee. It means the paper comes from forests that are managed responsibly, protecting the ecosystem and ensuring resources are harvested sustainably.
But the paper is only half the story. The inks you choose matter just as much. Traditional petroleum-based inks can release nasty volatile organic compounds (VOCs). Thankfully, there are much better alternatives.
- Soy-Based Inks: These inks come from soybeans, a renewable resource. They produce beautiful, vibrant colors and are actually easier to remove during the recycling process.
- Water-Based Inks: By using water as the main solvent instead of harsh chemicals, these inks are a cleaner, safer option, especially for anything related to food packaging.
If you’re trying to navigate all the different options, a good buyer's guide to eco-friendly packaging can be a huge help in breaking down the choices and what they mean for your printing project.
Designing for sustainability is all about making intentional choices. It’s creating packaging that not only looks great and does its job but is also simple for your customer to recycle, cutting down on waste from beginning to end.
This mindset often leads to beautifully minimalist designs that use less ink and fewer materials. It’s proof that great design can be both powerful and responsible. For a deeper look into the nitty-gritty, you can learn more about eco-friendly printing and how to put these ideas into practice.
Your Top Packaging Printing Questions, Answered
Jumping into the world of custom packaging can feel like learning a new language. You've got questions, and that's a good thing. Let's break down some of the most common ones we hear from businesses just starting out, giving you the straightforward answers you need to get moving.
What’s the Best Printing Method for a Small Business?
For small batches, especially anything under 1,000 units, digital printing is almost always your best bet. Think of it like a high-end desktop printer, but for packaging. It prints directly from a digital file, which means you get to skip the expensive setup of creating custom metal plates that methods like offset printing require.
This is a huge deal for keeping your upfront costs down. It makes digital the go-to for startups testing a new product, brands that want to do a limited edition run, or really anyone who needs to see a design in the real world without a massive financial leap.
How Can I Make Sure My Brand Colors Print Correctly?
Getting your colors right is non-negotiable for brand recognition. The first step is to make sure your design files are built in the CMYK color model. This is the language of physical printing, unlike RGB, which is what our digital screens use.
But for true color perfection, you'll want to use the Pantone Matching System (PMS). When you give your printer a specific PMS code for your brand colors, you're taking all the guesswork out of the equation. It's the secret to getting a near-perfect match every single time, no matter what you're printing on.
Think of a PMS code as the exact paint formula for your brand. It’s what ensures your signature blue looks the same on a box, a label, and a brochure, creating that cohesive, professional look you’re after.
What's the Real Difference Between Cardboard and Corrugated?
People toss these terms around like they're the same thing, but in the packaging world, they're two totally different players.
- Cardboard is what you probably think of for things like cereal boxes or cosmetic packaging. It's a single, thick layer of heavy-duty paper stock, perfect for retail cartons that don't have to survive a rough shipping journey.
- Corrugated material is engineered for toughness. It’s a three-layer sandwich: two flat linerboards with a wavy, fluted sheet squished in between. That construction is what gives it superior strength and makes it the undisputed champion for shipping boxes.
Ready to create packaging that does your brand justice? 4OVER4 has a massive selection of customizable packaging options with the high-quality printing you need to bring your vision to life. Get your project started with us today!
More from

3
Tear-off flyers are a classic for a reason. They’re a tangible marketing tool, designed with perforated, removable tabs at the bottom. Each
![]() Emma Davis
Emma Davis
Mar 11, 2026

21
Printing stickers at home is a seriously fun and rewarding project. It boils down to four main parts: designing your image, picking the right
![]() Emma Davis
Emma Davis
Mar 10, 2026

42
Ever seen a logo that seems to float right on the glass of a jar or bottle? That’s the work of transparent label stickers.
![]() Emma Davis
Emma Davis
Mar 9, 2026

43
Picture this: your product’s beautiful label gets smudged and runny during shipping, or a gorgeous event banner fades to nothing after just
![]() Emma Davis
Emma Davis
Mar 8, 2026

49
In a sea of options, your product's packaging and labeling are its first, and often only, chance to make a real connectio
![]() Emma Davis
Emma Davis
Mar 7, 2026

75
Ever tried to print a hundred high-quality flyers on your home office printer? You probably ran out of ink, dealt with paper jams, and ended u
![]() Emma Davis
Emma Davis
Mar 6, 2026

70
So, what exactly is typography in graphic design? Put simply, it’s the art of arranging letters and text in a way that is clear, legible, an
![]() Emma Davis
Emma Davis
Mar 5, 2026

753
The fundamental difference between traditional and digital marketing really boils down to one thing: traditional marketing casts a wid
![]() Emma Davis
Emma Davis
Mar 4, 2026