Table of Contents
- Home
- content hub
- Your Guide to Online Brochure Printing
Your Guide to Online Brochure Printing
Oct 2, 2025323 views
Oct 2, 2025323 views
Online brochure printing is exactly what it sounds like: a service that lets you design, tweak, and order professional-quality brochures right from your computer. Instead of being stuck with whatever your office printer can manage, you get access to top-tier printing technology, a huge variety of paper types, and slick finishes. It’s the easiest way to get flawless, tangible marketing materials delivered straight to your door.
Why Online Brochure Printing Changes the Game
Think of your office printer as a basic home kitchen—it gets the job done for simple meals, but it has its limits. An online printing service, on the other hand, is like a fully-stocked commercial kitchen run by a team of professional chefs. It completely removes the usual roadblocks like high costs, technical headaches, and a lack of material choices, letting you create marketing pieces that look and feel seriously premium.
This simple idea has powered some massive growth. The global online printing market was valued at USD 25.3 billion in 2023 and is expected to nearly double to USD 46.9 billion by 2032. Why? It boils down to the incredible convenience and deep level of control these platforms offer. You can find a complete breakdown of these numbers in the full online printing service report.
The Core Advantages of Printing Online
Switching to an online printer isn't just about saving time; it's a smart move that gives you a much better final product. Here’s what you gain:
- Top-Notch Quality and Consistency: Online printers use high-end offset and digital presses. This means your colors pop, text is razor-sharp, and every single brochure looks identical—something an office printer just can't promise.
- Endless Customization: You suddenly have access to a massive inventory of paper weights, cool textures, and pro-level finishes like UV coating or silk lamination that make your design stand out.
- Cost-Effective at Scale: The more you order, the cheaper each brochure gets. Online platforms give you instant quotes, so you can play around with quantities and materials to see exactly how it affects your budget.
Comparing Your Brochure Printing Options
To really see the difference, it helps to compare your options side-by-side. Each method has its place, but for professional marketing materials, the choice becomes pretty clear.
| Feature | Online Printing Service | Local Print Shop | DIY Office Printing |
|---|---|---|---|
| Best For | High-volume, professional-quality marketing materials. | Small runs, quick turnarounds, and personalized service. | Internal documents, drafts, and last-minute needs. |
| Quality | Excellent. Commercial-grade presses ensure color accuracy and consistency. | Very good. Professional equipment and experienced staff. | Basic. Limited color range, prone to streaks and errors. |
| Cost Per Unit | Low, especially for bulk orders. Economies of scale apply. | Moderate to high. Higher overhead and less volume. | High. Ink and paper costs add up quickly. |
| Customization | Extensive. Wide range of paper stocks, sizes, folds, and finishes. | Good. Options may be limited by available stock and equipment. | Very limited. Restricted to standard paper sizes and types. |
| Convenience | High. Order from anywhere, anytime. Delivery to your door. | Moderate. Requires in-person visits for consultation and pickup. | High. Instant printing, but requires hands-on effort. |
| Turnaround | 3-10 business days, depending on complexity and shipping. | Can be fast, sometimes same-day for simple jobs. | Immediate. |
Ultimately, choosing the right printing method depends on your project's specific needs—balancing quality, cost, and speed.
A well-crafted physical brochure is a powerful wingman for your digital marketing. It cuts through the online clutter, boosts brand recall, and gives customers a real, tangible connection to your business.
Bridging the Physical and Digital Divide
In a world where we’re all drowning in digital ads, a great-looking brochure can make a surprisingly strong impression. It can be a physical leave-behind after a big meeting, a detailed guide at a trade show, or an informative mailer that lands right in your customer's hands.
That physical connection is priceless. Online brochure printing makes it easier than ever to weave this classic marketing tool into your modern strategy. You can design, proof, and order materials that perfectly match your brand's website and social media, creating a seamless experience for your audience everywhere. It’s all about making a professional statement without needing a professional-sized budget to do it.
Choosing the Right Paper Stock and Finish
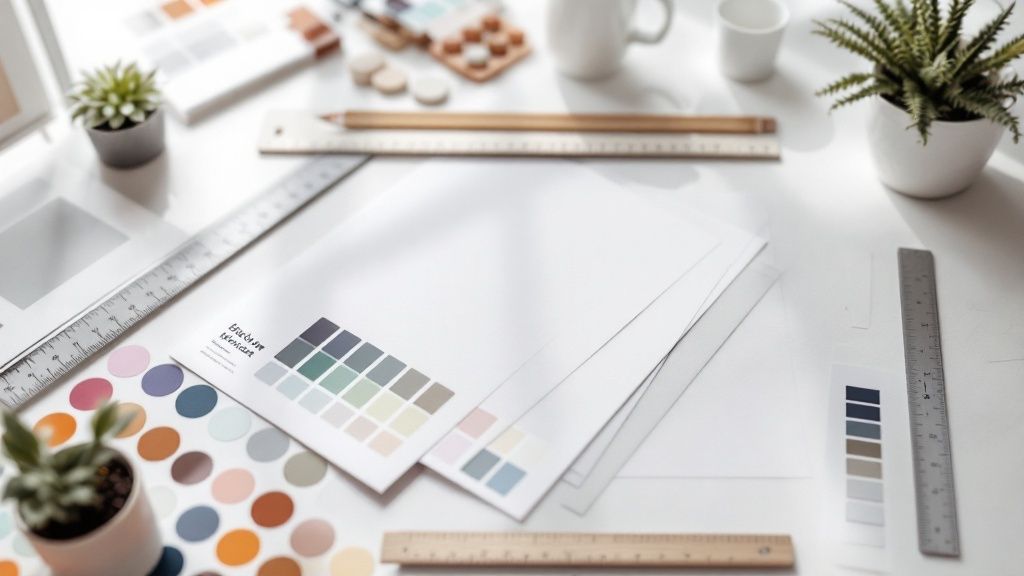
The moment someone picks up your brochure, they’re already forming an opinion about your brand. It’s an instant, tactile judgment. The paper’s weight, its feel, and the way it catches the light all send a powerful message—long before a single word is read.
Think of it like choosing an outfit for an important meeting. A flimsy, see-through paper is like showing up in beachwear; it just sends the wrong signal. On the flip side, a thick, luxurious stock is your well-tailored suit. It communicates quality, confidence, and that you care about the details.
Understanding Paper Weight and Thickness
The key term you’ll run into with online brochure printing is GSM, which stands for Grams per Square Meter. Don't let the acronym intimidate you. It's simple: a higher GSM number means a heavier, thicker, and more durable paper.
Let's break it down with a quick comparison.
- Low GSM (around 90-120 GSM): This is your standard office copy paper or a basic flyer. It’s thin, flexible, and works well for mass handouts that don’t need to stick around for long.
- Medium GSM (around 130-170 GSM): Imagine the page of a high-quality magazine. It has more substance, feels more professional, and is a solid, cost-effective sweet spot for most brochures.
- High GSM (around 200-300 GSM): Now we’re in the territory of premium business cards or wedding invitations. It feels substantial and rigid, signaling high quality and importance.
So, how do you choose? It all comes down to your brochure’s job. If it’s a disposable handout for a trade show, a lower GSM is probably fine. But if it’s a sales tool meant to impress a major client, investing in a higher GSM is a no-brainer.
Decoding Paper Finishes
Once you've landed on the right weight, the next decision is the finish. This is the coating that gives the paper its texture and sheen, and each one has its own personality.
Gloss Finish
A gloss finish is shiny, smooth, and makes colors pop. Think of how photos look in a travel magazine. This is the go-to choice for designs that are heavy on images—real estate listings, product catalogs, or anything where vibrant visuals are the star of the show.
Matte Finish
A matte finish is the opposite: it’s non-reflective, with a smooth, almost velvety feel. This creates a more subdued, modern, and sophisticated vibe. Because there’s no glare, it’s fantastic for brochures with a lot of text, making everything much easier to read. Bonus: it doesn't show fingerprints as easily as gloss.
Uncoated Stock
Uncoated paper has no finish at all, giving it a natural, porous texture. Ink soaks into it a bit more, which softens the colors for a more muted, organic look. It’s the perfect match for brands aiming for a rustic, crafty, or eco-friendly aesthetic.
Adding Protective and Premium Coatings
Want to take your brochure to the next level? Special coatings add durability and a touch of class. These are the finishing touches that can make your piece truly memorable.
- UV Coating: This is an ultra-shiny liquid coating that’s hardened with UV light. It creates a brilliant gloss and adds a tough, scratch-resistant layer, making it great for brochures that will get handled a lot.
- Aqueous Coating: This is a clear, water-based coating that adds a bit of sheen and protection against scuffs and fingerprints. It's more subtle than UV coating and is a more environmentally friendly option.
- Lamination: This process applies a thin plastic film to your brochure, making it seriously durable. It can be gloss, matte, or even a soft-touch texture. Lamination makes your brochure tear-resistant and water-resistant. For an incredibly luxurious feel, you can even explore options like silk laminated printed products, which have a unique, velvety feel that people can’t help but touch.
By carefully layering these decisions—weight, finish, and coating—you can create a brochure that doesn’t just look great, but feels like an authentic extension of your brand.
Mastering Brochure Folds and Sizes
How a brochure unfolds is a huge part of its story. The fold isn't just about making a big piece of paper easier to carry; it's a deliberate design choice that steers the reader's eye and sets the pace for how they absorb your message. Getting this right can turn a simple handout into something truly engaging and interactive.
Think of it this way: a basic bi-fold is like a direct, straightforward conversation. But a more complex roll-fold? That's a guided tour, revealing new details one step at a time. Each fold creates a unique rhythm, so matching the format to your message is key.
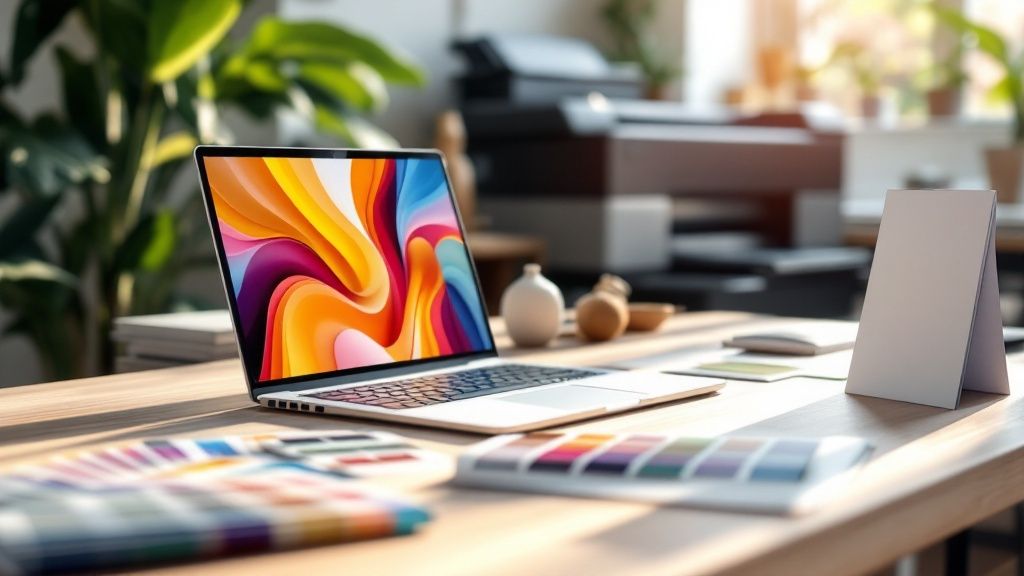
This visual shows how a professionally printed brochure goes from a digital file to a finished product, highlighting the seamless journey.
The image really drives home the polished, professional result you get when every detail—especially the fold—is carefully considered.
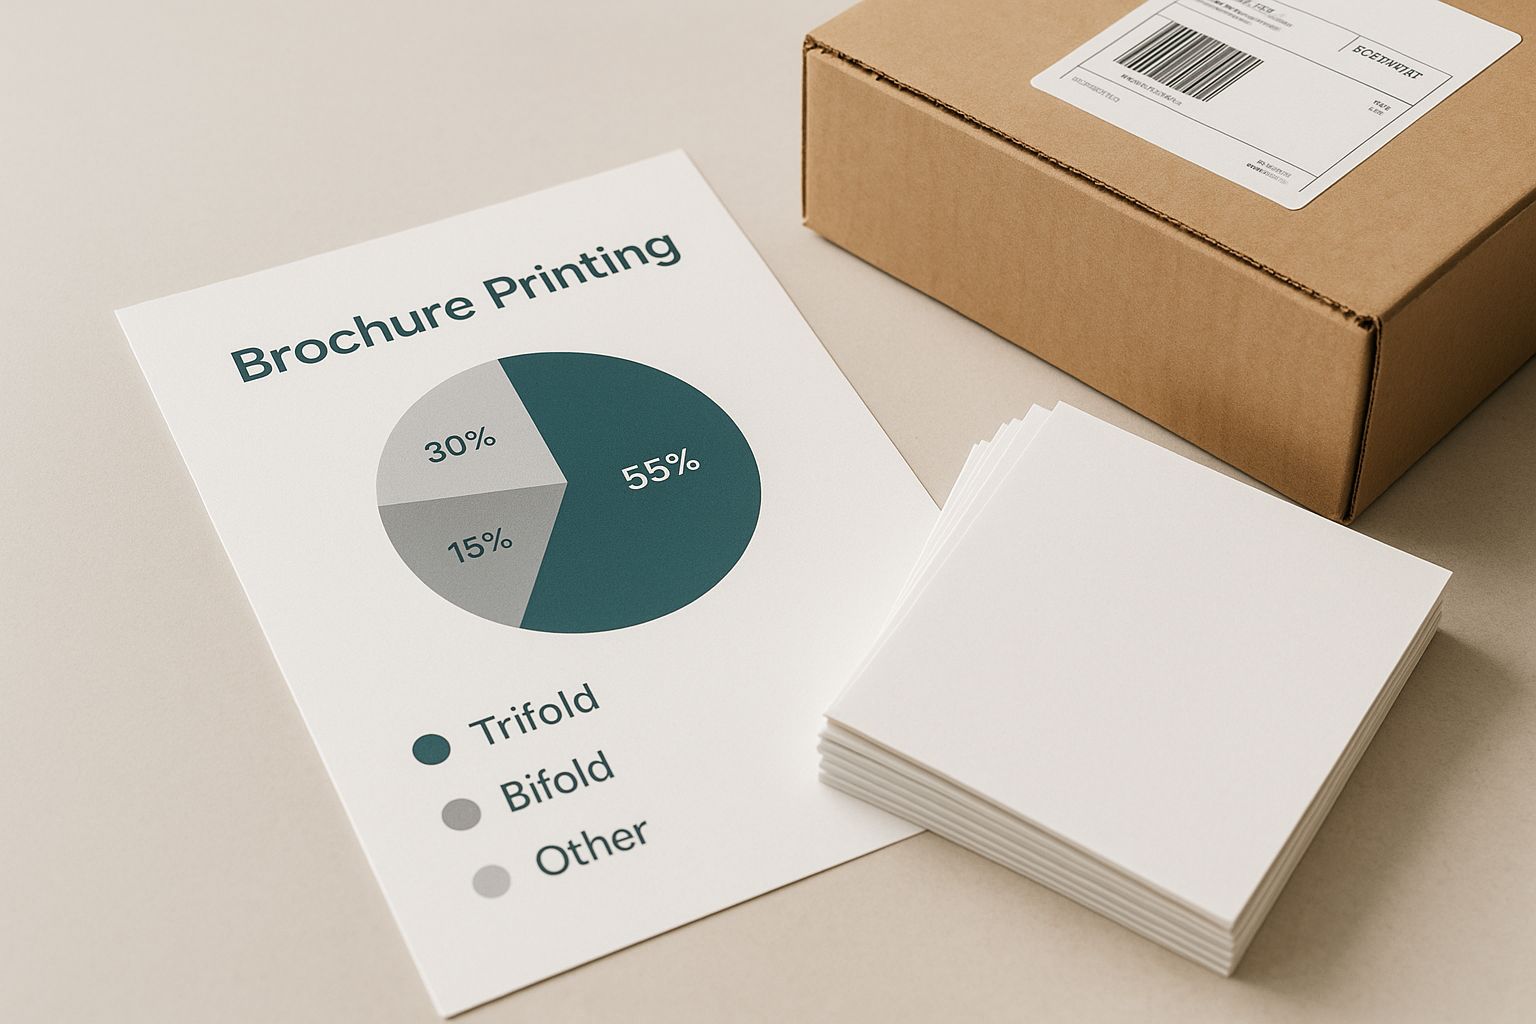
Exploring Popular Brochure Folds
Sure, everyone knows the standard bi-fold and tri-fold, but there's a whole world of creative folding options out there. Each one serves a different marketing purpose, giving you the power to shape the user's experience.
A brochure's fold is its physical user interface. It dictates how your audience interacts with your brand before they even read a word. To help you choose, here's a quick rundown of some of the most common folds and where they shine.
Common Brochure Folds and Their Best Use Cases
| Fold Type | Number of Panels | Common Use Case |
|---|---|---|
| Bi-Fold | 4 Panels | Simple product sheets, event programs, menus. Great for direct, easy-to-digest info. |
| Tri-Fold | 6 Panels | The marketing workhorse. Perfect for service overviews, guides, and takeaways. |
| Z-Fold | 6 Panels | Ideal for timelines, step-by-step instructions, or large panoramic visuals. |
| Gate-Fold | 6 or 8 Panels | Creates a dramatic reveal. Use it for new product launches or major announcements. |
| Roll-Fold | 8+ Panels | Excellent for detailed content like extensive menus, tutorials, or company profiles. |
As you can see, the right fold does more than just organize your content; it adds a layer of strategy to your physical marketing.
Advanced Folds for Maximum Impact
When you really need to make a statement, stepping up to a more complex fold can grab attention and give your project a premium feel.
Gate-Fold (6 or 8 Panels): This fold has two outer panels that swing open like gates to reveal a larger interior space. It’s perfect for building anticipation before a "wow" moment—like showing off a stunning photograph or a major new product.
Roll-Fold (8+ Panels): Here, a sheet of paper is folded inward on itself multiple times. Each panel has to be slightly smaller than the last to nestle inside correctly. This is a fantastic choice for content that needs to be presented methodically, like a detailed tutorial or an extensive list of services. You can check out a wide variety of these and other creative options in our full folded collection.
Choosing the Right Brochure Size
Finally, let's talk dimensions. Standard sizes like Letter (8.5" x 11") and Legal (8.5" x 14") are the most popular and cost-effective choices for online brochure printing. The size you pick should really come down to your content and how you plan to distribute it. A smaller brochure is great for mailings or trade show handouts, while a larger one gives you a bigger canvas for bold designs and lots of information.
Brochures are a cornerstone of the commercial printing world, which is a massive global market. The industry was valued at an incredible USD 501.36 billion in 2024 and is expected to hit USD 598.06 billion by 2030. A huge driver of that growth? The convenience of ordering high-quality digital printing online.
How to Prepare Your Design File for Printing
Hitting "upload" on your brochure design can feel like a shot in the dark. You’ve poured hours into getting it just right on your screen, but will it look the same in print? It’s a common fear, but a few key setup steps can turn that anxiety into confidence.
Think of your digital file as a blueprint for the printer. A great blueprint leaves no room for error, telling the machines exactly where to cut, what colors to mix, and how to handle every element. Getting your file print-ready is about creating that perfect, mistake-proof blueprint.
Understanding the Printer's Canvas
Before any ink touches paper, your design needs to respect the physical realities of printing and cutting. There are three critical boundaries you have to know: the trim line, the bleed area, and the safe zone. The easiest way to picture this is to imagine a photo inside a picture frame.
- Trim Line: This is the actual edge of your finished brochure. It's where the giant cutting machine will slice your brochure out from a larger sheet of paper.
- Bleed Area: This is a safety margin that extends beyond the trim line, typically 0.125 inches (or 1/8th of an inch). If you have any background colors or images that are supposed to go right to the very edge, they must extend all the way into this bleed area. This is your insurance against tiny shifts in the cutting blade, preventing any ugly white slivers from showing up along the edges.
- Safe Zone: This is the area inside the trim line, also about 0.125 inches in. Consider this the "safe space" inside the frame. All your important stuff—like text, logos, and key contact info—needs to stay comfortably within this zone. This guarantees nothing crucial gets accidentally lopped off during the final trimming.
Setting up your bleed and safe zones correctly is the single most important thing you can do to avoid printing disasters. You’re essentially giving the machines a built-in margin for error, which saves everyone a lot of headaches.
Mastering Color and Clarity
Ever notice how a photo can look amazing on your phone but disappointing when printed? That's usually because of two things: color mode and image resolution. Nailing these is non-negotiable if you want your brochures to look sharp and professional.
Set Your Colors to CMYK
Your screen creates color using light with the RGB (Red, Green, Blue) model. Professional printing presses, however, create color by mixing physical inks using the CMYK (Cyan, Magenta, Yellow, Black) model. If you design in RGB, the printer has to convert the colors, which often leads to them looking dull, flat, or just plain wrong.
The fix is simple: set your design program's color mode to CMYK from the very start. That way, what you see on screen is a much more accurate preview of the final printed piece.
Use High-Resolution Images
The sharpness of a printed image is measured in DPI, or Dots Per Inch. For print, the gold standard is 300 DPI. Most images you find online are only 72 DPI, which is fine for a screen but will look blurry and pixelated on paper.
Before you drop any photo or graphic into your layout, check its resolution. Using anything less than 300 DPI will seriously compromise the quality of your brochure and make your brand look amateurish.
Finalizing Your File for Upload
Okay, your layout is perfect, your colors are correct, and your images are crisp. The last step is to bundle it all up in a format the printer can use without any issues.
- Embed or Outline Your Fonts: This is a big one. If the print shop doesn't have the exact fonts you used, their computers will swap them for something else, totally wrecking your design. You can prevent this by either embedding the fonts into your file or outlining them, which turns your text into fixed vector shapes that can't be changed.
- Save as a Print-Ready PDF: The universal file format for printing is a high-quality PDF. It's like a locked container that holds all your fonts, images, colors, and layout instructions in place. When you export, always look for a preset like "High-Quality Print" or "Press Quality."
These fundamentals are just as important for more complex projects. For example, if you're designing a brochure with a unique custom shape, you'll need to know how to prepare files for custom die-cutting services so the cut lines are properly defined. Taking a few extra minutes to prep your file correctly is always worth it—it'll save you time, money, and the disappointment of a botched print job.
Navigating the Online Ordering Process
Placing a print order online should be simple, not a guessing game. The best platforms guide you through a digital checkout, with each step designed to confirm your choices and catch any little mistakes before they become big problems. Let's walk through how it works, from getting an instant price to giving that final thumbs-up.
The whole online printing system is built for speed and clarity. This shift to web-to-print isn't new, but it kicked into high gear when world events forced businesses to get more flexible. The market was valued at nearly USD 1 billion back in 2020 and keeps growing at a steady 6.6% clip. That tells you just how many businesses now count on this streamlined approach. You can get more details about the rise of online print services on beyond-print.net.
From Quote to Confirmation: A Step-by-Step Guide
The journey from picking a product to hitting "confirm" is usually broken down into a few logical stages. The beauty is that as you make your selections, the price updates in real-time, giving you total control over your budget.
- Select Your Specs: This is where you lock in all your choices—the paper, size, fold, and finish you decided on earlier.
- Choose Your Quantity: Pay attention to the quantity breaks. You'll see the cost-per-brochure drop as you order more. Grabbing 500 is almost always a much better deal per piece than ordering just 250.
- Upload Your Artwork: Time to upload that print-ready PDF. Most sites will run a quick, automated check for obvious issues like low-res images or missing bleed lines.
- Review Your Proof: This is your last chance to spot a typo or a misplaced image. The system will show you a digital preview of exactly how your file will look when printed.
- Enter Shipping and Payment: Just fill in your delivery details, pay up, and you're done!
Understanding Turnaround Times
One of the most common points of confusion is the timeline. It's really important to know the difference between two key terms that sound similar but mean very different things.
- Production Time: This is how long the printer needs to physically print, cut, fold, and finish your brochures after you approve the final proof. It can be as fast as one business day or take a week or more for complex orders.
- Shipping Time: This is the extra time it takes for UPS, FedEx, or another carrier to get the finished brochures from the print shop to your door.
Your total delivery timeline is always Production Time + Shipping Time. So, a 3-day production turnaround plus 2-day shipping means your brochures will show up about five business days after you approve your proof.
The Crucial Role of Proofs
Before a single sheet of paper is printed, you have to approve a proof. Think of it as your final safety check. You typically have two options, and knowing which one to choose is key to getting what you expect.
Digital Proofs vs. Hard-Copy Proofs
| Feature | Digital Proof | Hard-Copy Proof |
|---|---|---|
| Format | A PDF file sent to your email for on-screen review. | An actual, physical sample of your brochure mailed to you. |
| Purpose | Perfect for checking layout, spelling, and content. | The only way to verify exact color accuracy and the paper's feel. |
| Speed | Instant. You can approve it in minutes. | Adds several days to your timeline for shipping. |
| Cost | Almost always free. | Usually costs a little extra. |
For most jobs, a digital proof is all you need. But if your brochure features a very specific brand color or you're spending a lot on a huge print run, a hard-copy proof is cheap insurance. Once everything's approved, your brochures might just be one part of a bigger campaign. Many printers can even help with the next step, offering comprehensive direct mail services to handle fulfillment.
Common Questions About Online Brochure Printing
Even with the perfect design in hand, a few practical questions always seem to pop up right before you hit that "order" button. Let's walk through some of the most common ones we hear about online brochure printing.
Getting these details sorted out will give you the confidence that what you see on your screen is exactly what will show up at your door.
What Is the Minimum Order Quantity?
This is a big one, and it directly ties into your budget and campaign size. The minimum order quantity (MOQ) really boils down to the type of printing press being used for your job.
- For Digital Printing: If you only need a small batch, digital printing is your best friend. It’s perfect for testing a new design or for a highly targeted mailing. You’ll often see minimums as low as 25 or 50 brochures.
- For Offset Printing: When you need to go big, printers use traditional offset presses. The setup is more involved, so it doesn't make sense for tiny orders. The trade-off? A much lower cost per brochure on large runs. Here, the MOQ typically starts around 250 or 500 units. To get a better feel for how this works, you can explore the ins and outs of professional offset printing.
Just be sure to check the product page for the specific brochure you’re interested in. It will lay out all the quantities and show you how the price per piece drops as the order size goes up.
How Can I Ensure My Brand Colors Print Correctly?
It's a totally valid concern—your brand identity is on the line! A color that glows on your monitor can look completely different on paper. The good news is, there are some straightforward ways to make sure your colors come out just right.
First things first, your design file needs to be in CMYK color mode, not RGB. Think of it this way: RGB is for screens (Red, Green, Blue light), while CMYK is for ink on paper (Cyan, Magenta, Yellow, Black ink). Designing in CMYK from the get-go gives you a far more accurate preview of the final printed piece.
For those projects where color is absolutely mission-critical, the best move is to order a hard-copy proof. This is a real, physical sample of your brochure, printed on your exact paper choice, and mailed to you. It's the only surefire way to see, touch, and approve the final product before the full run goes to press.
Can I Get Design Help from the Printer?
Absolutely. You don't have to be a professional designer to get a professional-looking brochure. Most online printers have a few options to help you out, no matter your skill level or budget.
Many offer a huge library of free, professionally designed templates. This is a great shortcut because the tricky technical stuff—like bleed, trim lines, and safe zones—is already baked in. You just drop in your own text, logo, and images.
If you're after something completely unique but don't want to design it yourself, most printers also offer in-house design services for a fee. This connects you with an actual graphic designer who can work with you to create something from scratch.
Ready to create brochures that truly represent your brand's quality? At 4OVER4, we combine state-of-the-art printing technology with an easy-to-use online platform. Explore our brochure options and start your project today!
More from

8
When you think of a yard sign, the classic 18"x24" is probably what comes to mind. It’s the industry workhorse fo
![]() Emma Davis
Emma Davis
Mar 14, 2026

15
When you’re ready to invest in an A-frame sign, the first question you'll ask is, "What size do I need?" It usually comes down
![]() Emma Davis
Emma Davis
Mar 13, 2026

150
The real secret to mastering your direct mail budget isn't complicated. It comes down to one simple fact: a standard 4" x 6&q
![]() Emma Davis
Emma Davis
Mar 12, 2026

69
Tear-off flyers are a classic for a reason. They’re a tangible marketing tool, designed with perforated, removable tabs at the bottom. Each
![]() Emma Davis
Emma Davis
Mar 11, 2026

120
Printing stickers at home is a seriously fun and rewarding project. It boils down to four main parts: designing your image, picking the right
![]() Emma Davis
Emma Davis
Mar 10, 2026

105
Ever seen a logo that seems to float right on the glass of a jar or bottle? That’s the work of transparent label stickers.
![]() Emma Davis
Emma Davis
Mar 9, 2026

62
Picture this: your product’s beautiful label gets smudged and runny during shipping, or a gorgeous event banner fades to nothing after just
![]() Emma Davis
Emma Davis
Mar 8, 2026

60
In a sea of options, your product's packaging and labeling are its first, and often only, chance to make a real connectio
![]() Emma Davis
Emma Davis
Mar 7, 2026