Table of Contents
- Home
- content hub
- How to Create Custom Envelope in Adobe Illustrator and Mockup in Ado
How to Create Custom Envelope in Adobe Illustrator and Mockup in Ado
Apr 22, 20219437 views
Apr 22, 20219437 views
Designing custom envelopes can add a personal touch to invitations, business correspondence, or creative projects. But figuring out how to create one in Adobe Illustrator might feel like a daunting task if you’re not sure where to start. Don’t worry—we’ve got you covered.
Understanding Custom Envelopes
Custom envelopes offer a unique way to align mailing materials with a brand’s visual identity. They add a professional and tailored touch to any project or correspondence.
What Is a Custom Envelope?
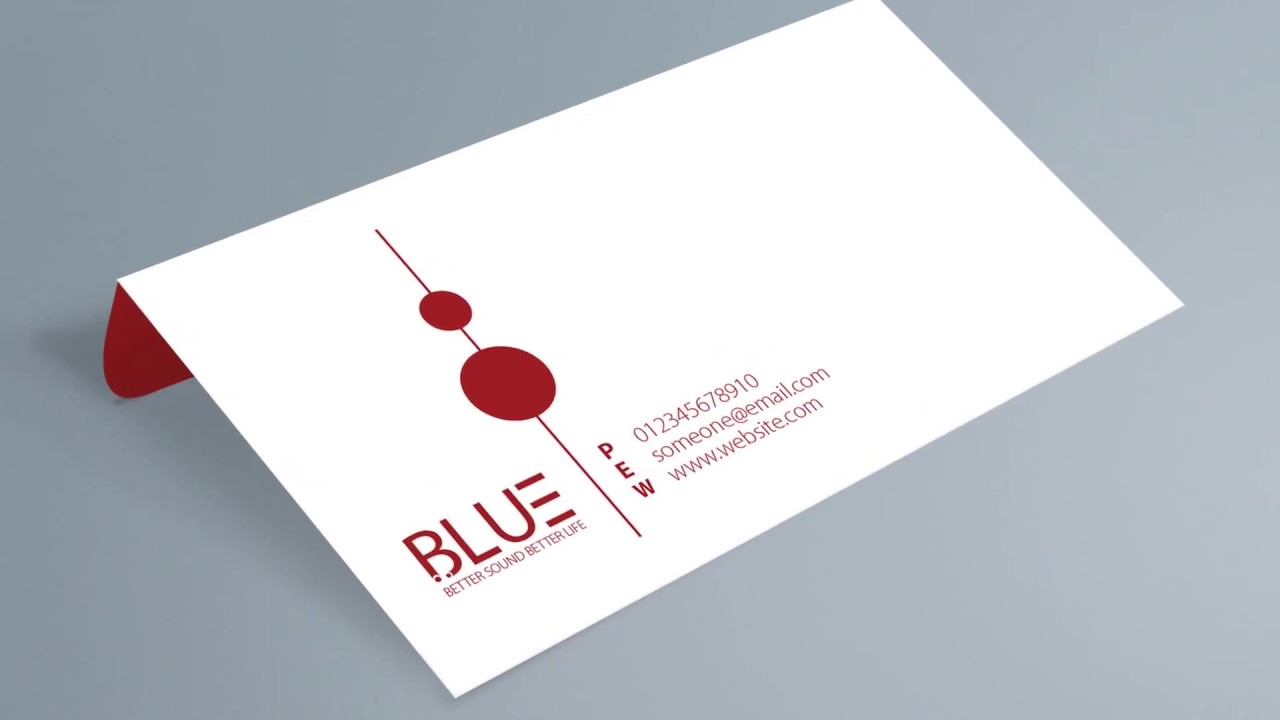
A custom envelope is a personalized envelope design tailored to specific needs, such as unique dimensions, creative layouts, or design components. Custom envelopes incorporate brand-specific elements like logos, color schemes, or typography, creating a coherent and recognizable look.
Tools like Adobe Illustrator provide the flexibility to create intricate designs and implement precise measurements. This makes it possible to craft a one-of-a-kind envelope that stands out. For example, businesses can create specialty envelopes for invitations, holiday promotions, or client correspondence.
- Enhanced Brand Identity
Custom envelopes integrate brand aesthetics seamlessly into packaging materials. With precise control in Adobe Illustrator, businesses can design consistent branding elements, amplifying recognition and credibility. - Increased Engagement
Uniquely designed envelopes capture attention and increase the likelihood of message retention. Decorative patterns, colored borders, or embossed features amplify visual appeal. - Flexibility in Design
Illustrator’s extensive design tools enable businesses to explore diverse envelope options. From designing unique shapes to adding high-resolution images or custom graphics, flexibility is key. - Professional Presentation
Customized envelopes offer a polished and professional edge to marketing or communication materials. They’re especially beneficial for direct mail campaigns, impressing both current and potential clients.
4OVER4.COM supports businesses by providing dynamic printing solutions for custom envelopes that elevate branding efforts.
Setting Up Your Adobe Illustrator Workspace
Setting up Adobe Illustrator correctly ensures smooth custom envelope design. A well-organized workspace allows better control over creative projects, resulting in professional results.
Tools and Panels to Prepare
Organizing essential tools in Illustrator streamlines the process. Enable the following for envelope creation:
- Layers Panel: Manage design elements efficiently for complex layouts.
- Align Panel: Center or distribute components precisely to maintain balance.
- Pathfinder Tool: Combine or divide shapes for custom envelope templates.
- Swatches and Colors: Save brand-specific hues for consistency across design elements.
Arrange these panels using Illustrator’s Workspace menu. Saving your custom layout ensures a consistent setup for future projects.
Optimal Document Settings for Envelopes
Correct document settings establish the foundation for high-quality envelopes. Start with these parameters:
- Dimensions: Match the project's envelope size. For example, use 9.5" x 4.125" for #10 envelopes.
- Bleed Settings: Apply a 0.125" bleed to accommodate printing edges.
- Color Mode: Select CMYK for print accuracy.
- Resolution: Use 300 dpi for crisp images and text.
Save your file as an Illustrator (.ai) document. This format preserves layers and ensures editing flexibility.
Highlighted Value by 4OVER4.COM
Once designs are complete, 4OVER4.COM simplifies custom envelope printing. Their advanced technology guarantees precise alignment of your creative elements, ensuring professional results. Visit their envelopes printing page to explore versatile printing solutions for tailored branding.
For those looking for design ideas, 4OVER4.COM envelope templates provide a range of customizable options suitable for any project scope.
Step-By-Step Guide to Create Custom Envelopes
Custom envelopes designed in Adobe Illustrator allow businesses to showcase creativity while maintaining brand consistency. Let's explore a simplified process for crafting your own envelope layouts.
Designing the Envelope Layout
Setting up an efficient layout is key to a polished design. Start by choosing the envelope dimensions. A common size is 9.5" x 4.125" for standard business correspondence. Open Adobe Illustrator, create a new document, and set the dimensions specifically, including a bleed margin of 0.125" for seamless printing. Use the Rectangle Tool to outline the envelope's front and back panels. Add fold lines and flap dimensions, depending on your envelope's structure.
We recommend saving this layout as a template to reuse for future projects, especially if you support multiple designs. Businesses looking for pre-made, customizable envelope templates can explore this selection of envelope design templates to simplify the setup process.
Using Shapes and Paths for Customization
Shapes and paths provide flexibility and help produce eye-catching designs. Use the Pen Tool to create custom flaps and windows. Rounded edges or V-shaped flaps can distinguish your envelopes. Incorporating die-cut lines with precise measurements ensures error-free cuts during printing.
For more creative designs, add elements like brand-specific icons, logos, or borders. Align these visuals using the Align Panel to maintain balance and precision. After completing your paths, group them for easy editing or scaling. Elevate your design further with our printed envelope options, which ensure professional, high-quality results.
Applying Colors, Patterns, and Effects
Colors and patterns enhance an envelope's appearance. To customize, use the Swatches Panel to define brand colors. Add gradients for depth or transparency effects for a modern look. Utilizing Illustrator's Pattern Creator can integrate geometric or abstract designs.
Don't forget to consider thematic aesthetics, such as festive motifs, floral accents, or corporate branding. Incorporate effects like shadows or embossing to elevate the envelope's style. Once complete, we suggest partnering with 4OVER4.COM for expertly printed results that align perfectly with your brand's identity. Visit our envelope printing options for solutions tailored to unique business goals.
Saving and Exporting Your Design
After perfecting your custom envelope design in Adobe Illustrator, it's essential to save and export the file properly. Organized file management ensures future edits and high-quality prints.
Saving for Future Edits
Always save your Illustrator project (.ai file) to retain editable layers, paths, and effects. This format preserves design details, making future changes seamless. Include a logical naming system and save in a dedicated folder for quick access later.
If you create custom envelope designs often, consider saving your layout as a reusable template. Incorporate brand colors, logos, and guides like die-cut lines for consistent designs. Explore dynamic envelope templates to simplify ongoing projects.
Exporting for Printing or Digital Use
When exporting for professional printing, use a print-ready file format like PDF or EPS. These formats maintain clarity and resolution. Embed fonts, outline text, and include printer's marks, such as crop and bleed marks, to ensure alignment accuracy in production.
For digital purposes, export in PNG or JPEG for smaller file sizes. Use RGB color mode for online displays and CMYK for printed envelopes to maintain accurate hues. Browse vibrant printed envelope options on our platform.
To achieve sharp, high-quality results, partner with 4OVER4.COM. Their custom envelope printing solutions amplify branding efforts with precision and professionalism.
Tips and Tricks for Better Results
Creating custom envelopes in Adobe Illustrator requires precision and creativity. By employing specific techniques, we can streamline the process and achieve professional results.
Common Mistakes to Avoid
Avoiding design errors ensures smooth production and top-quality results. These are common pitfalls and ways to address them:
- Incorrect Dimensions: Using non-standard sizes can cause issues during printing. Always follow recommended dimensions, such as 9.5" x 4.125" for standard envelopes, or verify size requirements with production partners like 4OVER4.COM.
- Ignoring Bleed and Safe Zone: Skipping bleed settings can lead to cut-off designs. Use at least 0.125" bleed to maintain consistent design edges.
- Low-Resolution Images: Pixelated graphics reduce design quality. For high-quality prints, keep images at a 300 DPI resolution.
- Poor File Formatting: Exporting files in unsuitable formats impacts print outcomes. Use PDF or EPS formats for print readiness, and maintain an editable .ai file for future updates.
Enhancing Designs with Advanced Features
Leverage Illustrator's advanced tools for standout envelope designs. These include unique effects, layouts, and patterns.
- Utilizing Transparency Effects: Add depth with transparency options under the Appearance panel. For instance, a semi-opaque logo enhances aesthetics without overpowering other design elements.
- Creating Patterns and Gradients: Use Illustrator's Pattern Options to design seamless patterns or apply gradients using the Gradient Tool. These techniques help develop dynamic visuals on envelope surfaces.
- Incorporating Die-Cut Details: Outline custom shapes or flaps with the Pen Tool. Save these as dieline layers and highlight them clearly for printing providers like 4OVER4.COM to ensure precision.
- Brand Integration with Swatches: Maintain brand integrity by storing and applying specific colors in the Swatches panel. Use Pantone colors for consistent results across all branding materials.
When printing professionally, trusted providers like 4OVER4.COM offer high-quality services, ensuring every detail aligns with the original design. Their customizable templates, accessible through their platform, simplify complex projects while enhancing brand identity effectively.
Conclusion
Designing custom envelopes in Adobe Illustrator opens up endless possibilities for creativity and branding. With the right tools, techniques, and attention to detail, we can craft envelopes that leave lasting impressions and align perfectly with our unique vision.
Whether it's for professional correspondence or special events, custom envelopes elevate the overall presentation and reflect a polished, professional image. By combining Illustrator's features with expert printing services like 4OVER4.COM, we ensure every design stands out and delivers the impact we’re aiming for.
Let’s embrace the power of custom envelope design to enhance our branding efforts and make every mailing a memorable experience.
More from

21
If you've ever wondered about the standard gift card dimensions, there’s one number you need to know: CR80
![]() Emma Davis
Emma Davis
Mar 17, 2026

27
When you’re launching a product, your bottle label is often the first thing a customer sees. Think of it as your silent salesperson
![]() Emma Davis
Emma Davis
Mar 16, 2026

71
When you're brainstorming ideas for landscaping business cards, it helps to think beyond just contact information. Your c
![]() Emma Davis
Emma Davis
Mar 15, 2026

174
When you think of a yard sign, the classic 18"x24" is probably what comes to mind. It’s the industry workhorse fo
![]() Emma Davis
Emma Davis
Mar 14, 2026

111
When you’re ready to invest in an A-frame sign, the first question you'll ask is, "What size do I need?" It usually comes down
![]() Emma Davis
Emma Davis
Mar 13, 2026

1065
The real secret to mastering your direct mail budget isn't complicated. It comes down to one simple fact: a standard 4" x 6&q
![]() Emma Davis
Emma Davis
Mar 12, 2026

143
Tear-off flyers are a classic for a reason. They’re a tangible marketing tool, designed with perforated, removable tabs at the bottom. Each
![]() Emma Davis
Emma Davis
Mar 11, 2026

250
Printing stickers at home is a seriously fun and rewarding project. It boils down to four main parts: designing your image, picking the right
![]() Emma Davis
Emma Davis
Mar 10, 2026