Table of Contents
- Home
- content hub
- Mastering Tri Fold Measurements for Perfect Prints
Mastering Tri Fold Measurements for Perfect Prints
Apr 6, 202611 views
Apr 6, 202611 views
In a world of fleeting digital ads, a physical brochure can make a lasting impression. But getting that perfect, professional fold isn’t as simple as dividing a sheet of paper by three. To get a standard roll-fold brochure to lie perfectly flat, the panels have to be uneven.
For a US Letter-sized sheet, this means the cover and back panels are typically 3.6875 inches wide, while the panel that folds inward is a bit smaller at 3.625 inches. This slight difference allows it to nestle cleanly inside without buckling the paper.
Why Perfect Tri Fold Measurements Matter
Think of your brochure’s measurements as the foundation of a house. If the foundation is off by even a fraction of an inch, the whole structure will have problems. The same is true here—a tiny mistake in your panel widths can lead to a brochure that looks amateurish, with bulging paper and content that doesn't line up.
The old saying "measure twice, cut once" perfectly captures the importance of meticulous planning in any design project. This isn't just about avoiding errors; it's about crafting a quality experience. When a potential customer holds your brochure, you want them to feel the care you put into it, not a clumsy, poorly folded piece of paper. That precision signals professionalism.
The Impact of Precision in Marketing
Getting your tri-fold measurements right is a critical part of your marketing success. For many small and medium-sized businesses, brochures are a cornerstone of their promotional efforts. In fact, direct mail campaigns that include pieces like tri-fold brochures can see response rates that blow email out of the water.
You can explore a whole range of marketing materials to see how they fit into a bigger strategy.
But their effectiveness all comes down to execution. Getting the dimensions wrong leads to some common, and very noticeable, problems:
- Buckling and Bulging: When all three panels are the same size, they collide as they fold, forcing the paper to bulge and preventing the brochure from lying flat.
- Cracked Folds: Thicker paper stocks need to be scored along precise fold lines. If the measurements are off, the paper can crack and tear along the fold, making your brochure look cheap.
- Misaligned Artwork: If you have graphics or text that flow across two panels, a misplaced fold will break the design and make it look disjointed.
Ultimately, perfect tri-fold measurements ensure your investment in design and printing actually pays off. A well-executed brochure is far more likely to be read and kept, turning it into a powerful tool for everything from trade shows to mail campaigns.
Deconstructing the Anatomy of a Tri Fold Brochure
To get your tri-fold measurements right, you have to think about the physical fold itself. It’s more than just dividing a sheet of paper into three equal parts. The most common style, the roll fold, needs a bit of clever engineering to make sure it closes perfectly flat and looks sharp.
Think of it like building a three-door cabinet. For all the doors to close flush without bumping into each other, the door that tucks inside has to be just a little bit shorter. A tri-fold brochure follows the same logic. That inward-folding panel needs to be narrower to keep the paper from buckling or bulging when it’s all folded up.
Getting this right is a sign of quality. It shows you've paid attention to the small details that make a big difference in the final product.

A brochure is a physical piece of your brand. Every single measurement plays a part in the impression it leaves.
The Three Key Panels
A classic tri-fold brochure is made of three distinct panels, and each one has its own job and size. If you lay the brochure out flat, you’re looking at an "outside" spread and an "inside" spread. Let's zero in on the outside spread, because that's where the most critical measurements are.
- Front Cover (Panel 1): This is the face of your brochure. It's the very first thing people see and sits on the far right of the flat sheet.
- Back Panel (Panel 2): Found in the middle of the outside spread, this panel becomes the back when folded. It’s the perfect spot for contact info, a map, or other key details.
- Fold-In Panel (Panel 3): This is the make-or-break panel for your tri-fold measurements. It’s on the far left and folds inward, tucking neatly behind the front cover.
The most important thing to remember is that the Fold-In Panel must be slightly narrower than the other two. This is what stops the paper from crumpling and lets the brochure lie perfectly flat.
Calculating Panel Widths for Common Sizes
Just dividing the total width by three might seem logical, but it's the number one cause of folding headaches. Instead, we use a simple setup that accounts for the paper’s thickness and how the fold actually works. Let’s walk through the exact tri-fold measurements for the most popular paper sizes.
US Letter (8.5” x 11”): A standard US Letter sheet is 11 inches wide. To get that perfect roll fold, the panels are sized like this:
- Front Cover: 3.6875”
- Back Panel: 3.6875”
- Fold-In Panel: 3.625”
See how the fold-in panel is 1/16th of an inch (0.0625") shorter? That tiny adjustment is the secret sauce for a crisp, professional fold.
US Legal (8.5” x 14”): The same rule applies to the longer 14-inch legal paper, just with different numbers.
- Front Cover: 4.6875”
- Back Panel: 4.6875”
- Fold-In Panel: 4.625”
Once again, the fold-in panel is precisely 1/16th of an inch narrower for a clean fit. Once you get this rule, setting up different sizes becomes second nature.
International A4 (210mm x 297mm): When you’re working with A4 paper, which is 297mm wide, the measurements are a little different.
- Front Cover: 100mm
- Back Panel: 100mm
- Fold-In Panel: 97mm
For A4, the fold-in panel is a full 3mm shorter. This slight difference from the imperial measurement accounts for standard metric practices in the printing world. If you want to dive deeper into different setups, you might find our full guide to brochure printing options helpful.
Getting this panel anatomy right is the first and most important step. When you nail these foundational tri-fold measurements from the very beginning, you’re on your way to a flawless final product that truly reflects your brand's quality.
Alright, you've got your panel dimensions mapped out. Now it's time to get into the details that really separate a pro design from an amateur one. These are the unsung heroes of your tri-fold measurements: the bleed, the safe area, and the fold lines.
Getting these three elements right isn't just a good idea—it's essential for a brochure that looks sharp and polished when it comes off the press. If your panel math is the skeleton, think of these settings as the nervous system that makes sure everything works together perfectly during printing and finishing.

What Is a Print Bleed
Have you ever seen a printed piece with a frustrating, thin white line along the edge where color should have been? That’s what happens when a design has no bleed. Bleed is simply extending your background colors or images past the final trim line of your document.
Think of it like coloring a little bit outside the lines on purpose. The massive, high-speed guillotines that trim printed sheets are incredibly precise, but they aren't perfect. They can shift by a tiny fraction of an inch from one sheet to the next.
By adding a bleed, you give the printer a small margin for error. If the cut is a hair off, it slices through that extra bit of color you added. The result? Your design goes right to the very edge of the paper, giving you a clean, professional finish with no accidental white borders.
The industry standard for bleed is 0.125 inches (or 1/8 inch) on all four sides of your flat, unfolded design. So, when you set up your 8.5" x 11" document, its total dimensions with bleed will actually be 8.75" x 11.25".
Defining the Safe Area
If bleed is the buffer zone on the outside, the safe area (or safety margin) is the VIP section on the inside. This is the core area of your design where all of your most important content—like text, logos, and key parts of images—needs to live to be safe from being cut.
Anything you place outside this safe zone is at risk. It could get trimmed off entirely or disappear into a fold. Just like you add a 0.125-inch bleed outside your trim line, you need to create a 0.125-inch safe area inside it. This buffer protects your core message.
Here’s how these zones stack up:
- Bleed Line: The very outermost edge of your file (0.125" past the trim line).
- Trim Line: The final edge of your brochure after it's cut.
- Safe Line: The inner boundary where all your important stuff should stay (0.125" inside the trim line).
This means any critical element should be at least 0.25 inches away from the absolute edge of your document (the bleed line). It might seem like a tiny amount, but that small buffer is what keeps your sentences from getting chopped in half.
The Importance of Fold and Score Lines
Finally, let's talk about fold lines. These are the non-printing guides you place in your design file to show the printer exactly where to crease the brochure. While your panel measurements determine where they go, setting them up correctly in your file is just as important. For projects using unique folds or shapes, exploring options like die cutting services can open up a whole new world of creative marketing.
For thicker paper stocks—generally anything over 100lb text weight—these lines aren't just for folding. They're for scoring. Scoring is the process of creating a physical crease in the paper before it gets folded.
This step is absolutely vital. It prevents the paper fibers from cracking and tearing along the fold, which is a common problem with heavier, coated papers. A clean score line gives you sharp, crisp folds that look professional and keep your design looking flawless.
How to Set Up Your Tri Fold File for Printing
Alright, let's get our hands dirty. We've covered the theory behind tri-fold measurements, but now it's time to put that knowledge into practice by building a flawless digital file. This is the final, most critical step that bridges your design concept and the finished, printed brochure.
Think of your digital file as a perfect blueprint for the printing press. When you provide clear, accurate instructions for bleed, safety margins, and fold lines, you remove all the guesswork. This ensures the final piece looks exactly how you envisioned it, without any nasty surprises.

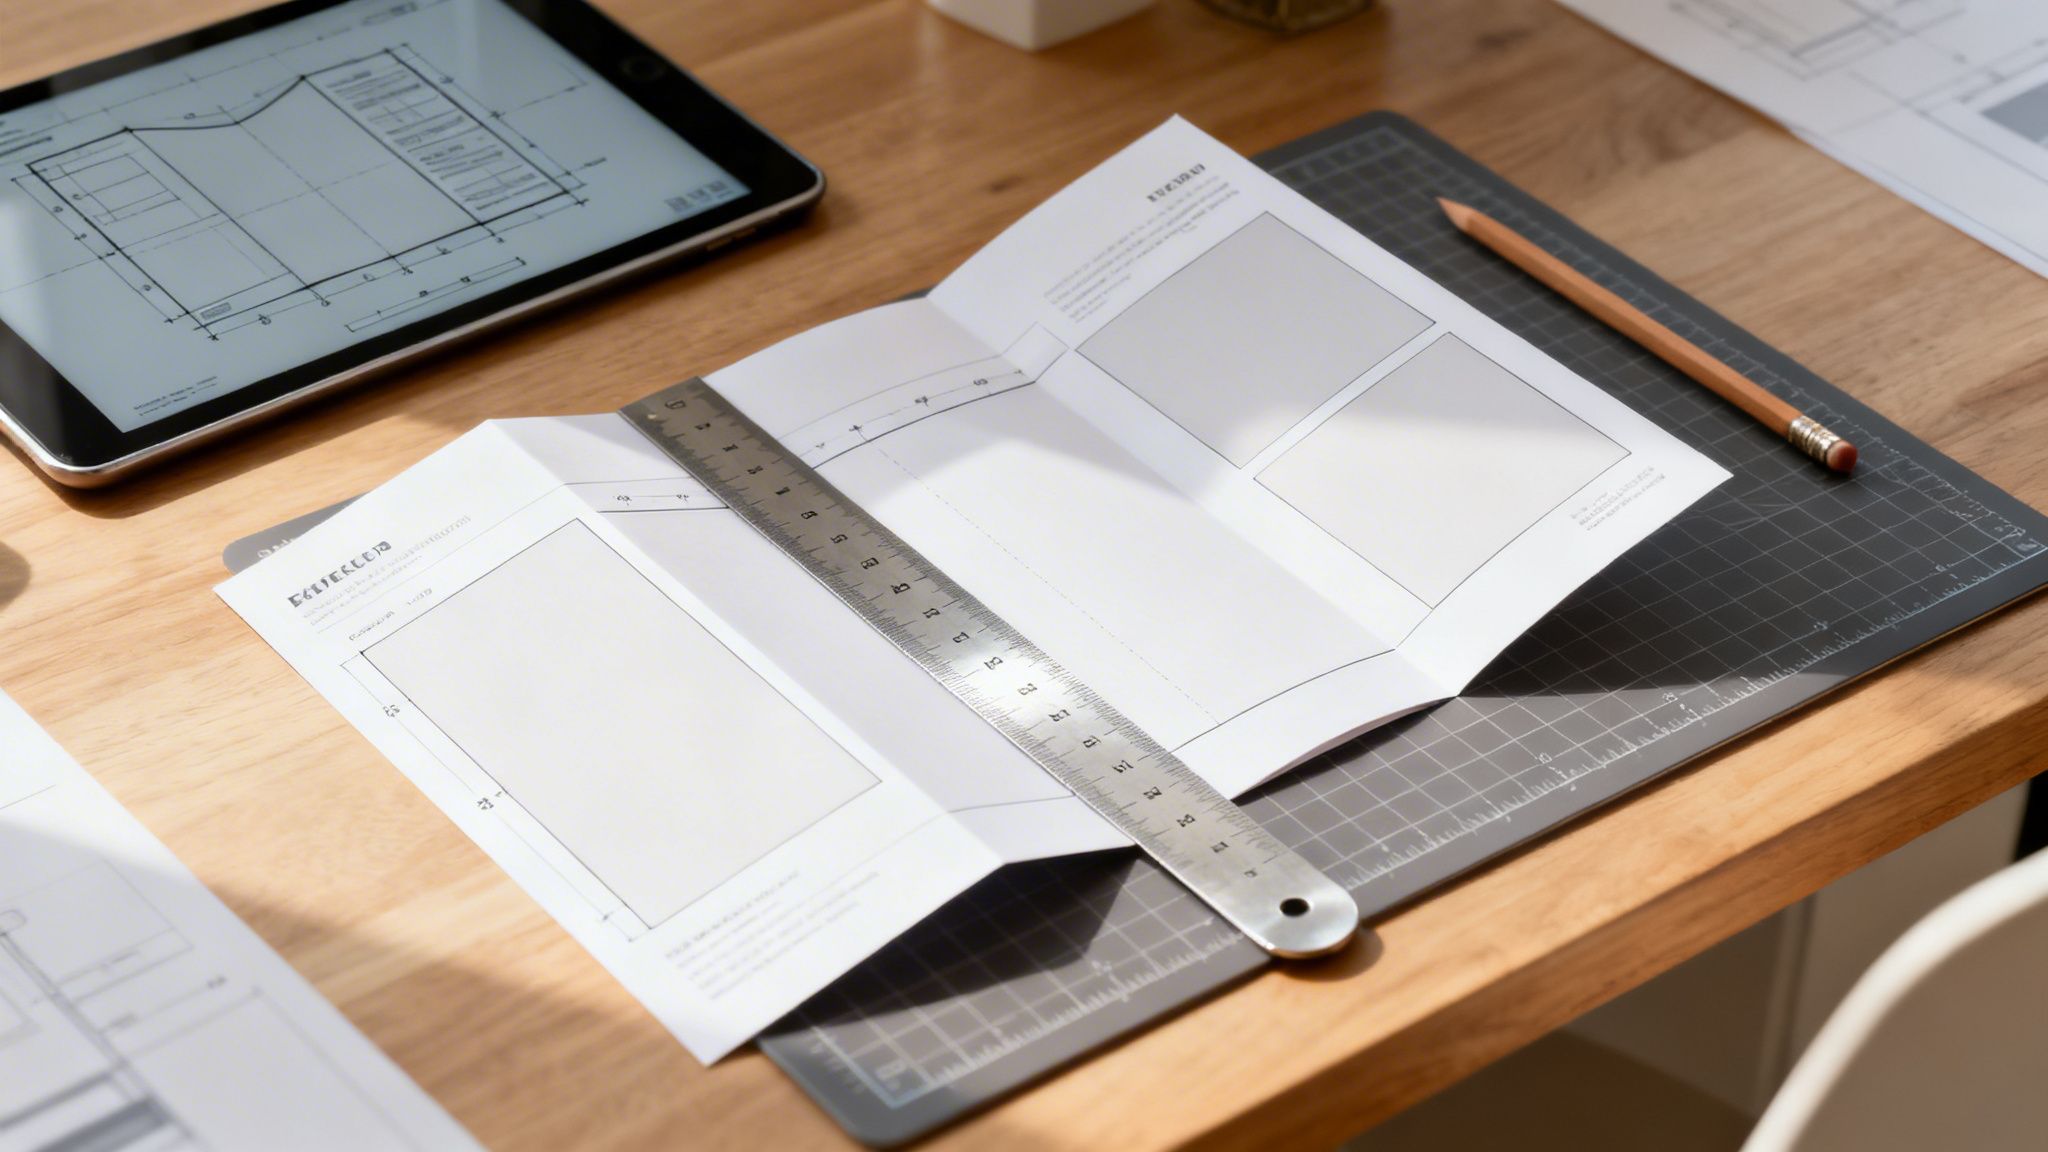
This is a great example of a professional setup in design software. Notice how the guides clearly mark out the bleed, trim, and fold lines across a two-page spread. Laying out the inside and outside panels correctly is a fundamental part of getting your brochure ready for print.
Step 1: Create Your Document and Set the Bleed
The very first thing we do in any design program—whether it's Adobe InDesign, Illustrator, or Canva—is create a new document. The dimensions you enter should be for the full, flat, unfolded size of the brochure. So, for a standard US Letter tri-fold, that means setting your document to 11 inches wide by 8.5 inches tall.
During this initial setup, you’ll see a field for bleed. Don't skip this! The industry standard is 0.125 inches (or 1/8") on all four sides. Just about every professional design tool has a dedicated spot for this.
Adding bleed means your actual file dimensions will be slightly larger than the paper size.
- An 11" x 8.5" brochure file becomes 11.25" x 8.75".
- A 14" x 8.5" brochure file becomes 14.25" x 8.75".
This extra margin is absolutely essential for professional printing. It’s the only way to guarantee that your background colors and images stretch all the way to the paper's edge after it’s trimmed.
Step 2: Add Your Guides for Folds and Safety
With our document created, it's time to drop in some non-printing guides. These lines act as our roadmap, showing us where to place content and, more importantly, where not to. We’ll set up guides for our folds and for our safety margins.
For an 11-inch-wide US Letter brochure, we'll place vertical fold guides at these exact positions, measuring from the left edge of the page:
- First Fold Line: at 3.625 inches. This marks the edge of the smaller panel that folds inward.
- Second Fold Line: at 7.3125 inches. This line separates the back panel from the front cover.
Next up is the safe area. We need to create another margin 0.125 inches inside the final trim line on all four sides. We also need to keep critical content 0.125 inches away from any fold line. This creates a "safe zone" that prevents important text or logos from getting sliced off during trimming or crunched into a fold.
Your design software should be set up with two pages or artboards. One page is for the "outside spread" (inside flap, back cover, front cover), and the second is for the "inside spread"—the three continuous panels you see when the brochure is fully opened.
Step 3: Exporting a Print-Ready PDF
Once your design is pixel-perfect, the final move is to export it correctly. You can't just hit "Save." We need to create a high-resolution, specialized PDF that locks in all the vital information for the printer. To do this right, it helps to understand the technical side of print, like DPI and pixel dimensions. For a deeper dive, check out this guide on A4 sizes in pixels and DPI for print.
The most reliable format for this job is PDF/X-1a. It’s designed for "blind exchange," which means it packages everything—fonts, images, color data, and bleed settings—into one self-contained, uneditable file. This prevents any unwelcome surprises when the print shop opens your document. If you're looking to get the best results, learning more about the specifics of digital printing can give you an extra edge.
When you go to export, double-check these settings:
- Choose PDF/X-1a:2001 from the list of presets.
- Make sure the box for "Use Document Bleed Settings" is checked. This tells the software to include that critical 0.125" bleed area.
- Confirm all your images are high-resolution (300 DPI) to keep them sharp and clear.
By following these steps, you’re turning your creative vision into a technically sound file that's ready to roll off the press without a hitch.
Common Measurement Mistakes to Avoid
Even with the best plan, a tiny mistake can throw off your entire brochure design. Think of this as your pre-flight checklist before you hit "send" to the printer.
By knowing the common trip-ups with tri-fold measurements, you can catch issues early. This will save you the time, money, and headache of a reprint that nobody wants. The goal is to get a design that doesn't just look right on screen, but folds perfectly in your customer's hands.
Assuming All Panels Are Equal
This is, hands down, the most frequent mistake we see. It seems logical to just divide an 11-inch sheet into three equal parts, but for a classic roll fold, that math just doesn't work.
- The Mistake: Creating three panels of the exact same width (like 3.667” each for a US Letter sheet).
- The Consequence: The brochure will bulge and won't lie flat. The inside panel gets squished because it has no room to tuck in, causing the paper to buckle. It looks clumsy and unprofessional.
- The Correction: Always, always make the fold-in panel a little smaller. For a standard 8.5" x 11" brochure, this means your front and back panels are 3.6875” and your fold-in panel is 3.625”.
This isn't some arbitrary printing rule; it’s just physics. Think about trying to close a book with another, smaller book tucked inside—it won't close flush. Giving that inner panel a bit of breathing room is the secret to a crisp, clean fold. In fact, our internal data from 4OVER4 shows that professionally folded brochures lead to layouts with 28% higher retention rates. A clean fold makes a big difference.
Forgetting to Add Bleed
Forgetting to add bleed is like painting a room but stopping an inch from the ceiling—that tiny unfinished edge is all anyone will notice.
The Mistake: Designing your brochure to the exact final trim size (e.g., 8.5" x 11") and not extending your background colors or images past the edge.
The Consequence: When your brochures go through the high-speed trimmer, the blade can shift by a hair's breadth. This tiny shift creates ugly, thin white slivers along the edges of your final product, which instantly makes it look cheap.
The Correction: Always add an industry-standard 0.125-inch (1/8") bleed on all four sides of your flat, unfolded design file. This means your 8.5" x 11" design should actually be set up as an 8.75" x 11.25" document.
Ignoring the Safe Area
Think of the safe area as your design's safety net. Putting critical elements too close to a fold or the edge of the page is a gamble that almost never pays off.
- The Mistake: Placing your logo, essential text, or important parts of an image right up against a fold line or the trim edge.
- The Consequence: Key information can get creased in an awkward spot, become difficult to read, or get completely sliced off during the final trim.
- The Correction: Keep all your critical content at least 0.125 inches away from all trim edges and fold lines. This creates a "safe zone" that guarantees your message stays intact and looks perfectly professional.
Your Essential Tri Fold Design Checklist
Alright, you’ve put in the work. You've gotten the hang of the concepts, figured out the software, and learned how to sidestep those common design pitfalls. Now it's time to pull it all together.
Think of this checklist as your final pre-flight inspection before sending your brochure off to the printers. Running through these points one last time will catch any small mistakes, save you a ton of guesswork, and give you the confidence that every measurement is exactly where it needs to be.
The Pre-Press Quality Control List
Before you even think about hitting that export button, take a quick minute to tick off these critical checkpoints. We’ve boiled down everything we've covered into a simple, easy-to-scan list.
Correct Flat Size: Is your document canvas set to the full, unfolded paper dimensions? For a standard US Letter brochure, that’s 11” x 8.5”.
Proper Panel Measurements: Did you account for the fold? If you're making a roll fold, that inside panel needs to be a tiny bit smaller to keep it from buckling.
Bleed Added to All Sides: Have you extended your background colors and images by the industry-standard 0.125-inch on every side? This is your insurance against any slivers of white paper showing up after the trim.
Safe Areas Respected: Are all your critical elements—like logos, contact info, and key text—at least 0.125 inches away from every trim line and fold line?
Inside vs. Outside Spreads Organized: Is your content laid out correctly? Double-check that your front cover, back panel, and fold-in panel are all in the right spots on your inside and outside spreads.
High-Resolution Images: Are all your photos and graphics set to 300 DPI? This ensures they’ll print sharp and vibrant, not blurry or pixelated.
By making this checklist a routine part of your design process, you shift from just knowing the rules to truly mastering them. It’s the final step to ensuring your tri-fold measurements are perfect and your work looks professional every single time.
Finally, don't forget about the finishing touches that can make your brochure stand out. A great design is one thing, but a special finish can turn it into something truly memorable. For example, exploring different types of laminating can add both durability and a premium feel. With your design perfected and your checklist complete, you’re all set to create brochures that don’t just look great—they deliver.
Common Questions About Tri-Fold Measurements
Even when you feel like you've nailed the basics of panel widths and safe zones, a few tricky questions always seem to pop up mid-design. Getting these final details right is what separates a good brochure from a great one, and it's the key to avoiding costly mistakes at the print shop.
Let's walk through some of the most common questions we hear about tri-fold setup. We'll cover folding styles, file organization, and how your paper choice plays a role in the final folded piece.
What Is the Difference Between a Roll Fold and a Z-Fold?
The biggest difference between a roll fold and a Z-fold comes down to how the panels close, which completely changes how you need to measure them.
A roll fold is that classic tri-fold style where one panel neatly tucks inside the others, almost like you're rolling up a map. For this to work smoothly without the paper bunching up or buckling, the inside panel must be slightly smaller than the others.
A Z-fold, on the other hand, opens and closes just like an accordion. Since no panel is tucked inside another, all three panels can be the exact same width. For a standard 8.5" x 11" Z-fold, you can just divide 11 inches by three, giving you three equal panels of about 3.667" each. Simple as that.
How Do I Correctly Set Up Inside and Outside Spreads?
The secret to getting your spreads right is to think about the brochure laid out completely flat. In your design software, you'll be working on two main pages or artboards: one for the outside and one for the inside.
Imagine your brochure before it’s ever been folded. The “Outside Spread” is everything you can see when it's closed, and the “Inside Spread” is the large, continuous panel you see when you open it all the way up.
- Outside Spread: This is made up of three panels. From left to right, you’ll have the inside flap (the one that folds in), the back cover, and the front cover. That means your front cover design will live on the far-right panel.
- Inside Spread: This is the big reveal—the three-panel interior that opens up. Content here usually flows across all three panels to create one large, continuous design.
Does Paper Weight Affect My Tri-Fold Measurements?
While your panel dimensions won't change, paper thickness is a huge factor when it comes to the actual fold. The measurements in your design file will be the same no matter which paper stock you choose.
However, thicker and heavier paper stocks (like a 100lb text or anything heavier) are much more rigid and don't like to fold on their own. This is where scoring—the process of creating a crisp crease in the paper before folding—becomes absolutely essential. Without a proper score, thick paper can crack along the fold line, which can ruin the ink and give your brochure an unprofessional finish.
You don't need to worry about adjusting your design for this. Any professional printer will automatically handle scoring on appropriate paper weights to ensure your brochures have a clean, sharp fold every single time.
Ready to bring your perfectly measured design to life? 4OVER4 offers premium brochure printing with a variety of paper stocks and finishes to make your project stand out. Get an instant quote and start your order today.
More from

23
Walk into any stationery store, and you'll see it: the classic 5" x 7" greeting card. It’s the undisputed cha
![]() Emma Davis
Emma Davis
Apr 5, 2026

36
Think of your company car or van for what it really is: a billboard on wheels. Every time it hits the road, it's advertising your business
![]() Emma Davis
Emma Davis
Apr 4, 2026

56
In a world buzzing with digital property listings and endless social media ads, it’s easy to think the classic 'For sale' sign has g
![]() Emma Davis
Emma Davis
Apr 3, 2026

126
Picture this: you need a massive, eye-catching banner for your grand opening next week. Not too long ago, that meant several trips to a local
![]() Emma Davis
Emma Davis
Apr 2, 2026

82
At its core, 10 pt cardstock is a versatile, lightweight paper perfect for a huge range of professional printing projects. Th
![]() Emma Davis
Emma Davis
Apr 1, 2026

104
Picking the right type of paper can feel like a secret language, full of strange terms like GSM, cover, and coated. It's
![]() Emma Davis
Emma Davis
Mar 31, 2026

170
A printing cost calculator is an online tool that gives you instant, real-time price quotes for custom print jobs. It takes all the guesswork
![]() Emma Davis
Emma Davis
Mar 30, 2026

431
Getting your flyer design from a digital concept into a customer's hands involves a few key stages. You’ll need to nail the design with
![]() Emma Davis
Emma Davis
Mar 29, 2026