Table of Contents
- Home
- content hub
- A Guide to Business Card Rounded Corners
A Guide to Business Card Rounded Corners
Nov 17, 20251233 views
Nov 17, 20251233 views
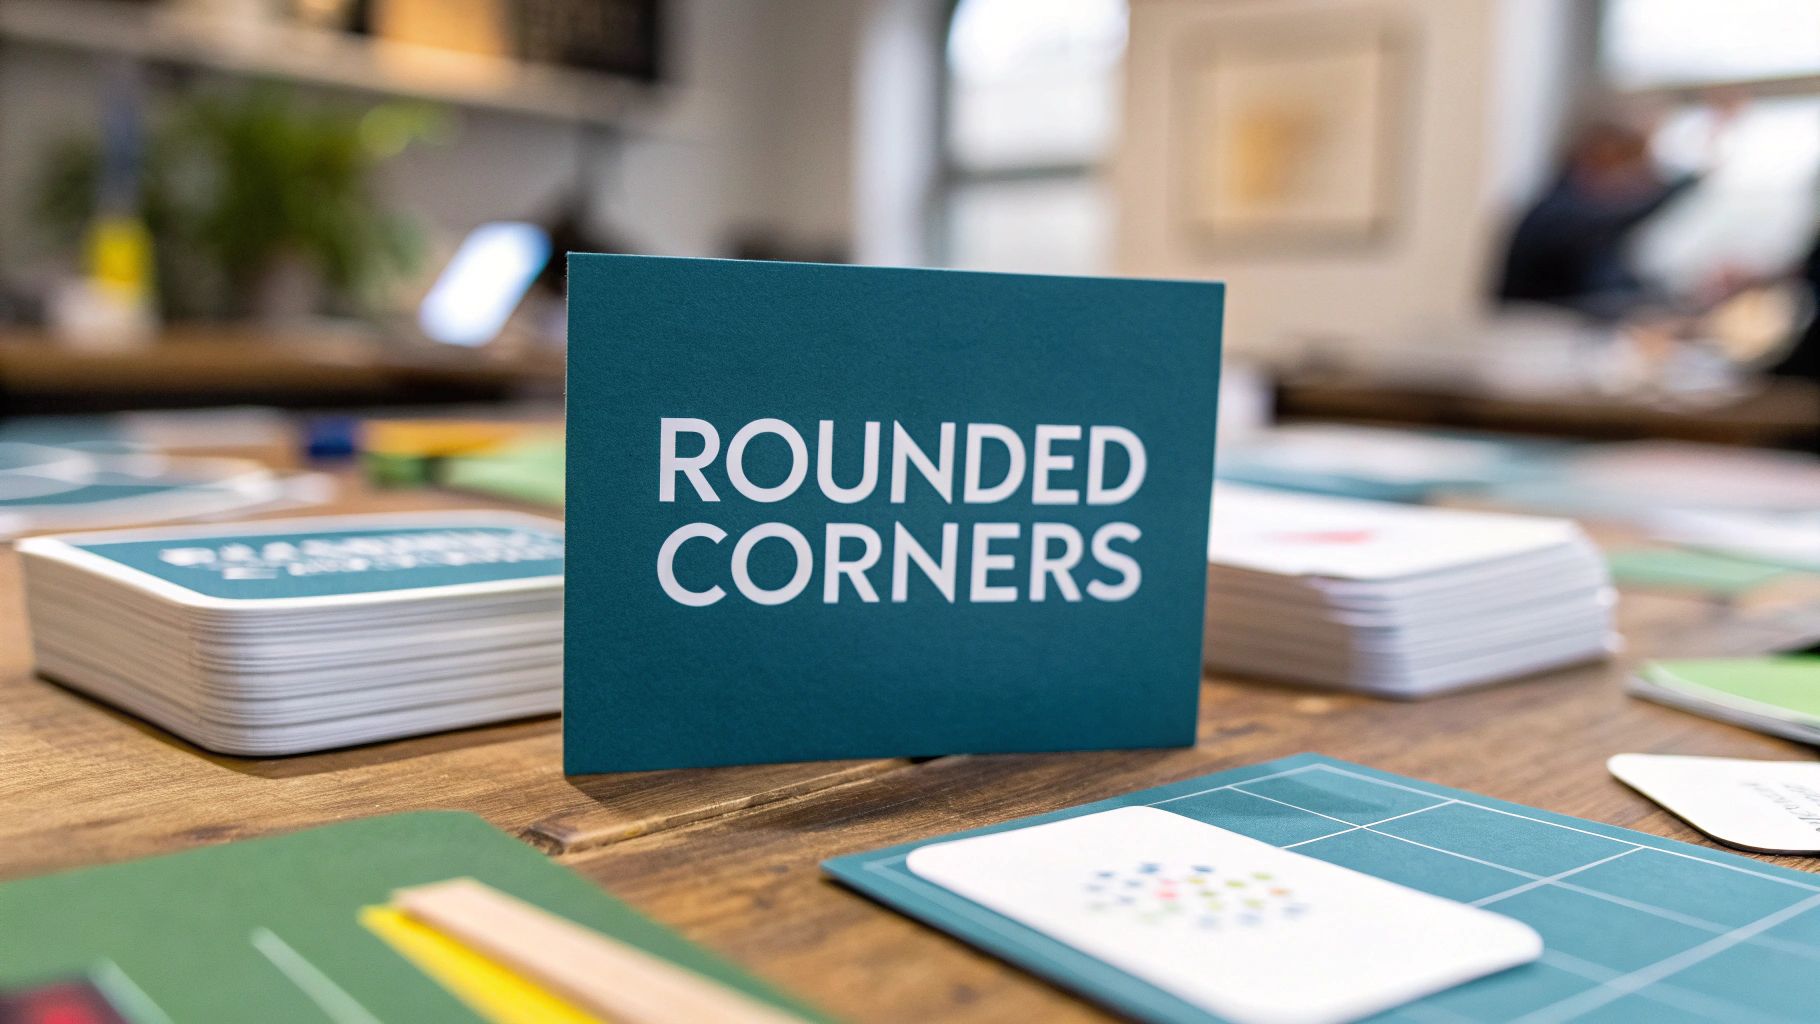
Choosing business card rounded corners isn't just a simple design tweak—it's a deliberate choice that makes your brand feel more current and approachable. More than that, it actually makes your cards last longer.
This one small detail swaps out those traditional sharp corners for a gentle curve, which helps stop them from getting frayed and bent. It’s a subtle touch that makes a surprisingly strong first impression.
Why Rounded Corners Make a Lasting Impression
That little curve on a business card? It does way more than just look nice. It sends a message. It takes a standard piece of cardstock and turns it into a branding tool that feels thoughtful and intentional.
The Psychology of Soft Edges
Think about it—sharp, pointy corners can come off as a bit harsh or rigid. On the other hand, rounded shapes are psychologically linked to things like friendliness, comfort, and warmth.
This small shift makes your brand feel more human and accessible from the moment you hand someone your card. When you choose business card rounded corners, you're showing a level of care and a modern sensibility.
This design choice really started catching on around 2011. Pioneering online printers began offering them as a way for brands to break away from the pack. The whole idea was to create a card that was different both to the eye and to the touch, helping businesses look more contemporary while also making the cards themselves more durable.
Rounded corners aren’t just a design trend; they are a functional upgrade. They signal attention to detail and a commitment to quality, telling potential clients you care about the small things.
Practical Benefits Beyond Aesthetics
Beyond the good vibes it gives your brand, a rounded corner offers some real, practical advantages that protect your investment. The biggest one? They’re just way more resilient to the abuse of daily life.
- Prevents "Dog-Earing": You know how standard cards get all bent and frayed at the corners after a week in a wallet or pocket? Rounded edges get rid of those weak points, keeping your cards looking sharp and professional for much longer.
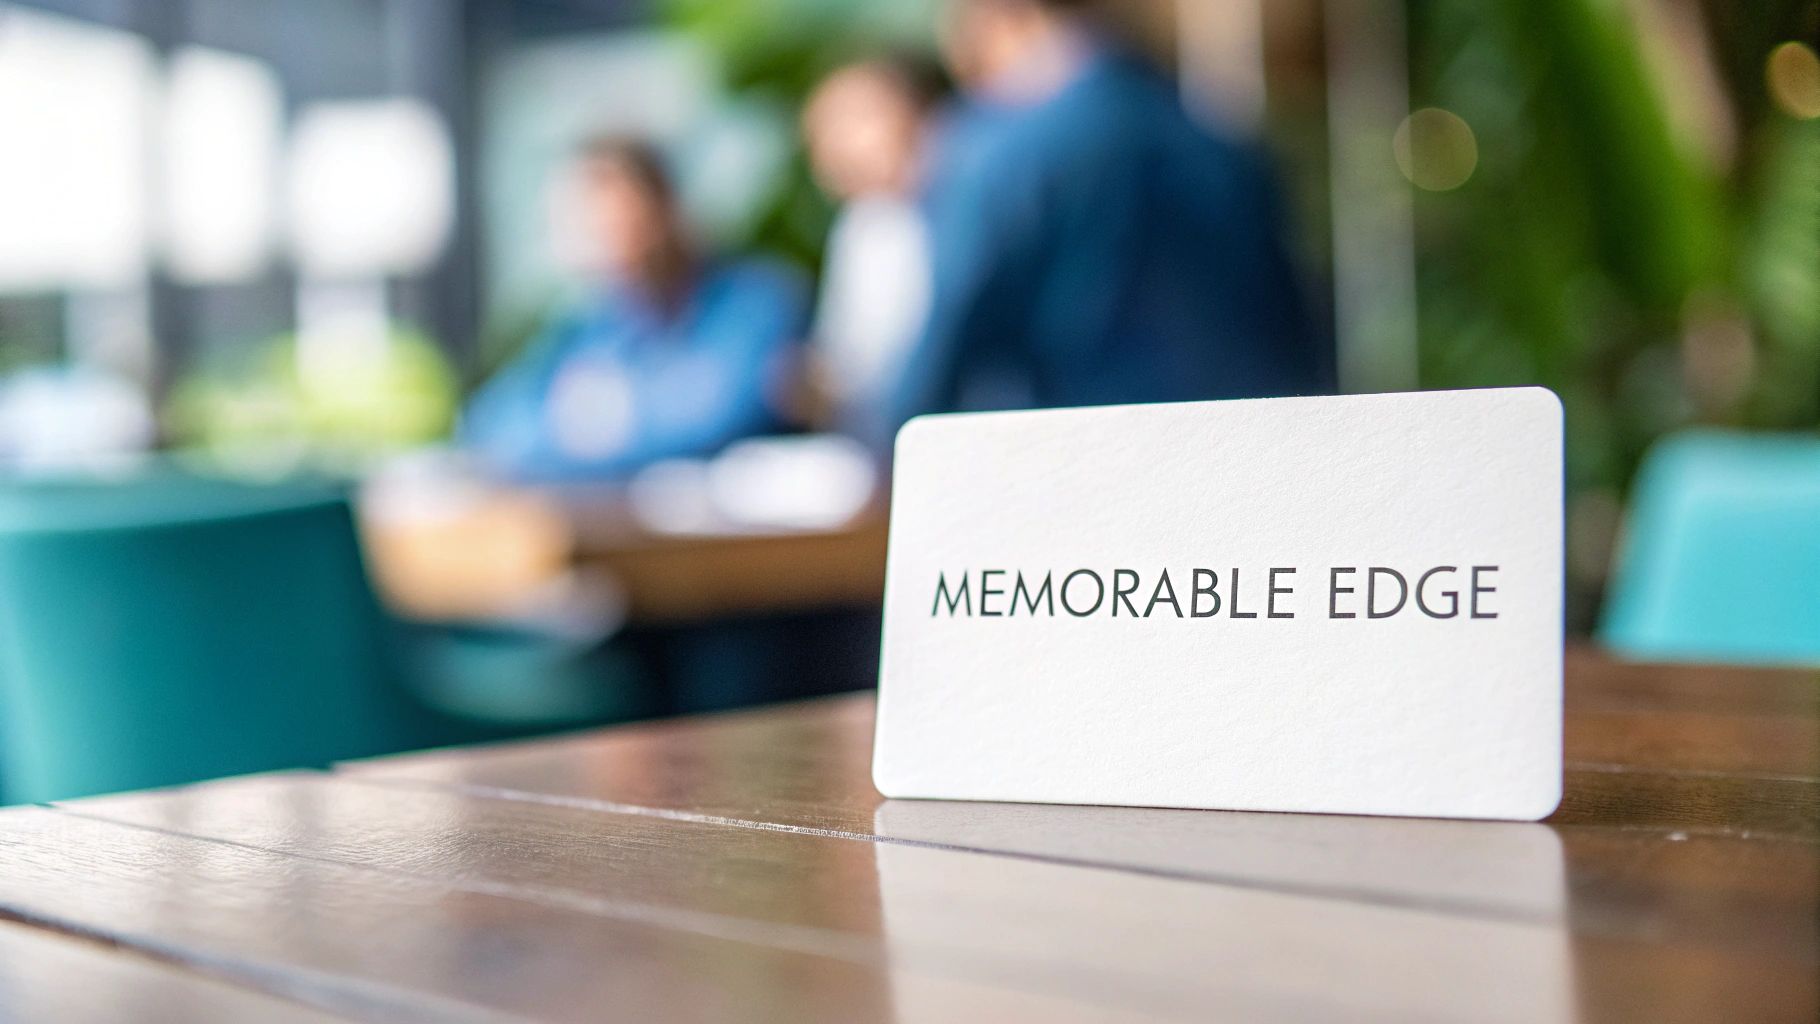
- Enhanced Tactile Experience: The smooth, curved edge is just plain nice to hold. It creates a subtle but positive physical connection with your brand, and that memorable feel helps your card stand out in a stack of sharp-edged competitors.
At the end of the day, going with rounded corners is a smart, stylish investment. It’s a tiny detail that says a lot about your brand’s personality and professionalism. When you’re ready to design a card that really gets noticed, check out the huge range of options available for business cards printing to find the perfect style for you.
Choosing the Right Corner Radius for Your Brand
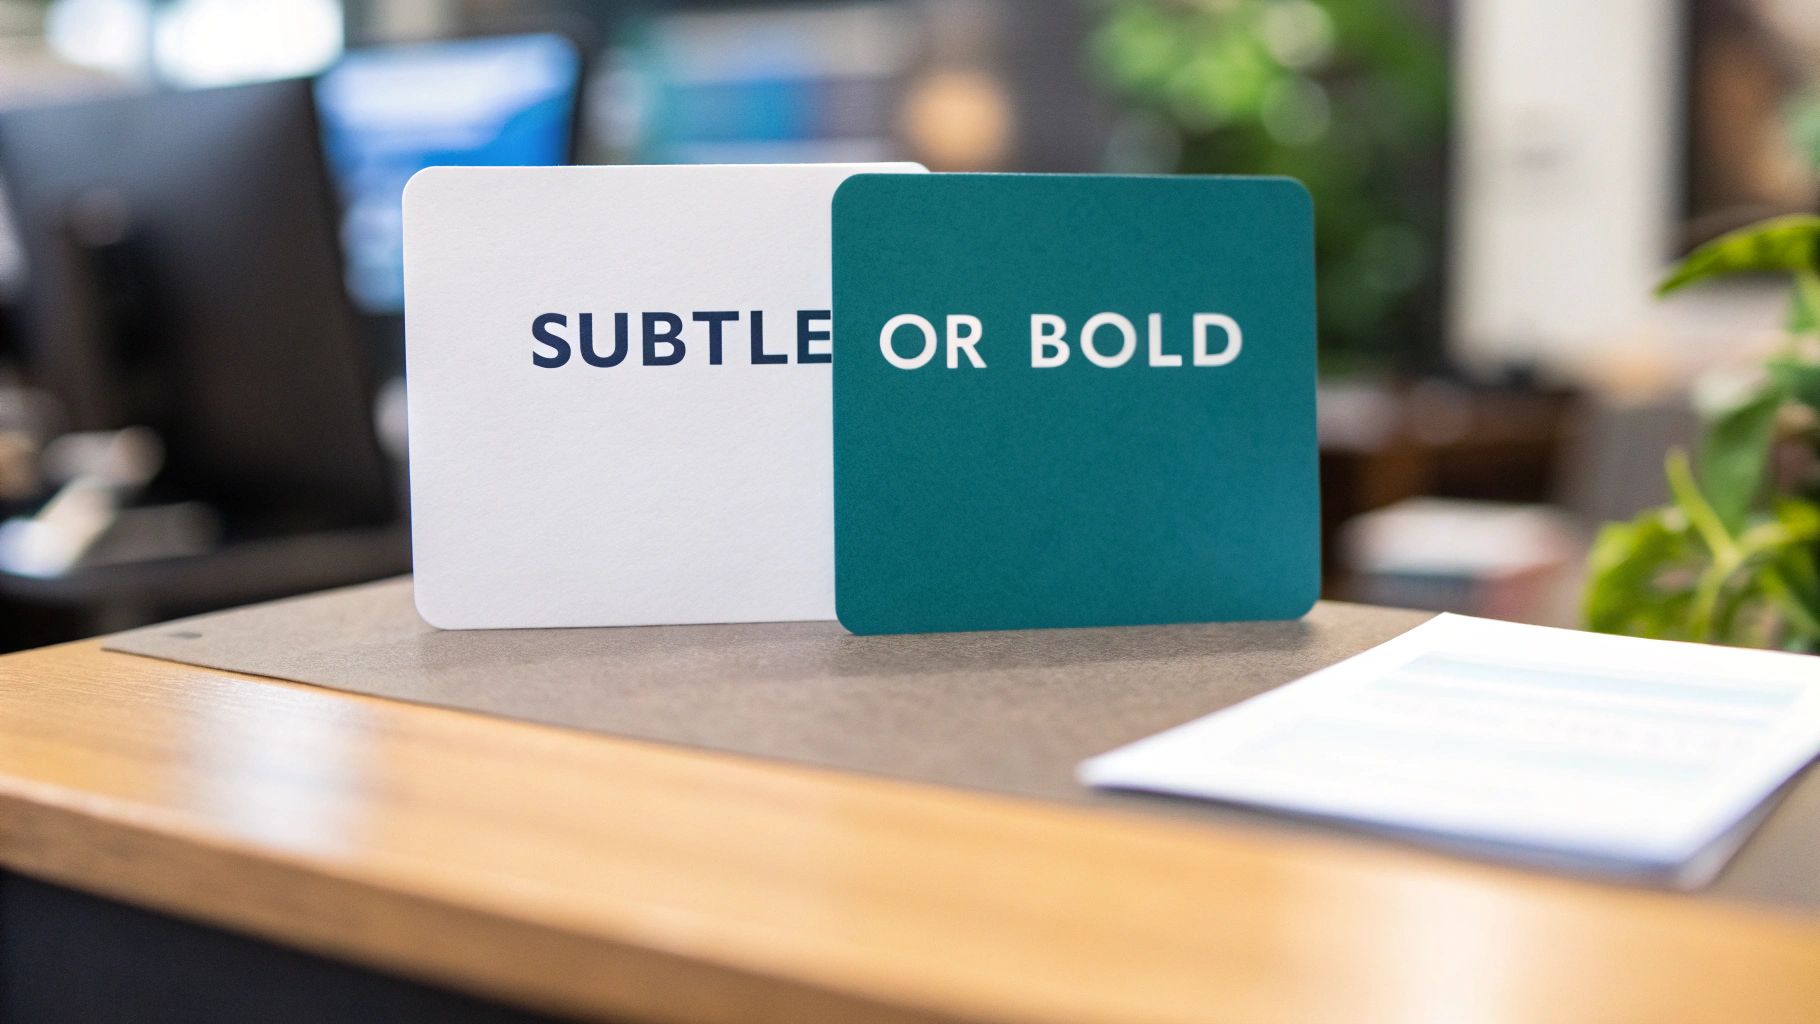
That subtle curve on the edge of your business card has a name: the radius. And believe it or not, this tiny detail does some heavy lifting for your brand. It can instantly shift the entire vibe of your card, turning it from buttoned-up and corporate to friendly and modern.
Think of the radius as the personality dial for your design. A small, tight curve is like a confident whisper, while a big, loopy one is a bold, energetic statement. Getting this right is key to making sure your card’s first impression matches the story you want to tell.
Even with rounded corners, your cards still stick to the standard 3.5 x 2-inch size. It’s the curve that makes all the difference. The most common choice worldwide is about a quarter-inch radius, a sweet spot that feels good in your hand, adds durability, and looks great without messing up your design. For a deeper dive into specs, shopcreativehub.com offers a great breakdown of business card details.
Decoding Common Radius Options
When you’re ready to order, you’ll likely see two main choices: the 1/8" and 1/4" radii. Understanding what each one looks like is the first step to picking the right one for your brand.
1/8" Radius (Subtle and Sophisticated): This is the quiet one. It’s a very slight, gentle curve that just softens the sharp points of a standard card. It doesn’t scream for attention. This makes it perfect for professionals—law firms, financial advisors, consultants—who want a touch of modern class without sacrificing their trustworthy, traditional image.
1/4" Radius (Bold and Creative): This is the extrovert. The curve is much more obvious, giving the card a friendly, approachable, and innovative feel. It’s a fantastic fit for creative agencies, tech startups, photographers, or any brand that wants to come across as fresh and dynamic.
Here’s a simple trick to picture the difference: a 1/4" radius is roughly the curve of a dime. A 1/8" radius is much tighter, just barely taking the sharp edge off. It's a tiny measurement that makes a huge visual impact.
Corner Radius and Brand Personality Guide
Still not sure which way to lean? This quick guide should help you connect the curve to the brand personality you're aiming for.
| Radius Size | Visual Feel | Ideal for Brand Type |
|---|---|---|
| 1/8" | Polished, elegant, refined, professional | Corporate, financial, legal, luxury, real estate |
| 1/4" | Friendly, approachable, modern, creative | Tech, startups, design agencies, photographers, cafes |
| 3/8" | Playful, unique, soft, unconventional | Children's brands, artists, boutiques, event planners |
| 1/2" | Bold, dramatic, circular, statement-making | Entertainment, music, innovative product brands |
Ultimately, your brand identity is your north star. If you’re all about stability and tradition, the understated elegance of a 1/8" radius will serve you well. If you’re built on creativity and making connections, the 1/4" radius is probably your best bet. Look at your logo, your colors, and your overall message, and pick the corner that feels like the perfect finishing touch.
How Rounded Corners Are Actually Made
Ever wondered about the magic that goes into creating that perfect, smooth curve on a business card? It’s definitely not someone with a pair of scissors. The clean, professional finish you see on business card rounded corners is the result of one of two very precise manufacturing methods.
The choice between them usually boils down to three things: speed, cost, and just how custom you want to get. One method is like a high-speed, automated paper punch, while the other is more like creating a custom cookie cutter just for your cards.
The Corner Rounding Method
The most common and direct technique is called corner rounding. Think of this as a final touch that happens after your business cards have been printed and cut into their standard rectangular shape.
Stacks of cards are loaded into a specialized machine that has a sharp, curved blade. With a quick, powerful press, this blade slices through the entire stack, trimming one corner at a time with perfect consistency. It’s fast, efficient, and ideal for creating standard curves like the popular 1/8" and 1/4" radius on big batches of cards.
This is the go-to method for:
- Standard orders where consistency and speed are the name of the game.
- Cost-effective production, since it doesn’t need any custom tools.
- Smaller print runs that just need a simple, elegant finish without getting too complex.
The Die-Cutting Method
Now, when you need something truly unique, printers turn to die-cutting. This process is way more flexible and opens the door to complete creative freedom, going far beyond just standard rounded corners.
It starts with a custom metal tool, called a "die," which is forged into the exact shape of your card design. Picture a sharp, metal outline of your card. This die is then pressed through the card stock, stamping out the final shape with incredible precision—a lot like a cookie cutter slicing through dough.
Die-cutting isn't just for rounding corners; it's how you get cards shaped like your logo, a product, or even cards with unique cutouts and asymmetrical curves.
This method is the only choice for really complex designs because the precision is unmatched. It can produce any corner radius you can dream up, round just one or two corners instead of all four, or even create intricate cuts inside the card.
Because it requires a custom-made tool for every unique shape, it's a more involved process. If you’re curious about exploring truly one-of-a-kind shapes, you can learn more about the possibilities of professional die-cutting services and how they can seriously elevate your designs.
Ultimately, knowing how these are made helps you appreciate the craftsmanship behind your cards. Whether they’re quickly trimmed with a standard rounder or stamped out from a custom die, the goal is always the same: a clean, professional finish that makes your brand look its absolute best.
Setting Up Your Design Files for Perfect Curves
A killer design can still fall flat if the print file isn't set up correctly. To get those flawless business card rounded corners, you have to prep your artwork with a few key printing concepts in mind. Think of it as the blueprint for your card—nailing the foundation is the only way to ensure the final product looks absolutely perfect.
The whole process boils down to understanding three critical zones in your design file: the safe area, the trim line, and the bleed area. Each one plays a huge part in preventing printing mistakes, especially when you're dealing with the unique challenge of a curved edge.
Understanding Bleed and Safe Area
Bleed is simply the part of your design that extends beyond where the card will actually be cut. Picture this: you want a solid color background. If your design stops exactly at the card's edge, even a tiny shift during the cutting process could leave a thin, unprofessional-looking white sliver. By extending your background 1/8 inch (0.125") past the trim line, you create a buffer that guarantees your color goes right to the very edge.
On the flip side, the safe area (sometimes called the live area) is the zone inside the trim line where all your critical information—like your name, phone number, and logo—needs to live. For rounded corners, this area is even more vital. You should keep all those essential elements at least 1/8 inch (0.125") away from the trim line so they don't get sliced off by the curve.
The rule of thumb is simple: background elements should "bleed" off the page, while important content must stay safely tucked inside. This ensures nothing important is lost and your background looks seamless.
This infographic breaks down the two main ways rounded corners are made—corner rounding and die-cutting—which shows you exactly why these design files are set up this way.
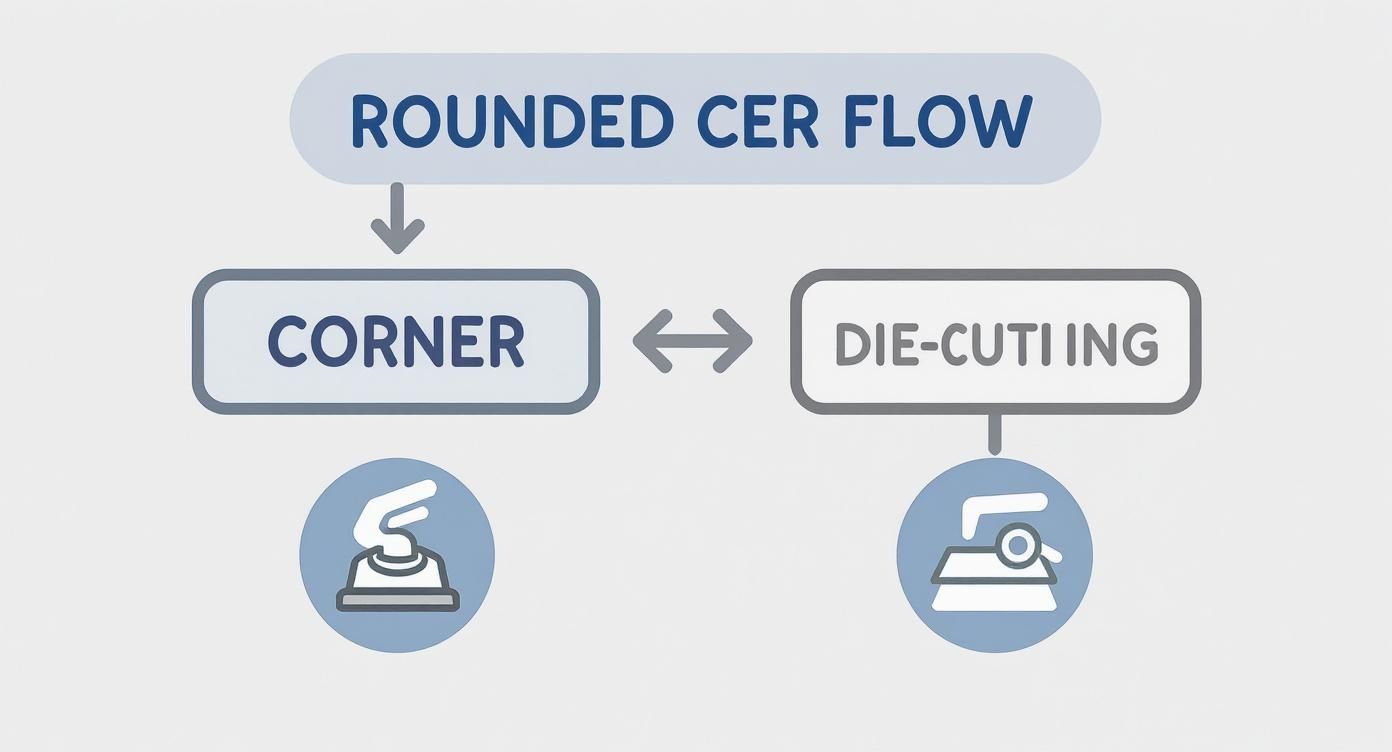
As you can see, it doesn't matter if your card is trimmed with a standard rounder or a custom die. The cutting machinery absolutely needs that buffer zone (the bleed) to produce a clean, professional result.
Common Mistakes to Avoid
Even when you think you've got the setup right, a few common design choices can cause headaches with rounded corners. Knowing what to look out for can save you a ton of frustration and make sure your cards look exactly how you imagined.
- Borders Too Close to the Edge: Thin borders look sharp, but they are notoriously tough to get right with any cutting process. The slightest shift can make the border look lopsided. If you’re set on using a border, make it thick and place it well inside the safe area.
- Text Hugging the Curve: This is a classic mistake. Placing text or logos right up against the corner is asking for trouble, as the rounding process can chop right through them. Always, always double-check that your safe area provides plenty of breathing room around the curves.
- Ignoring the Corner Radius: Remember that specific radius you chose, like 1/4" or 1/8"? Visualize how that curve will actually interact with your design elements. A larger radius cuts deeper into the corner, which means you need an even more generous safe margin in that spot.
By mastering bleed and respecting the safe area, you're really taking control of the final printed outcome. For designs that push the envelope with unique shapes beyond simple rounding, exploring a custom shape die-cut collection can open up even more creative doors, but they all still rely on these same fundamental setup principles. Paying attention to these details is what elevates a good design into a perfectly executed, totally professional business card.
Pairing Your Cards with the Right Paper and Finishes
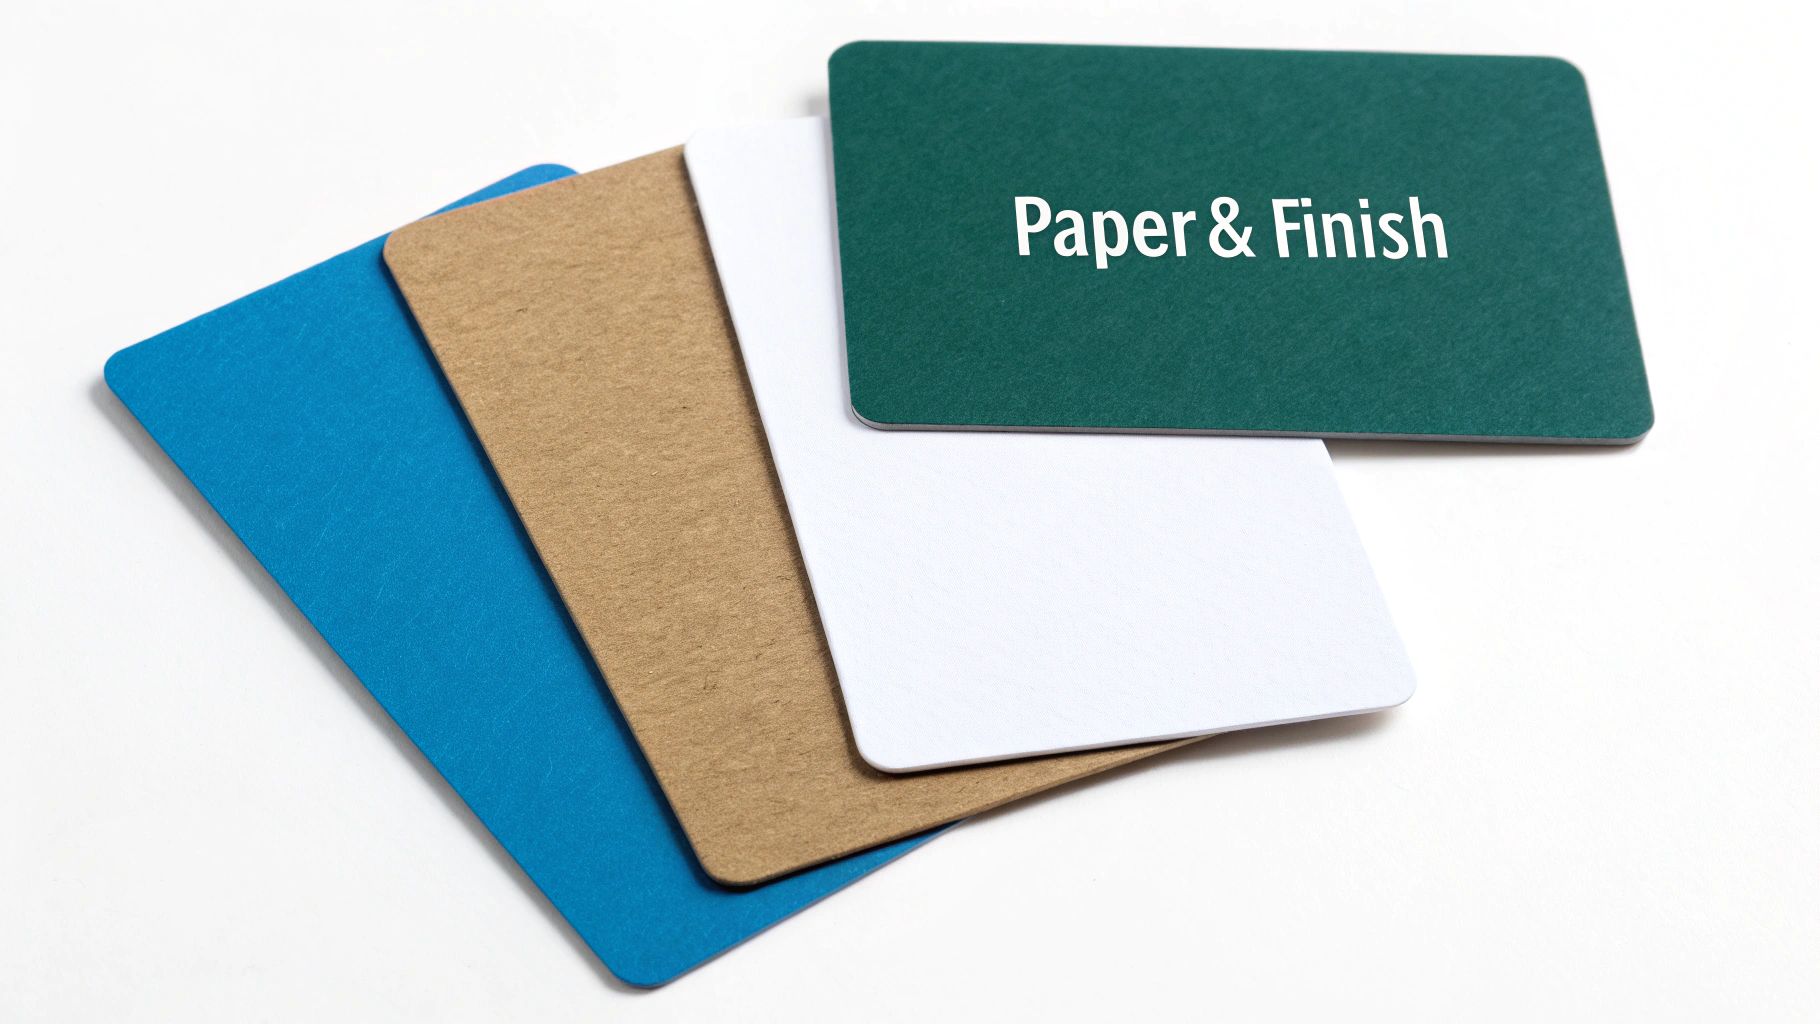
Choosing business card rounded corners is a great first step, but the real magic happens when you pair that modern shape with the perfect paper and finish. The material your card is printed on is just as crucial as its shape; together, they create a complete sensory experience for anyone who receives it.
Think of it this way: the rounded corners are the architectural blueprint, but the paper and finish are the high-end materials that truly bring the structure to life. A well-chosen paper stock doesn't just hold the ink—it amplifies the effect of the curves, making them feel more intentional and luxurious. The goal is to create harmony so your card doesn't just look good, it feels memorable.
Matching Paper Weight to Your Design
Paper thickness, or weight, plays a massive role in how substantial and premium your rounded corner card feels in someone's hand. A thicker, heavier stock gives those curved edges a satisfying sturdiness and a high-end touch that flimsier cards just can't replicate.
Thick, Premium Stocks (16pt and above): Heavier stocks are fantastic for rounded corners. They make the curved edges feel more pronounced and deliberate, adding a sense of quality and durability that perfectly complements the fray-resistant nature of the design.
Uncoated or Kraft Paper: If you're going for a more organic, down-to-earth vibe, an uncoated stock is an excellent choice. Its natural texture combined with soft corners creates a card that feels handmade and authentic—ideal for artisans, eco-conscious brands, or anyone wanting a more approachable feel.
The classic 3.5 x 2 inch business card became standard in the late 19th century, but it wasn't until the early 2000s that on-demand printing really opened the door for customization. This is when rounded corners took off, appealing to modern startups who wanted a durable, standout design.
Elevating the Experience with Finishes
The finish is the final touch that seals the deal, enhancing both the look and feel of your business card. The right coating can either lean into the modern aesthetic of rounded corners or create a stunning contrast that makes your design pop.
A finish is more than just a protective layer; it's a tactile choice that defines how your brand is perceived. It’s the difference between a card that’s just seen and one that’s truly felt.
A soft-touch matte finish is an incredibly popular partner for rounded corners, and for good reason. It provides a velvety, smooth texture that feels both modern and luxurious, making the card a genuine pleasure to hold. If you're curious about this premium feel, you can explore a variety of soft touch printed products to see how it looks and feels.
On the other hand, you could use a spot gloss (or Spot UV) to highlight specific elements like your logo or company name. This creates a dynamic, eye-catching contrast against a matte background that naturally draws attention to the card's unique shape. By carefully selecting your paper and finish, your business card transforms from a simple piece of contact info into a powerful branding tool.
Common Questions About Rounded Corner Business Cards
Got a few questions before you hit that order button? Perfect. We’ve put together some straightforward answers to the most common things people ask about rounded corners. Think of this as your go-to guide for getting all the details right.
Our goal is to give you the practical info you need to make smart decisions and feel confident that your final cards will look exactly how you imagined. Let's clear up any last-minute uncertainties.
Are Rounded Corner Business Cards More Expensive?
Yes, but usually just by a little bit. Adding rounded corners is an extra finishing step, so it typically adds a small fee to your order.
Think of it as a minor upgrade. This fee usually covers your entire batch of cards, whether you're ordering 100 or 1,000, making it a really cost-effective way to get that premium, modern look. When you consider the sleek aesthetic and extra durability, most people find the small investment is well worth the powerful first impression it helps create.
How Much Longer Does Printing Take?
Adding rounded corners typically adds about one to two business days to the production timeline. This gives our finishing department the time they need to carefully trim the corners after your cards have been printed and cut down to size.
So, if a standard business card order takes three business days, an order with rounded corners might take four or five business days before it’s ready to ship.
It’s always a good idea to check the estimated turnaround time your printer provides during checkout. That will give you the most accurate timeline for your specific order.
Does Paper Thickness Make a Difference?
It absolutely does, and the difference is something you can really feel. The weight and stiffness of your card stock have a big impact on how the rounded edge looks and feels.
Thicker card stocks, like a solid 16pt or a luxe 32pt paper, produce a much cleaner, more defined rounded edge. The density of a heavier paper allows for a smoother, crisper cut that feels incredibly premium in your hand.
While rounded corners still look good on standard 14pt stock, the effect is far more noticeable and impressive on a thicker card. A heavier stock also makes the card more durable, which pairs perfectly with the anti-fraying benefit of rounded corners.
Can I Get Just Two Corners Rounded?
Yes, you can! This is a fantastic way to create a unique, asymmetrical design that really stands out from the stack. Whether you want two corners rounded on the same side for a tab-like feel or on a diagonal for a more dynamic look, it's definitely possible.
This kind of customization is usually done through die-cutting rather than with a standard corner rounding machine.
When you’re placing your order, look for custom shape options or be sure to specify your exact needs in the order notes. Most importantly, make sure your design file clearly shows which corners you want rounded to avoid any mix-ups during production. This is just one of many ways to elevate your card; you can explore a wide variety of other fantastic finishes to make your design even more memorable.
Ready to create a business card that leaves a lasting impression? At 4OVER4, we offer a wide range of paper stocks, finishes, and custom options to bring your vision to life. Design your perfect rounded corner business cards today at https://4over4.com.
More from

13
When you’re ready to invest in an A-frame sign, the first question you'll ask is, "What size do I need?" It usually comes down
![]() Emma Davis
Emma Davis
Mar 13, 2026

113
The real secret to mastering your direct mail budget isn't complicated. It comes down to one simple fact: a standard 4" x 6&q
![]() Emma Davis
Emma Davis
Mar 12, 2026

63
Tear-off flyers are a classic for a reason. They’re a tangible marketing tool, designed with perforated, removable tabs at the bottom. Each
![]() Emma Davis
Emma Davis
Mar 11, 2026

110
Printing stickers at home is a seriously fun and rewarding project. It boils down to four main parts: designing your image, picking the right
![]() Emma Davis
Emma Davis
Mar 10, 2026

103
Ever seen a logo that seems to float right on the glass of a jar or bottle? That’s the work of transparent label stickers.
![]() Emma Davis
Emma Davis
Mar 9, 2026

59
Picture this: your product’s beautiful label gets smudged and runny during shipping, or a gorgeous event banner fades to nothing after just
![]() Emma Davis
Emma Davis
Mar 8, 2026

58
In a sea of options, your product's packaging and labeling are its first, and often only, chance to make a real connectio
![]() Emma Davis
Emma Davis
Mar 7, 2026

89
Ever tried to print a hundred high-quality flyers on your home office printer? You probably ran out of ink, dealt with paper jams, and ended u
![]() Emma Davis
Emma Davis
Mar 6, 2026