Business Card Dimensions in Photoshop for a Print-Ready File
Build a 3.75 x 2.25 inch canvas at 300 PPI in CMYK, add 0.125 inch bleed on every side, then export a flattened Press Quality PDF. Here is the setup that keeps every card sharp from screen to print.
For a standard US business card, set your Photoshop canvas to 3.75 x 2.25 inches at 300 PPI in CMYK color mode. That size already includes 0.125 inches of bleed on all four sides, so the card trims down to the finished 3.5 x 2 inches. Keep text and logos inside a 3.25 x 1.75 inch safe zone, then export a flattened Press Quality PDF with document bleed turned on.
Quick tips
The fast checklist before you design
Start every business card file at 3.75 x 2.25 inches, 300 PPI, CMYK. Extend backgrounds to the bleed edge, keep text and logos inside the 3.25 x 1.75 inch safe zone, and rasterize your type before exporting. Save a flattened Press Quality PDF with document bleed enabled. 4OVER4.COM customers who follow this setup get crisp, color-accurate cards on the first run.
Getting your business card file right from the start
Here is the thing about designing business cards in Photoshop. The creative part is actually the easy part. It is the technical setup that trips people up. Wrong resolution. RGB instead of CMYK. No bleed. These mistakes do not show up on screen. They show up when you are holding 500 cards that look nothing like your design.
This guide walks you through every setting, every measurement, and every common pitfall, so you finish with a print-ready file. 4OVER4.COM offers 60+ paper types for business cards, from classic matte and gloss to specialty stocks, so your file needs to be technically perfect to take full advantage of premium paper. Browse our business card showcase for real-world inspiration before you start.
Need a head start? Grab one of our ready-made design templates sized correctly for print. And if you are keeping your craft tools in shape between card designs, our guide on how to clean rubber stamps covers that too.
Understanding the standard business card size
A standard US business card measures 3.5 x 2 inches after trimming. That is the final size someone holds in their hand. But your Photoshop file cannot be exactly 3.5 x 2 inches. It needs to be larger to account for bleed, which is the extra area that gets cut off during production.
Bleed prevents white edges from appearing if the cutting blade shifts even slightly. The industry standard bleed is 0.125 inches (1/8 inch) on each side, so your total canvas size becomes 3.75 x 2.25 inches. Every element that touches the edge of your design, whether it is a background color, an image, or a pattern, must extend all the way to this bleed line.
There is also a safety margin to think about. Keep all text and important design elements at least 0.125 inches inside the trim line. That means your safe zone for text and logos is roughly 3.25 x 1.75 inches. Anything closer to the edge risks getting clipped. For more design project guidance, our guide hub has dozens of helpful tutorials.
Creating a new document with the right settings
Open Photoshop and go to File then New. Here is exactly what to enter in the New Document dialog:
- Width: 3.75 inches, which includes 0.125 inch bleed on the left and right.
- Height: 2.25 inches, which includes 0.125 inch bleed on the top and bottom.
- Resolution: 300 pixels per inch, non-negotiable for print quality.
- Color Mode: CMYK Color, 8-bit.
- Background Contents: White, or transparent if you prefer.
Do not skip the resolution setting. Photoshop defaults to 72 PPI for screen work, and at 72 PPI your business card prints at roughly one-quarter the sharpness you need. The difference is immediately visible: text looks fuzzy, logos lose detail, and fine lines disappear entirely.
Why CMYK matters and how RGB will burn you
Your monitor displays color using RGB, which is light-based mixing of red, green, and blue. Printers use CMYK, which is ink-based mixing of cyan, magenta, yellow, and key black. These two systems do not produce identical results. That electric blue on your screen might print as a duller, more muted shade.
Set your color mode to CMYK before you start designing. Converting from RGB to CMYK after the fact shifts colors unpredictably. Bright greens go muddy. Vivid purples turn flat. You will spend hours tweaking colors that would have been fine if you had started in the right mode.
Go to Edit then Color Settings and make sure your CMYK working space is set to U.S. Web Coated (SWOP) v2. This is the standard profile most commercial printers use, including 4OVER4.COM. If you are designing something eye-catching like 3D lenticular business cards, accurate color setup matters even more, since lenticular printing amplifies any color shift.
Setting up guides for trim, bleed, and safe zone

Once your canvas is created, you need visual guides so you know exactly where trim, bleed, and safe zones sit. Without them you are guessing, and guessing leads to cut-off text.
Go to View then New Guide Layout, or place guides manually with View then New Guide. Here is where to place them:
- Bleed boundary: the edges of your canvas at 0 and 3.75 inches horizontal, 0 and 2.25 inches vertical.
- Trim line: 0.125 inches in from each edge, at 0.125 and 3.625 inches horizontal, 0.125 and 2.125 inches vertical.
- Safe zone: 0.25 inches in from each edge, at 0.25 and 3.5 inches horizontal, 0.25 and 2 inches vertical.
Color-code your guides if you can. Use red for trim and blue for the safe zone so your boundaries stay obvious while you work. Treat the trim line as a danger zone: anything between trim and bleed gets cut off, and anything between trim and safe zone might be cut if there is any shift during cutting.
Choosing and placing fonts for print
Screen fonts and print fonts behave differently. A thin, elegant typeface that looks gorgeous on a retina display can become nearly invisible at business card size. For body text on a card, stick to a minimum of 8pt. For your name or a headline, 10 to 12pt works well.
Sans-serif fonts like Helvetica, Futura, or Montserrat tend to print cleanly at small sizes. Serif fonts work too, but avoid anything with extremely thin strokes. And skip decorative script fonts for phone numbers or email addresses, because legibility always wins.
Once your text is finalized, rasterize your type layers or convert them to shape layers before exporting. This prevents font substitution at the printer. If the shop does not have your exact font installed, Photoshop swaps in a default and your carefully chosen typography goes out the window. If you enjoy hands-on design work, you might also like learning how to make flyers or how to make envelopes using similar techniques.
Working with images and graphics at print resolution
Every image you place on your business card needs to be at least 300 PPI at the size it will print. A photo that is 300 PPI at 8 by 10 inches is fine. But if you download a 200 by 200 pixel icon from the web and stretch it across half your card, it looks terrible.
Check image resolution by going to Image then Image Size after placing each element. If the resolution drops below 300 PPI at print size, find a higher-resolution source. Vector logos in AI or EPS format are ideal because they scale infinitely without losing quality. You can paste them into Photoshop as Smart Objects to preserve their sharpness.
For logo files, always use the highest quality version available. If you only have a JPEG, make sure it is at least 1050 x 600 pixels for full-card coverage. Anything smaller and you are asking for pixelation. Check out the showcase to see how sharp, properly prepared files translate into stunning printed results.
Exporting your file for print
When your design is done, do not just hit Save As JPEG. For the best print results, export as a PDF using Photoshop's Save As or Export function. Choose Photoshop PDF and use the Press Quality preset.
Key export settings to double-check:
- Resolution: 300 PPI, which should already be set from your document.
- Color space: CMYK.
- Compression: none or minimal, since ZIP compression is fine.
- Flatten layers: yes, which prevents transparency issues.
- Marks and Bleeds: tick Use Document Bleed Settings so your 0.125 inch bleed is included.
If your printer accepts PSD files you can flatten and save in that format instead, but PDF is the universal standard that works everywhere. TIFF is another lossless option that holds 100% of your quality for photo-heavy designs. Before uploading, zoom to 100% and check every edge, every line of text, and every image for sharpness. That five-minute review catches problems that cost real money to fix after printing.
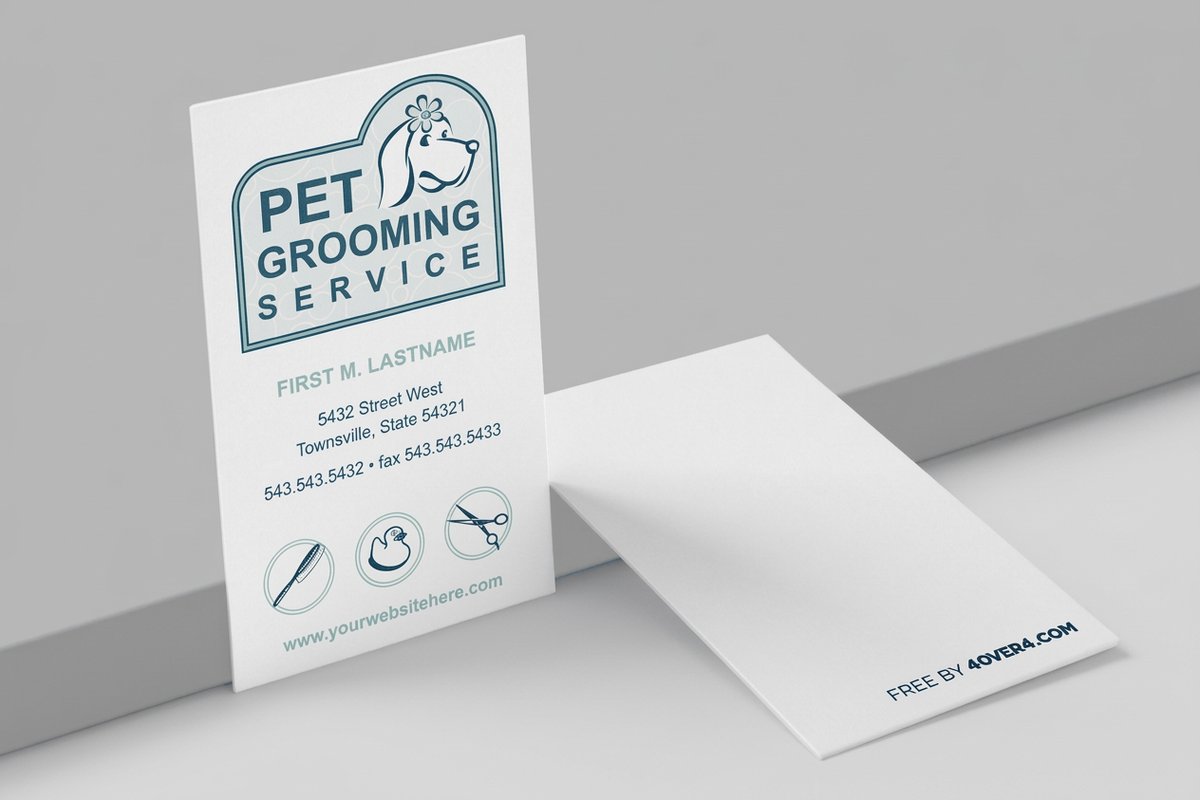
Designing the back of your business card

Most people focus entirely on the front and treat the back as an afterthought. That is wasted real estate. Create a second Photoshop document with identical settings, 3.75 x 2.25 inches at 300 PPI in CMYK, for the back of your card.
Popular back-side options include a QR code linking to your website, a tagline, a simple pattern or texture, or a bold solid color. Even a clean white back with just your logo centered makes a stronger impression than leaving it completely blank.
Here are two ready-made blank templates sized correctly for standard business card dimensions to speed up your workflow. You can also explore 3D lenticular business card templates and black business card templates, or browse ideas for print projects that pair well with cards in our guides on how to fold a brochure and custom magnets.
Photoshop business card errors that waste your money
After years of processing files, 4OVER4.COM sees the same setup violations over and over. Here are the mistakes that cause the most reprints:
- Using 72 PPI instead of 300 PPI. This is the number one error. Your screen makes it look fine. The printer does not.
- Designing in RGB color mode. Colors shift when converted to CMYK at export, so start in CMYK from the beginning.
- No bleed area. A 3.5 x 2 inch file with no extra space means white edges after trimming.
- Text too close to the trim line. Keep all text at least 0.125 inches inside the trim boundary or letters get clipped.
- Low-resolution logos. That tiny PNG from your website will not cut it. Use vector files or high-res rasters.
- Forgetting to flatten layers. Transparency and layer effects can render unpredictably at the printer.
Every one of these is preventable with proper setup. Take the extra two minutes to check your file before uploading.
Print your Photoshop design on premium stock
Once your file is set up correctly, the paper you print on makes all the difference. 4OVER4.COM offers 60+ paper types, ranging from classic matte and gloss to ultra-thick 32pt stocks with specialty finishes like Spot UV, foil stamping, and velvet lamination. A perfectly dimensioned Photoshop file paired with a premium stock creates a card people actually keep.
Looking for other print projects to design next? Explore our event invitations to practice your Photoshop skills on a different format, or keep everything on-brand with matching pieces from our business stationery lineup.
New Document settings
The Photoshop settings at a glance
Enter these exact values in the New Document dialog. Every one of them keeps your file inside the print requirements that 4OVER4.COM and other commercial printers expect.
| Setting | Value | Why it matters |
|---|---|---|
| Width | 3.75 Inches | Includes the standard 0.125 inch bleed on both the left and right sides. |
| Height | 2.25 Inches | Includes the standard 0.125 inch bleed on both the top and bottom sides. |
| Units | Inches | The standard unit of measurement for print projects in the United States. |
| Orientation | Landscape | The most common orientation for a traditional business card layout. |
| Resolution | 300 Pixels/Inch | The industry standard for high-quality printing so your design is not blurry. |
| Color Mode | CMYK Color / 8 bit | The color space professional printers use for accurate color output. |
Sizes around the world
Standard business card dimensions by region
Printing for an international audience? These are the standard trim sizes by region, so you can set the right canvas before you add bleed.
| Region or country | Dimensions (inches) | Dimensions (millimeters) |
|---|---|---|
| United States & Canada | 3.5" x 2" | 88.9 x 50.8 mm |
| United Kingdom & Europe | 3.35" x 2.17" | 85 x 55 mm |
| Japan (Meishi) | 3.58" x 2.17" | 91 x 55 mm |
| China | 3.54" x 2.13" | 90 x 54 mm |
| Australia & New Zealand | 3.54" x 2.17" | 90 x 55 mm |
Specs and pricing
Classic business card specs and pricing
When your file is ready, here is what a standard classic business card gives you at 4OVER4.COM, with live specs and price-per-unit straight from the configurator.

| Quantity | Price Per Unit | Total |
|---|---|---|
| 100 | 17.6¢ | $17.57 |
| 200 | 11.5¢ | $23.07 |
| 300 | 9.15¢ | $27.46 |
| 400 | 7.96¢ | $31.86 |
| 500 | 7.25¢ | $36.26 |
| 600 | 6.77¢ | $40.64 |
| 700 | 6.43¢ | $45.04 |
| 800 | 6.18¢ | $49.43 |
Ready-made layouts
Blank business card templates sized for print
Skip the setup entirely. These blank templates already carry the correct dimensions, bleed, and safe zone, so you drop in your artwork and export.

Print it
Order business cards at 4OVER4

Wally explains card dimensions
Get the canvas right and the print takes care of itself
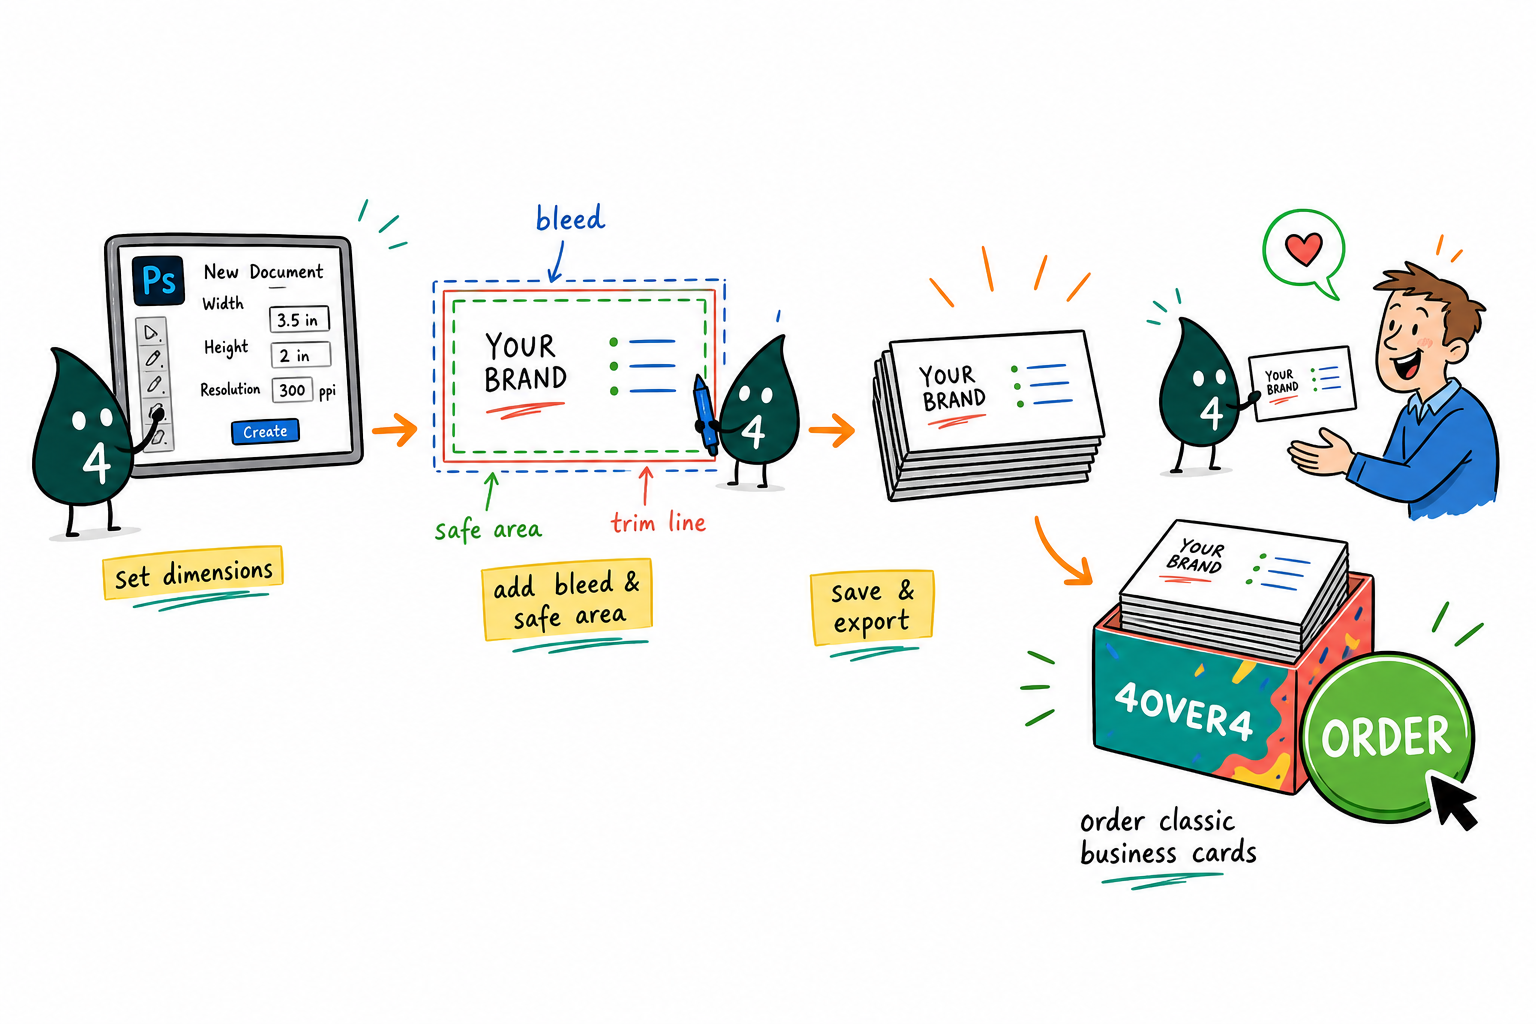
Wally sets up every card the same way: a 3.75 x 2.25 inch canvas at 300 PPI in CMYK, with backgrounds pushed all the way to the bleed and text tucked safely inside. Screen color is light, print color is ink, so he starts in CMYK and never has to fight a late color shift. Nail the file and 4OVER4 handles the rest, on premium stock built to be kept.
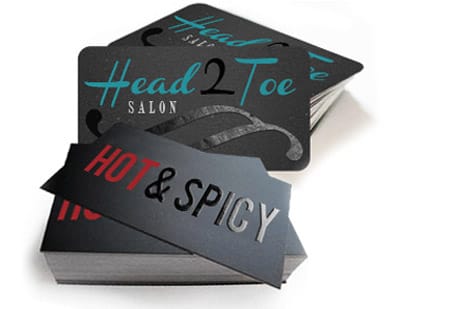
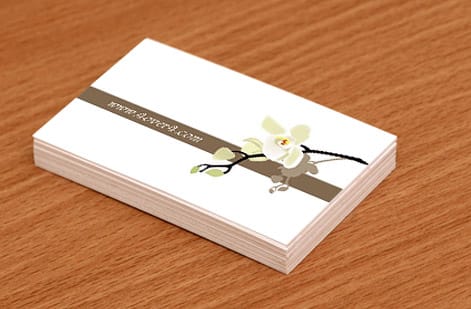
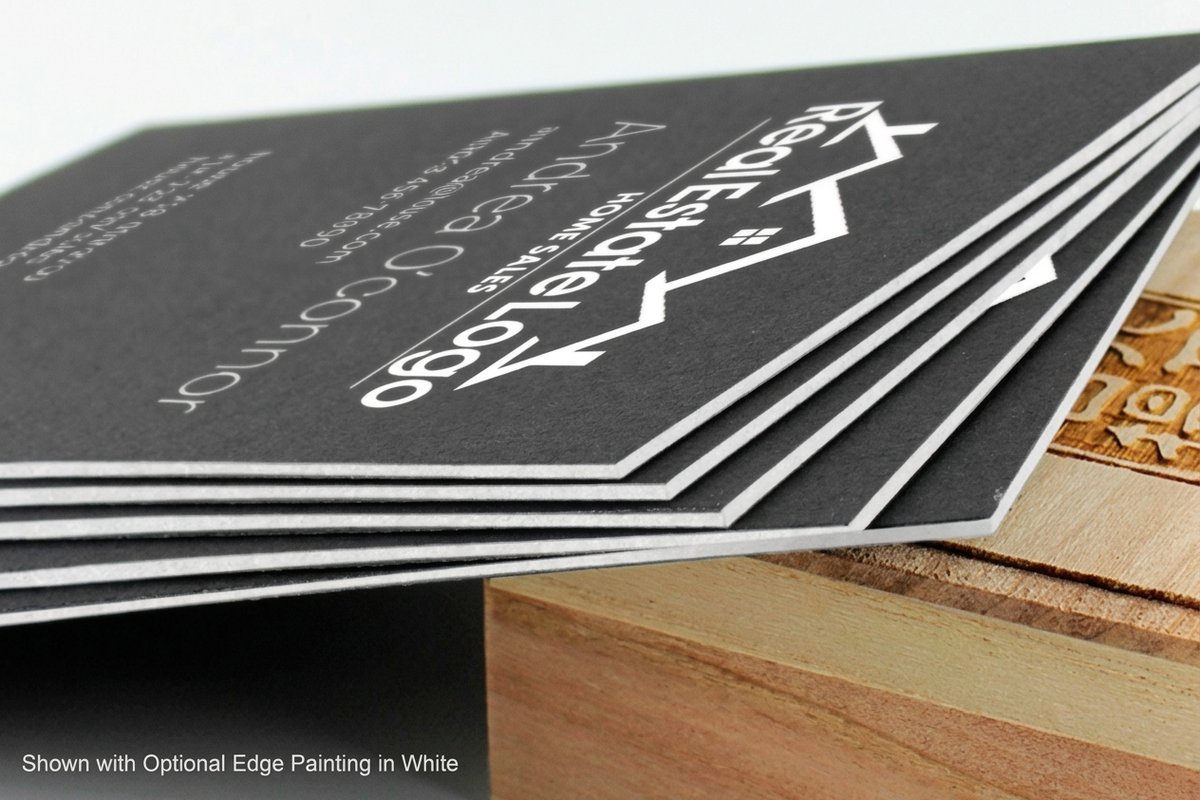
Order business cards →See it in use
Real business card work, printed in-house


Explore more
Where to go next
The numbers that matter
Print-ready specs at 4OVER4
Common Questions
Common questions about business card dimensions in Photoshop
What size should I set my Photoshop canvas for a standard business card?
Set your canvas to 3.75 x 2.25 inches at 300 PPI in CMYK color mode. This includes 0.125 inches of bleed on all sides. The final trimmed card will be 3.5 x 2 inches, which is the standard US business card size accepted by all commercial printers including 4OVER4.COM.
Why does my business card look blurry when printed from Photoshop?
You likely designed at 72 PPI, which is the default for screen graphics. Print requires 300 PPI for sharp results. Check your resolution in Image then Image Size. If it is below 300, you need to rebuild the file at the correct resolution rather than simply changing the number, which just stretches existing pixels.
Should I design my business card in RGB or CMYK in Photoshop?
Always design in CMYK. Printers use CMYK inks, not RGB light. If you design in RGB and convert later, your colors will shift and often become duller or muddier. Set CMYK as your color mode when creating the new document, before you place any design elements.
What is bleed and why do I need it for my business card file?
Bleed is the extra 0.125 inches of design that extends beyond the trim line on every side. It gets cut off during production. Without bleed, even a tiny cutting variation leaves visible white strips along the edges of your card. Extend all background colors, images, and patterns to the bleed boundary.
Can I use a Photoshop PSD file to order Business Cards from 4OVER4.COM?
4OVER4.COM accepts PDF files, which are the preferred format. In Photoshop, use Save As then Photoshop PDF with the Press Quality preset. Make sure your file is flattened, set to CMYK, and at 300 PPI before exporting. That setup ensures your file meets every standard print requirement.
What is the safe zone for text on a business card in Photoshop?
Keep all text and important logos at least 0.125 inches inside the trim line. That gives you a safe design area of roughly 3.25 x 1.75 inches. Anything placed between the safe zone and the trim line risks being partially cut during production.
Get Started
Ready to print your business card design?
Upload your print-ready Photoshop PDF, pick from 60+ premium papers and finishes, and we print cards that look exactly the way you designed them.
Legal Disclaimer
Gold Standard guarantees apply to all standard orders placed through 4over4.com. Price match requires verifiable proof of a competitor's published price for an equivalent product with matching specifications and turnaround time. Satisfaction guarantee covers manufacturing defects and print quality issues. Contact support with order number and documentation. On-time delivery rate based on tracked orders 1999 to 2026. Individual results may vary based on shipping carrier performance.