
Printing Articles That Make Every Project Smarter
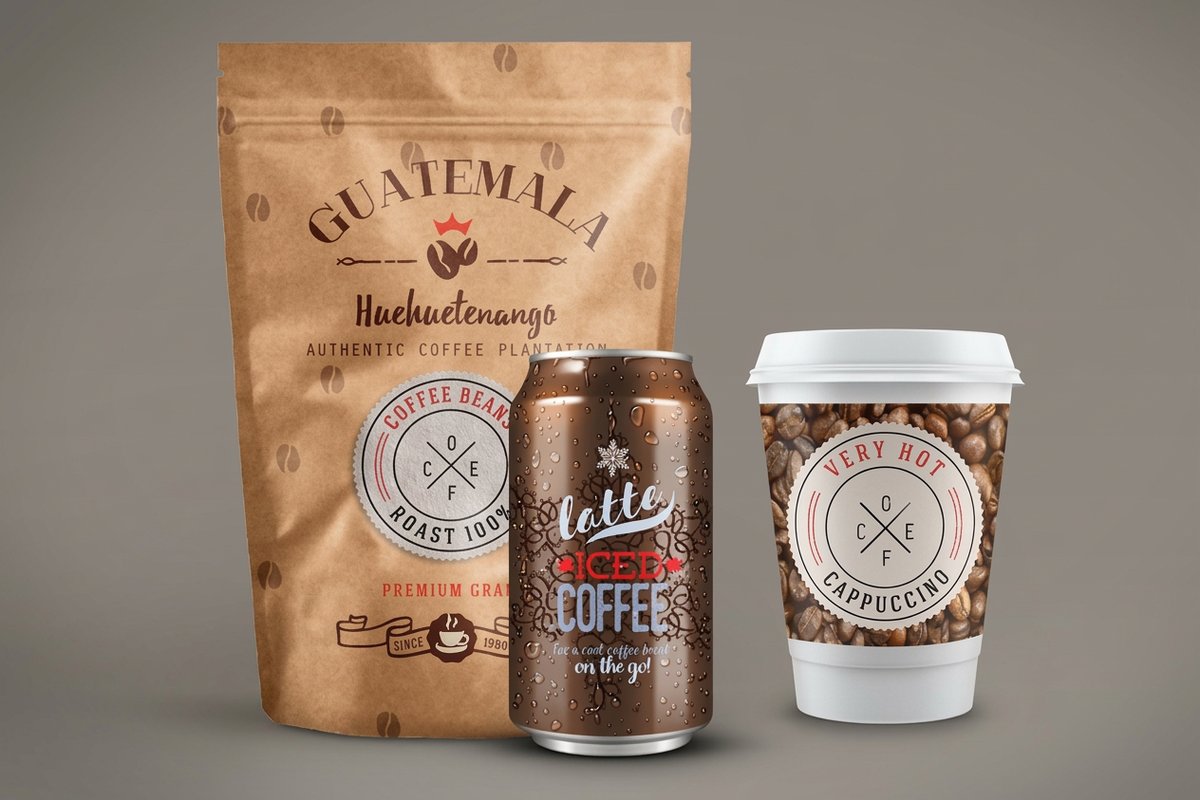
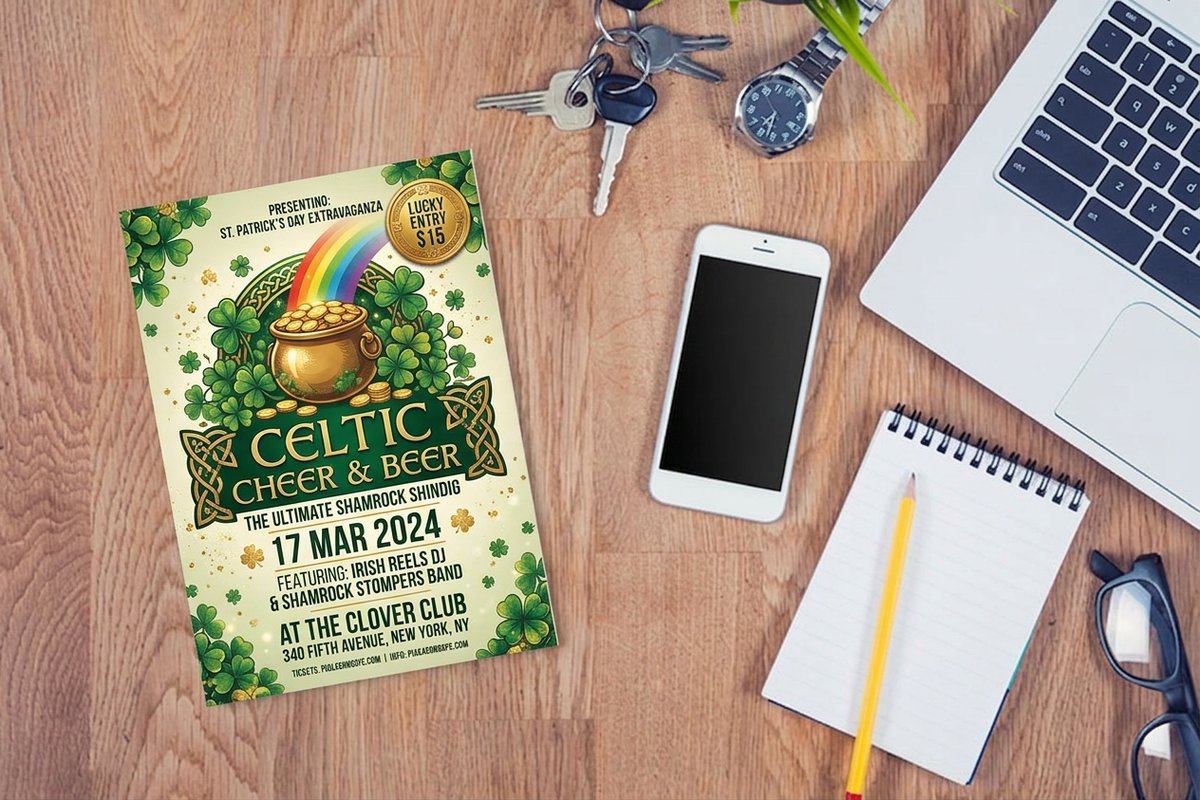
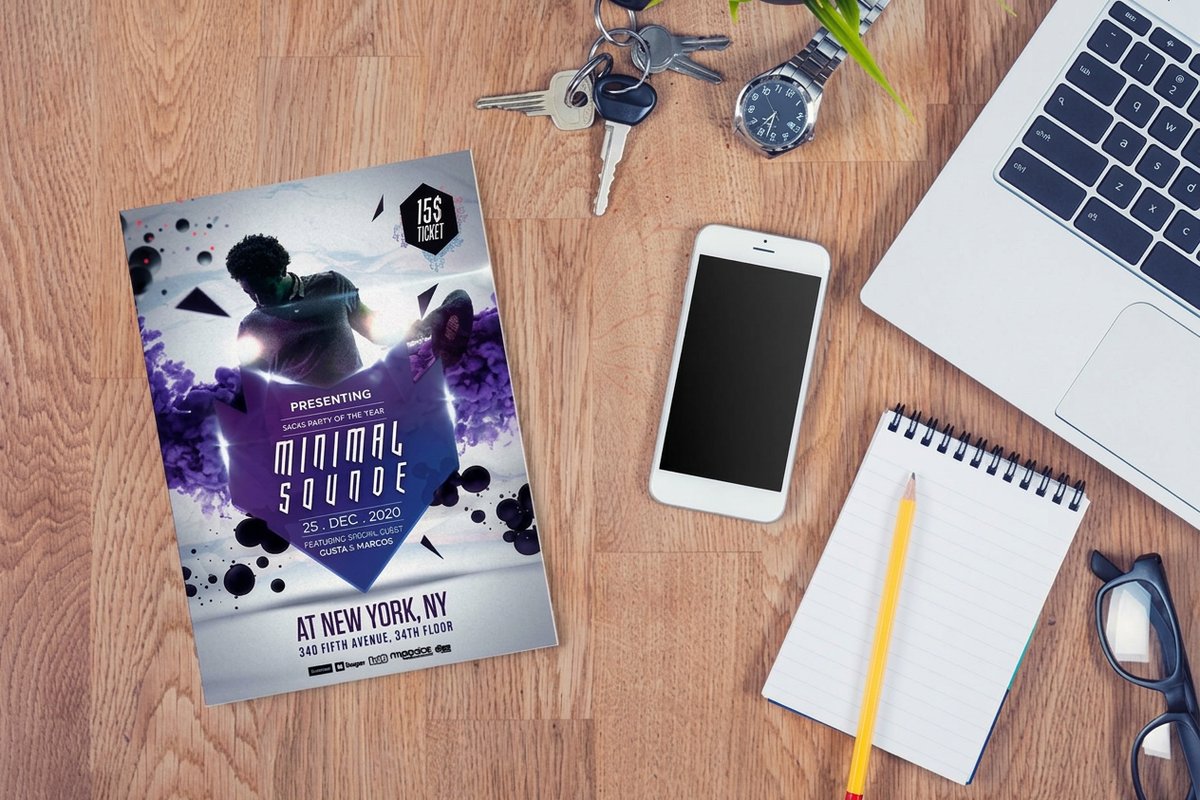
These articles cover the marketing side of print: industry playbooks, design inspiration, and campaign ideas you can put to work the same week. Every piece connects the idea to the exact product that carries it, from postcards and flyers to die cut stickers and vinyl banners.
If you want the technical side instead, sizes, stocks, bleeds, and finishes, head to the printing guides. For a faster format, the product videos walk each product in about a minute.
Start With Your Industry or Goal
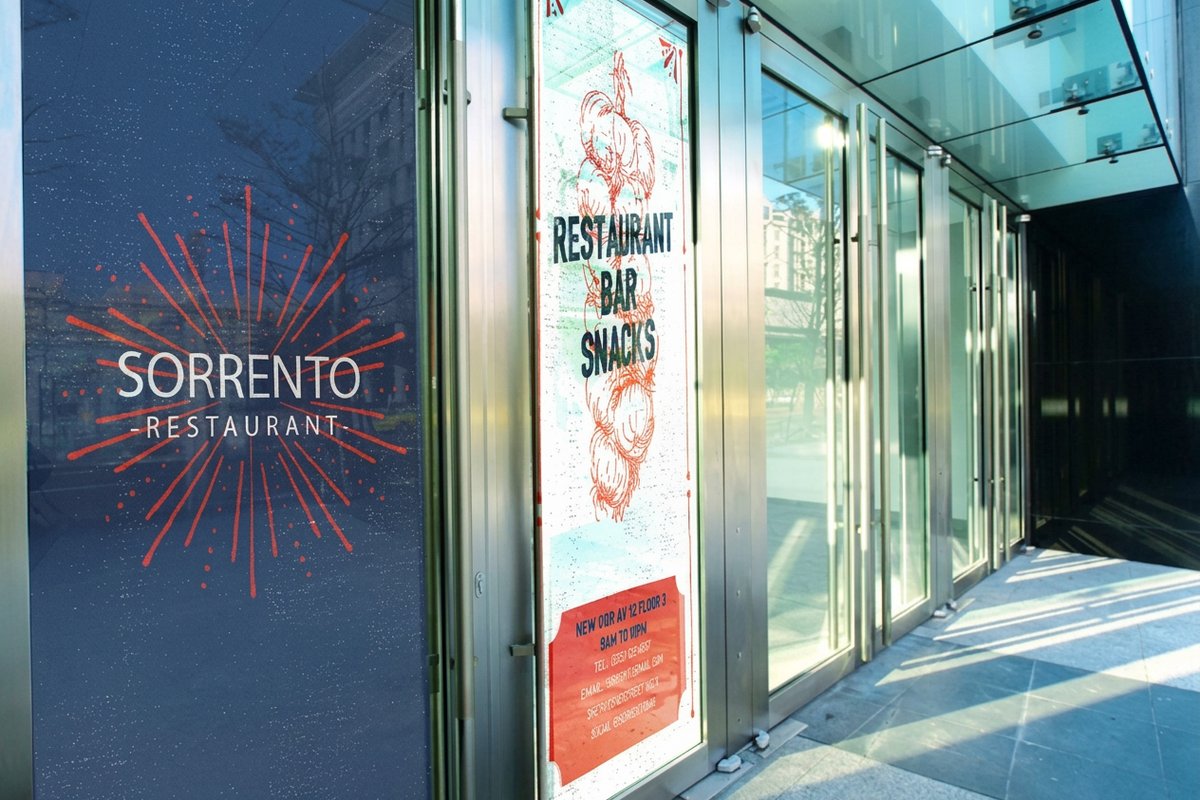
The library is organized around what you are trying to do. Marketing playbooks for restaurants, salons, gyms, contractors, and dozens of other industries sit next to design deep dives and print marketing fundamentals. Pair any playbook with the marketing materials collection to get the pieces it recommends, or grab a curated print kit that bundles an entire campaign in one order.
Questions before you order? The FAQ center answers the practical ones, and Help covers ordering, files, and shipping at 4OVER4.COM.