Decals Instructions
How to Prep Your Files for Kiss Cut Decals:
Read this important information before ordering kiss cut decals.
You must submit two separate files for Decals. One regular artwork file, and one cut mask file. The cut mask is used to cut your Decals order into whatever shape you like. The cut file must be an all vector, PDF file that must be uploaded at the same time you upload the artwork file. We can not accept any cut mask files that are made using a raster based program (e.g. Photoshop).
Here are some rules you must follow when creating your artwork and cut file:
- Make sure your artwork has a 1" bleed on all sides and .5" safety margin for the kiss cut. Keep everything you do not want cut inside of the .5" kiss cut safety margin.
- Your document or canvas size must be 2" away from all kiss cut lines. 1.5" for the kiss cut safety margin and bleed and .5" additional. This outside dimension is the size product you should order.
- In your cut mask, your mask line must be a vector path / line that has a 1pt black stroke, and you should keep your fill set as empty.
- Tolerance for the perimeter cut line is .5"
- Do not use small/thin kiss cut areas, or have perimeter cut lines that are too close together. At least .5" must separate your perimeter cut lines from each other, 4OVER4.COM will not reprint any order with perimeter cut lines that are too close to one another
- Your kiss cut line should be smooth. If your kiss cut line is ragged, has imperfections or bumps, this will show up in the final piece. All kiss cut mask shapes must be fully closed paths, no disconnected lines or open paths will cut. If you have too many sharp angled curves or edges, they may cause unwanted tears in the material. 4OVER4.COM will not reprint any order attributed to improper file setup or layout.
- If you are tracing an image to create your cut mask, be sure to delete your image from your cut mask file before saving and submitting it through our website. Also, make sure there are no cut lines included in your print-ready artwork file as they will be printed.
- The blade will follow the cut mask line you've created. It is recommended that you keep your perimeter cut line slightly inside the border of the image you are trying to cut out. This will avoid any obvious edges from your background to show once it is cut.
Get Your Free Sample Pack!
Feeling is believing: our sample pack includes a wide range of paper types, finishes and custom printing options - so you can see what 4over4.com is capable of!
*We hate SPAM. We may send you occasional sample updates, when new products are released, but you may unsubscribe at any time.
How to Trace an Image for Kiss Cutting:
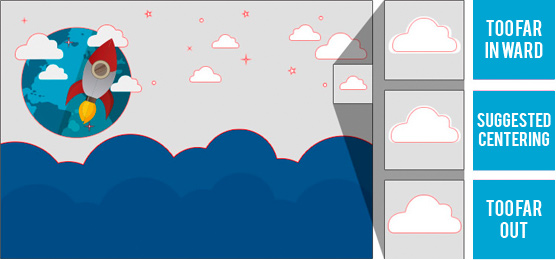
Here is an example of how to trace an image. The RED color of the cut line is for demonstration only. Your cut line should be a black 1 point stroke.
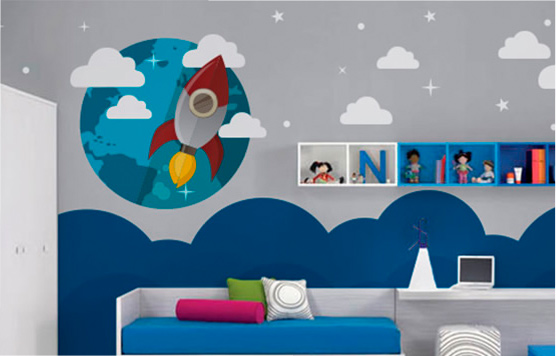
Here is the image we are going to trace. We will trace around the design, making sure to leave enough room between perimeter cut lines.

Step 1: Create a Perimeter Cut Line (a black 1 pt stroke)
When creating your perimeter cut line, make sure it is not at the very edge, but slightly inside of the image you want to cut out. This way the background does not show up after the cut.
Step 2: Verify Perimeter Cut Line
Here, you can see the kiss cut line overlay on top of the image that is going to be cut out. Always make sure your kiss cut line is smooth and does not have sharp angled curves or edges.

Step 3: Order and Enjoy Your Prints!
Here is what the Wall Graphic order will look like after printing and cutting.