- Home
- content hub
- How to Make Laminated Business Cards
How to Make Laminated Business Cards
Emma Davis
Content Writer
Dec 2, 202213906 views
Dec 2, 202213906 views
Creating professional-looking ID cards at home can save us time and money, but ensuring they last requires proper lamination. Without it, printed cards are vulnerable to fading, scratches, and damage from daily use. Whether it’s for employees, events, or personal projects, laminated ID cards not only look polished but also stand up to wear and tear, protecting the information they carry.
We understand the challenge of finding the right tools and techniques to laminate ID cards effectively. That’s why this guide will walk us through the process of laminating at home, ensuring durability and professional quality. With the right laminator and a few simple steps, we can safeguard our ID cards while enhancing their appearance. Let’s dive into how we can achieve long-lasting, vibrant results without the hassle of outsourcing.
Why Laminated Business Cards?
Laminated business cards combine durability and elegance, making them a practical choice for professionals. Lamination protects cards from water, dirt, and abrasion, ensuring they last longer and maintain their visual appeal. A laminated card remains intact even with frequent handling, keeping it resistant to stains, marks, and tears. This feature makes it ideal for clients who store cards in wallets or bags.
A laminated card also stands out due to its premium finish. Options like silk lamination or velvet lamination create a smooth texture, while gloss lamination delivers a vibrant shine. This polished look enhances the card's overall presentation, reflecting the professionalism of your brand. Explore additional textures and finishes like die-cut laminated business cards for more creative customization.
Lamination supports business branding by boosting the perceived value of your card. Highlighting your company's logo and design against the durable surface ensures your brand leaves a strong first impression. Our high-quality design tools can help you get started with custom templates. These tools simplify the design process, enabling you to craft cards that align with your unique vision.
At 4OVER4.COM, we specialize in premium laminated business cards that help elevate your brand's image. Whether you want silk, velvet, or gloss lamination, we offer tailored solutions for various professional needs. With thicker stock and vibrant finishes, our cards help your brand stand out: business cards printing.
Types of Lamination: Glossy, Matte & Soft-Touch
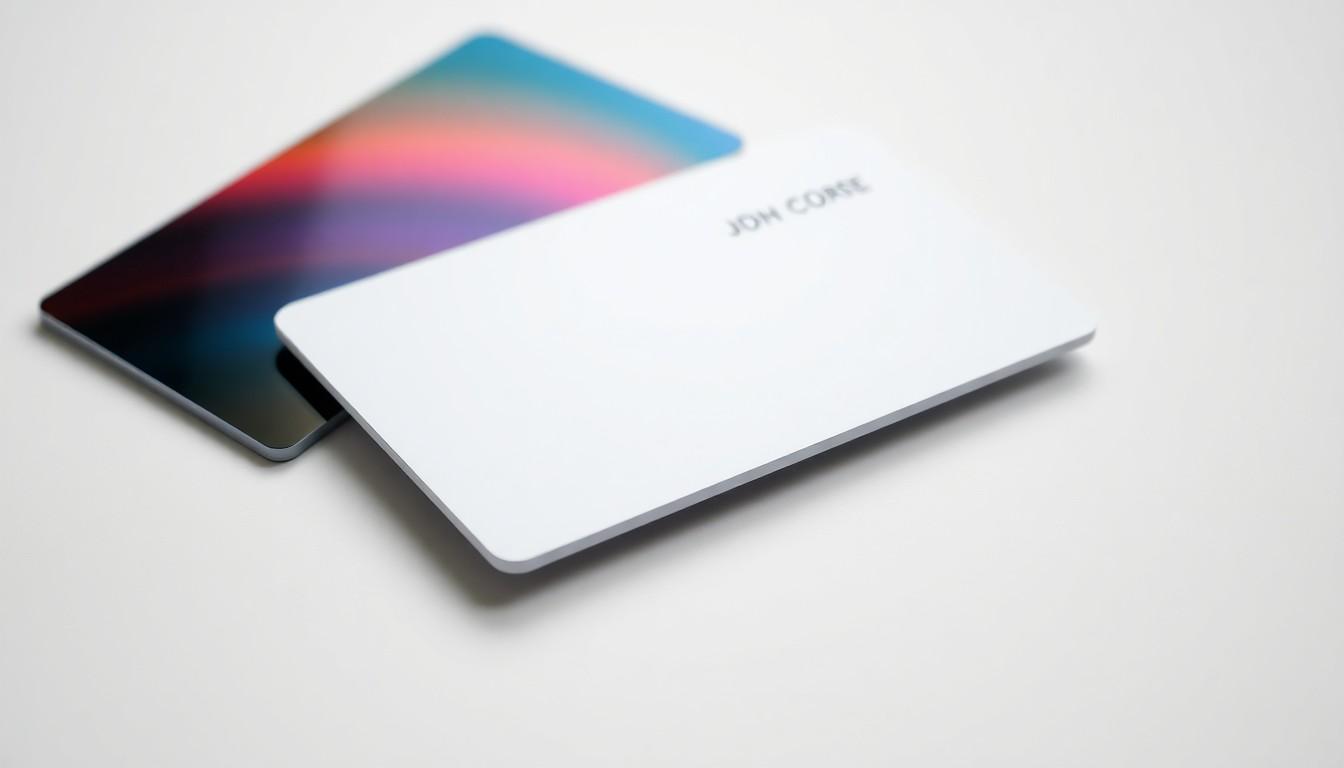
Selecting the right type of lamination enhances the durability and appearance of ID cards. Each lamination type serves specific purposes and provides unique benefits.
- Glossy Lamination
Glossy lamination delivers a shiny and reflective finish. It's ideal for designs that emphasize vibrant colors, as the gloss boosts visual contrast. This type of lamination works well for ID cards used in well-lit spaces, where the reflective quality creates a sleek effect.
- Matte Lamination
Matte lamination offers a flat, non-reflective finish. It minimizes glare, making text easier to read under harsh lighting conditions. This type is optimal for creating a more professional and understated look. Cards laminated with special-treated Premium Matte pouches resemble PVC cards, maintaining a polished yet practical design.
- Soft-Touch Lamination
Soft-touch lamination adds a velvety texture, providing a premium tactile experience. It enhances the perceived value of ID cards, combining durability with a luxurious finish. This lamination type is suitable for high-profile badges or cards where elegance is a priority.
Professionals can elevate brand identity through practical and aesthetic lamination choices, such as die-cut laminated business cards, incorporating finishes that match their style. Customized ID cards using the right lamination can make a lasting impression while maintaining functionality.
Essential Supplies for Laminating Business Cards
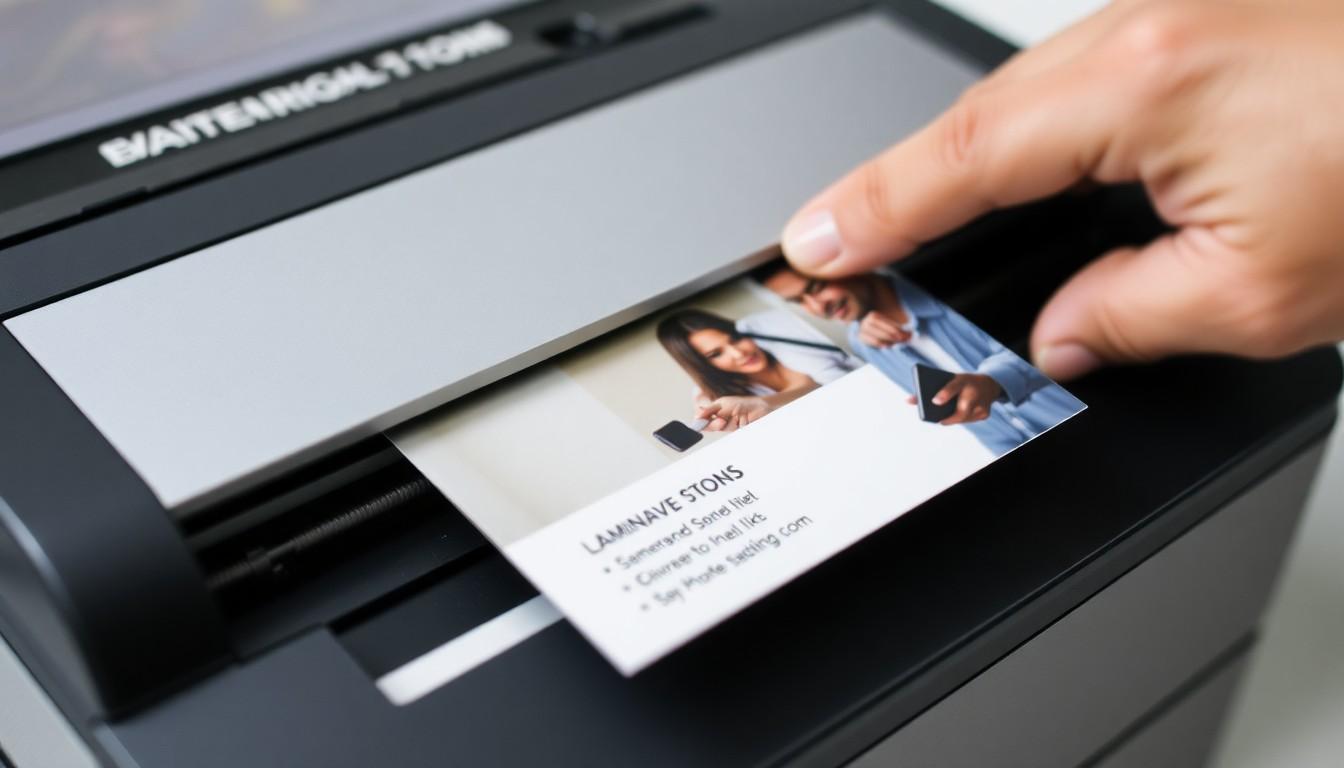
Proper supplies are critical for producing high-quality laminated business cards, ensuring durability and professional appearance. Here's what you’ll need:
Printing Materials
High-quality cardstock provides a sturdy foundation for your business cards. Opt for durable paper options with smooth surfaces that support vibrant printing. Custom templates and design tools like this online designer tool simplify the process of creating tailored designs that match your branding needs.
Laminating Sheets and Pouches
Choose laminating sheets or pouches based on desired finishes and card dimensions. For example:
- Butterfly pouches allow for borderless lamination and are ideal for achieving polished edges.
- Self-sealing laminating pouches are great for quick jobs, as they don’t require a laminator. These are also acid-free, protecting your cards from fading and damage.
Laminator
Use a laminating machine compatible with the thickness of your laminating pouches. Home laminators often accommodate sizes up to 8.5 x 11 inches, which makes them suitable for both standard and custom-sized business cards. Machines capable of handling laminating films between 3 and 14 mil ensure clean, heat-applied finishes.
Cutting Tools
Scissors or precision paper cutters are essential to trim excess laminate for clean edges. To ensure accuracy, use a straight-edge trimmer when working on intricate designs like die-cut business cards.
Optional Add-ons
We recommend eco-friendly holographic laminates or custom embossing to elevate card details. These additions enhance your brand presence and distinguish your cards further in competitive professional settings.
By combining these supplies with 4OVER4.COM’s custom printing solutions, businesses can transform ideas into durable, eye-catching business cards that leave an impression. Explore laminated business card printing options for tailored results that align with your brand’s identity.
Step-by-Step Guide to DIY Laminated Cards
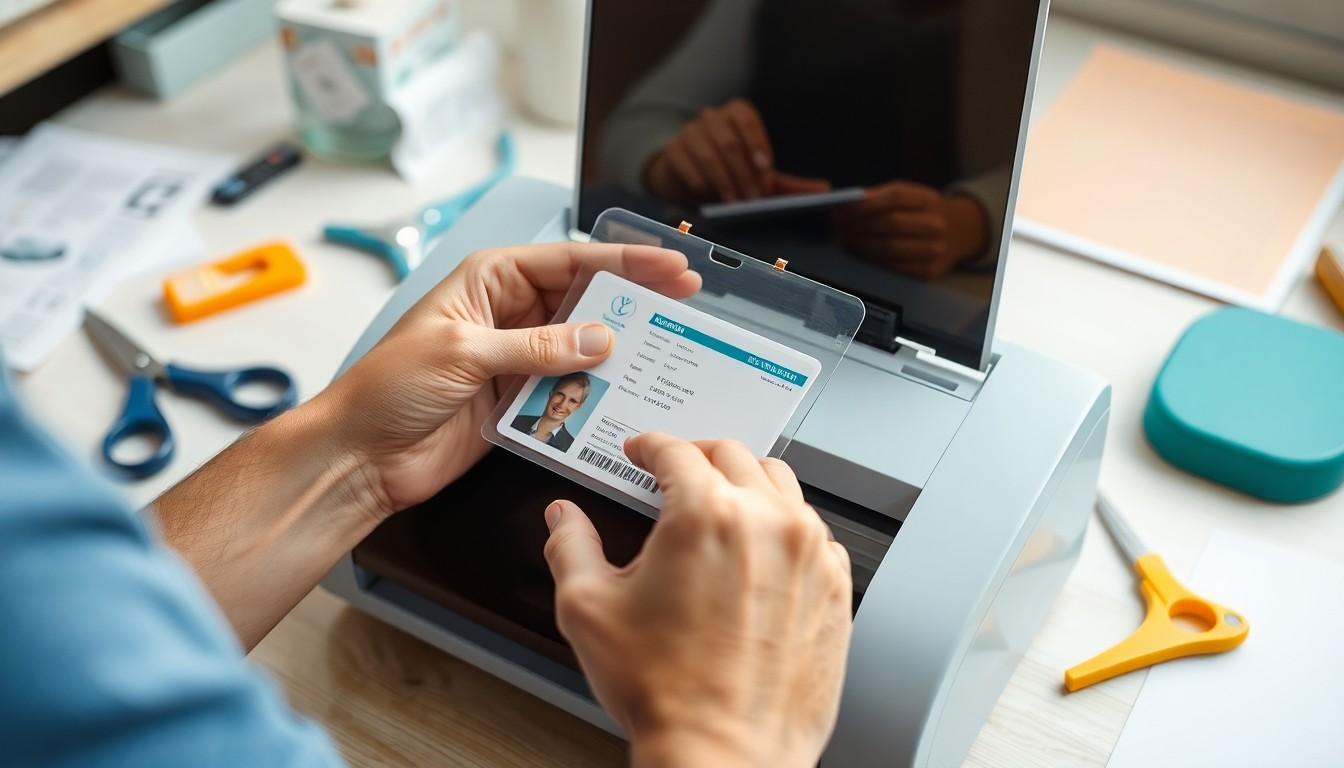
1. Design and Print the ID Card
Start by creating a custom design that includes essential details like names, photos, barcodes, or QR codes. Using an online designer tool that's free and user-friendly can simplify this process. Print the design on durable synthetic paper, such as Teslin® sheets, which work with both inkjet and laser printers. For added precision, micro-perforated sheets eliminate the hassle of manual cutting.
2. Prepare the ID Card
Ensure the printed cards are spotless and smudge-free. Use a microfiber cloth to wipe away dirt, ink smudges, or any imperfections. Since blemishes will appear even after lamination, inspect each card thoroughly before proceeding.
3. Insert the Card in the Laminating Pouch
Use butterfly-style laminating pouches, scored in the middle for easy folding. Place the ID card in the center, ensuring there's no wrinkling or bubbling. Leave a small border around the card for an even seal.
4. Prepare and Utilize a Laminating Machine
Set up a laminating machine compatible with small documents like ID cards. Allow it to heat properly to ensure optimal adhesion. Insert the pouch inside a carrier to protect the laminator from adhesive residue. Feed it gently, sealed edge first, letting the machine evenly apply heat and pressure.
5. Trim for a Perfect Finish
After the laminated card cools, use a paper cutter or scissors to trim excess edges, maintaining at least a 1/16 inch (2 mm) border. This ensures proper sealing and prevents peeling over time.
4OVER4.COM’s custom printing solutions offer a professional-grade alternative if you're seeking additional features like custom embossing or die-cut laminated business cards, ensuring your cards look and feel premium. By combining these techniques with vibrant laminations, brands can elevate their image and leave lasting impressions.
Optional Enhancements
Use tools like hole punches for badge clips or holographic film for unique finishes. Such details not only enhance durability but also align with modern design trends. For inspiration, explore top online designer tools, which streamline creation processes and improve professional results.
Using a Laminating Machine vs. Self-Seal Pouches
Choosing between a laminating machine and self-seal pouches depends on your preferences and the resources available. Both methods offer distinct advantages for laminating ID cards at home.
Laminating Machine Advantages
Laminating machines use heat and pressure to bond lamination film to an ID card. This method ensures a professional, durable finish. Machines designed specifically for ID cards, such as ID card pouch laminators, handle thicker pouches (7 to 10 mil) without jamming, making them ideal for creating cards with higher durability. These machines allow precise adjustments for thickness and speed, giving control over the final output. Using butterfly pouches with a laminator results in seamless, edge-to-edge lamination, mimicking the look of PVC cards. Combining the right equipment with high-performance synthetic paper can significantly enhance brand aesthetics, matching the quality offered by professionals.
For example, organizations aiming to create premium laminated business cards can utilize machines compatible with custom finishes, aligning designs created using online designer tools with their branding. For intricate designs, laminators also work effectively alongside die-cut or embossed elements, such as those featured on die-cut laminated business cards.
Self-Seal Pouches Benefits
Self-seal laminating pouches rely on adhesive properties without requiring heat or specialized equipment. They offer convenience for laminating a small number of cards. This method is ideal for quick projects where access to a laminator is unavailable. Self-adhesive pouches make it easier to handle irregularly shaped cards since there’s no risk of heat-induced deformities. While convenient, the resulting finish may not match the durability or professional appearance achievable with a laminating machine.
Despite their simplicity, some applications benefit more from laminators for a refined touch. For job fairs, client-facing roles, or branding events, investing in professionally laminated cards using a laminator remains preferable. Businesses aiming for consistent quality in presentations should prioritize materials that withstand routine handling, such as those integrated with custom solutions from 4OVER4.COM.
Making the Right Choice
Our decision depends on the project’s complexity and intended outcome. For short-term needs or minimal laminating tasks, self-seal pouches suffice. However, for premium, professional-grade laminated ID cards or business cards, laminating machines enable precise control over finishes, thicknesses, and edge-to-edge sealing. Both methods elevate card presentation, catering to personal and professional applications alike.
Design Tips for High-Quality Laminated Cards
Choose Durable Materials for Your Design
Using premium materials ensures the card's longevity and professional look. Opt for synthetic papers like Teslin® that withstand heavy handling without tearing. For lamination, select high-quality pouches to achieve a flawless finish that protects against dirt, water, and UV damage.
Prioritize Visual Appeal
Creating visually striking cards enhances their impact. Include vibrant colors and sharp graphics to make ID cards and business cards stand out. For ideas and tools, explore a user-friendly online designer to personalize templates that match your brand identity. Laminating boosts the retention of these designs by sealing vibrancy into the card.
Size and Shape Optimization
Custom shapes and sizes can elevate your card’s uniqueness. Standard dimensions work well for functionality, but distinctive patterns or designs speak volumes about your brand. Create standout cards with options like die-cut laminated business cards that align with your vision.
Enhance Branding Through Lamination Finishes
Select a lamination finish that complements your design. Glossy lamination boosts rich colors, matte lamination minimizes glare for better readability, and soft-touch lamination offers an elegant velvety appearance. These finishes fortify your card branding by adding refinement and depth.
Highlight Your Brand with 4OVER4.COM
Our collaboration with 4OVER4.COM ensures that your laminated cards not only remain durable but also reflect professionalism. Their custom printing solutions include tailored designs, premium finishes, and unique card enhancements that elevate brand presence and make every card memorable.
Benefits of Laminated Cards for Durability & Style
Laminated cards deliver unmatched durability and style, making them a prime choice for professionals who value longevity and presentation. The lamination process creates an added protective layer that shields cards from everyday damage like scratches, fading, and stains. For instance, employee IDs or frequently swiped access cards become resilient to wear and tear, extending their usability.
Enhanced Card Longevity
Lamination protects cards from water, dirt, and abrasion, maintaining their integrity under daily use. Outdoor workers benefit from this, as laminated surfaces resist damage from harsh sun or rain. Cards laminated with finishes like die-cut options further enhance durability while remaining customizable for unique branding.
Elevated Visual Appeal
Laminated finishes boost the perceived value of cards, offering a polished, professional look. Gloss laminates highlight vibrant designs, while matte laminates reduce glare, ensuring readability. For an ultra-premium feel, velvet or silk lamination adds texture, making business and ID cards visually and tactilely appealing. Explore ways to craft personalized card templates using best design tools to match these enhanced finishes.
Increased Security and Tamper Resistance
Laminated ID cards are harder to alter or counterfeit, providing a higher level of security. This is crucial for government-issued IDs, student credentials, and cards with sensitive information. Adding holographic laminates or custom elements reinforces security, protecting against forgery and duplication.
Distinctive Branding Opportunities
Custom-laminated cards set brands apart by adding sophistication and durability. Choosing finishes that complement your logo's colors or business theme enhances brand identity. At 4OVER4.COM, we specialize in crafting laminated cards that align with your branding needs, combining durability with custom printing solutions. Lamination transforms cards into professional tools that leave lasting impressions.
Versatile Styles and Applications
Laminated cards are adaptable for various uses, from professional business cards to smart ID badges. They cater to industries like education, government, and corporate sectors. With options like die-cut shapes and premium laminates, businesses can design cards tailored to specific purposes, merging utility with elegance.
By integrating durability, a polished appearance, and unique customization, laminated cards effectively combine functionality with sophistication, allowing professionals to present themselves memorably. Images illustrating ID cards with various laminations, custom shapes, and branding can further highlight these benefits.
Common Mistakes to Avoid in Laminating Business Cards
Avoiding common mistakes during lamination preserves the quality and professional appearance of business cards. Here are the most frequent errors and ways to address them effectively.
1. Using Dirty or Damaged Prints
Ensure the prints are clean and free of fingerprints, smudges, or dust. Lamination seals any imperfections on the surface. For flawless results, always examine the card before inserting it into a laminating pouch. Visit business card printing for expert-quality prints designed to excel under lamination.
2. Incorrect Laminating Pouch Size or Thickness
Using pouches that don’t match the card's dimensions can result in incomplete seals or wrinkles. Select pouches slightly larger than the card and verify the thickness (e.g., 80 microns for flexible cards or 250 microns for increased durability). Misalignment in pouch size leads to unprofessional edges.
3. Skipping Laminator Warm-Up
Operating the laminator before it reaches the right temperature creates poor adhesion, air bubbles, and uneven finishes. Allow sufficient warm-up time, typically indicated by a ready light on the machine. This step ensures smooth and long-lasting results for designs, such as die-cut laminated business cards.
4. Trimming Cards Before Lamination
Cutting the card before lamination risks misalignment and fragile seals. Always laminate first and trim afterward for precise, sealed edges. Unsealed edges are prone to peeling and reduce the card's life span.
5. Ignoring the Importance of Design Quality
Design quality directly impacts the outcome of lamination. Cards with dull colors or low-resolution graphics appear substandard after lamination. Leverage resources like our online designer to create high-resolution, vibrant designs. Combined with 4OVER4.COM’s custom printing expertise, it becomes easier to produce business cards with excellent finish and durability.
6. Overheating or Inspecting While Laminating
Excessive heat may warp or damage cards, significantly undermining their appearance. Adjust laminator settings to match the chosen pouch thickness. Avoid peeling or checking the card immediately after lamination as it requires cooling to set properly.
By addressing these frequent pitfalls and emphasizing precision and design preparation, we maximize the potential of DIY lamination while maintaining the professional presentation synonymous with 4OVER4.COM-backed solutions.
How to Store & Maintain Laminated Business Cards
Proper storage and maintenance keep laminated business cards looking professional, ensuring their longevity and appeal. Following a few simple guidelines protects the durability and visual quality enhanced through lamination.
Choosing the Right Storage Options
Organized storage prevents damage. Use dedicated card holders, wallets, or storage boxes designed to protect laminated cards from bending, scratches, or moisture exposure. For professionals with multiple cards, accordion-style organizers are a practical choice.
Avoiding Excess Sunlight and Heat
Preserve laminated cards by keeping them away from direct sunlight and excessive heat. Prolonged exposure can cause lamination to warp or lose its original vibrancy. Store cards in cool, shaded areas whenever possible.
Cleaning Laminated Cards
Clean laminated surfaces for a pristine finish. Use a soft, damp microfiber cloth to gently wipe away dirt, avoiding harsh cleaners that could degrade the laminate. This step is especially vital for gloss or velvet laminations, which enhance surface textures while remaining delicate.
Handling Cards Correctly
Hold cards by their edges. Fingerprints, oils, or dirt can accumulate on the surface, dulling their polished appearance. Encourage recipients to handle your laminated cards with similar care for a consistent professional impression.
Leveraging Custom Design for Impact
Custom designing laminated business cards not only assists in maintaining style but also reflects brand identity. Utilize online design tools like those highlighted in our free design tools to create standout templates fitting your professional needs.
Pairing Storage with Premium Lamination
Combine safe storage practices with high-quality lamination effects like those offered by 4OVER4.COM. For ideas on enhancing card style, explore options such as die-cut laminated business cards to add unique shapes and dimensions, reinforcing brand presence.
These techniques ensure your laminated business cards stay in excellent condition, reflecting care and attention to detail in all professional interactions. For tailored printing solutions, 4OVER4.COM provides laminated cards with lasting resilience and elegance, ideal for any professional setting.
Conclusion
Laminating ID cards at home is a practical and rewarding process that combines creativity with functionality. By using the right tools, materials, and techniques, we can achieve professional-quality results that enhance durability and visual appeal. Whether we’re crafting employee IDs or personalized business cards, lamination ensures they stand out while lasting longer.
With the variety of finishes and customization options available, we have the flexibility to create cards that align perfectly with our branding and professional needs. By paying attention to details and avoiding common mistakes, we can elevate our designs and make a lasting impression in any setting.
Frequently Asked Questions
Why should I laminate business cards and ID cards?
Laminating business and ID cards increases their durability, protecting them from water, scratches, and daily wear. It also enhances their visual appeal with premium finishes, ensuring a professional and lasting impression.
What type of lamination is best for business cards?
Glossy lamination is ideal for vibrant colors, matte offers a non-reflective finish for readability, and soft-touch adds a velvety texture for a luxurious feel. Choose based on your design goals and branding needs.
Can I laminate business cards at home?
Yes, you can laminate business cards at home using a laminating machine or self-seal pouches. Use high-quality pouches, durable cardstock, and ensure your design is smudge-free before starting.
What tools are needed for laminating at home?
Essential tools include a laminator, laminating pouches, high-quality paper or cardstock, and cutting tools for clean edges. Optional items like holographic films or embossing can add unique details.
How do I laminate cards if I don’t have a laminator?
You can use self-sealing laminating pouches or a household iron. For the latter, place the pouch between a cloth and press with the iron on the hottest setting until sealed.
What mistakes should I avoid when laminating?
Avoid using dirty prints, incorrect pouch sizes, trimming cards before lamination, or skipping the laminator warm-up. Ensuring clean designs and proper preparation is key for professional results.
How do I create custom designs for laminated cards?
Use online design tools to create personalized templates. Focus on vibrant colors, sharp graphics, and unique shapes to make your cards stand out. Partnering with 4OVER4.COM can elevate your designs further.
How do I store and maintain laminated cards?
Store laminated cards in protective holders or boxes, keep them away from direct sunlight and heat, and clean with a soft microfiber cloth to maintain their professional look over time.
Is gloss or matte lamination better for branding?
Both have their own benefits. Gloss enhances vibrant visuals, making colors pop, while matte provides a subtle, non-glare finish for understated elegance. Choose based on your brand’s style and voice.
Are there eco-friendly lamination options?
Yes, eco-friendly laminating pouches and holographic films are available. These options allow you to enhance your cards’ look while reducing your environmental footprint, reflecting sustainable business practices.
More from
8
Advertising magnets are one of those marketing tools that are so simple, you might overlook their power. They’re tangible, they last for age
 Emma Davis
Jan 30, 2026
14
Tired of fighting with torn paper and sticky residue? We’ve all been there. The best way to get labels off bottles is often a simple soak in
 Emma Davis
Jan 29, 2026
35
Want to know the real secret to getting a poster to stick to a wall without it peeling off in the middle of the night? It's all about what
 Emma Davis
Jan 28, 2026
46
When you hear "table tent specs," what we're really talking about are the foundational details for printing them correctly: the
 Emma Davis
Jan 27, 2026
177
When you're ready to print a poster, one of the first questions you'll face is, "What size should it be?" The industry has a
 Emma Davis
Jan 26, 2026
164
Picture this: you're at a networking event, and someone hands you their business card. You do the usual glance—name, title, company—an
 Emma Davis
Jan 25, 2026
145
Believe it or not, figuring out how to make a card in Word is surprisingly easy. You can knock out everything from slick, professional busines
 Emma Davis
Jan 24, 2026
129
Printing on packaging takes a simple container and turns it into one of your most powerful marketing tools. It’s the very first physical int
 Emma Davis
Jan 23, 2026


