- Home
- topics
- specifications
- image resolution for printing
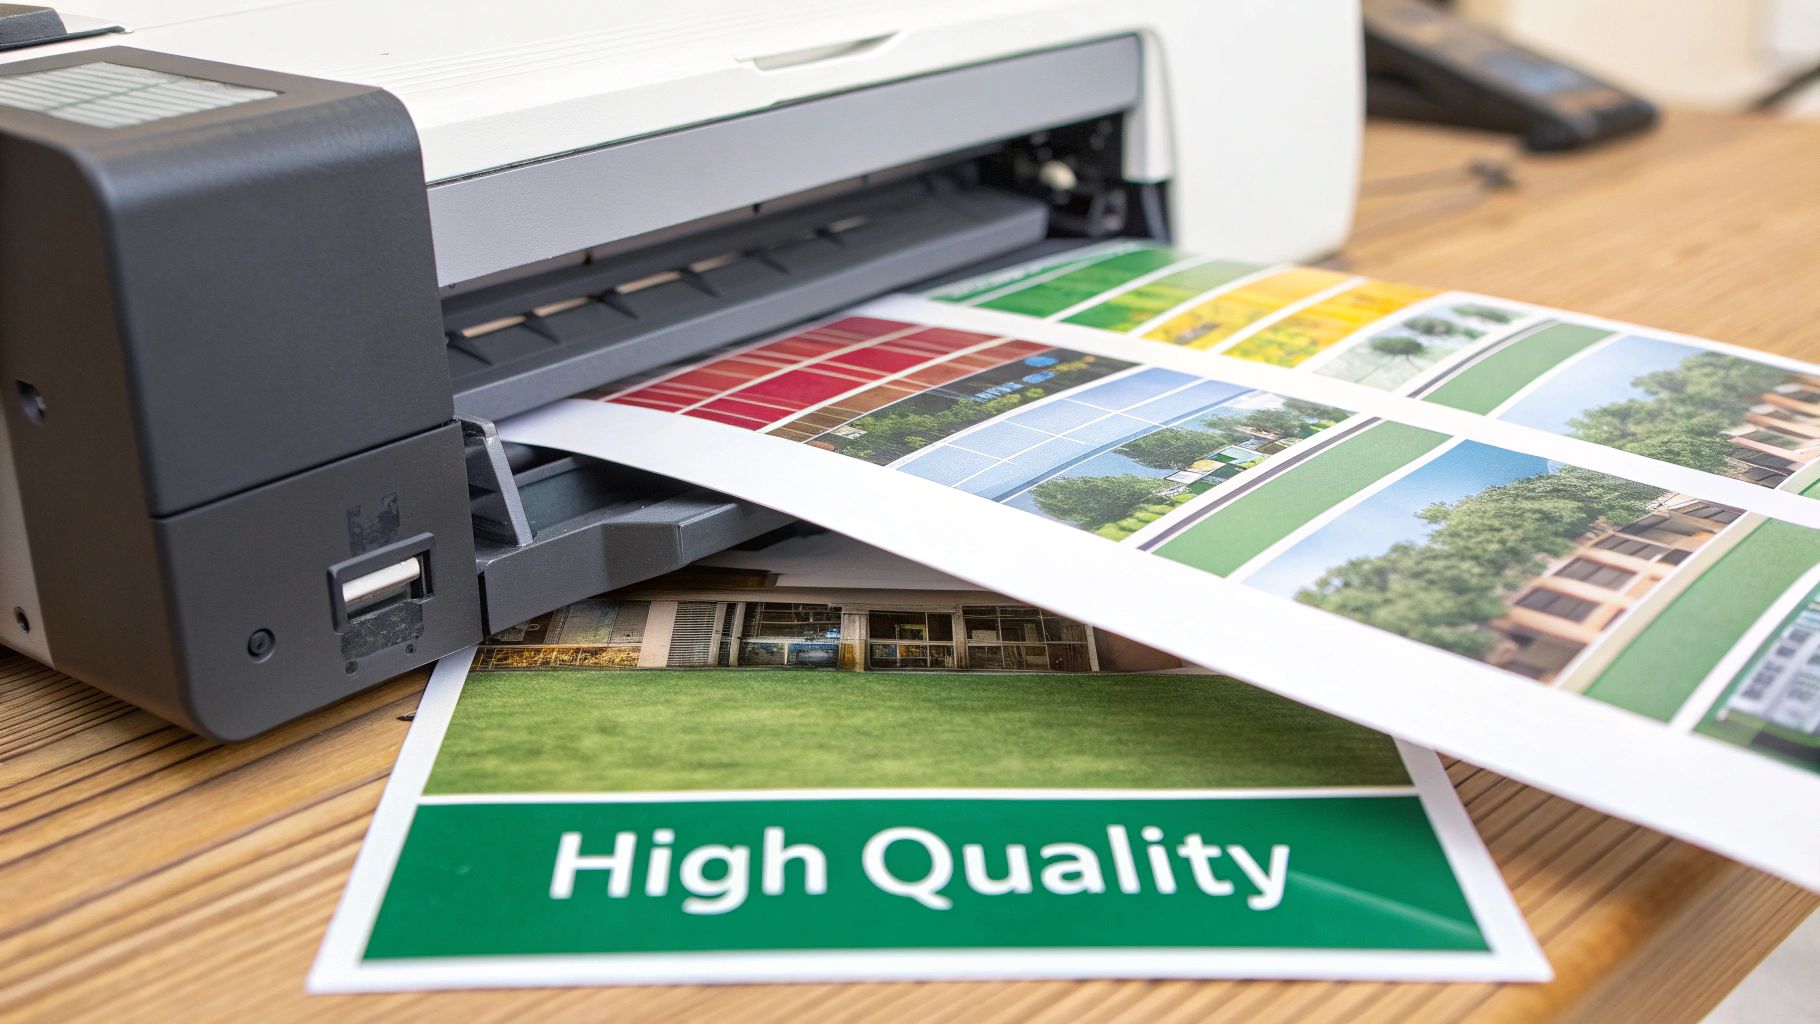
Image Resolution for Printing: Pro Tips
Understanding Image Resolution For Print Success
Getting professional-looking prints depends on understanding image resolution. It's not about having a huge file, but the density of information within it. This density is measured in DPI (dots per inch) for print and PPI (pixels per inch) for digital images. While the terms are often used interchangeably, knowing the difference between DPI and PPI is crucial for print success. A high PPI image might look fantastic on screen, but this doesn't guarantee a great print.
DPI vs. PPI: Why The Difference Matters
Imagine a digital image as a mosaic made of tiny squares, or pixels. PPI dictates how many of these pixels are packed into each inch of your digital image. DPI, however, refers to the ink dots a printer uses per inch of the printed image. For example, a 300 PPI image has 300 pixels per inch in the digital file. A printer set at 300 DPI translates those pixels into ink dots on the page, resulting in a sharp print.
Historically, the standard print resolution has been 300 DPI. This balances clarity and file size, making it suitable for mass production. Museum exhibits, however, often use higher resolutions like 600 DPI for enhanced detail. For an 8x10 inch image at 300 DPI, you need a 2400x3000 pixel file. This standardization ensures a consistent viewing experience. Scanning Historical Images offers further insight into this topic.
Why Print Requires Higher Resolution Than Digital
Screens and printers operate differently. Screens use illuminated pixels, while printers use physical ink dots. This fundamental difference explains why print requires higher resolution. A 72 PPI image might look sharp on a backlit screen. But printed, it translates to noticeably lower quality. Viewing distance also matters. We view printed materials closer than screens, making resolution differences more apparent.
For more information on printing techniques, see How to master printing.
Understanding image resolution is key to successful printing. Grasping DPI and PPI, and their relationship to printer technology and viewing habits, ensures your projects achieve the impact you want. This knowledge is the foundation for exploring different resolution standards for various print formats, which we’ll discuss further.
Resolution Standards That Transform Your Print Projects
Not all printed materials are created equal – and neither are their resolution requirements. Understanding this can save you time, money, and a whole lot of frustration. This guide explores the optimal image resolution for a variety of print formats, from pocket-sized invitations to large-format banners. We'll also delve into how viewing distance and paper type influence your resolution choices. By the end, you'll have the knowledge to confidently calculate the perfect resolution for every print project.
Understanding DPI Requirements for Different Formats
Different print projects have unique DPI (dots per inch) needs. A business card, held close to the eye, demands a higher DPI than a billboard seen from afar. A standard business card (3.5x2 inches), for instance, thrives on a 300 DPI resolution. This ensures crisp, clean text and logos, translating to a file approximately 1050x600 pixels.
On the other hand, a large poster viewed from a distance will likely look excellent at 150 DPI, or even lower. This reduction in DPI significantly shrinks file size, simplifying handling and printing. The key takeaway? Choosing the right DPI based on the format and viewing distance optimizes both quality and practicality.
You might be interested in: Our product catalog.
Viewing Distance and its Impact on Resolution
Viewing distance dramatically impacts our perception of resolution. A banner seen from across a street doesn't require the same level of detail as a photograph held in your hand. Why? The human eye simply can't discern fine details from a distance.
This principle lets us use lower DPIs for larger prints without compromising perceived quality. A billboard viewed from hundreds of feet, for example, may only need a 30 DPI image. Boosting the DPI won’t improve clarity at that distance and would only create a massive, unwieldy file. Understanding this allows for smart decisions that balance image quality with manageable file sizes.
Statistically, understanding image resolution is fundamental for printing as it directly affects the clarity and detail of your final product. In digital printing, resolutions between 150 DPI and 300 DPI are standard for common sizes like 4x6 or 11x14 inches. Higher resolutions, while resulting in larger files, are essential for prints rich in detail. For example, a 300 DPI 11x14 inch print needs 3300x4200 pixels, while a 200 DPI version requires 2200x2800 pixels. Web applications typically use around 72 DPI, striking a balance between image clarity and loading speed. This understanding becomes vital when optimizing images for diverse platforms. Find more detailed statistics here.
How Paper Affects Your Ideal DPI Settings
Paper selection also plays a role in determining the best DPI. A coated, glossy paper handles higher DPI beautifully, allowing fine details to shine. Uncoated or textured papers, however, absorb ink differently, sometimes softening fine details. This means a slightly lower DPI might suffice for these paper types, preventing unnecessarily large files.
Always consider your paper choice when determining the ideal DPI. Testing different DPI settings on your chosen paper can help you find the sweet spot between detail and print quality. This hands-on approach ensures the final product meets your exact expectations.
To help illustrate the varying DPI requirements across different print formats, take a look at this handy table:
Resolution Requirements by Print Format A comprehensive comparison of recommended DPI settings for different print formats and sizes
| Print Format | Typical Size | Minimum DPI | Ideal DPI | Required Pixels (at Ideal DPI) |
|---|---|---|---|---|
| Business Card | 3.5x2 inches | 300 | 300 | 1050x600 |
| Postcard | 4x6 inches | 300 | 300 | 1200x1800 |
| Poster (small) | 11x17 inches | 150 | 200 | 2200x3400 |
| Poster (large) | 24x36 inches | 100 | 150 | 3600x5400 |
| Banner | Varies (e.g., 3x6 feet) | 30 | 50-100 (depending on viewing distance) | Varies |
As you can see, smaller formats designed for close viewing generally require higher DPI settings for optimal sharpness. Larger format prints, viewed from a distance, can maintain acceptable quality with significantly lower DPI, resulting in smaller file sizes that are easier to manage. Choosing the right DPI ensures a balance of quality and practicality for each unique project.
Mastering Resolution Adjustment for Perfect Prints
Getting crisp, clear prints hinges on one crucial factor: image resolution. This section offers practical advice on prepping your images for printing, regardless of your tech skills or software budget. We'll explore how to check and adjust resolution, the difference between resampling and changing DPI, and how to navigate those pesky resolution warnings. With these tips, you'll be printing like a pro in no time.
Checking and Adjusting Resolution: A Step-By-Step Guide
Before you print, it's crucial to know your image's resolution. Most image editing software displays this information in the Image Size dialog box. You'll typically see the dimensions in pixels and the resolution in DPI (dots per inch) or PPI (pixels per inch).
Once you know your resolution, you can adjust it as needed. Popular programs like Adobe Photoshop and GIMP offer straightforward resolution adjustments. Plenty of free online tools and software also offer professional-grade resolution control.
Check out our guide on useful printing tools.
Resampling vs. Changing DPI: Understanding the Difference
Changing the DPI without resampling doesn't actually change the image data. It just changes how many dots the printer uses per inch. Resampling, however, changes the number of pixels in the image itself. Increasing pixel dimensions through resampling can improve print quality for small images, but it won't magically fix a truly low-resolution image.
Think of it this way: enlarging a small, blurry photo without resampling is like zooming in – it gets bigger, but the blur remains. Resampling attempts to add detail, but overdoing it can lead to a pixelated, distorted print.
Troubleshooting Common Resolution Warnings
Print services often flag low-resolution images. This usually happens when the pixel dimensions are too small for the desired print size and DPI. For example, a 300 DPI requirement for an 8x10 print means you need a 2400x3000 pixel image. A smaller image will likely trigger a warning.
If you encounter a warning, you have options. You could resample the image (potentially sacrificing quality), reduce the print size, or accept a lower DPI (resulting in a less sharp print). The best choice depends on your image and project.
Working With Less-Than-Ideal Images
Sometimes, you're stuck with a low-resolution image. You can't create detail out of thin air, but you can improve the situation. Sharpening tools can enhance edges and make the image appear sharper. However, too much sharpening can create a harsh, unnatural look.
The best approach is to start with the highest-resolution images possible. This sets you up for printing success from the beginning. By understanding resolution principles, you can ensure your prints always look their best.
The Visible Impact of Resolution Choices on Print Quality
This section goes beyond the technical jargon of DPI and delves into the real-world effects of resolution on your printed materials. We'll show you visually how different DPI settings change the final product and explain how the content of your image itself influences your resolution needs. This practical approach will equip you to make informed decisions, balancing quality with manageable file sizes.
Seeing Is Believing: How DPI Affects Your Prints
Imagine printing the same image at 150 DPI, 300 DPI, and 600 DPI. The results, particularly in areas with fine details, can be surprisingly different. At 150 DPI, fine lines might look jagged, and textures could appear flat. A bump to 300 DPI often smooths out these imperfections, producing a crisper, cleaner image. While 600 DPI might offer a slight improvement, it's often less noticeable than the jump from 150 to 300.
These visual comparisons demonstrate an important principle: while higher DPI generally leads to better quality, there's a point of diminishing returns. Knowing the specifics of your project is key to finding the sweet spot.
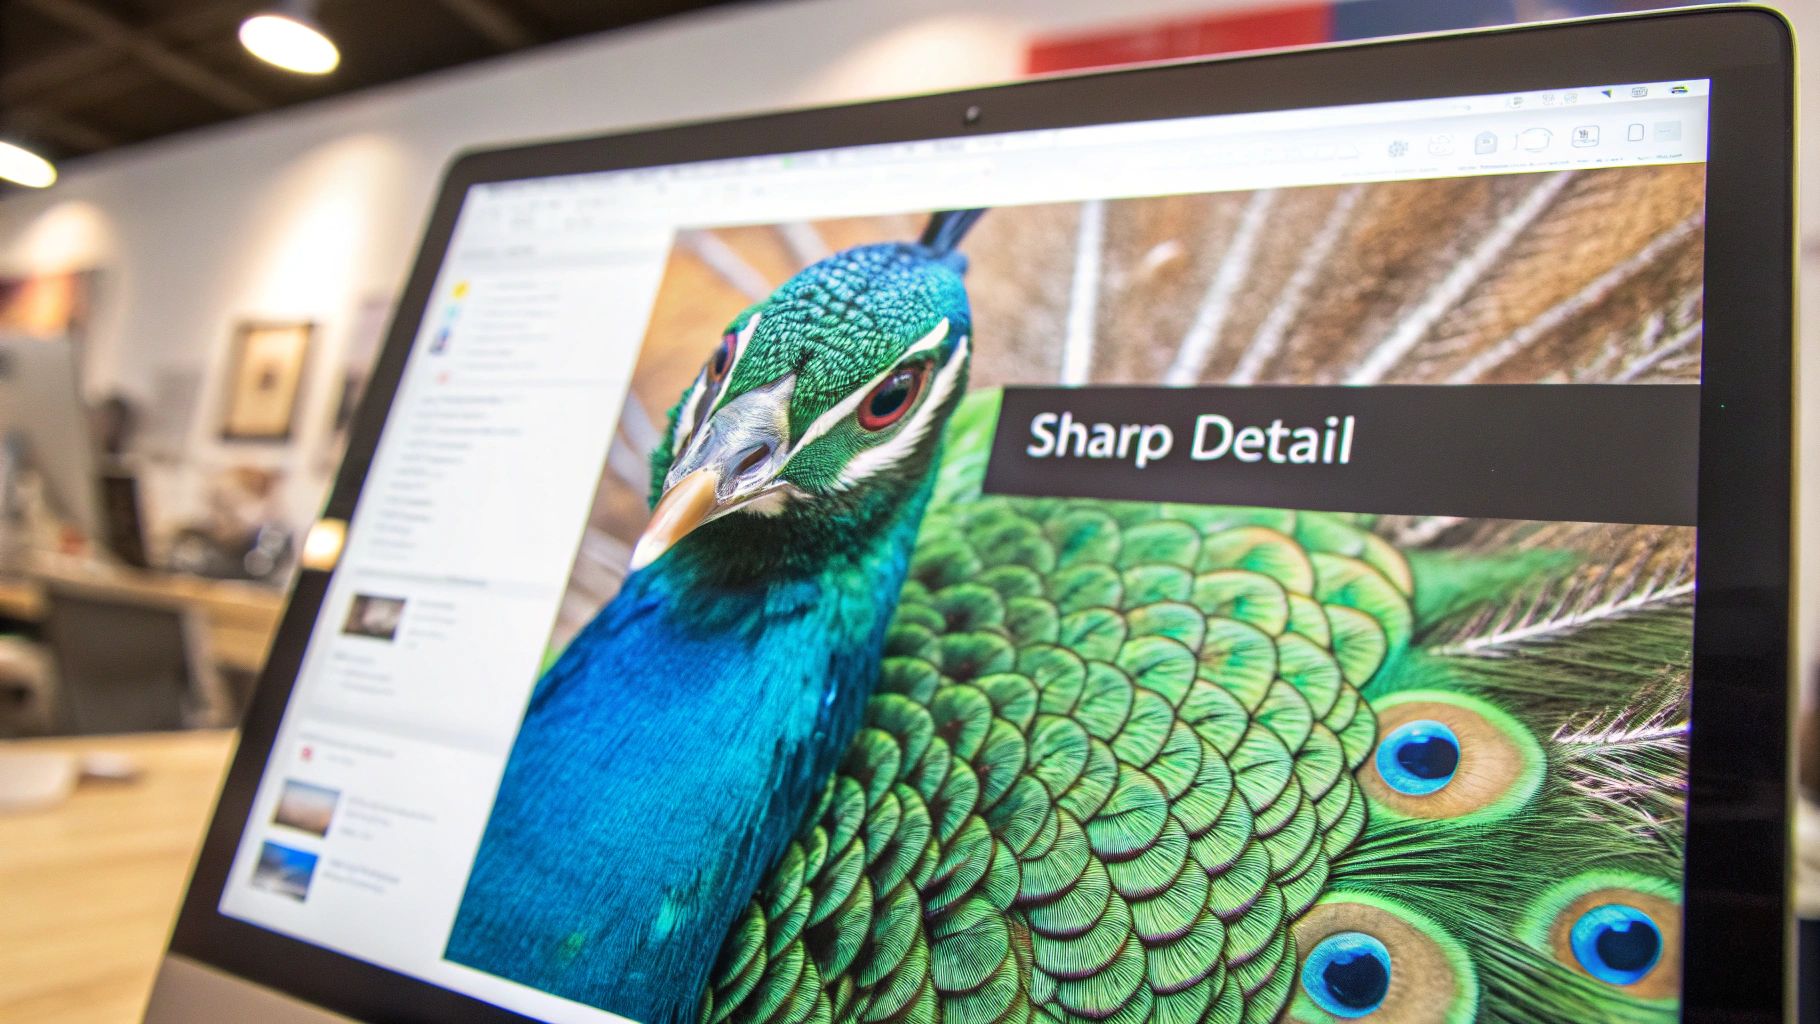
Why Image Content Matters: Textures, Text, and Detail
Different image types require different resolutions. Images packed with detail, like intricate textures or small text, benefit from higher DPIs. Think of a close-up photo of a woven fabric. At a low DPI, the individual threads might blur together. A higher DPI, however, reveals the texture's nuances, making it come alive. Similarly, small text printed at a low DPI can become fuzzy and unreadable, while a higher DPI preserves sharpness and clarity.
For images rich in detail, investing in a higher DPI is crucial for a professional-looking print. Simpler images with less detail, however, may not need such high resolution.
This brings us to another consideration: the expanding role of image resolution in the print industry. The global digital printing industry was valued at $27.3 billion in 2022, fueled in part by advancements in image resolution. The industry is projected to grow 7.1% annually through 2030, exceeding $47.1 billion. Find more detailed statistics here. Higher resolutions have enabled incredibly detailed prints, increasing demand in sectors like advertising. This growth underscores the importance of image resolution in today's print market.
Perceived Resolution: The Impact of Viewing Distance
Perceived resolution refers to how viewing distance changes our perception of image quality. A large poster viewed from across a room doesn't need the same DPI as a small photo held in your hand. This is because our eyes can't pick up fine details from a distance.
This principle lets us optimize large-format prints for a specific viewing distance, using lower DPIs without sacrificing perceived quality. This is especially useful for large prints where file size can be an issue. Our blank templates can be helpful for your projects. Considering viewing distance helps you strike a balance between image quality and practical file management.
Avoiding Costly Resolution Mistakes in Your Print Projects
Choosing the right image resolution is key for professional-looking prints. This section covers common resolution problems that can ruin print projects and provides practical solutions to avoid costly reprints and disappointment.
Why Web Images Fail in Print
Web images, usually 72 DPI, are designed for fast online loading, not for print. Using them for print often leads to blurry, pixelated results. 72 DPI simply doesn't provide enough data for a printer to create a sharp image on paper. A web image that looks great on your screen might look grainy and unprofessional on a business card.
The Dangers of Improper Upscaling
Trying to increase the resolution of a low-resolution image rarely works. Software can add pixels, but it can't create real detail. This leads to a distorted look called pixelation. It's like enlarging a blurry photo – it gets bigger, but the blur stays. For prints, this means a loss of clarity and visual appeal.
Dimensions vs. Resolution: A Common Source of Confusion
People often confuse image dimensions with resolution. Dimensions are the physical size (like 8x10 inches), while resolution is the pixel density (like 300 DPI). An image can be large but have low resolution, leading to a blurry large print. This often leads to expensive reprints.
Why Screenshots and Social Media Images Fall Short
Screenshots and social media images are rarely good for print. They're optimized for screens and are usually low resolution (72 DPI). They're also often compressed, reducing quality further. Printing them usually results in pixelated, blurry prints that aren’t suitable for professional use.
Smartphone Photos: From Screen to Stunning Prints
Smartphone photos can make stunning prints, but they need proper prep. Modern smartphones take high-resolution images, but resolution principles still apply. Set your camera to the highest resolution. Avoid heavy compression, and transfer images to your computer without downsizing.
Let's explore common resolution errors and their solutions in more detail. The following table summarizes the key mistakes, why they cause problems, and how you can fix and prevent them.
Resolution Mistakes and Solutions
| Common Mistake | Why It's a Problem | How to Fix It | Prevention Tips |
|---|---|---|---|
| Using web images for print | 72 DPI is too low, resulting in blurry images. | Use high-resolution images (at least 300 DPI). | Always check image resolution before printing. |
| Improper upscaling | Creates pixelation and distortion. | Use high-resolution images from the start. Upscale minimally if necessary. | Start with the highest resolution image available. |
| Confusing dimensions with resolution | Large dimensions don't guarantee high resolution. | Understand the difference between dimensions and DPI. | Check both dimensions and DPI. |
| Using screenshots/social media images | Often low resolution and compressed. | Avoid using these for professional prints. | Use a camera or high-resolution smartphone settings. |
This table highlights the importance of starting with high-resolution images and understanding the difference between dimensions and resolution. By avoiding these mistakes, you can ensure your prints turn out sharp and professional.
Learn more in our article about How to master high quality printing.
By understanding and avoiding these common mistakes, you can save time and money, and ensure your print projects look professional.
Professional Techniques for Superior Print Resolution
Achieving truly superior print results requires more than just knowing your DPI. Professionals utilize a range of advanced techniques to optimize image data and workflow for maximum impact. Let's explore some of these key strategies.
Advanced Resizing: Choosing the Right Interpolation
When resizing images, the method you choose significantly affects the final quality. Bicubic interpolation is a popular choice for print professionals. It analyzes surrounding pixels to intelligently add or remove pixels, resulting in smoother transitions and less distortion than simpler methods like nearest neighbor or bilinear interpolation. While bicubic interpolation requires more processing power, the superior print quality makes it a worthwhile investment.
Enhancement Software: Refining Your Images
Specialized software can further enhance image resolution for print. These tools often employ sophisticated algorithms to preserve detail and minimize artifacts during resizing. Features like noise reduction and sharpening are valuable for print preparation. Topaz Gigapixel AI is a popular example of software used by photographers for upscaling images while retaining impressive detail.
Layering Images: Strategic Resolution for Complex Projects
For complex projects, strategically layering images can optimize resolution where it matters most. Consider a brochure with detailed product photos and large background images. You can use higher-resolution images (e.g., 300 DPI) for the product photos where fine detail is critical, and a lower resolution (e.g., 150 DPI) for the background where detail is less important. This balances visual impact with manageable file sizes.
File Formats and Compression: TIFF for Top-Tier Prints
File format and compression directly impact print quality. TIFF (Tagged Image File Format) is a lossless format, preserving all image data. This makes it the preferred choice for professional printing where quality is paramount. JPEG (Joint Photographic Experts Group) uses lossy compression, discarding some data to reduce file size. While suitable for web use, high JPEG compression can create visible artifacts, especially in images with sharp transitions or fine details. For high-quality prints, particularly for photography or artwork, TIFF remains the gold standard.
Professional Workflows: Ensuring Quality From Start to Finish
Print professionals adhere to specific workflows to maintain resolution integrity throughout the process. This often includes using calibrated monitors for accurate image assessment, working in CMYK color mode (instead of RGB for web), and meticulously checking files before printing. These steps ensure the final printed piece matches the intended quality.
By implementing these techniques, from intelligent resizing and image enhancement to strategic layering and appropriate file formats, you can elevate your print results from acceptable to exceptional. Whether you're producing stunning photography or impactful marketing materials, these professional methods will make your work stand out.
Ready to transform your print projects? Explore the high-quality printing solutions at 4OVER4 and experience the difference professional printing can make.